Click on + icon

Click on Camera Roll icon
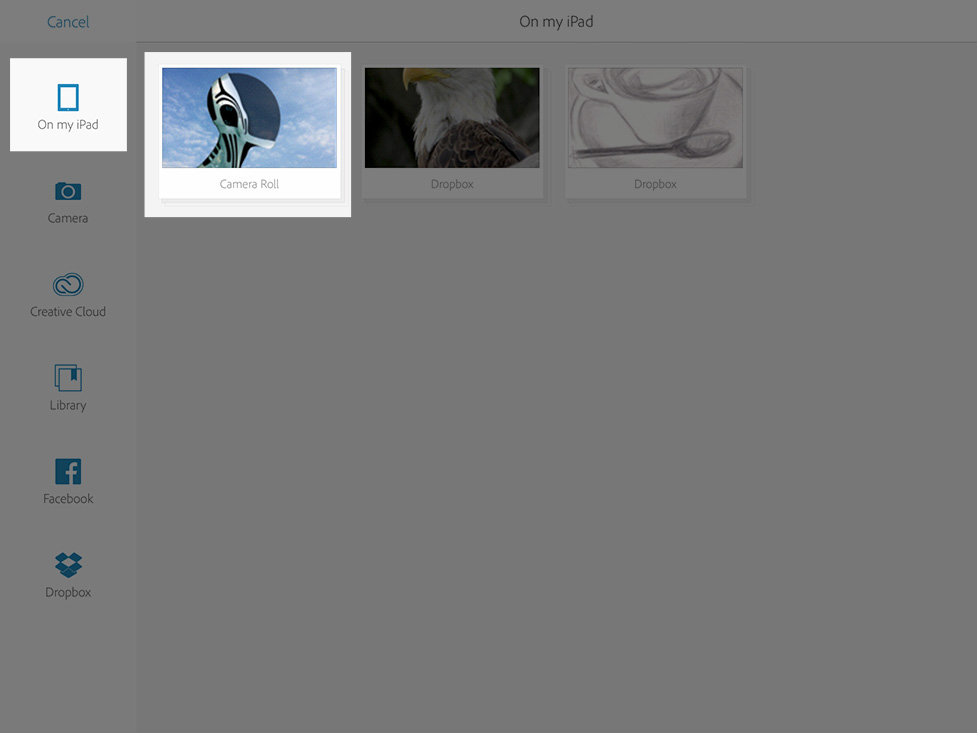
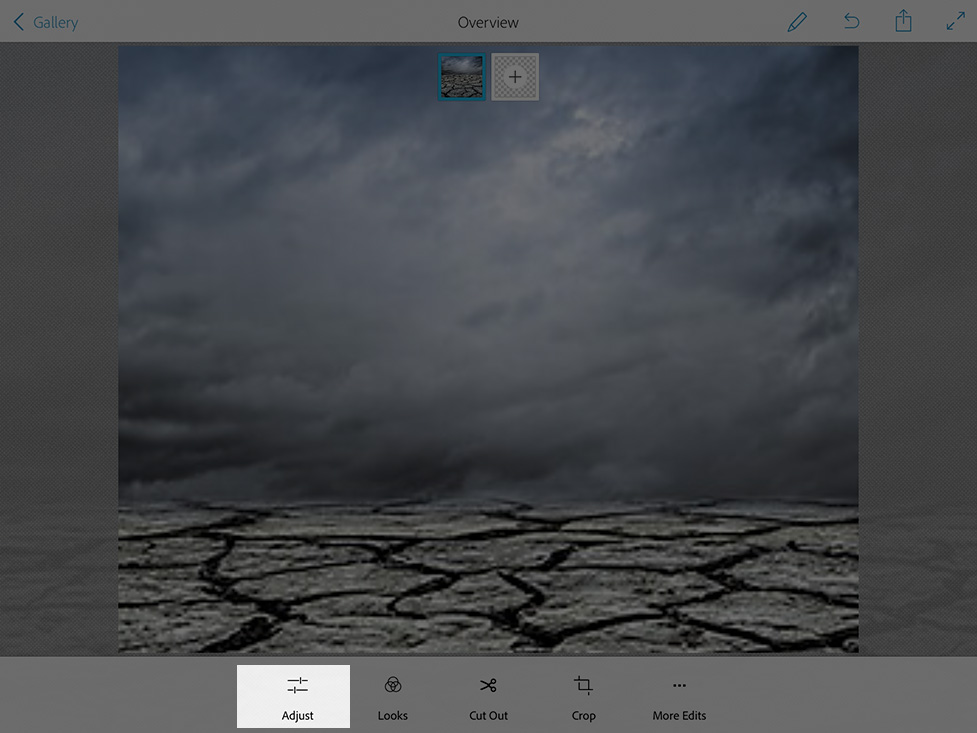
Choose your first ( and it will be our background ) image
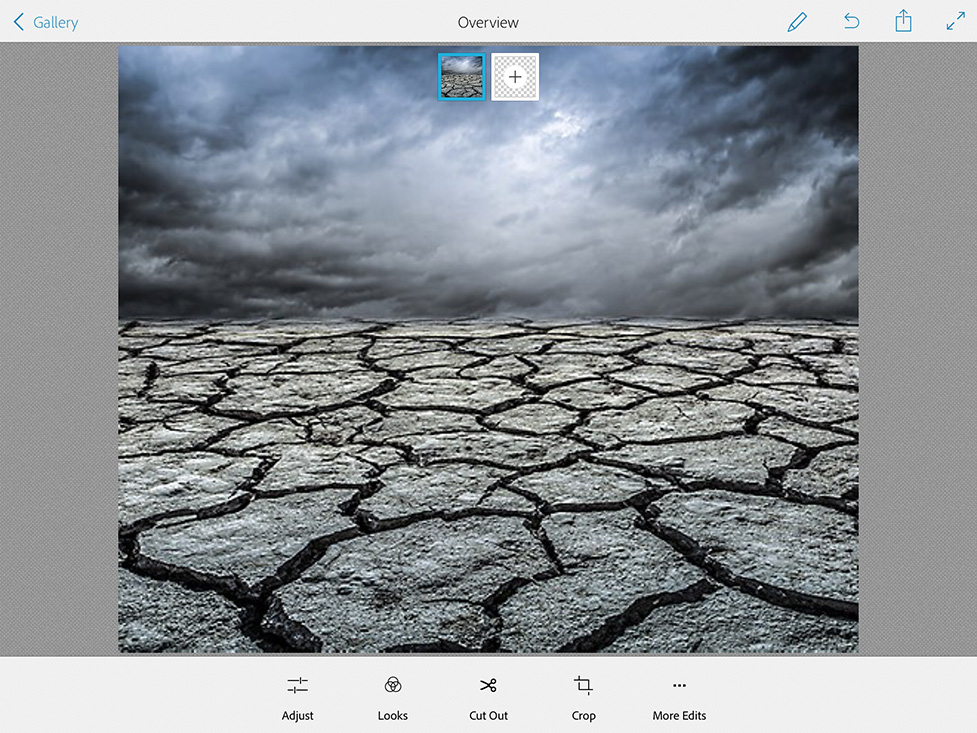
Resize your image
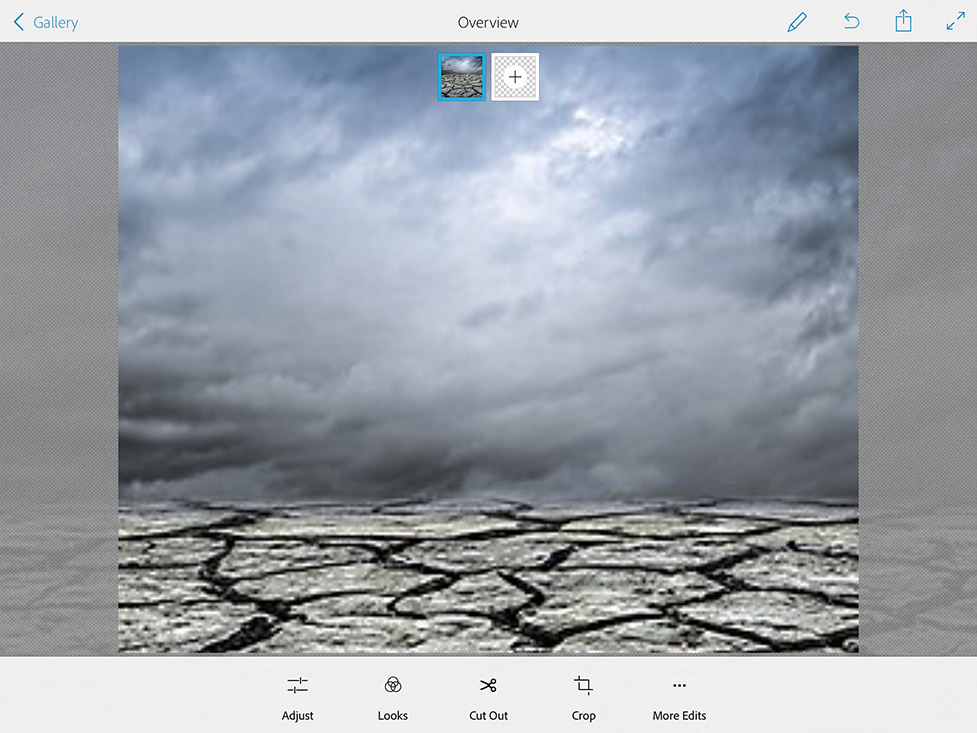
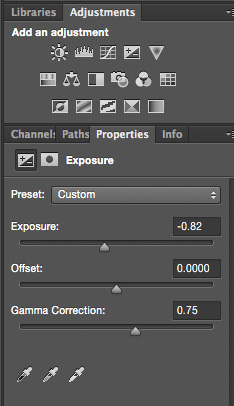
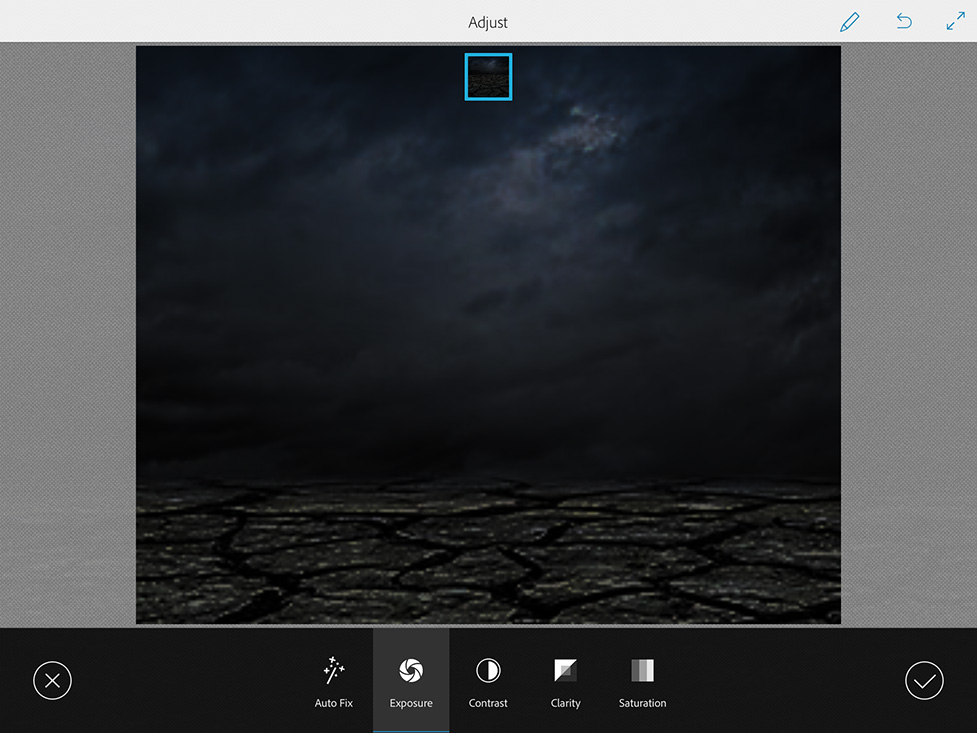
Adjust > Exposure ( move exposure’s slider all way to the left to apply the Night Time Effect to our background layer)
Click on the second layer icon and add your second image
Click on Cut Out icon. Now we need to remove the Moon’s background.
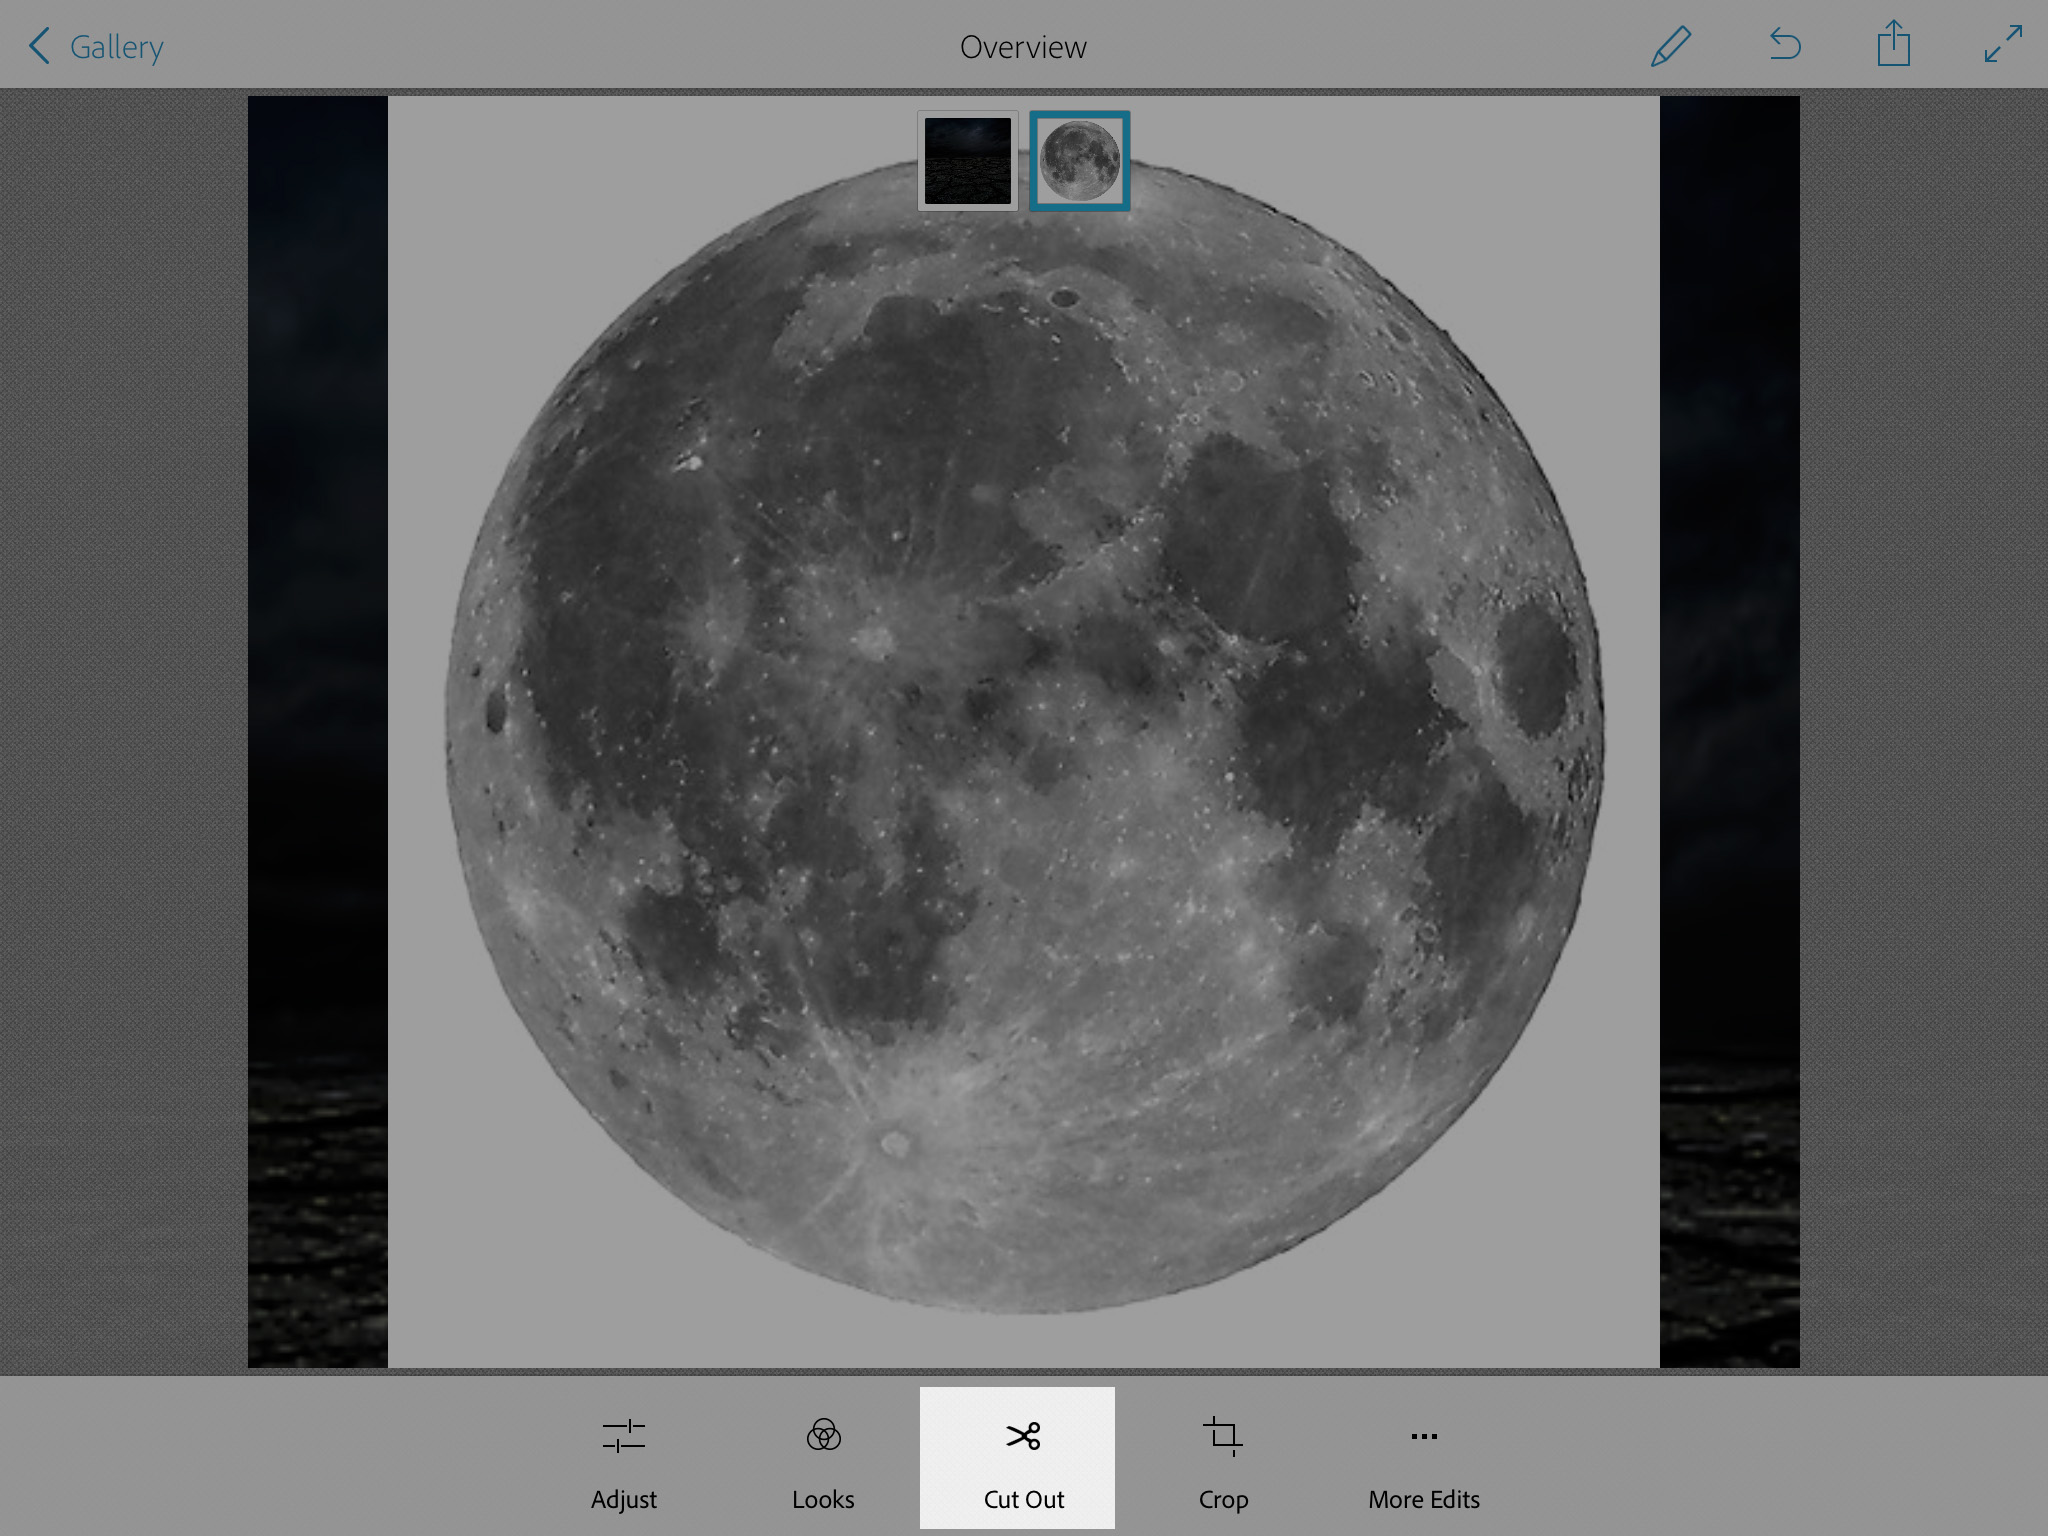
Resize the Moon’s size
Adjust > Exposure ( move exposure’s slide to the left to make the moon darker )
Holding the Moon Layers move this layer over our Background layer

Now we have another “empty” layer. Click on the “empty” layer and chose the robot image
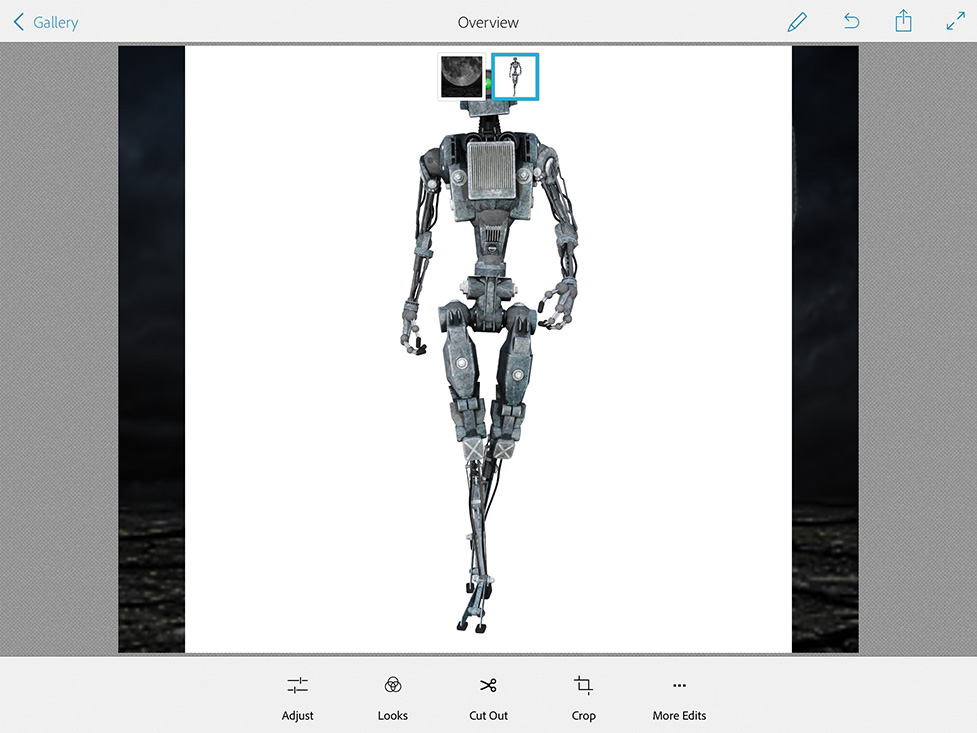
Cut Out > Remove Robot’s image background
Adjust > Exposure > Move Exposure slider to the left to make robot image absolutely dark

Holding Robot Layer icon move this layer over our First layer
Click on Looks icon > Natural + look
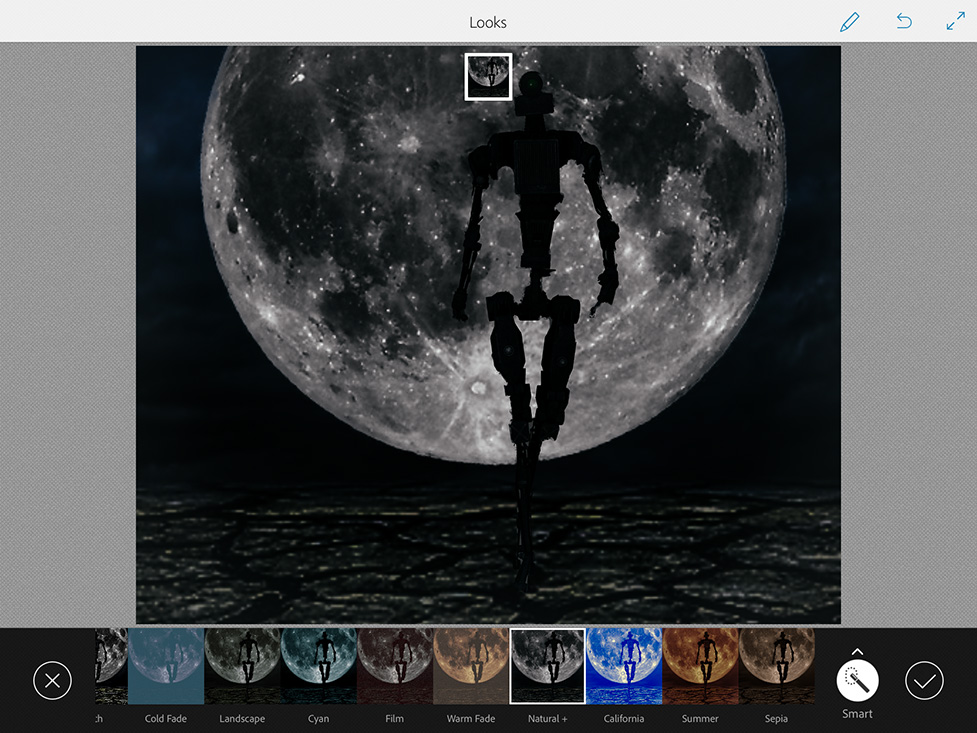
Adjust > Saturation > Move slider to the left
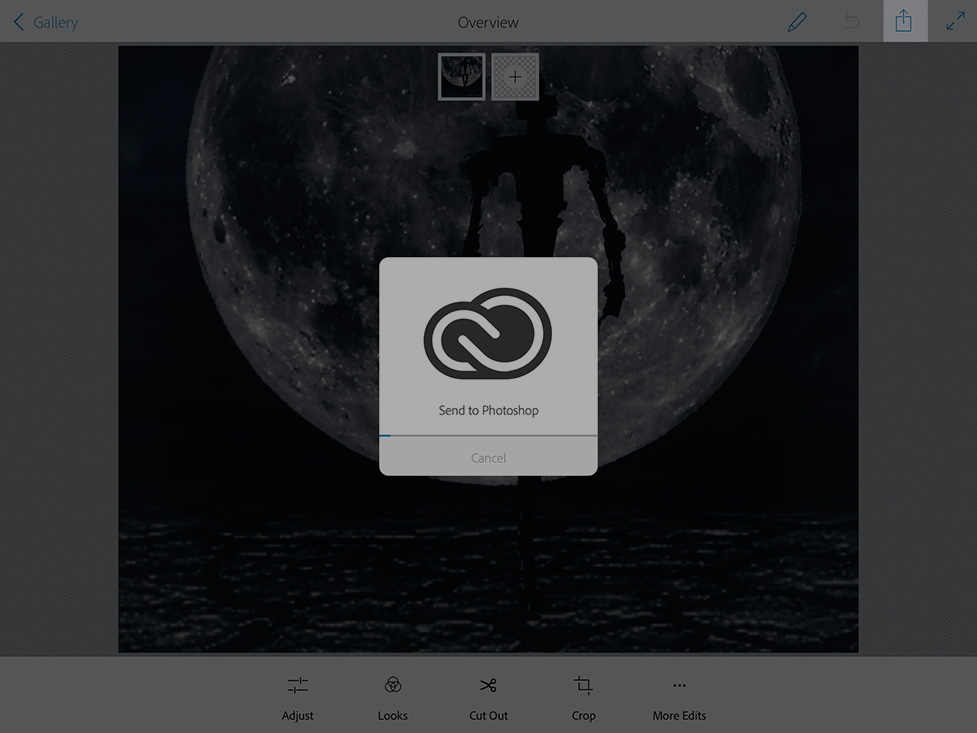
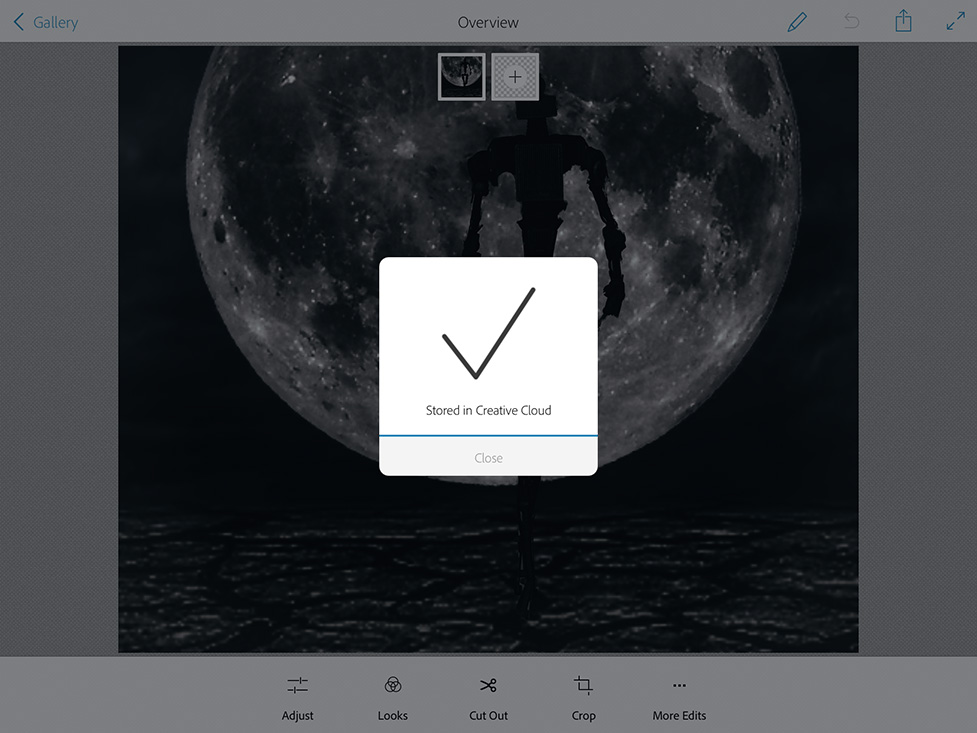
Send to Photoshop > Your image is Stored in your Creative Cloud Photoshop Folder
Open your Photoshop Mix image in Photoshop
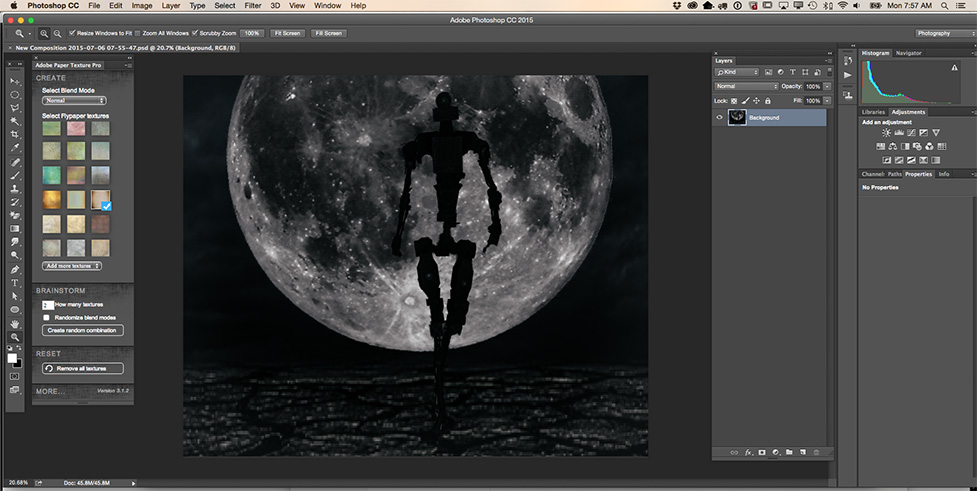
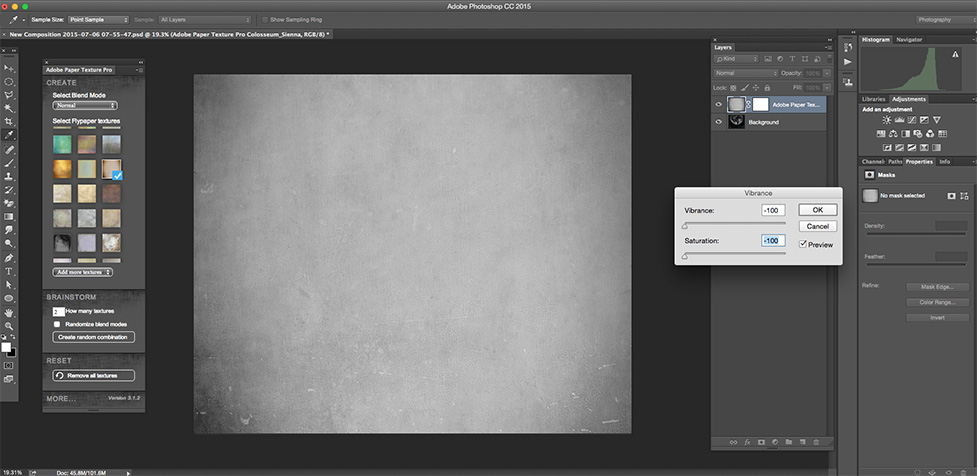
Adobe Paper Texture Pro
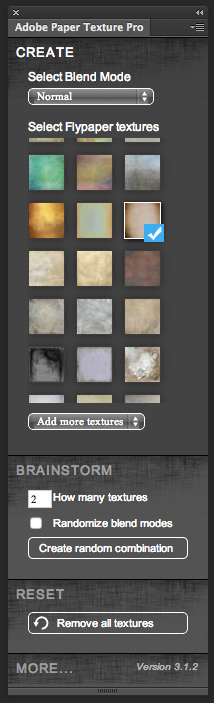
Chose any paper texture you like to work with > Image > Adjustment > Vibrance
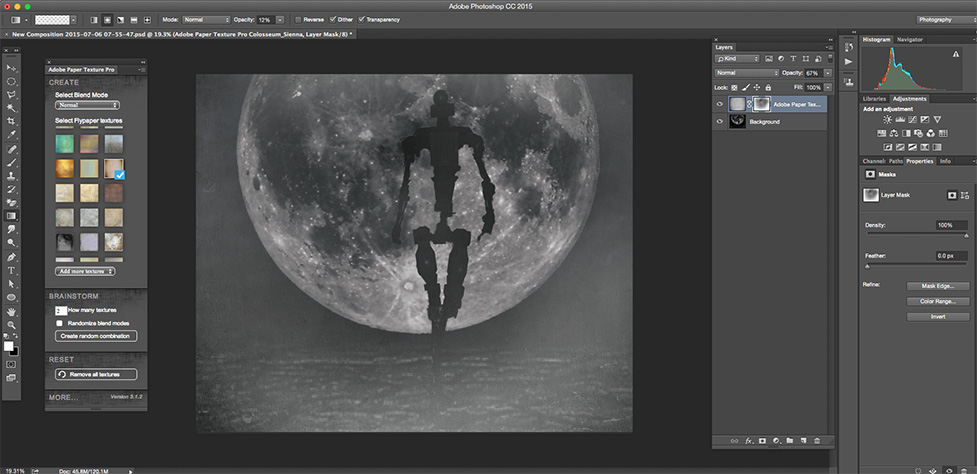
Make Layer opacity = 67% > Gradient Tool ( with opacity = 18% )
![]()
Apply mask to highlight the moon and robot
Adjustment Layers > Exposure