We are here, a diverse group of professional women sharing our knowledge in graphic design, photography, and digital art. If you are a professional, just started your journey in digital imaging, or love doing it during your free time, this conference is for you. This year, the conference is online. During these two days, you will learn new techniques in graphic design, photography, 3D art, and digital painting from leading professional women in the industry. All of our sessions are “no pressure, judgment-free” sessions. We will make sure that by the end of our conference, you will have been exposed to tons of useful information, that your questions are answered, and that you have been inspired to bring your imagination to life.
All sessions will be recorded, and all our attendees will have access to all recordings till December 2022. We can’t wait to see and welcome you!
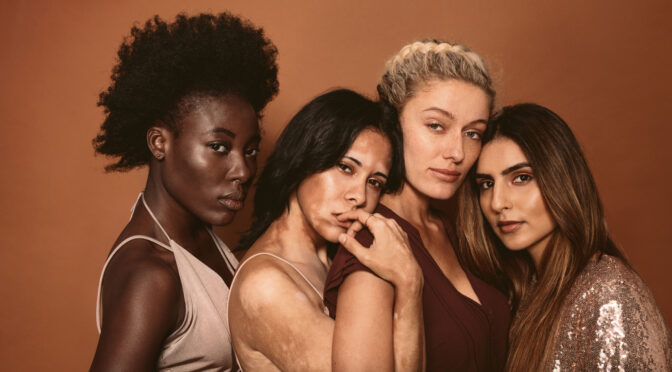
We are here, a diverse group of professional women sharing our knowledge in graphic design, photography, and digital art.
If you are a professional, just started your journey in digital imaging, or love doing it during your free time, this conference is for you.
This year, the conference is online.
During these two days, you will learn new techniques in graphic design, photography, 3D art, and digital painting from leading professional women in the industry. All of our sessions are “no pressure, judgment-free” sessions.
We will make sure that by the end of our conference, you will have been exposed to tons of useful information, that your questions are answered, and that you have been inspired to bring your imagination to life.
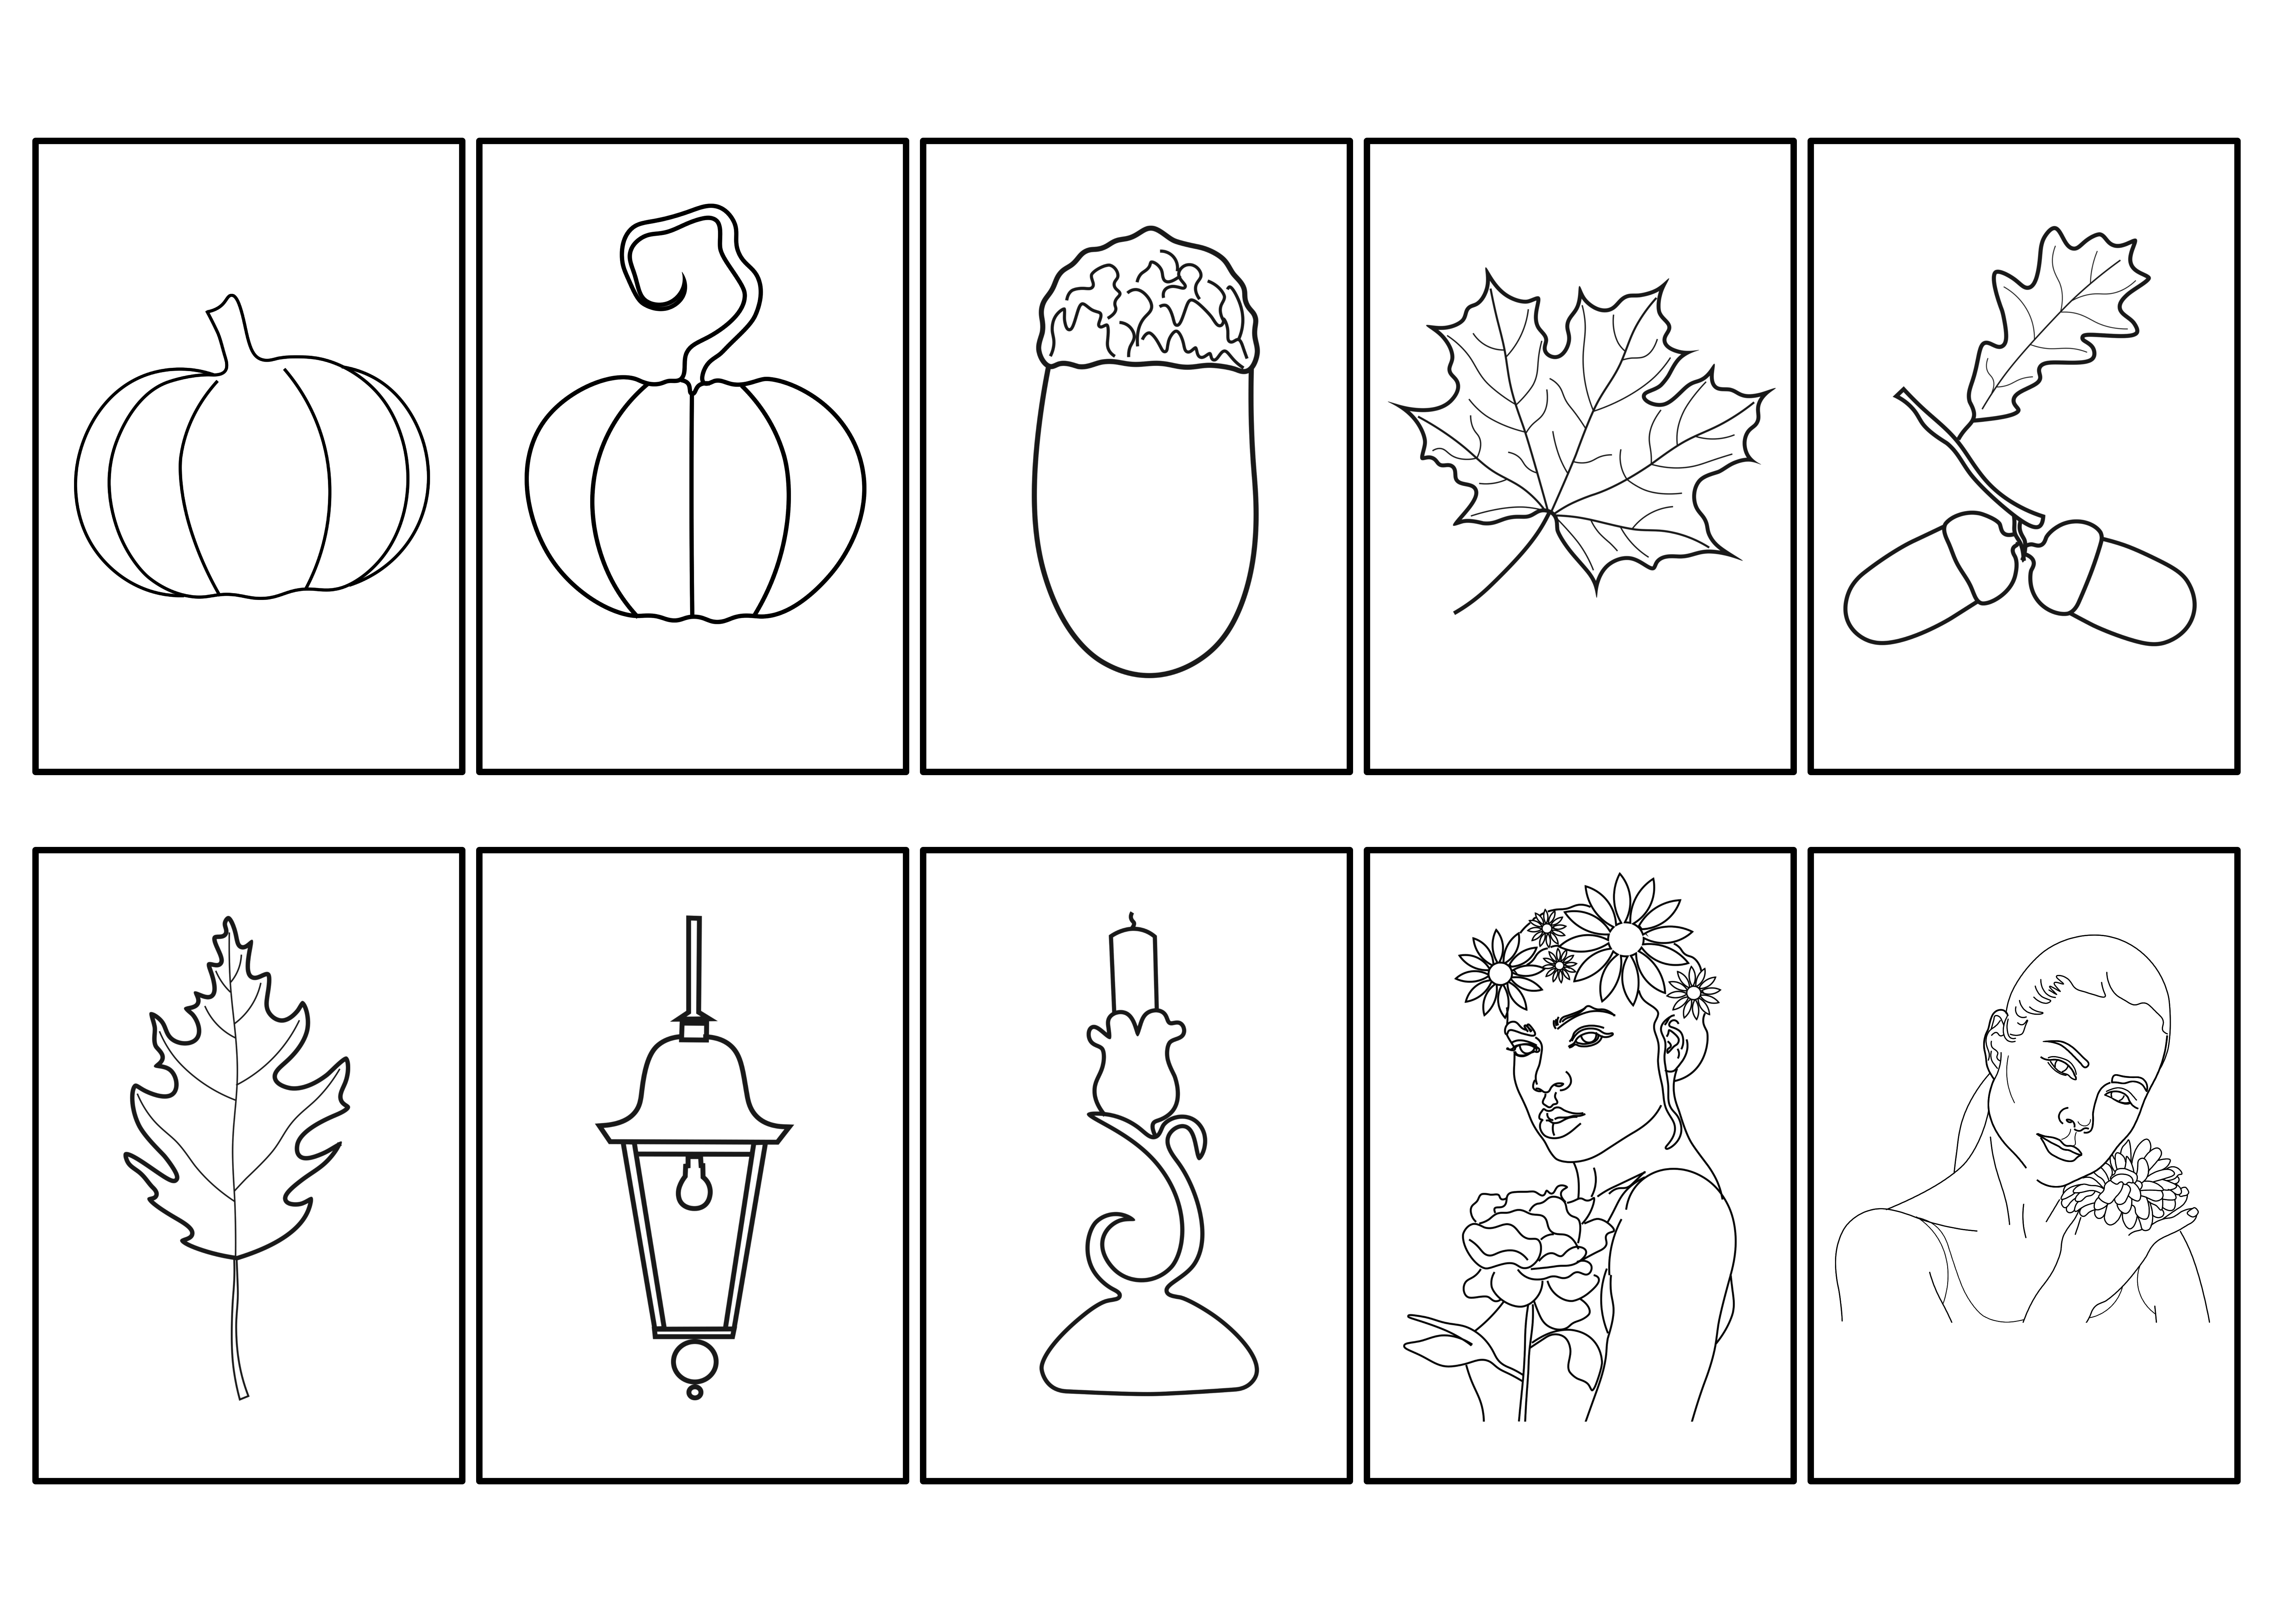
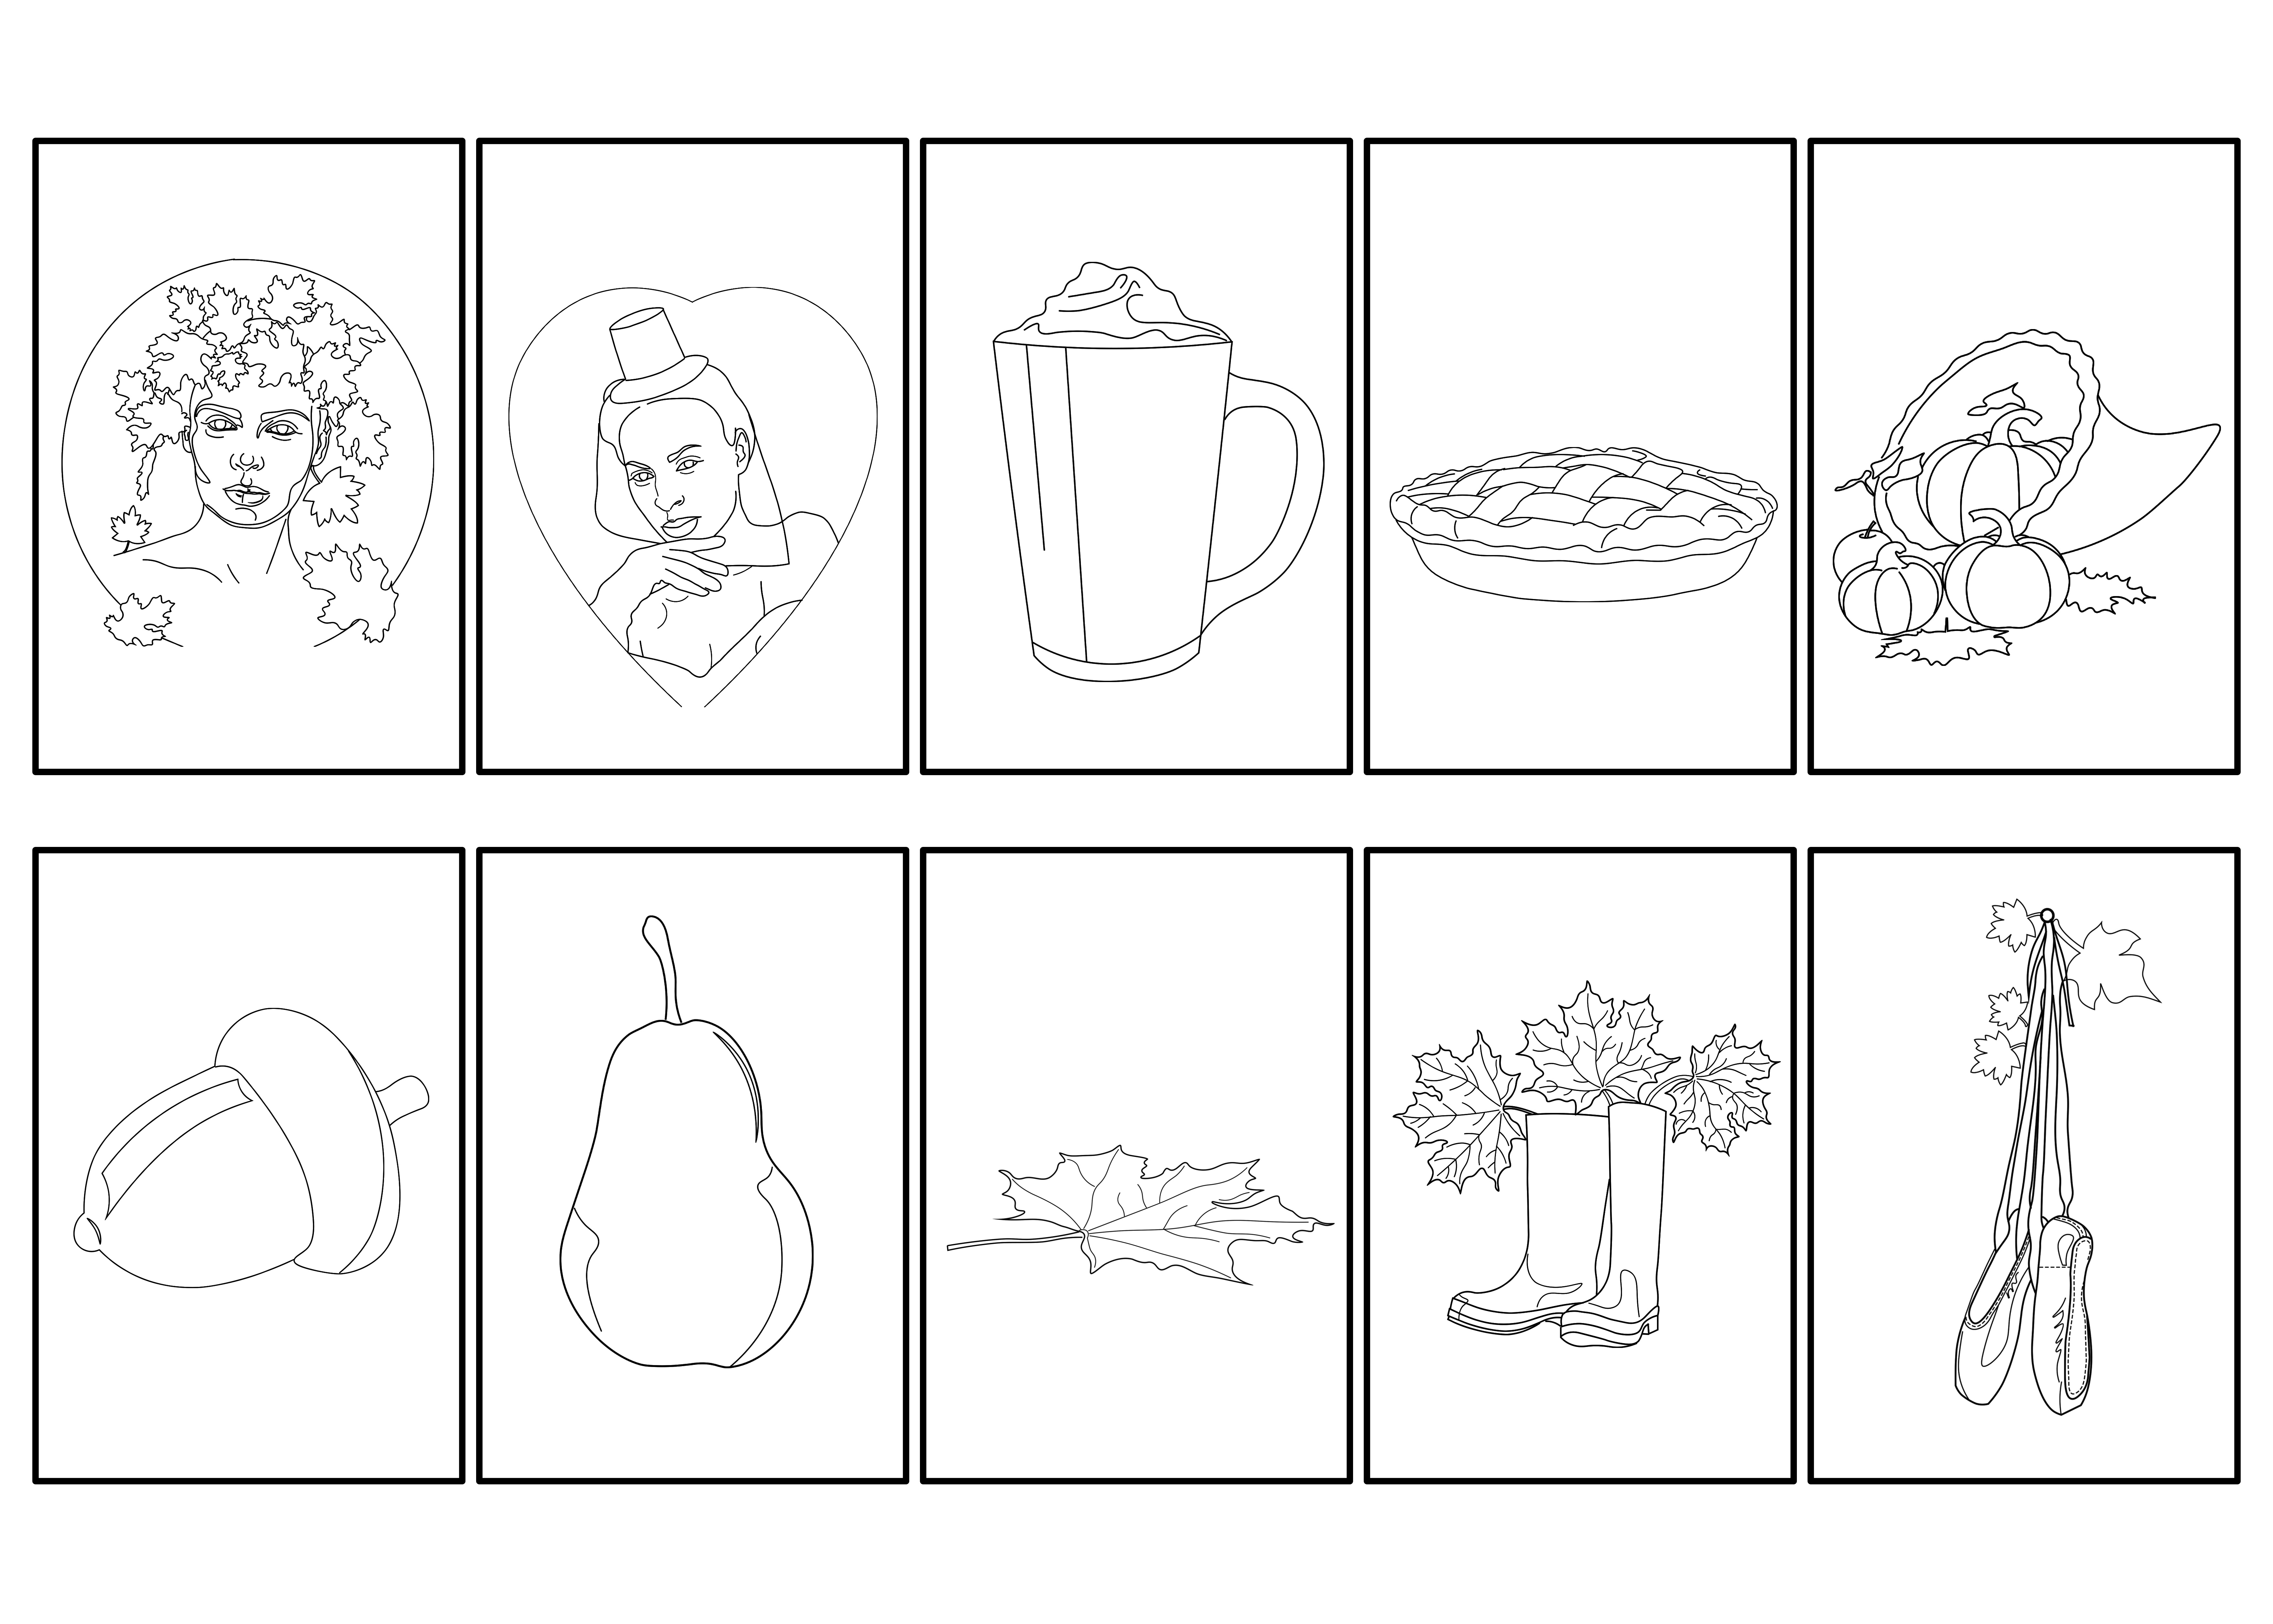
Hello everyone. I am, super excited to share with you a new release of my Autumn Brushes/Stamp Set. These 20 stamps are designed to help you with creating autumn art in Adobe Photoshop and Adobe Fresco (including Adobe Photoshop on iPad, Adobe Fresco on iPad, and iPhone).
After you download my brushes into Adobe Photoshop or Adobe Fresco, choose any brush from the set and stamp it anywhere on your canvas. I recommend creating a separate layer so that you will be able to modify the stamped layer at any time.
The price for this set (20 brushes/stamps) is $1.99.
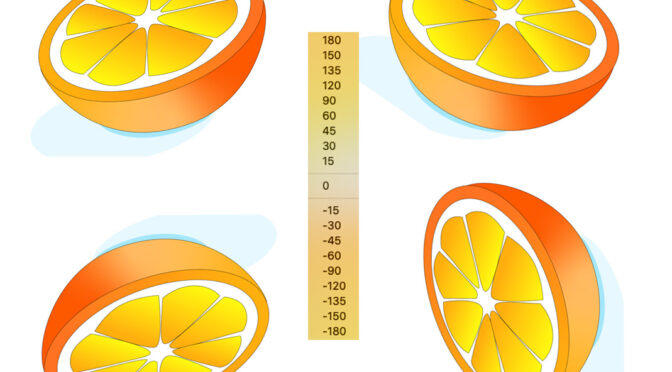
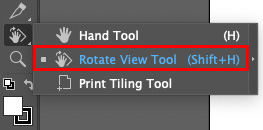
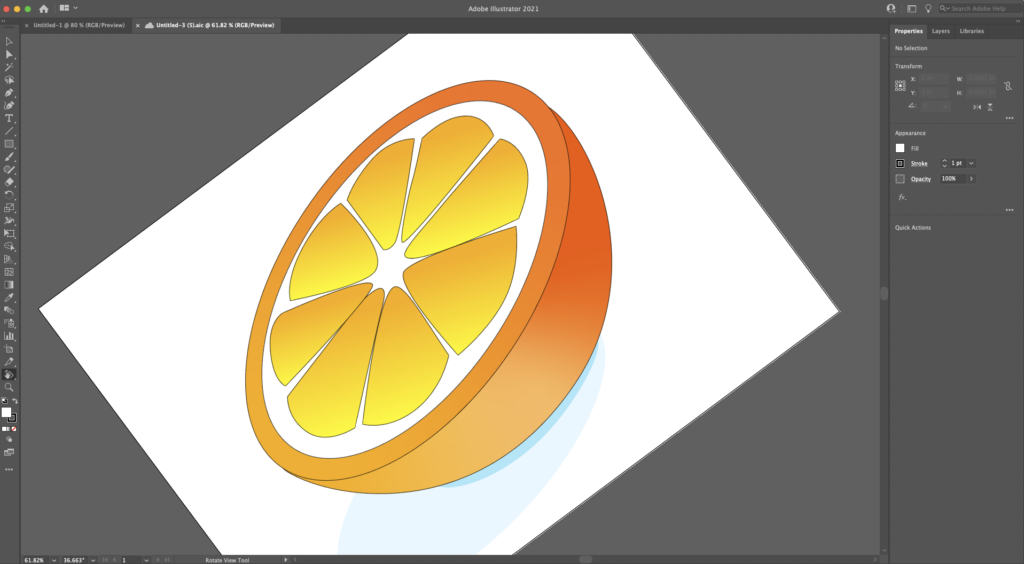
If you use Adobe Illustrator, you will appreciate the new Rotate View Tool. The rotate view feature help you create artwork, logos, page layouts, and other illustrations by allowing you to change the canvas view to any angle you want. You can access the Rotate View tool by pressing Shift + H or by clicking and holding down the Hand tool; from the flyout menu, select the Rotate View Tool.
Click anywhere on the canvas to rotate the view.
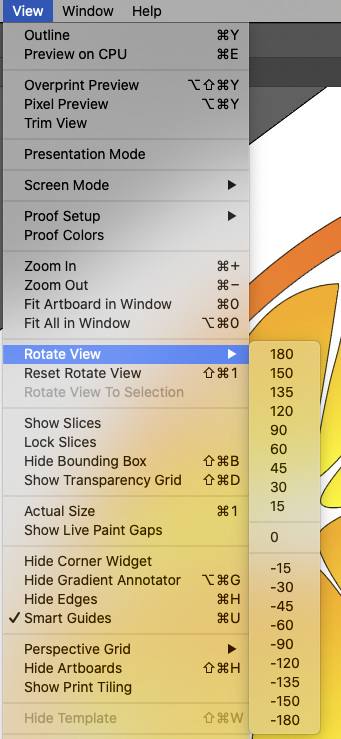
If you want to rotate the view to a specific angle, Choose View> Rotate View, and you will be able to select an angle from the menu.
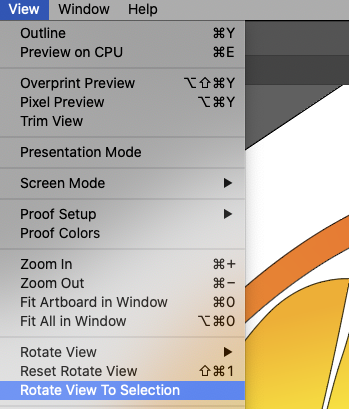
To rotate the view to match the selection Choose View > Rotate View to Selection
To reset the View to the original position: Press Esc. Choose View> Reset Rotate View
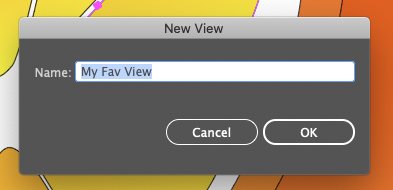
Press Shift + Cmd +1 or Shift + CTRL + 1(Windows) If you are using the same rotated View all the time or very often, you can save time by saving the rotated View: Choose View> New View.
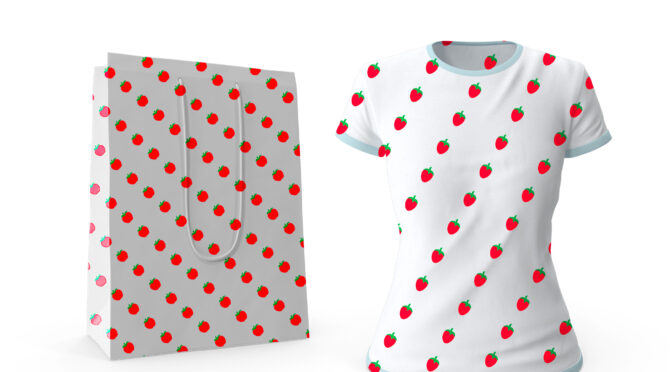
Working with patterns could be a lot of fun, but creating a custom pattern is another level of creative fun. The best part is that in Photoshop we can do it fast while paying more attention to creativity. Photoshop will do the technical part for us. So let me show you how we can have more fun in Photoshop.
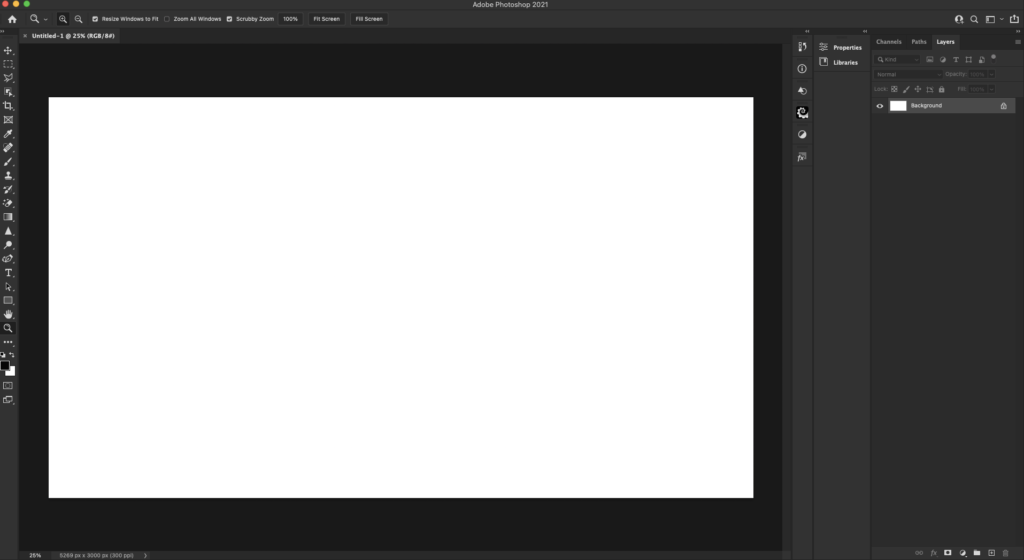
Create a new document any size and feel free to use any color for your background.
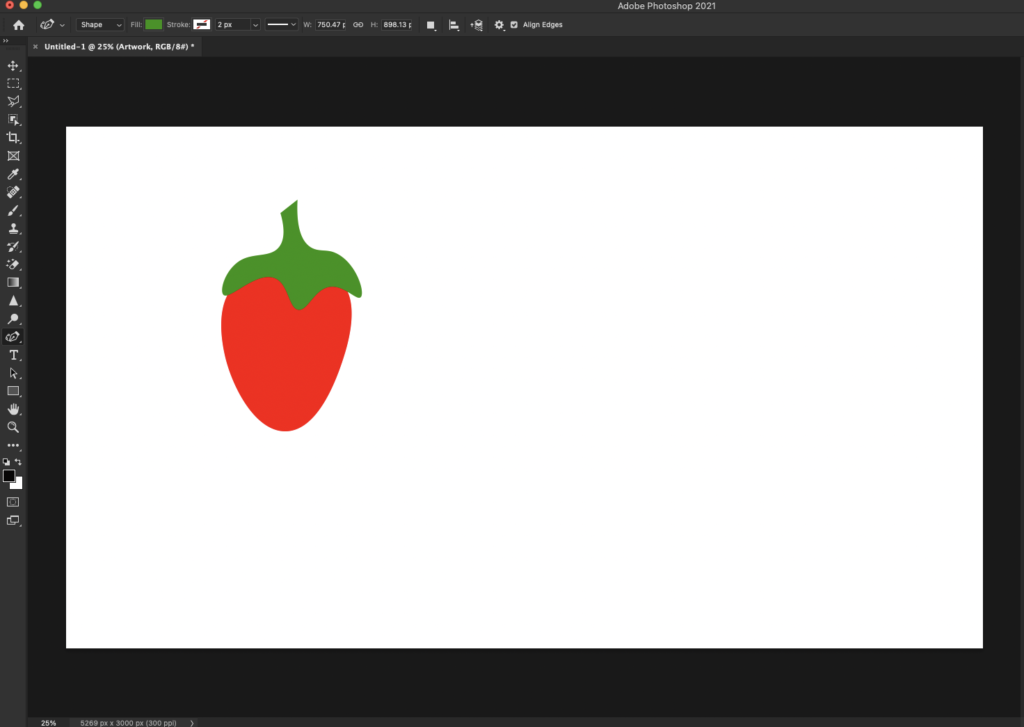
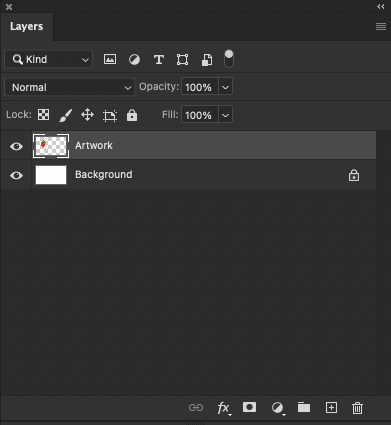
Create a new layer and use the Curvature Pen tool (or any other tool you are more comfortable with) to create the artwork you want to make a pattern from.
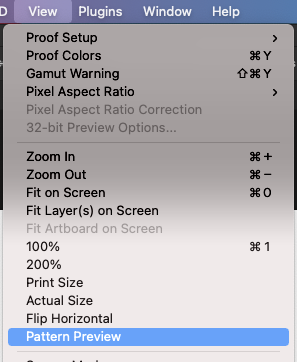
While the artwork layer is selected, click on the “View” menu and choose Pattern Preview.
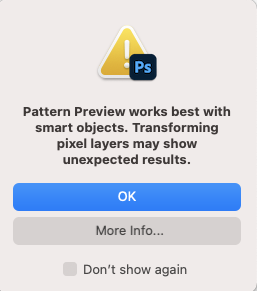
Click OK on the pop up notification
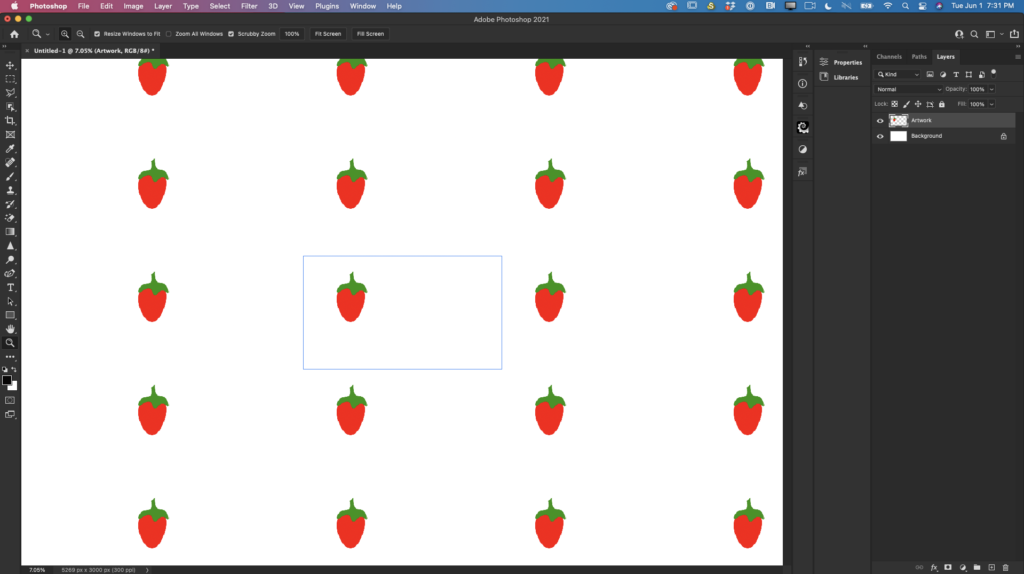
And your pattern is ready!!!
You can still modify your artwork if needed. You can add extra details or objects, change/modify colors, etc. The best part is that you will be able to preview all modifications/changes in real-time.
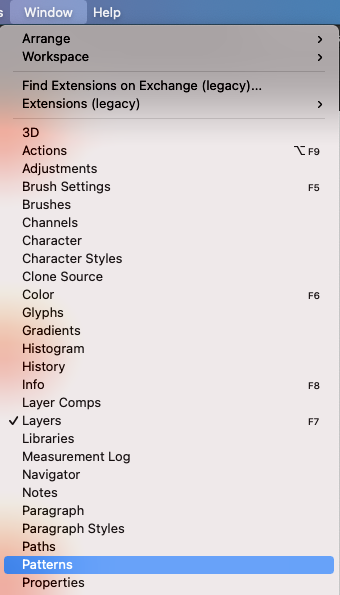
Now open Patterns panel > Window > Patterns
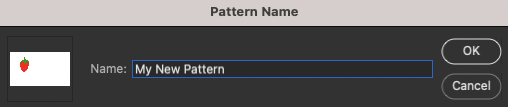
At the bottom of Patterns panel, click on the “+” icon to add the new pattern to your Patterns.
Rename the new pattern.
Congratulations, you have created your first pattern. Enjoy!
If you would like to learn how to apply a new pattern to a mock-up, here is a helpful video I recorded for you.
Hello everyone. Thanks for visiting my blog today. Today is all about how to use small spaces for product photography. I posted on my social media a few product images I made for my client, and some of you asked me to share my process. Use a small space to your advantage: 1: For product photography, you don’t need to have a lot of space. I had a situation when I had no space at all, so I use a bathtub for all my product shots. I used a school project board positioned on top of a bathtub as a table. Shooting using small spaces can be very helpful to eliminate a reflection in your product. Smaller spaces have less “environmental chaos” reflected in your product, which means less post-production. It’s cheaper to buy a small flag to block the reflection. You even can use one school project board divided into two pieces. 2: Light. Small spaces require less light. So it’s cheaper.
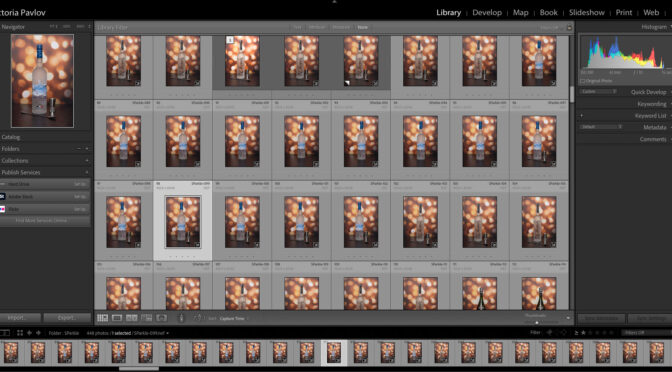
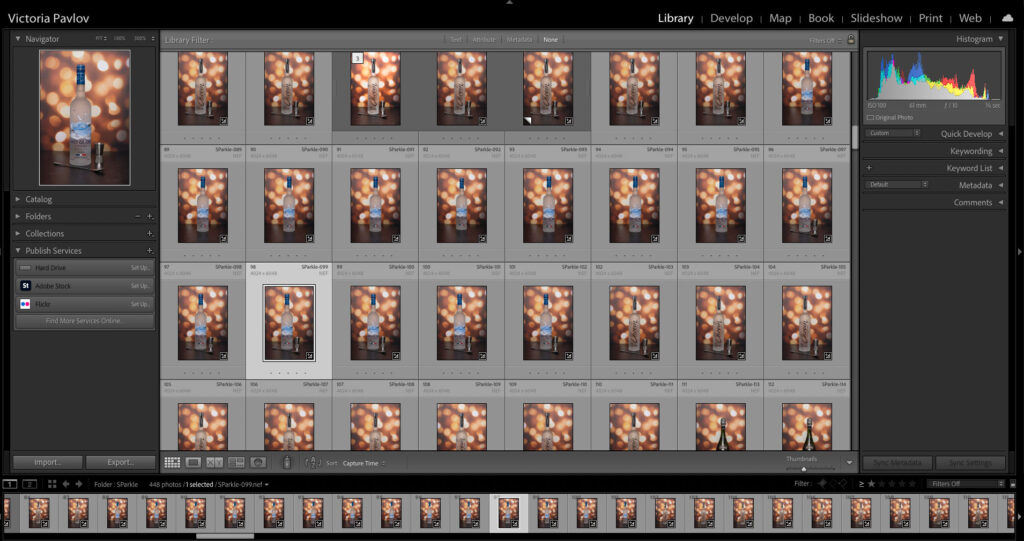
Must have: 1: it’s necessary to have the right surface(s) or backdrop(s) for product photography. The right surface will help to tell the story of your product along with the simplicity of post-production. I use surfaces I bought from Replica Surfaces. They are beautiful realistic-looking surfaces, easy to shoot with, and easy to clean up. Another big plus is that having even only two surfaces you can create 4 different sciences. 2: Excellent lighting is a must to have. You don’t buy new lights every month or year. So invest in good lighting. I use Westcott FJ400 with a Westcott FJ-X2M trigger. 3: It’s necessary to shoot tethered. Shooting tethered will save time on post-production and eliminate mistakes you will notice after the photo session. You sow something you’d like to improve – you will be able to change/ improve it right away. I use Adobe Lightroom and tethering cable from tether tools.
4: Gloves and lint free cleaning cloth. A clean product is the first step in any product photography. So take time to clean the product using a soft cloth before the session. A glove will give you the ability to move the product without leaving any fingerprint on it.
5: Tripod. I use a tripod in all my sessions. I can’t imagine my photography life without one. Don’t buy cheap tripods. Buy a sturdy one that will make your photography life easier and more enjoyable.
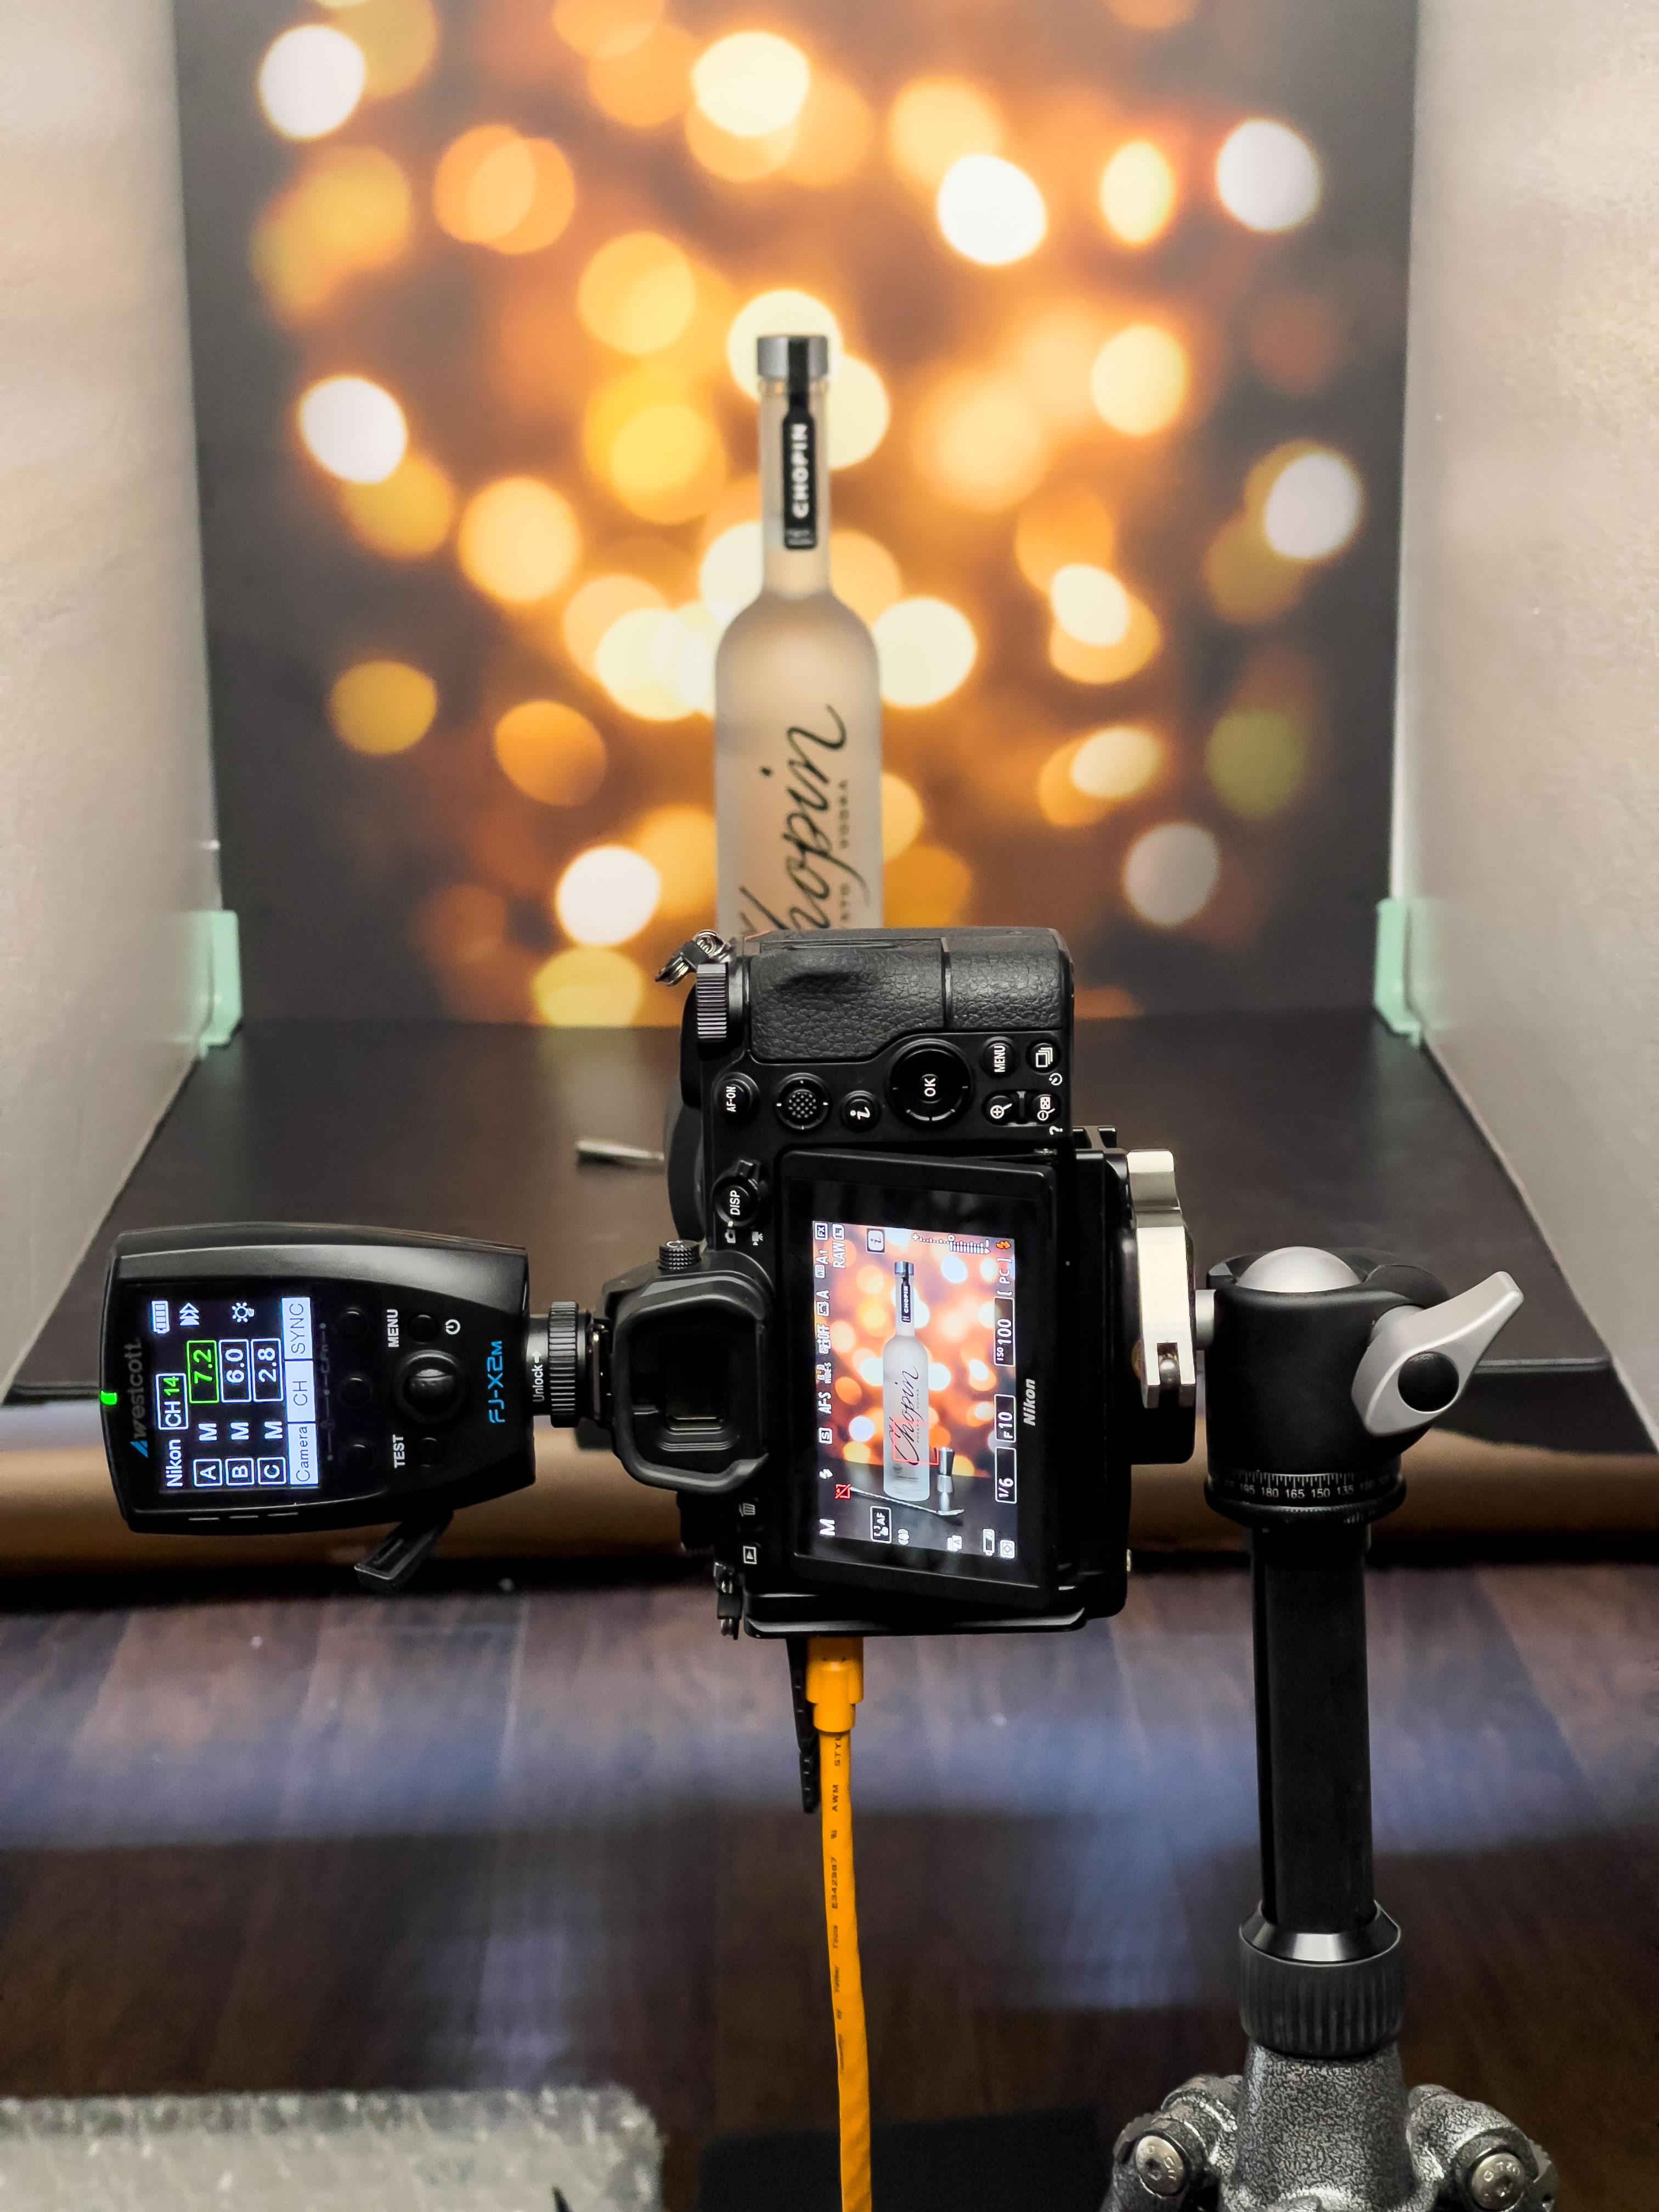
Below is the setup for my last session
I used two replica surfaces and two foam boards on a side to block surrounded reflection.
I used only one softbox (yes, you can shoot product with only one light)
I positioned a softbox a little above my product. So I have enough light with fewer hot spots in the bottle.
A few final images
The Bottom Line
Product photography is fun and the best part is that your subject is always available and never gets tired. You can shoot products whenever the mood strikes you. Try it and have fun.
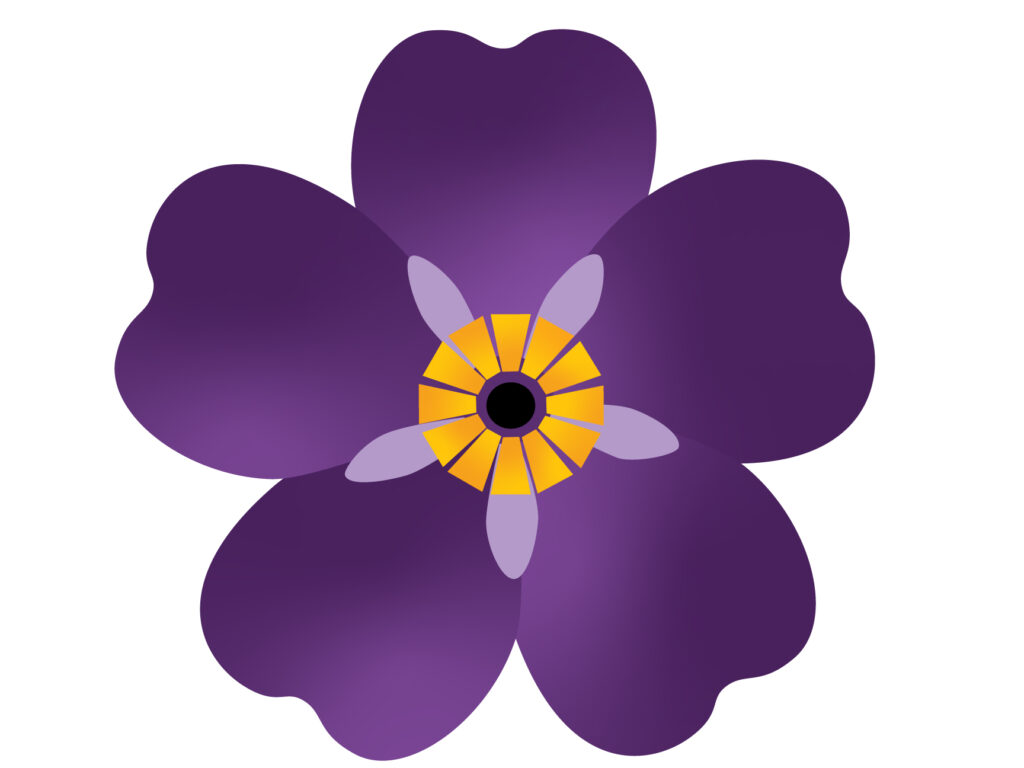
a symbol presenting the memory of 1.5 Million Armenians who were massacred and killed by the Ottoman empire of Turkey
This year on April 24th, we once again remember all the Armenian people who lost their lives during the Armenian Genocide in the Ottoman Empire in 1915. My great-grandmother’s entire family was killed along with 1.5 million Armenian people. My great-grandmother survived concentration camps in the Syrian Desert. She was only 16 years old and the only one from her entire family who survived. She went through hell, but she stayed alive. She survived, she preserved her heritage, she was a proud Armenian woman. Turkey failed to kill her, and they failed to make her forget who she was and who her family and nation were. She did not speak a lot about what she saw and experienced during the Genocide (she tried to protect her daughter and grandchildren). When she spoke, we saw how strong she was. Even after going through everything she went through, she still was an incredibly kind woman and grandmother who loved her children more than anything. She passed away when I was a child. I remember the day she died and the day of her funeral. So many people came to pay their last respects to this strong woman. As a child, I loved her and respected her because she was my great-grandmother. After the massacre of the Armenian people in Baku, after I went through what my great-grandmother went through, I understand how strong she was to go on with her life after everything. I don’t know if she had “bad dreams” every night as I am having. I do know every single generation of women in my family went through genocide and massacres by Turkey and Azerbaijan. Every single woman from my great-grandmother to me. Every generation in my family (from both sides) experienced genocide, massacres, deportation, and relocations. We say to each other that we are lucky, we survived, we escaped. We did more than survive. We are Armenian people, and we remember who we are and where we came from. We are people of the Armenian nation. We are alive; we create, we build, and we are preserving our heritage. Turkey and Azerbaijan tried to kill us; they wanted to erase us from the face of the Earth. They failed. We are still here and going nowhere. The entire world saw what they did and do and will never forgive them for that. If I could, I would say all the names of the people who lost their lives in Turkey during the Armenian Genocide in 1915. I don’t know all of the names, but I know the name of my great-grandmother, the woman who SURVIVED the Armenian Genocide. Her name is Sonya. I want the world to remember this brave and strong woman, and I want the world to know her name.
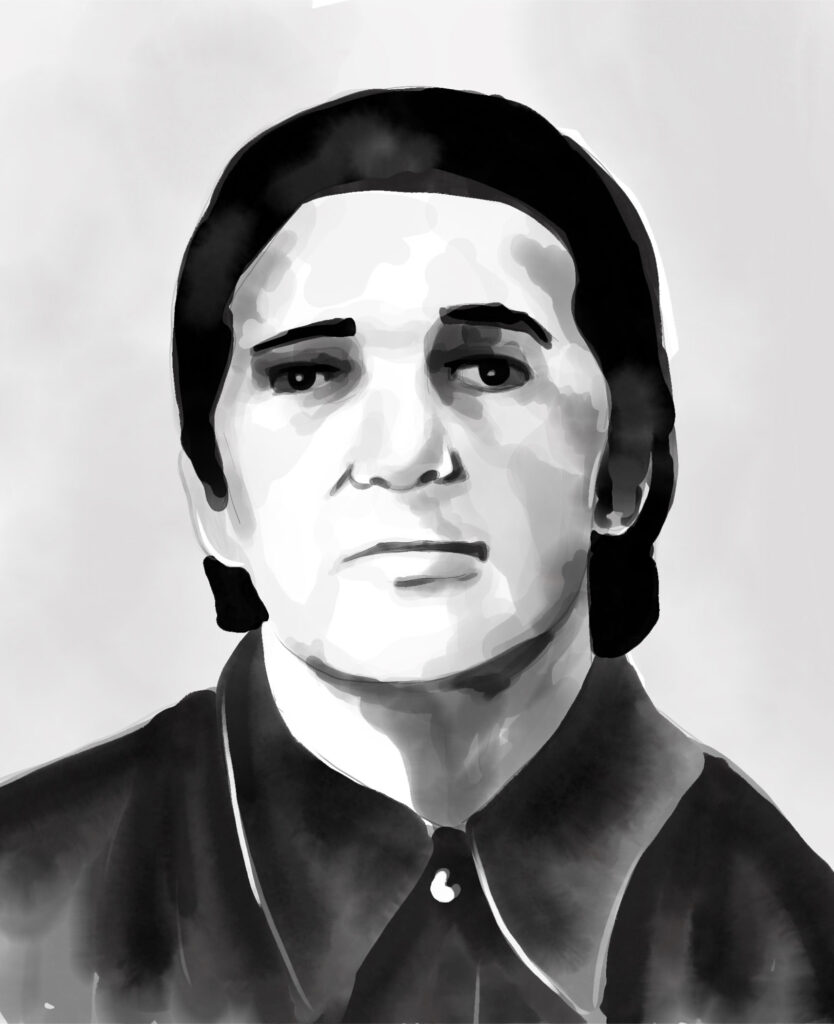
My family has only one image of my great-grandmother Sonya and I painted it today
great-grandmother Sonya
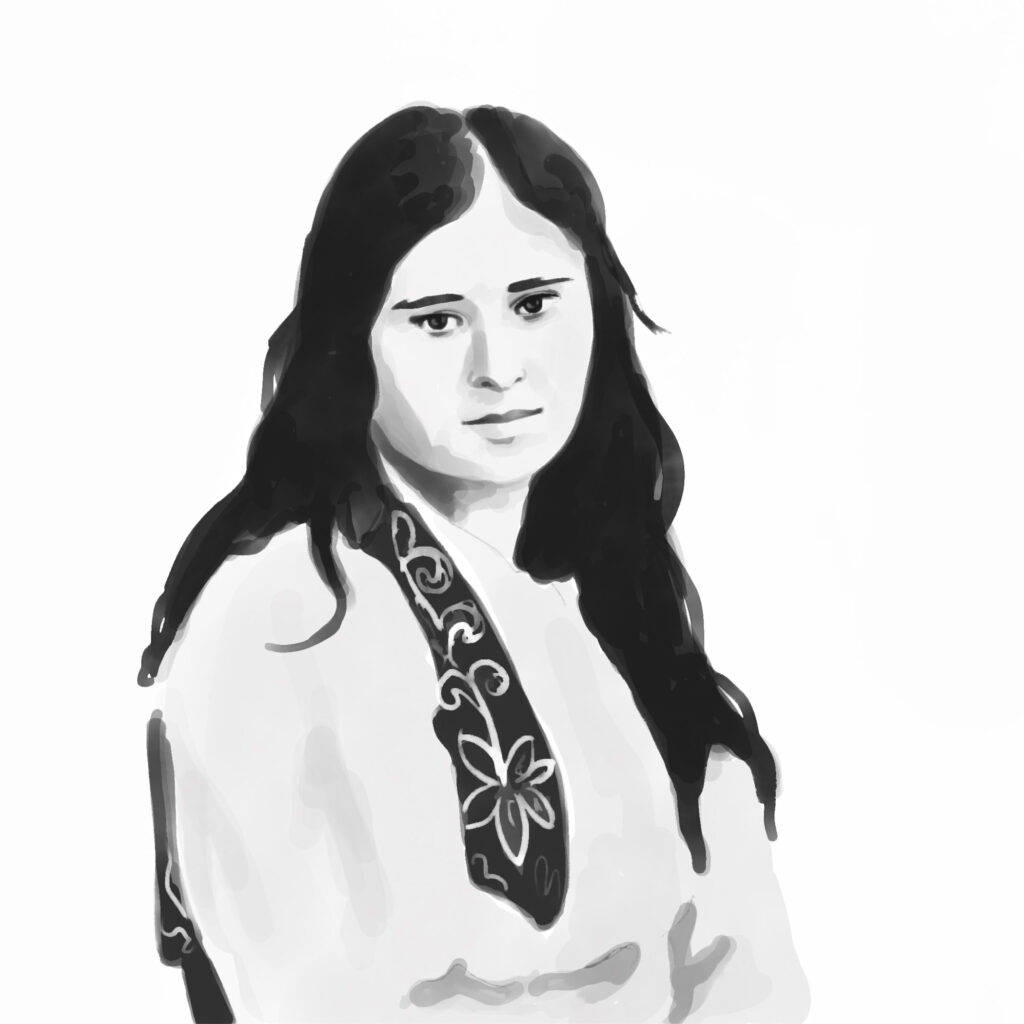
We know what Turkey did to us, to Armenian people, because of the many brave people worldwide who saw it and told the world about it. We know it because of the stories of survivors. Aurora Mardiganian is one of the survivors who told the world the truth about the Armenian Genocide. I re-read her booka few weeks ago, I was reading the book, and I was hoping that maybe she would mention the name of my great-grandmother or her family. I was hoping because Aurora and her family were in concentration camps in the Syrian Desert as my great-grandmother was. In memory of Aurora, I painted her as a small thank you.
Aurora Mardiganian
As an Armenian woman, as a survivor of Armenian massacres by Azerbaijan people in Baku, I will continue telling my story and the story of my family to anyone willing to listen. I will continue telling what I saw because this could help to prevent the next genocide or massacres. I don’t want anyone to see what we saw, and I want people to sleep at night without trying to escape in their dreams over and over and over. When we try to survive, we have no other option but to fight, try to do everything possible to stay alive and keep our loved ones alive. We are in survival mode. To let go of survival mode is the most challenging part, and I am still working on it.
If you want to make a difference and have the ability to do so, please, consider donating to the Aurora Humanitarian Initiative
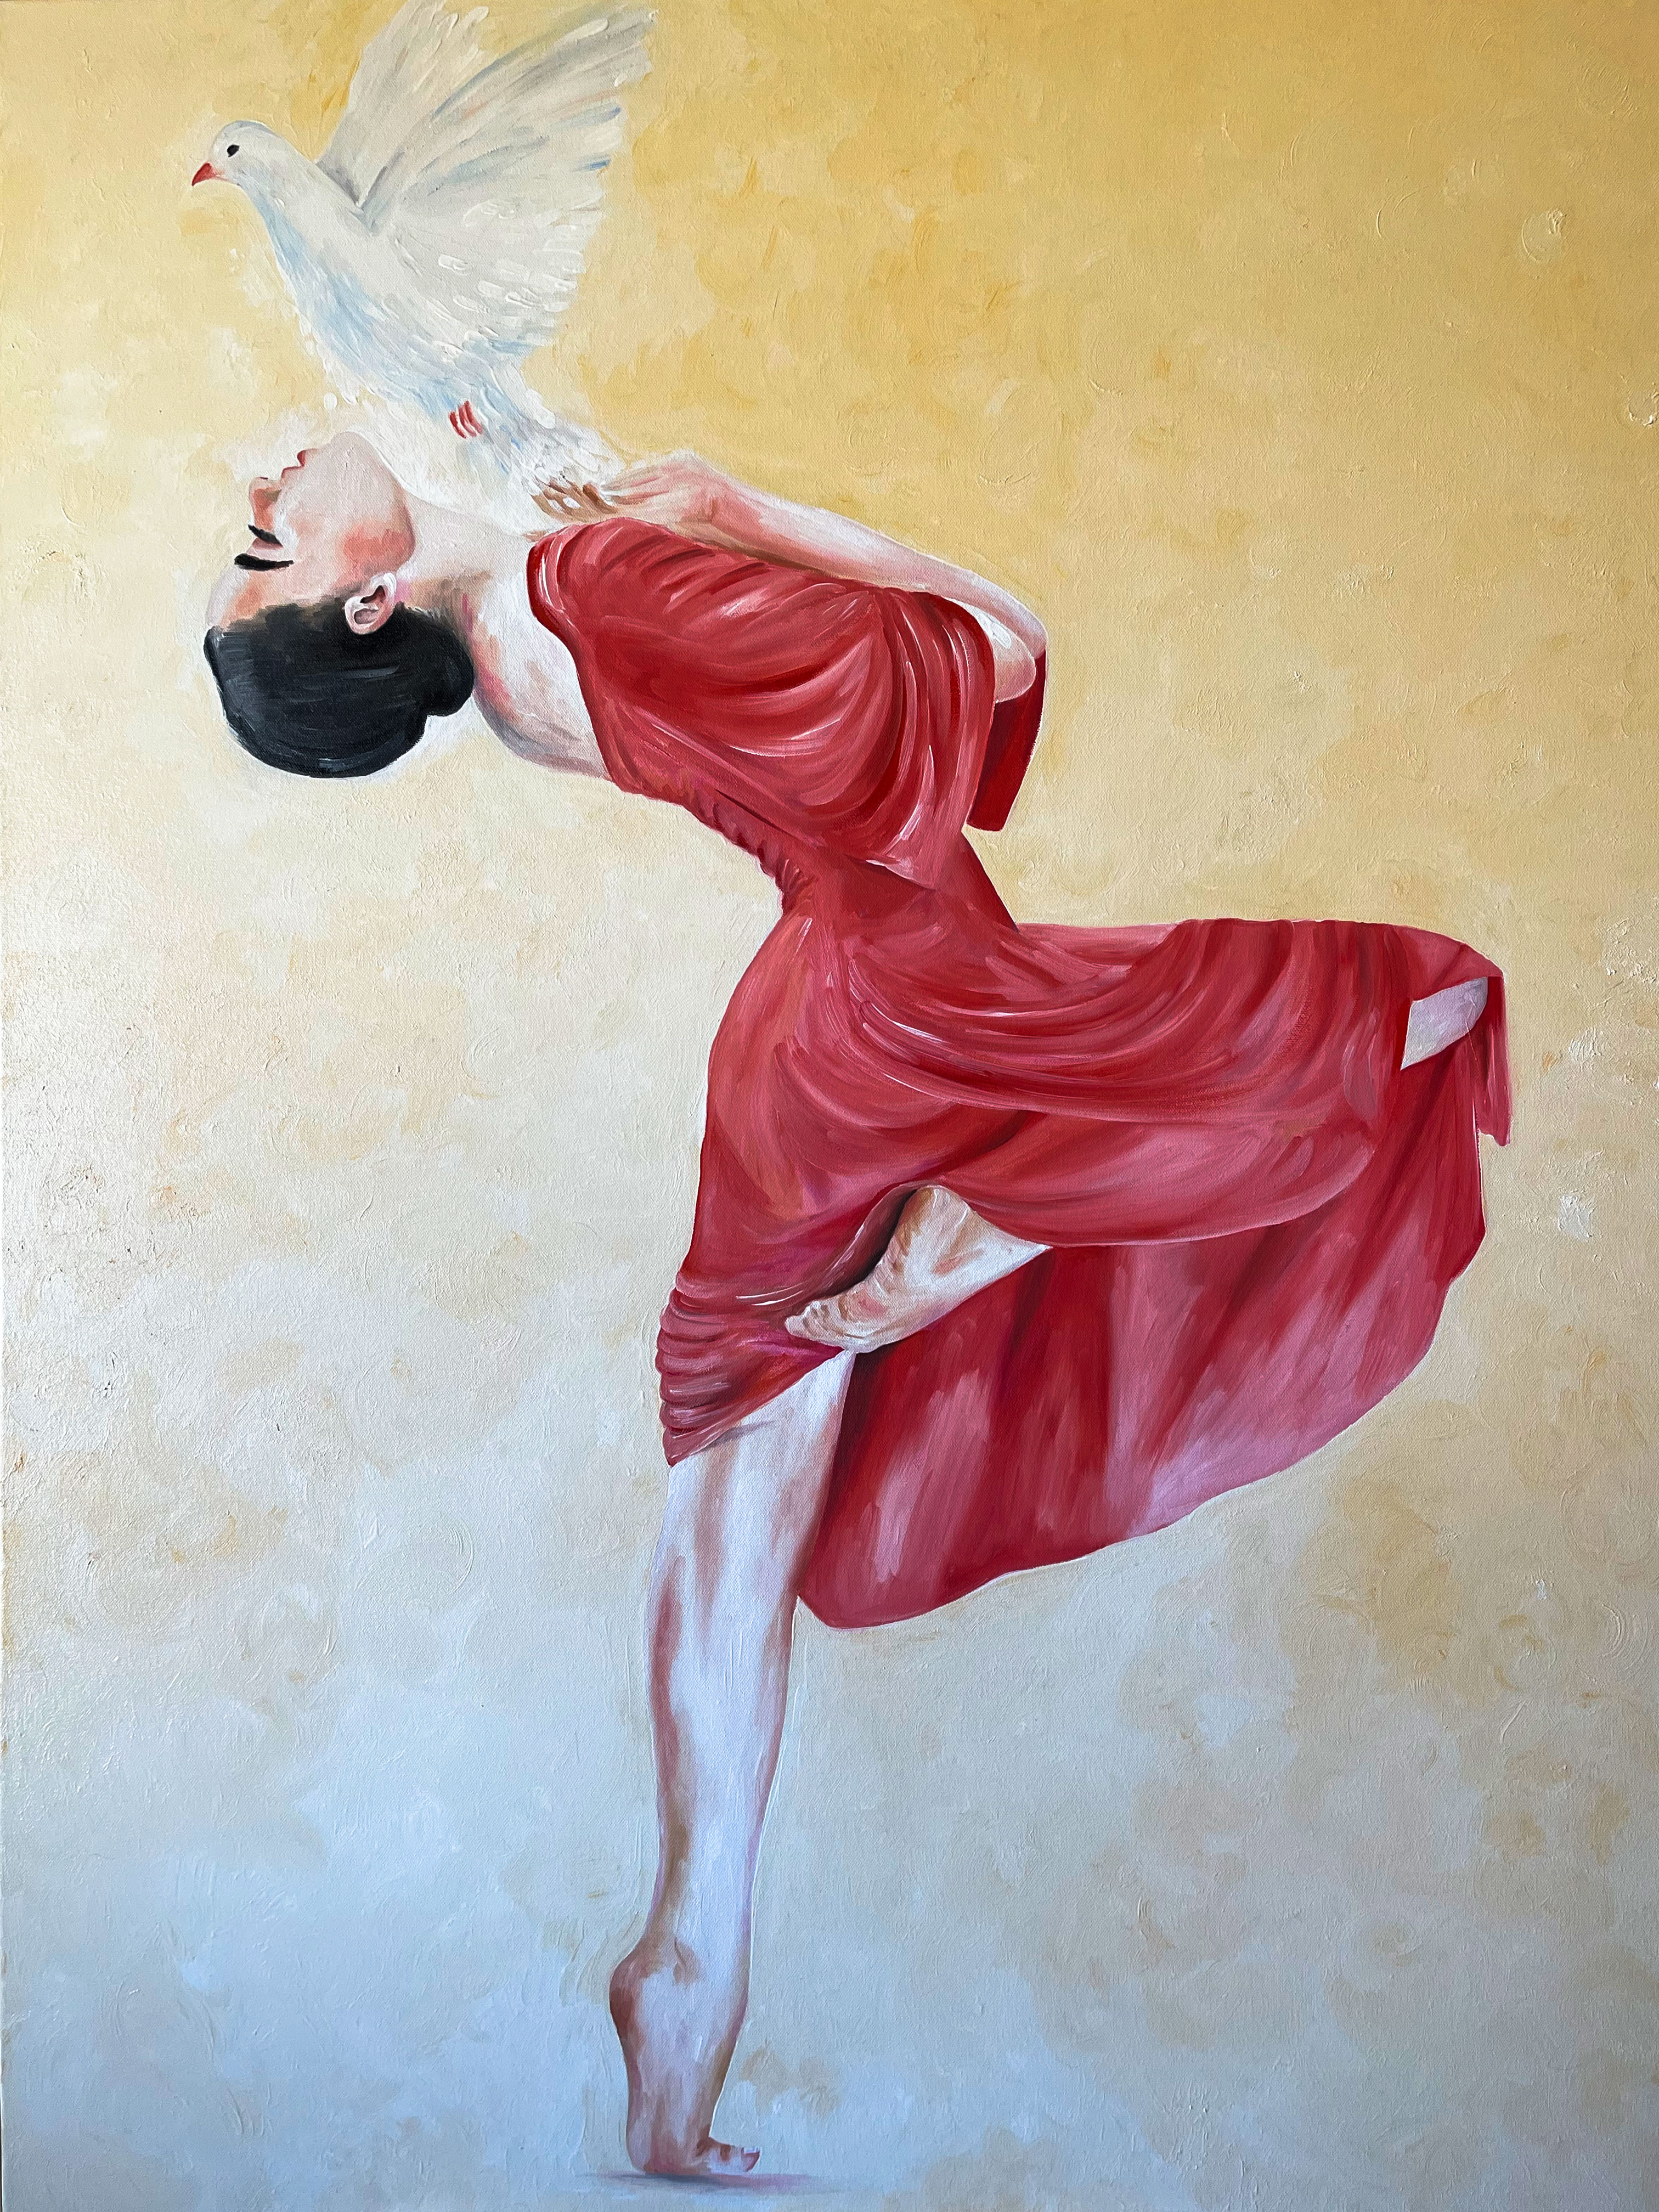
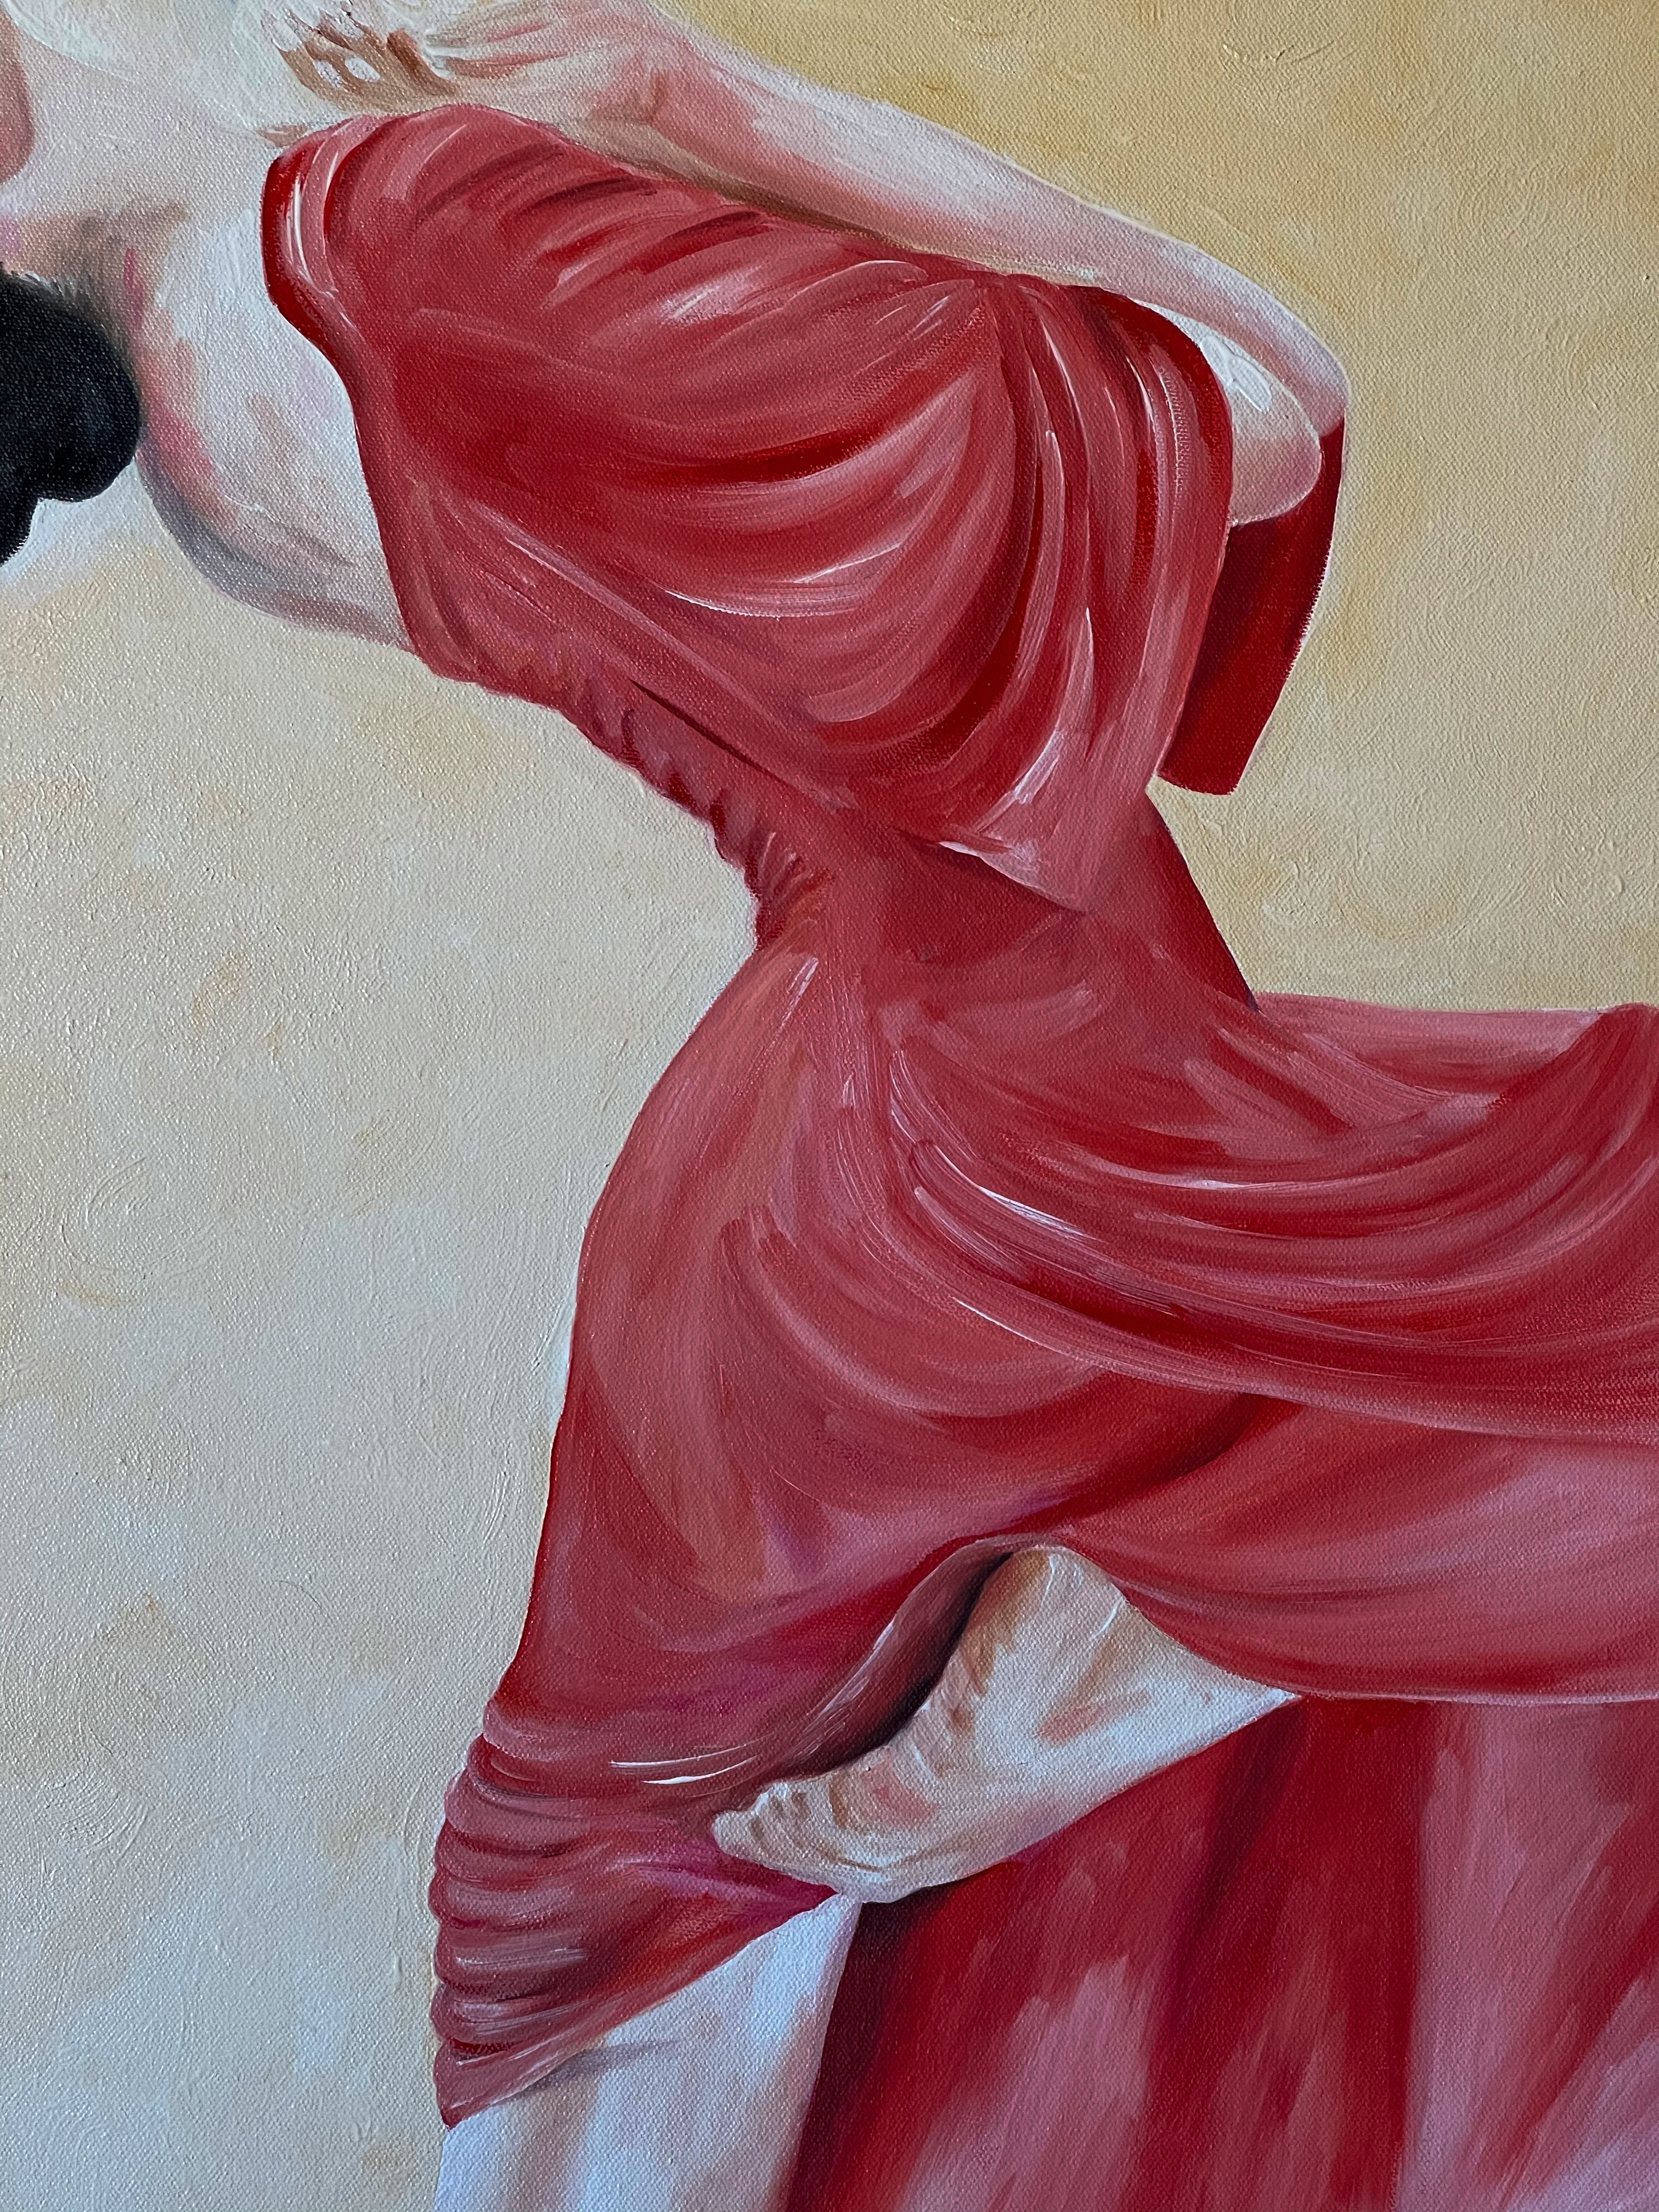
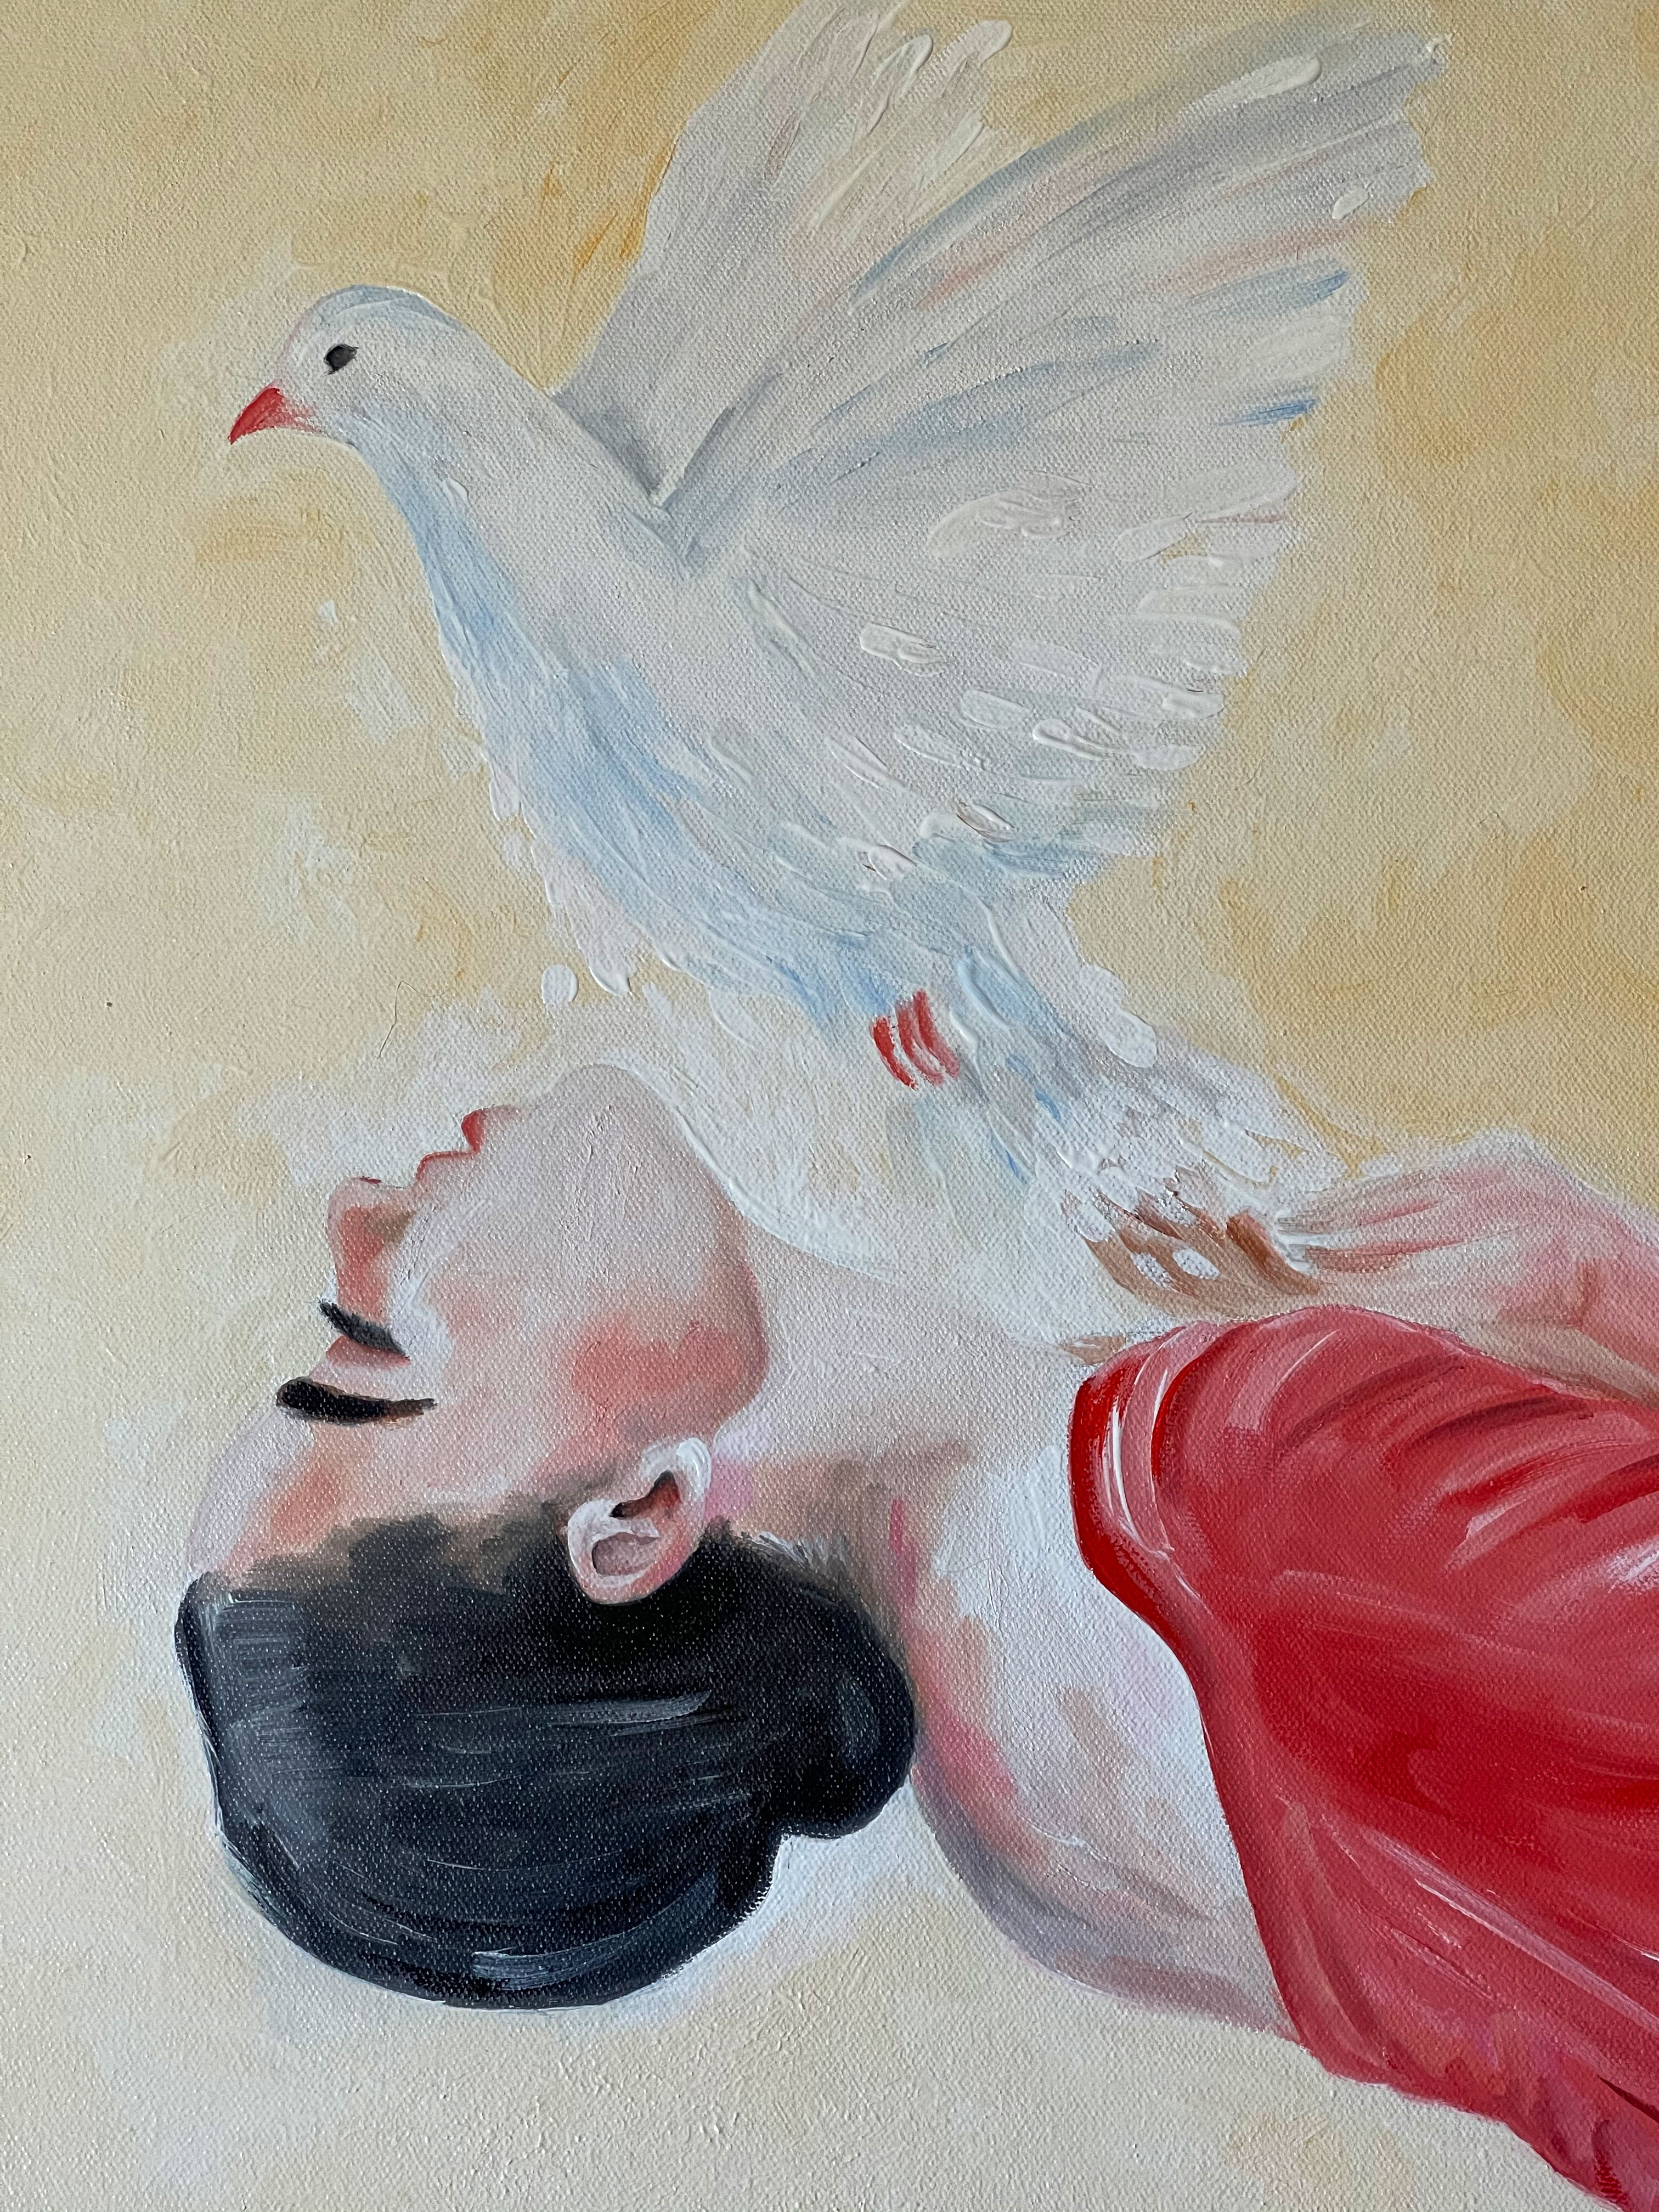
During the Armenian Genocide in Ottoman Empire in 1915, the biggest part of the Armenian male population was killed. The survivors are mostly women. This year for April 24th, I painted the image of the Armenian woman who survived and who brave enough to protect her loved ones, who were brave enough to preserve Armenian culture and nation. The dove in her hands represents all of us, all Armenians around the world.
Navigating in the real world is difficult for everyone, but for women, it’s more difficult in many ways. People around me always tried to tell me what I should and should not do. It doesn’t matter what I did; I always heard that I did something wrong because “I am too young,” or “I am too old,” ‘I don’t smile enough,” or “I smile a lot.” As a little girl, I learned how to ignore bullies. As a teenager, I learned something new. I realized that if you are a woman, you should work three times harder than a man (doing the same job!) This is not because you are less talented than a man is. Some people and society decided and assigned a “specific place” for women to be in. I always worked three times harder than men. It’s was a priority for me to be better, to know as much as possible about my work or anything else I am doing. It was and still is important to me. As a freelancer, I know that I could not get a project just because I am a woman. Yes, it’s that simple. It’s always someone who has an opinion about what women should and should not do. It’s always someone who thinks that a “woman’s place is in the kitchen,” or a woman is not strong enough, or someone who disagrees with a woman’s outfit “it’s too short” or “it’s too long”. It’s always “something” or not enough. I spent a lot of time in my life trying to change something about me to look “more professional and be acceptable in the man dominated world.” I thought if I change my hairstyle or dress style, wear makeup, not wear makeup, or change anything else it will help me. I tried to find “that one thing” that will help people to understand that I am as smart and hard-working a professional as any man in my profession. I did not find “that one thing” for a long time. It took some time to understand that I don’t care about what society decided for me. I am not spending my time anymore to find “that one thing.” I know who I am, and I don’t need to prove it to anyone. If you ask me if everything is better now and sexism disappeared from my life? My answer is no. I still need to prove every single day that I am who I am. Sexism still exists. Some people with a twisted understanding will always try to show a woman her place. But, news flash: no woman will accept it, keep silent, or cry anymore. It’s the 21st century, and it is long overdue for the world to understand and accept that a woman is a full member of society, that women belong in the office, business, meeting, project, or any decision-making place. I decided to share this today with you, women and girls, because I want each of you to understand earlier than later that YOU ARE a full member of society. I want you to realize that you are intelligent, beautiful, strong, and can build any business you wish. You don’t have to waste YOUR time to find “that one thing.” You have “that one thing,” and it’s YOU.
It’s always a big plus (at least for me) if we can work non-destructively in Photoshop. What is it non-destructive editing? Non-destructive editing means that we can apply edits to our image and without permanently changing the pixels. You can always come back and make changes or remove the edits.
One of my favorite non-destructive features is the Smart Filter Layer. Converting a layer to a Smart Filter layer I can apply filters, non-destructively to my image. If I want to adjust my filter, delete or hide it, I can do it at any time (as long as all layers are not merged or flattened, and the document saved as a PSD file).
Note: Lens Blur, Flame Picture Frame, Trees, and Vanishing Point— don’t work with layers converted to Smart Filter layers.
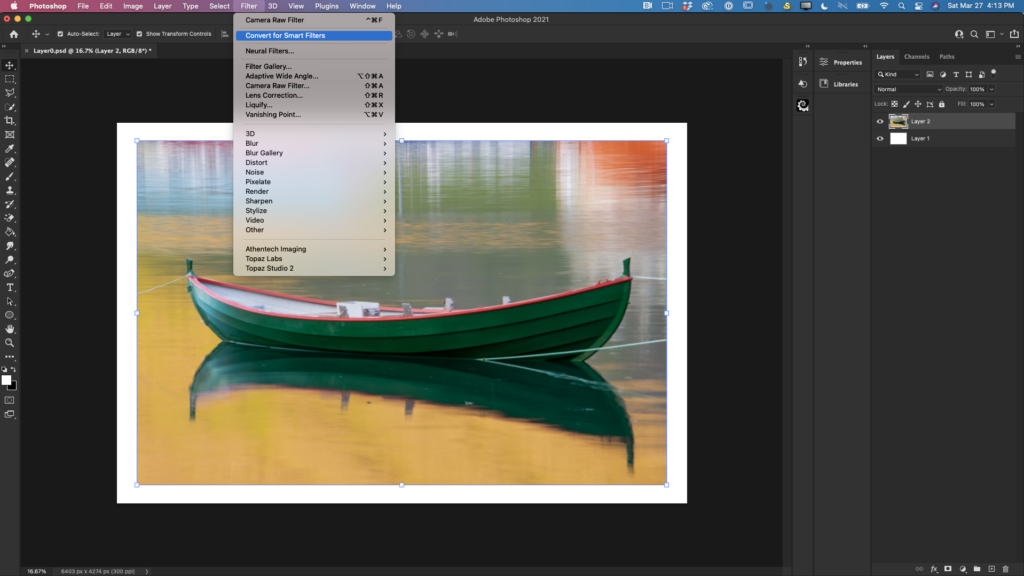
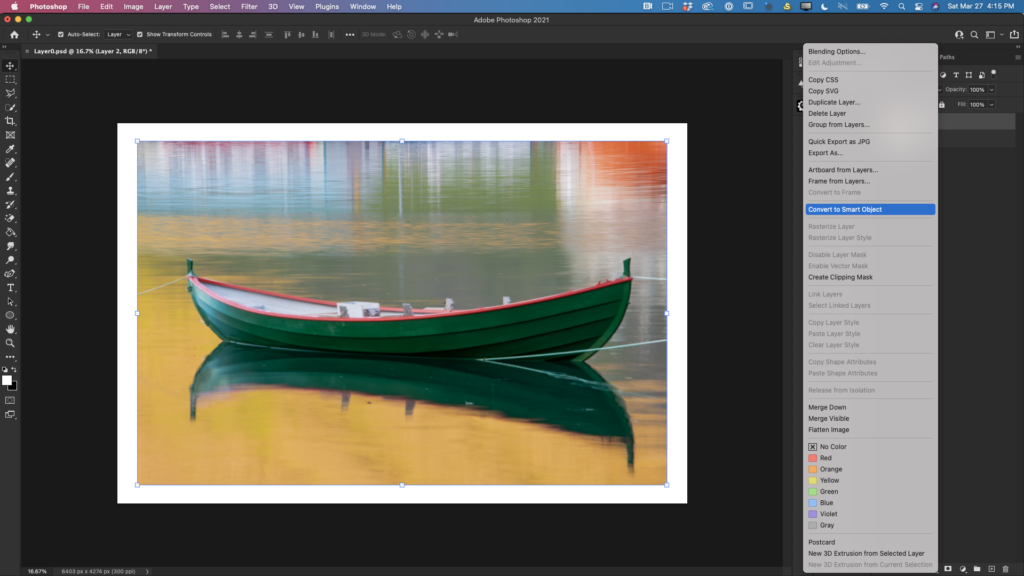
To convert a layer to Smart Filter > Click on a layer you want to convert to a Smart Filter layer chose the menu Filter > Convert to Smart Filters (image 1) or > Right-click on a layer > Convert to Smart Object 9 Image2)
Image 1
image 2
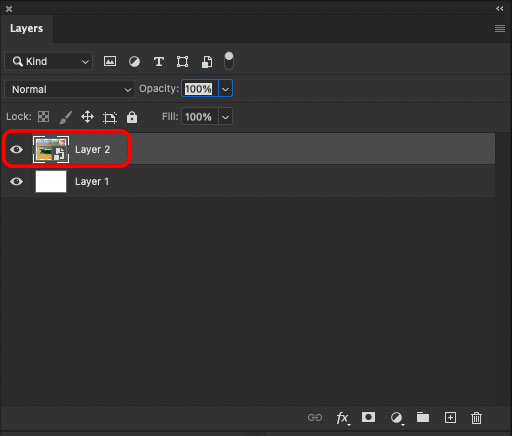
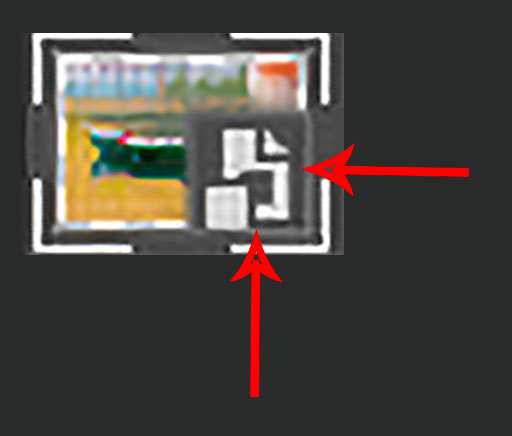
The layer you applied the Smart Filter or converted to a smart object looks like any other layer, but at the right lower corner of the thumbnail you can see a smart filter/smart object icon.
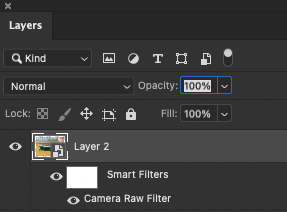
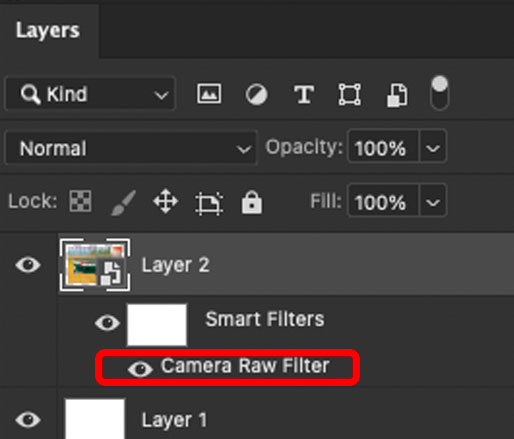
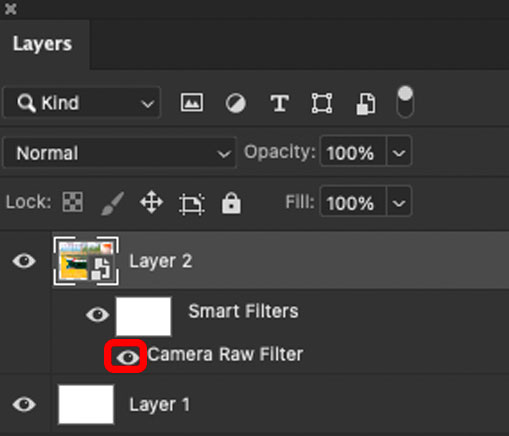
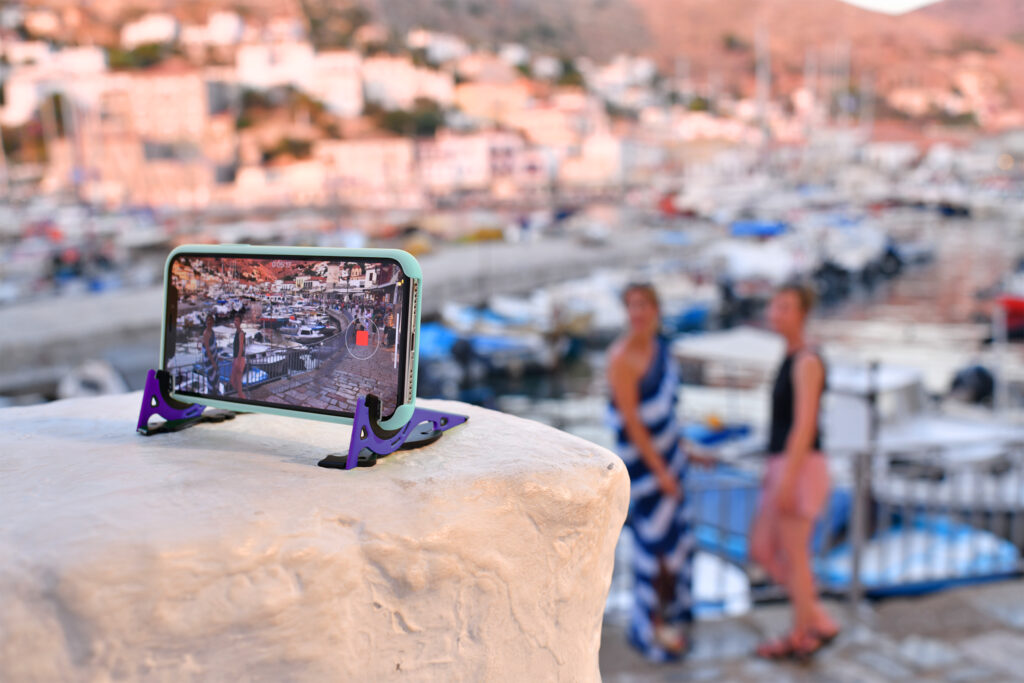
Now it’s time to apply a filter. I will apply the Camera Raw Filter. You can see in the image below that a Camera Raw icon was added to my layer under Smart Filters.
If you want to adjust a filter > double click on the filter’s name and you will be redirected back to the filter.
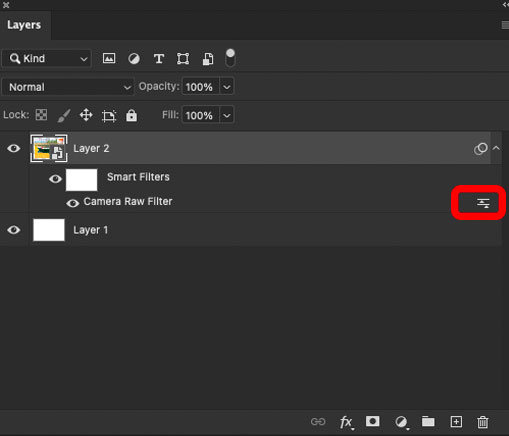
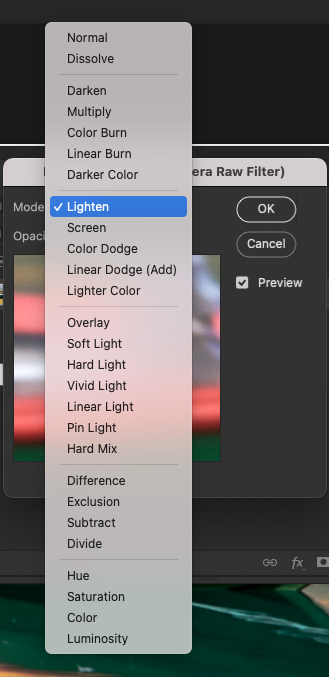
To edit a filter blending mode > double- click on Edit filter blending option
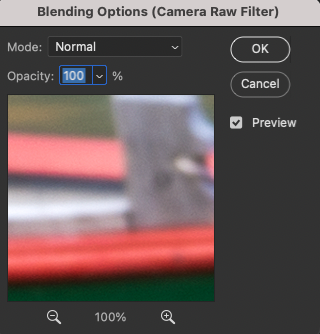
Now I can change the filter’s blending mode
Also, I can change a filter’s opacity value.
Note: you can apply multiple smart filters to the same layer. You can reorder, and duplicate smart filters.
To hide a single Smart Filter, click the eye icon next to the Smart Filter. To show the Smart Filter, click in the column again.
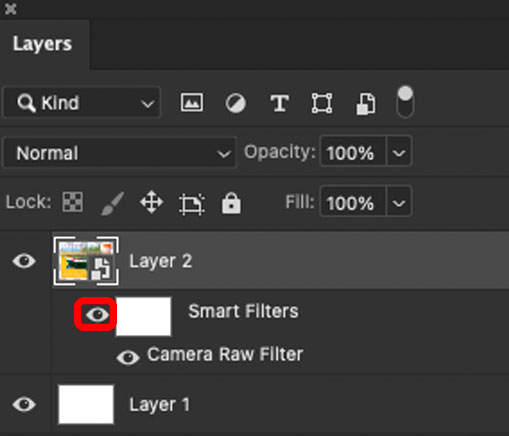
To hide all Smart Filters applied to a Smart Object layer, click the eye icon next to the Smart Filters line.
To show the Smart Filters, click in the column again.
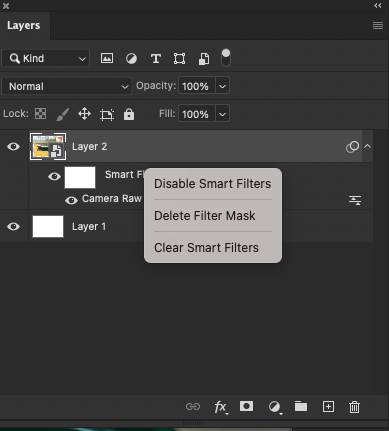
Right-click on a smart filter and choose any option from the drop down menu (if needed)
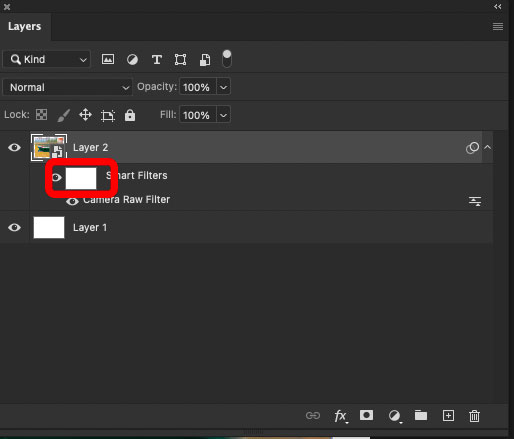
P.S. Photoshop creates a Smart Filter with a filter mask already applied > White box in a smart filters raw
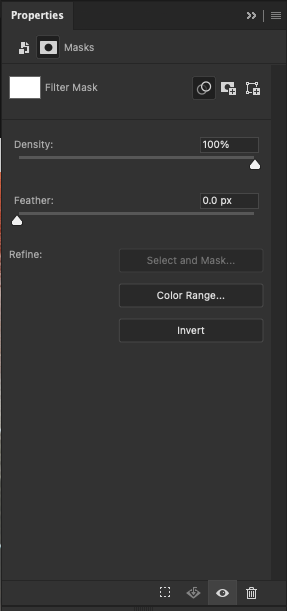
It’s very helpful if you wants to hide parts of the applied filter. Double-click on a Smart Filter mask to display the Properties Panel.
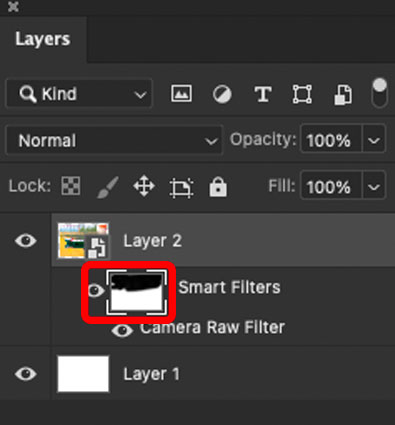
To hide part of an applied Smart Filter > click on a Smart Filter’s mask icon > choose any brush and black color > paint over the area you want to hide. If you painted more than you wanted > change color of your brush to white and paint areas back.
Today I would like to share with you a few updates from me.
Many artists, photographers, and designers are asking me for a recommendation on an affordable graphics tablet. The Wacom Intuos Pro is the tablet anyone would be happy to have. I’ve worked with the Wacom Intuos line for years, and they are the best tablets for graphic designers and photographers. Here is my full review.
Are you an Adobe Dimension user? If your answer is yes, this video is for you. In these videos I show how you can create a unique design in Adobe DImension for any occasion.
The next update is for my readers who just started their journey in Adobe Photoshop. For you, I recorded a new “How to get started with Adobe Photoshop” video. Enjoy 🙂
Lastly: Spring is here! I love Springtime. Everything is blooming, fresh colors, warmer weather, and a lot of new inspiration is everywhere. This spring flower is for you.