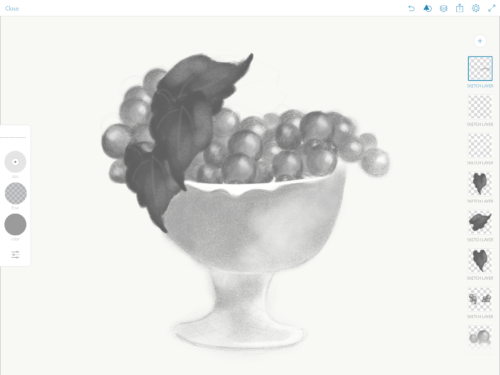
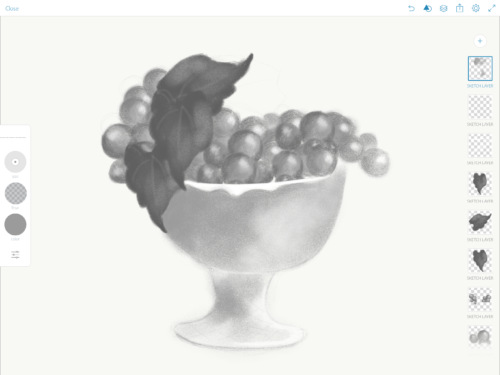
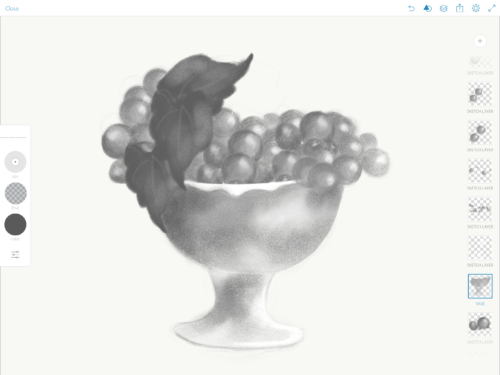
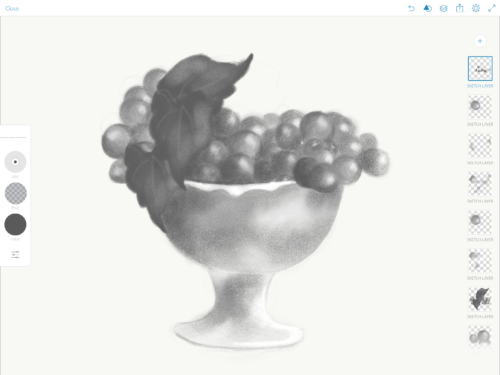
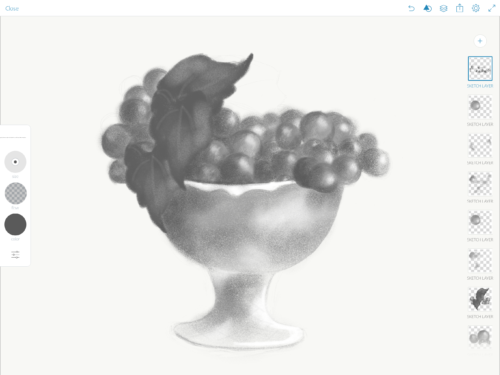
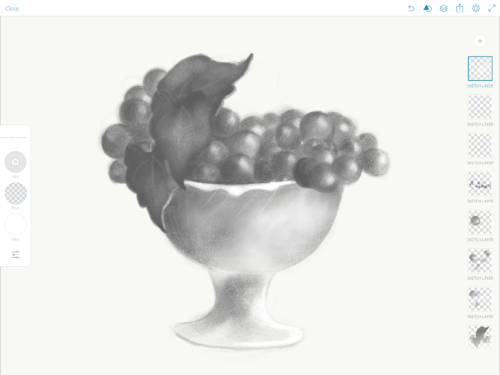
My Black Panther fan art painted in Adobe Photoshop CC with Wacom Cintiq


My Black Panther fan art painted in Adobe Photoshop CC with Wacom Cintiq
Select Subject in Adobe Photoshop CC ONLY with one click!!!
What’s New in Adobe Photoshop CC 2018
My Books on Amazon:
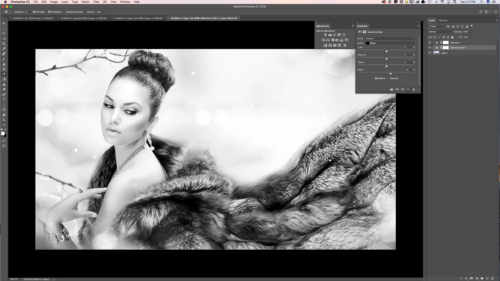
3 ways to convert your image into Black and White in Adobe Photoshop CC and number 3 will surprise you.

Many of my followers asked me to share my method for converting my images into Black and White and in this blog post I will share with my 3 favorite ways.
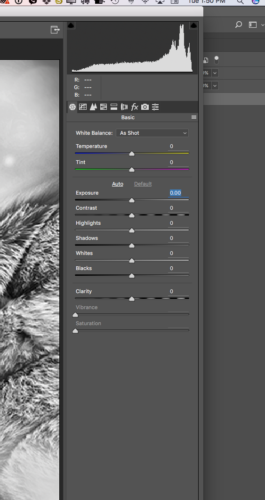
1: Use the Camera Raw Filter
Filter > Camera Raw Filter
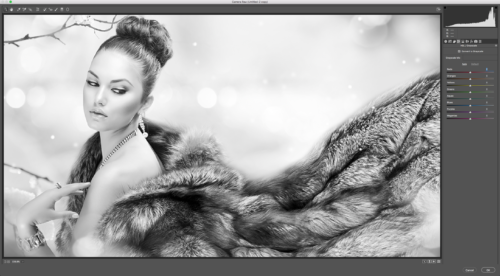
Check “Convert to Grayscale” box and Photoshop will convert your image to B&W.
As usual the result is a pretty good, but if you like to have control over your image (and to be honest, I am a control freak so I am always applying a few extra steps). So if you are willing to take control over your image the next few steps are for you.
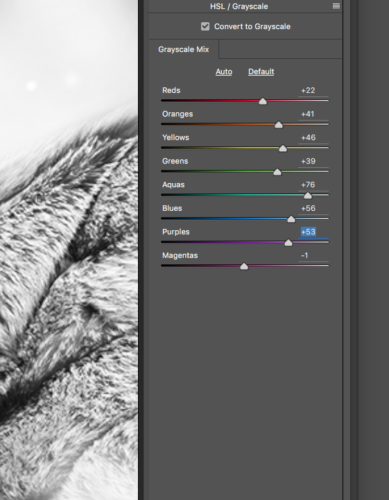
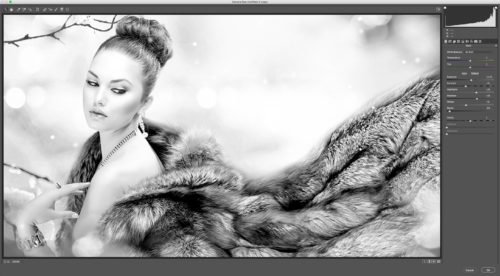
Adjust each Grayscale slider. Each slider will affect each individual color in your image. Moving sliders directly affects the mood of your image
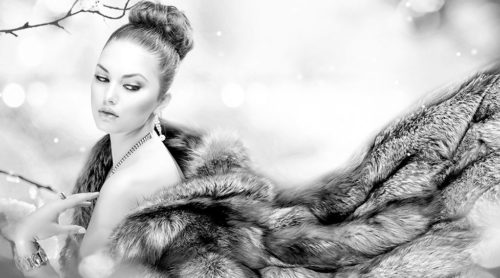
Example:
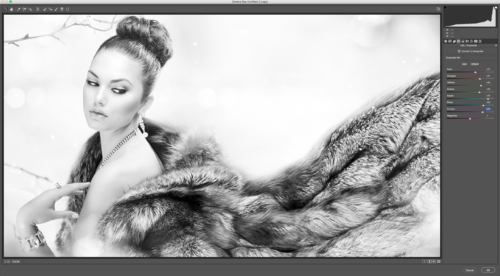
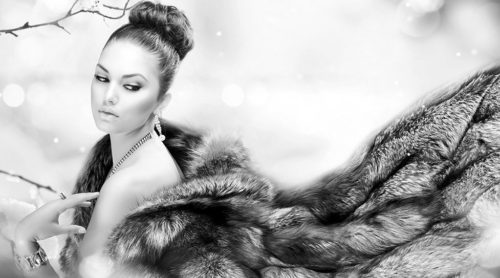
This mix created high key image with a very romantic mood
But if I will move the Reds, Blues, Purples, and Magentas sliders to the left I have created a very moody image.

Tip: After you are fully satisfied with a Grayscale Mix ratio click on the Basic Tab and adjust Exposure, Contrast, Shadows, Whites, and Blacks sliders. Each slider will help you apply the last polishing step to your image.
2: Auto Black & White
 Image > Adjustments > Black & White
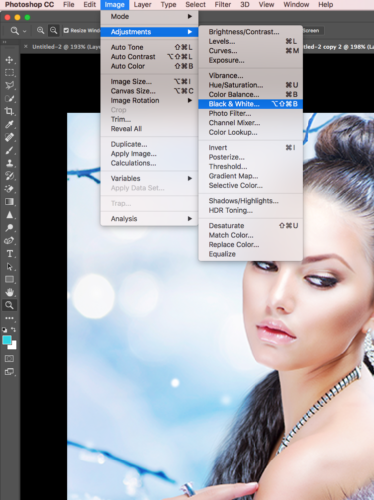
In Adobe Photoshop CC we have many different Black and White Presets we can work with. I can’t say that you should use a particular one over others. Everything depends on your image., image light, details, subjects, and ect. I will recommend to try the different presets and after a few times you will have your favorite.
With my current image I I like the “Darker” Preset the most.
As I said above, I am a control freak, so I will adjust a few sliders as well.

Tip: Absolutely NOT NECESSARY to move sliders like from 50% to 100% or to -100%. Very often less is better and even moving slider to 1% makes a big and a very tasteful difference.
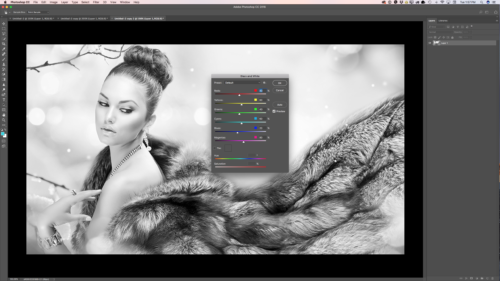
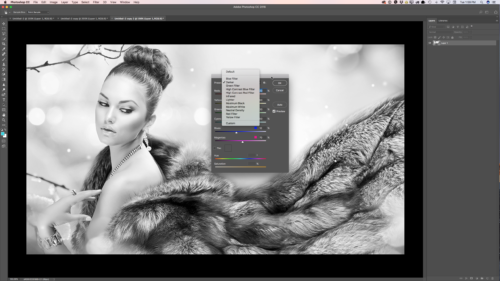
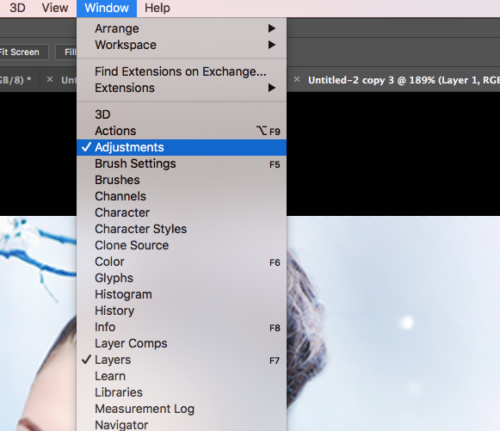
3: Adjustments
Window > Adjustments > Vibrance
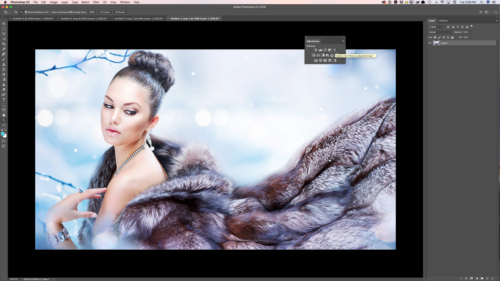
In the Properties panel move “Vibrance” and “Saturation” sliders all the way to the left to -100%
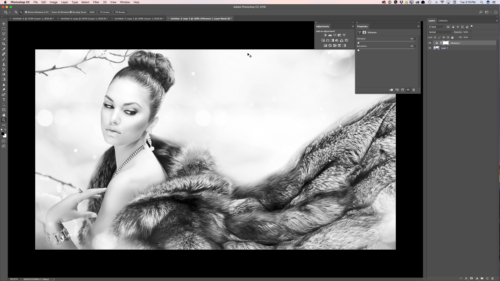
Photoshop converted your image into B&W and created a new “Vibrance1” layer (this layer is a fully independent layer and you can modify and even delete it later on at any time).

Highlight your image layer (Layer1)
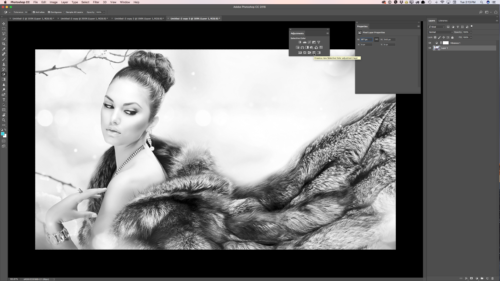
And click on “Selective Colors” in Adjustment panel. Photoshop created a new Selective Color1 layer.
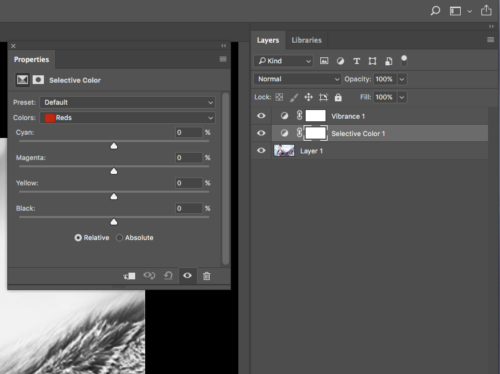
In the Properties panel adjust the Black slider for each color
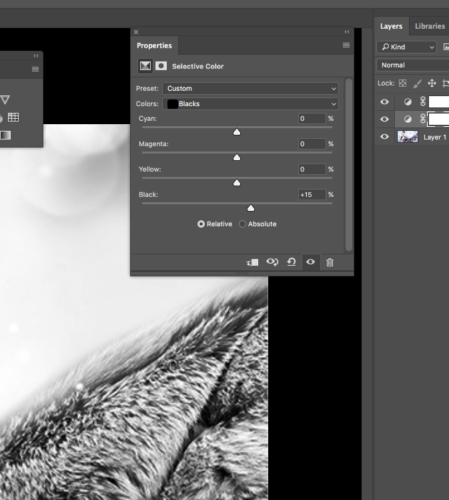
Tip: pay very close attention to the Neutrals and Blacks sliders.
My Books on Amazon:
Digital Painting for Photographers
101 Photoshop Hidden Gems and Tips & Tricks: A collection of 101 hidden features and short tips that will help make you a Photoshop ninja
The Adobe Mobile Apps Book: Your Complete Guide to Adobe’s Creative Mobile Apps
I just released my new “101 Photoshop Hidden Gems and Tips & Tricks” book
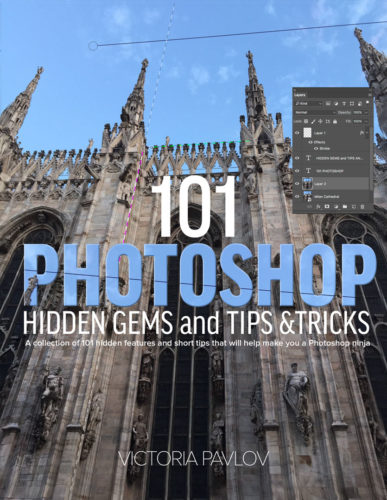
I wanted to write a book that every Photoshop user could learn from. Many of us are new to Photoshop, use it regularly or are experts. However, no matter what your Photoshop skill level is, chances are you can still learn new things or pick up tips from this book that you haven’t discovered yet. My editor said “wow, I learned at least 10 things right off the bat that I didn’t know and I ‘m not done editing yet.” We get into our groove and we use the same features and techniques all the time. However, with each new update to Photoshop CC there are usually little things that the engineers at Adobe add or change that often don’t get a mention. I did my best to pick out 101 of my favorites. Enjoy!

Digital Painting in Adobe Photoshop Sketch with iPad Pro
Apple Pencil
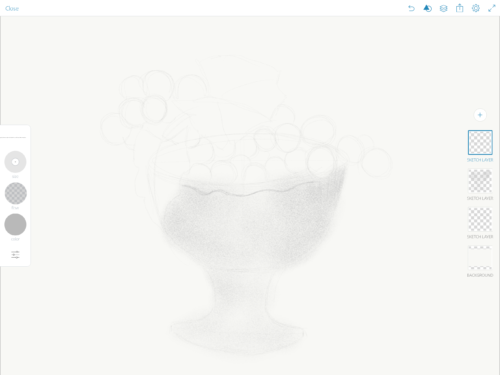
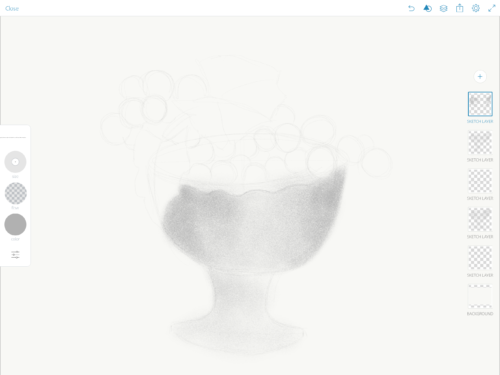
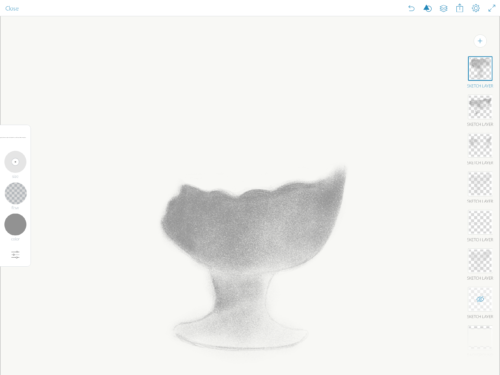
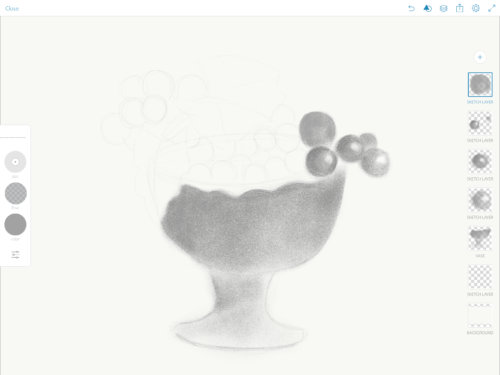
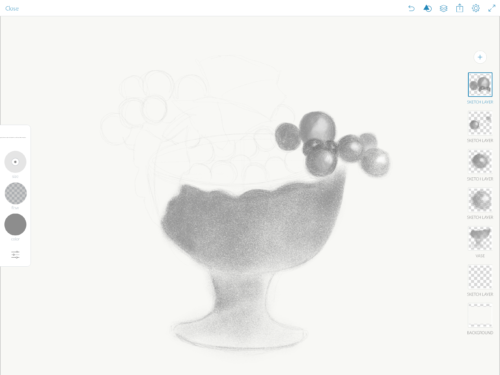
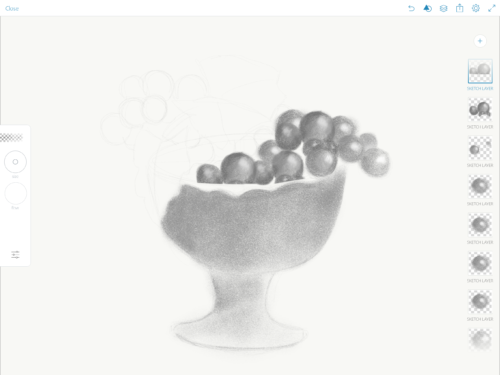
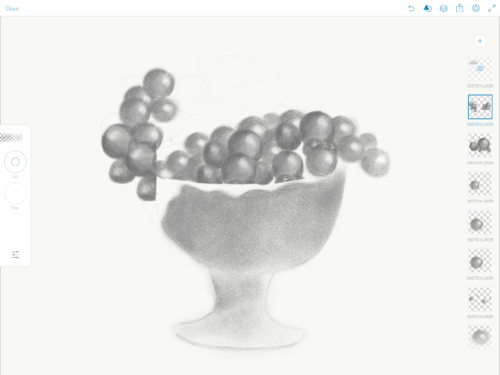
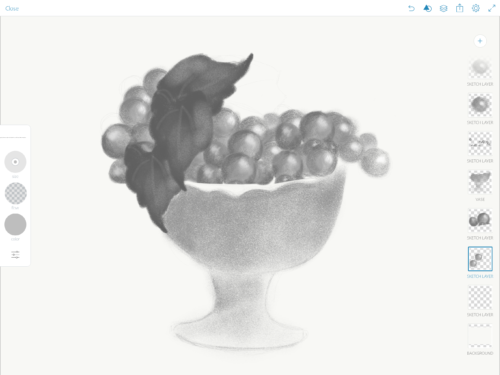

Digital Painting in Adobe Photoshop CC
My ebook on Amazon
Digital Painting for Photographers in Adobe Photoshop CC
The Adobe Mobile Apps
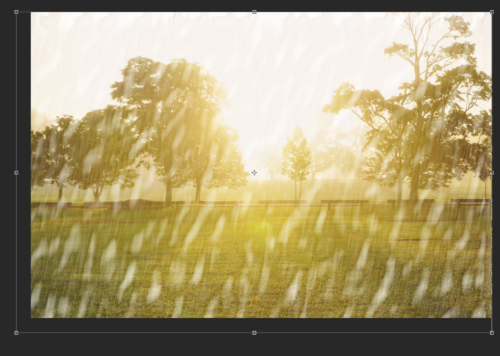
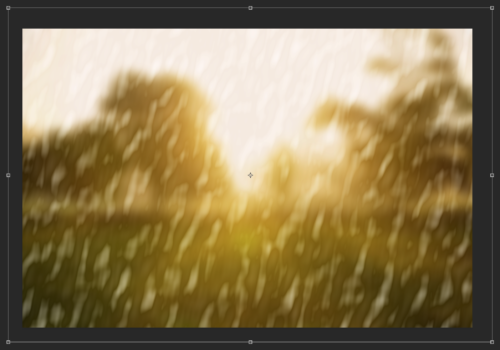
Rainy window glass effect in Adobe Photoshop CC

Open you image
Duplicate background layer
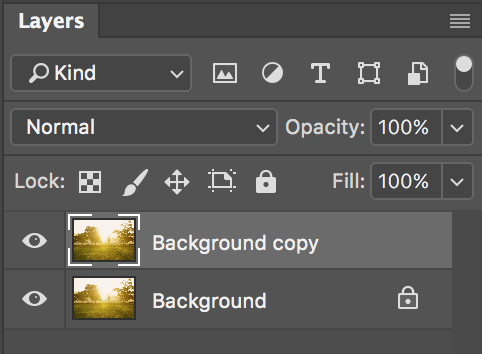
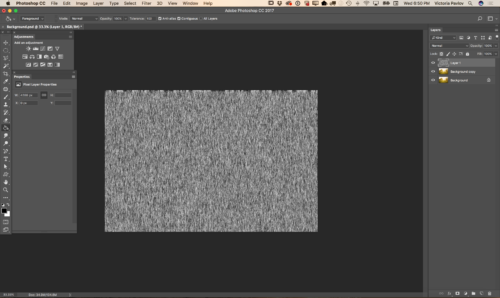
Create a new layer
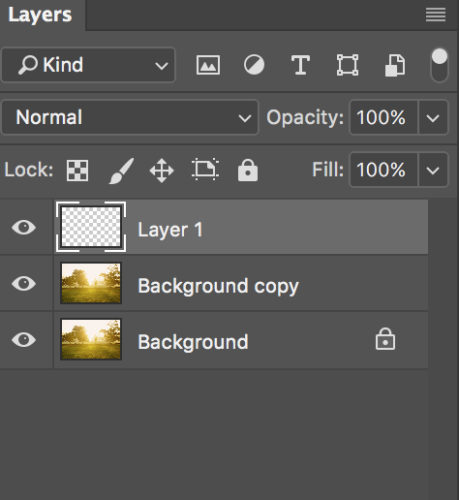
Create a new layer with black color
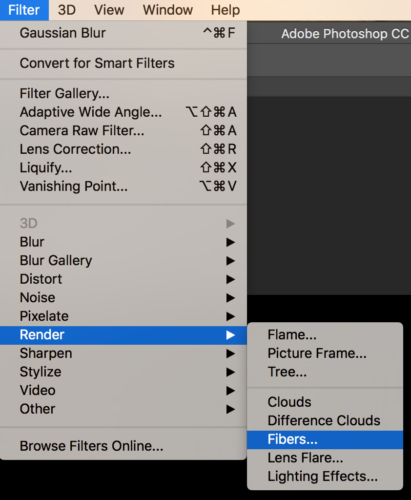
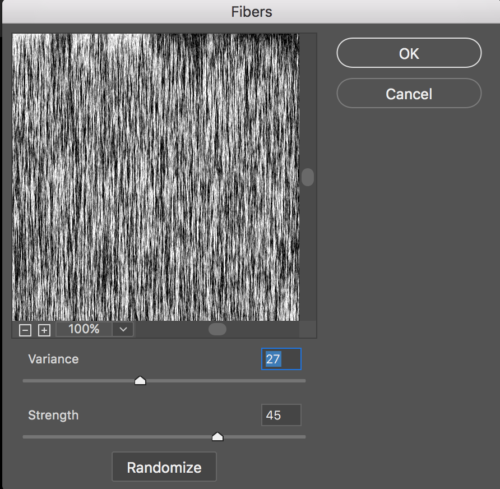
Filter > Render > Fibers
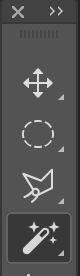
Magic Wand Tool
![]()
Select top layer

Click Delete
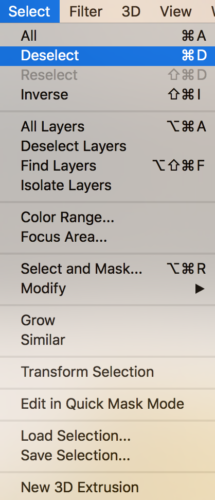
Select > Deselect
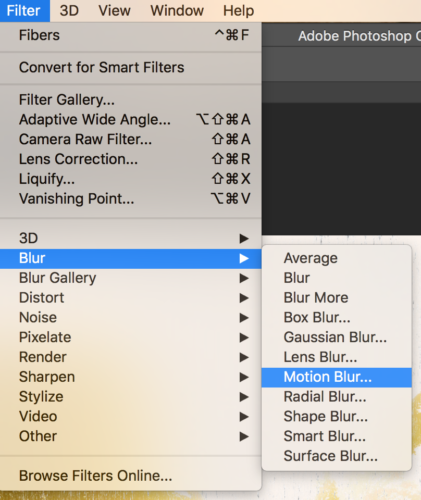
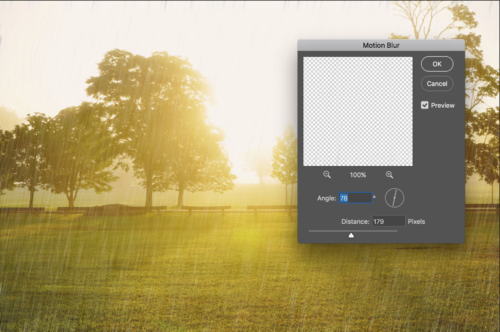
Filter > Blur >Motion Blur
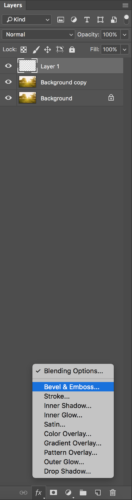
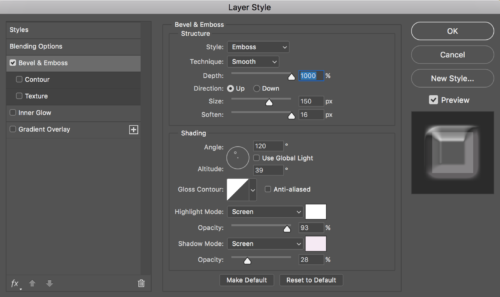
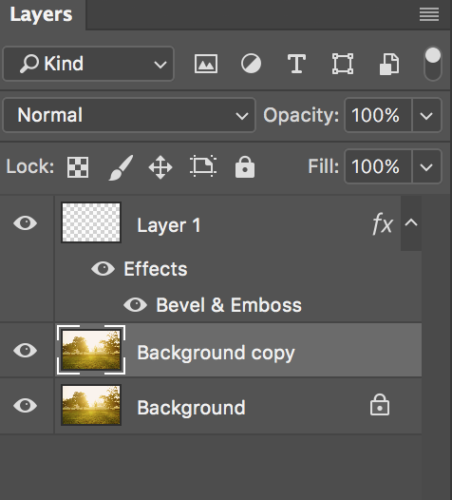
Add a layer style > Bevel & Emboss

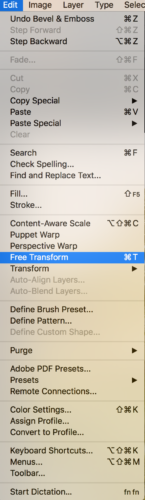
Edit > Free Transform
Bring the layer opacity down
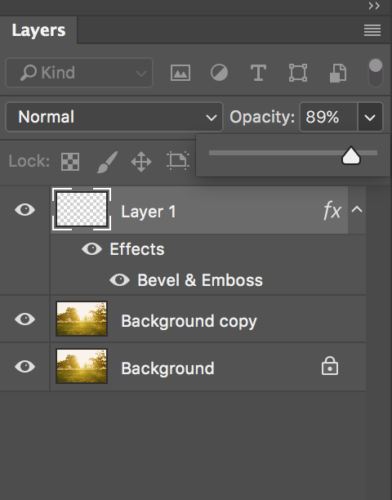
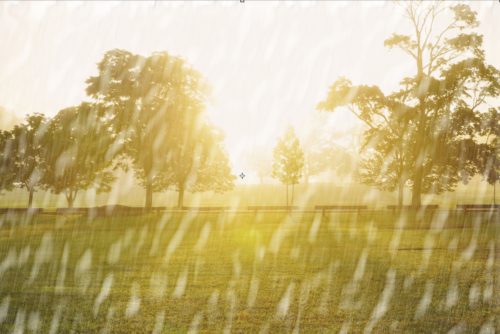
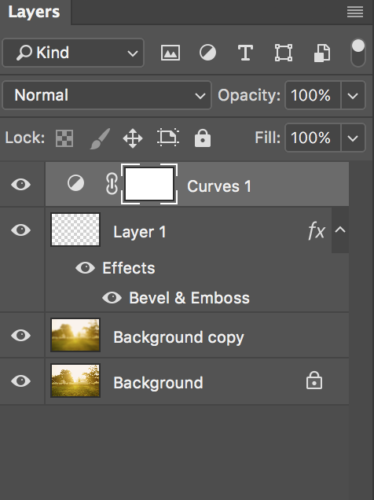
Highlight “Background copy” layer
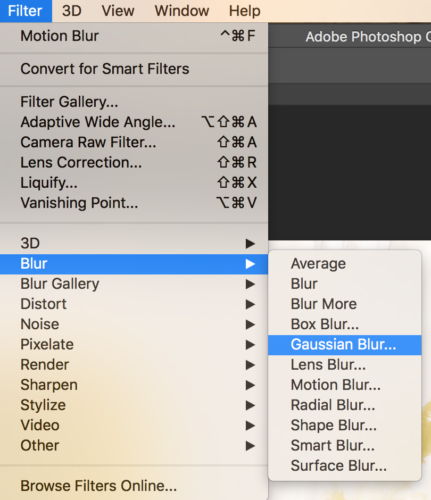
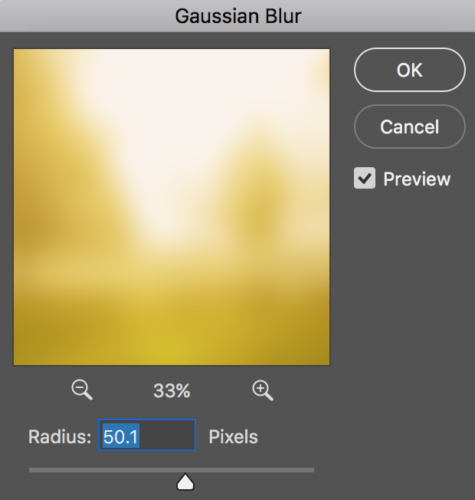
Filter > Blur > Gaussian Blur

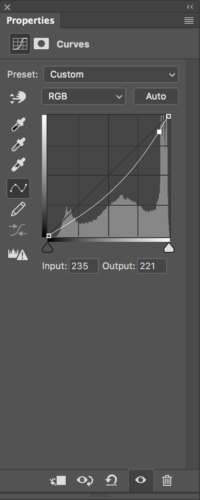
Adjustments > Curves

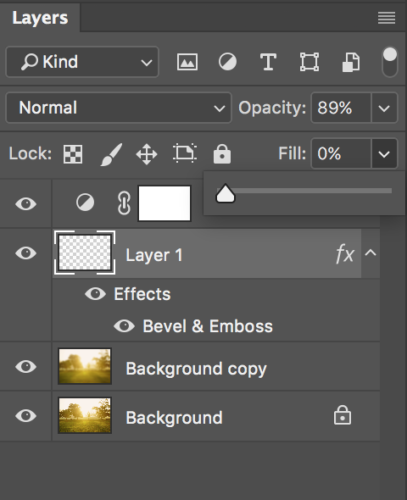
Highlight “Layer1” > Fill =0%

Edit > Free Transform > Resize “Layer1”

My Books on Amazon
How to create a custom font in Adobe Photoshop CC.
As a graphic designer I was waiting for the ability to be able to create a custom font for a long time. Using Fontself Maker you can create any custom font you want. You can create vector or color font in no time. Now we as designers have no limitations with our font creativty. Just create a font and use it!
My Books on Amazon:
Digital Painting for Photographers
How to use the Clone Stamp Tool in Adobe Photoshop CC
My Books on Amazon
Digital Painting for Photographers in Adobe Photoshop CC
The Adobe Mobile Apps Book


