

Some of you asked me if it’s possible to create a successful image/project using limited assets and tools. My answer was “Of course, it’s possible!” Creating an entire project using only one image and one tool/workspace could be as challenging and exciting as working on the project using multiple images/assets with multiple tools/ workspaces.
And today we will create the project from scratch in Adobe Photoshop using only one image and one workspace.
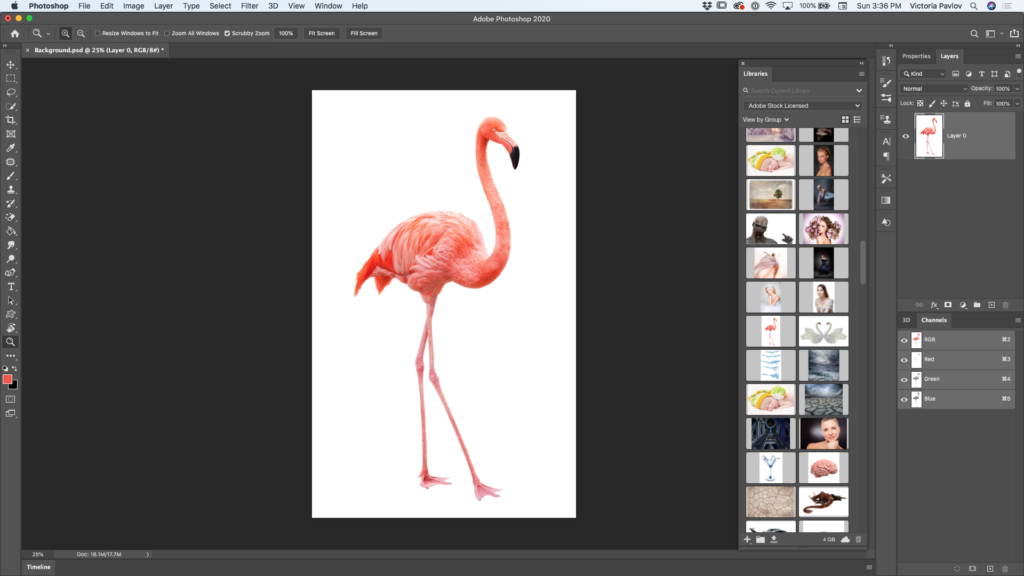
I have opened the image I will be using today (I downloaded and License the image from Adobe Stock. You can use any image you like).
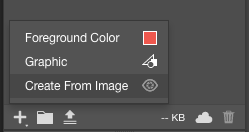
Open any Creative Cloud library, that you would like to work with and save your assets to.
At the bottom of the Library panel, click on “+” sign and then, choose “Create From Image”
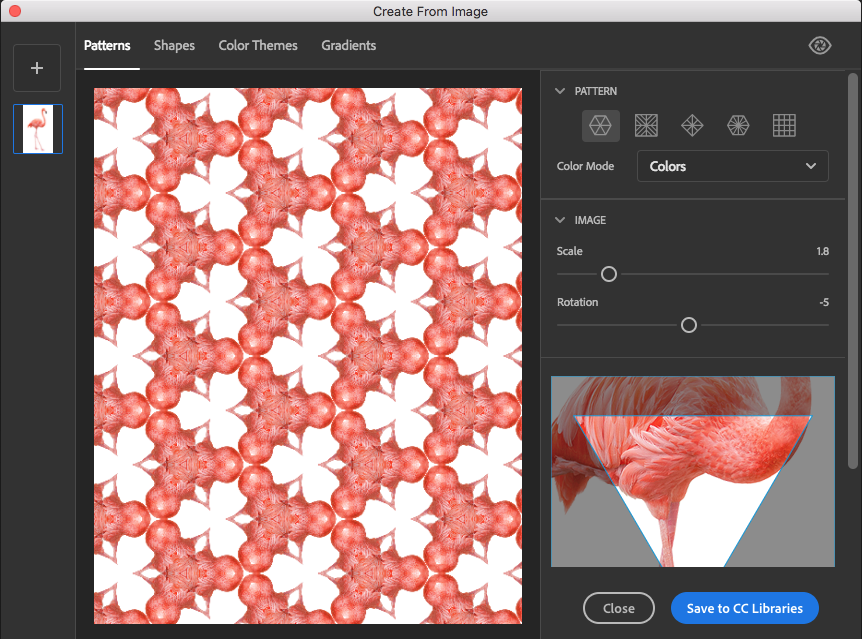
Now we will build our image going through all the tabs in this workspace. I will start with the “Patterns” tab. Using this tab, I will create a pattern for my project. You can use any pattern type and setting to create a pattern. After you’re happy with your
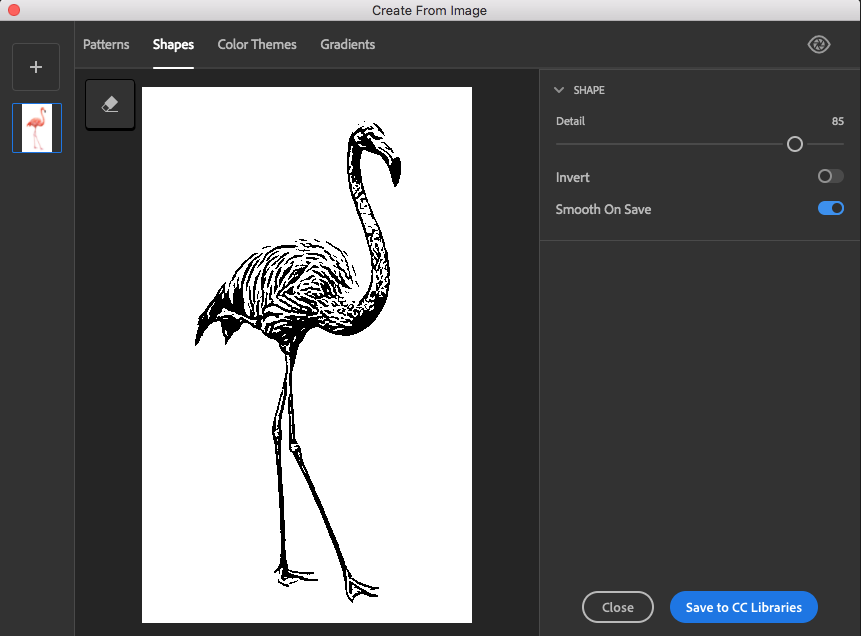
Time to start working on our shape and to do so click on the “Shapes” tab. Now you can create a shape from your image. Click on “Save to CC Library” to save the shape to an active CC library.
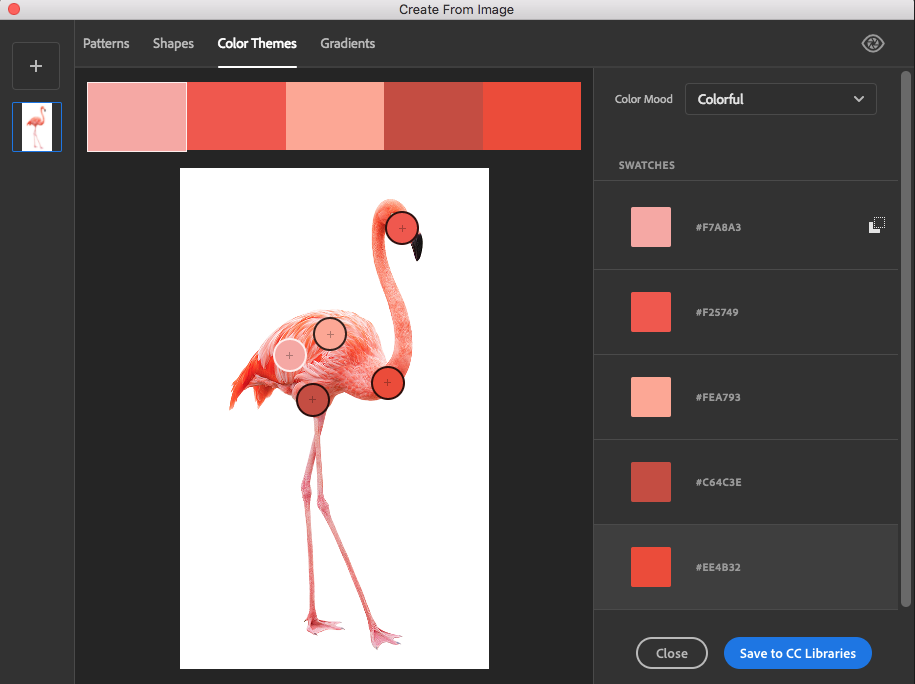
The next stop is “Color Themes”. Using this tab you can create colors based on your image. Feel free to move color pickers to specify exact colors in the image you want to create your new theme from.
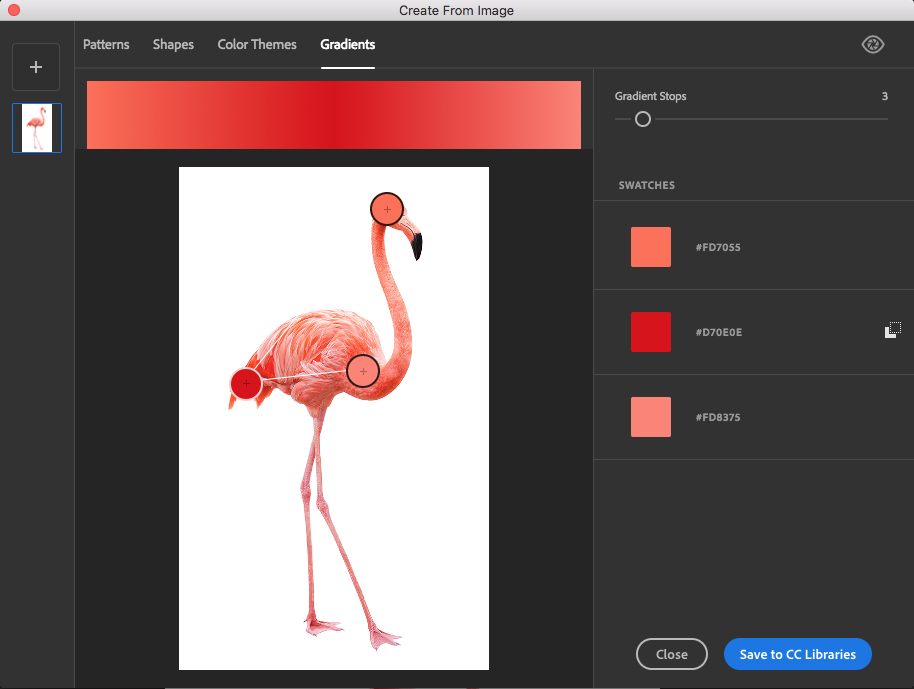
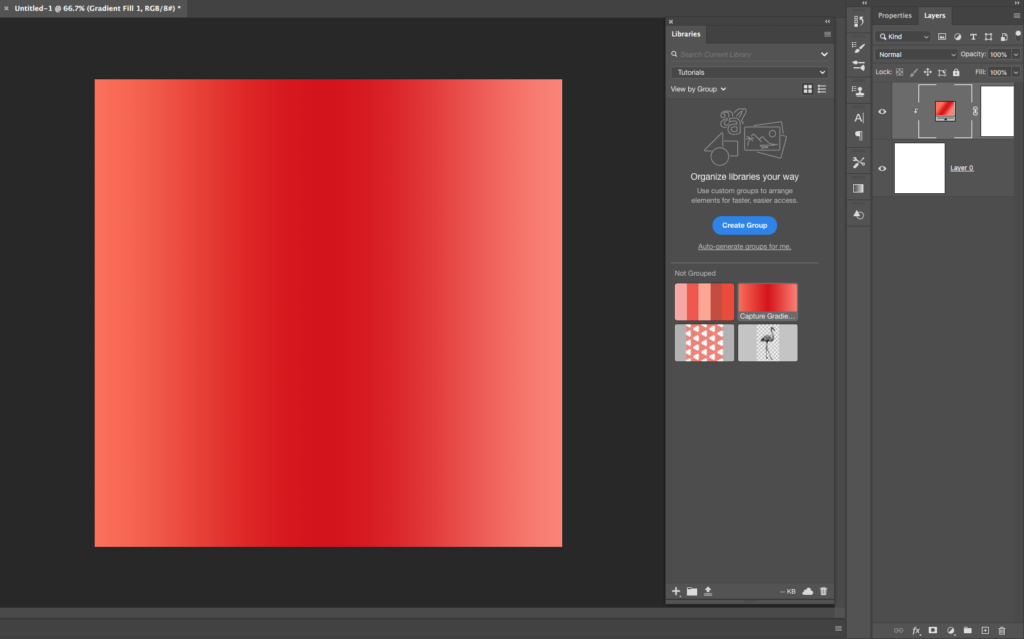
The last tab is “Gradients”. The Gradients tab is a very powerful tab. I create custom gradients all the time for my workflow.
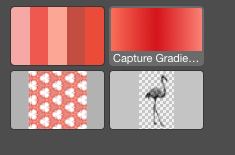
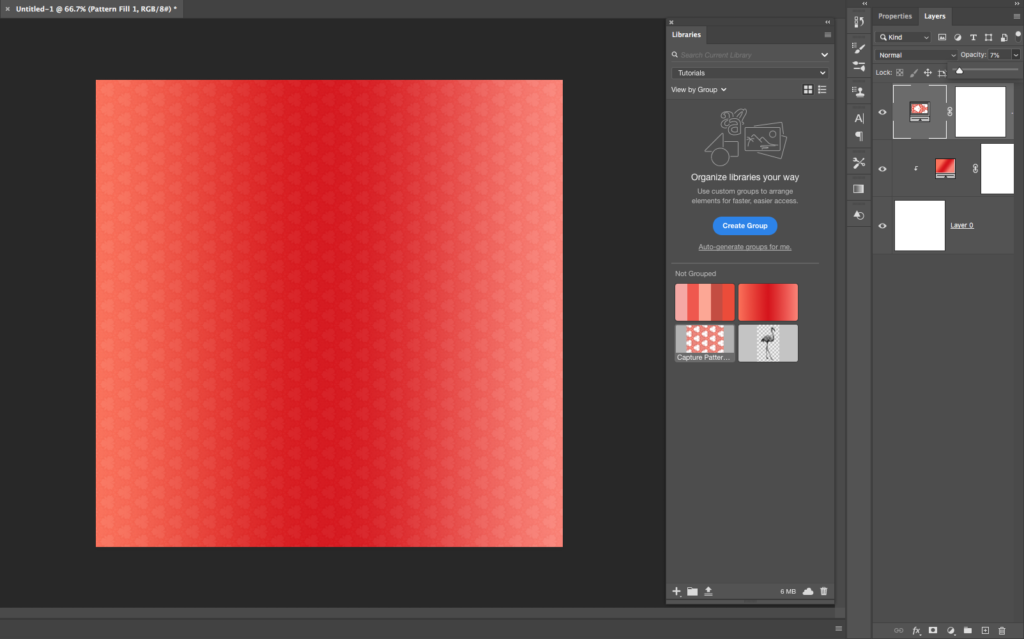
After all the assets are created and added to CC library it’s time to start putting everything together.
Create a document any size you like. Click on the gradient in your CC library to apply it to an active layer.
Double click on Pattern in your CC library and specify scale value
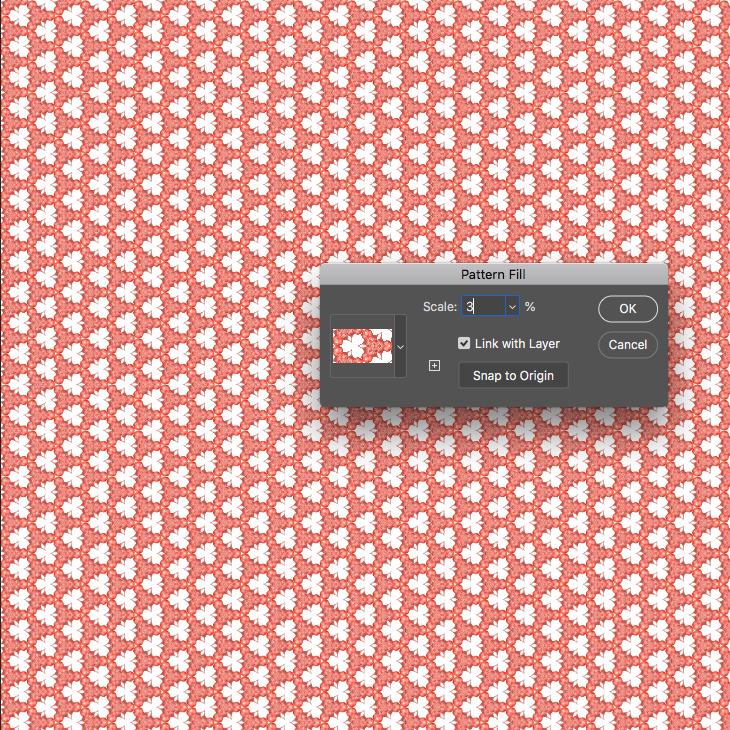
Click OK and bring the
Now click on the shape in CC library and drag it into your document.
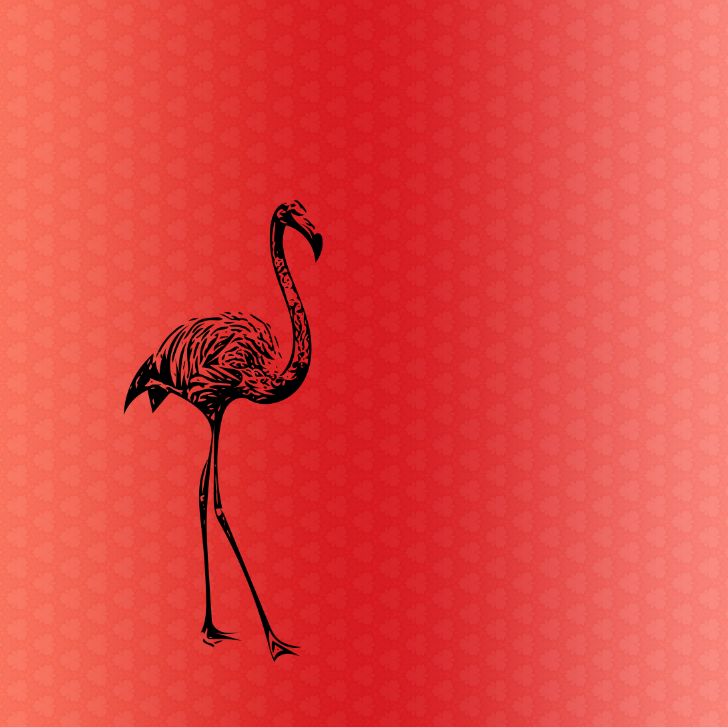
Window > Shapes> Click on the “Palm” icon and drag it into your document. Use any Color
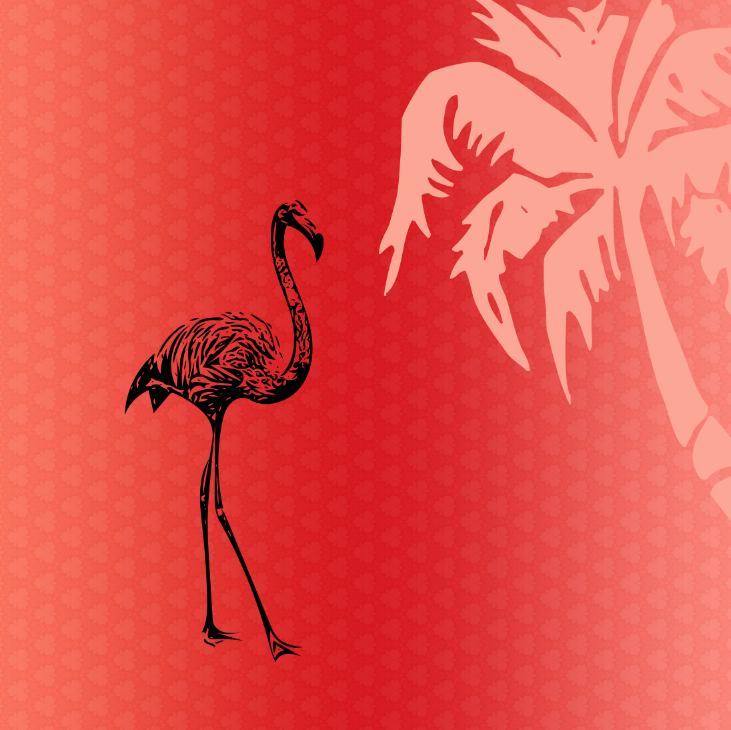
Your image is ready. As you can see, you can use one image and one workspace to create all the
In the tutorial below I added just a few extra steps.
Advertisement
All my Books on Sale on Amazon:


