Accessories you should have in your mobile workflow

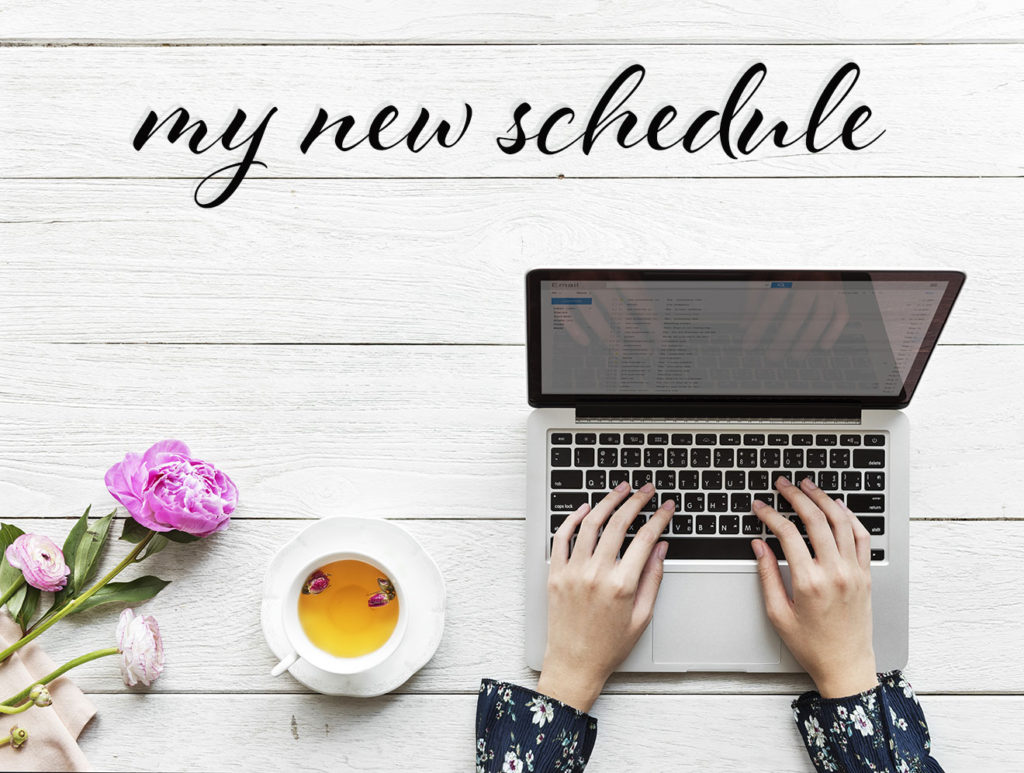
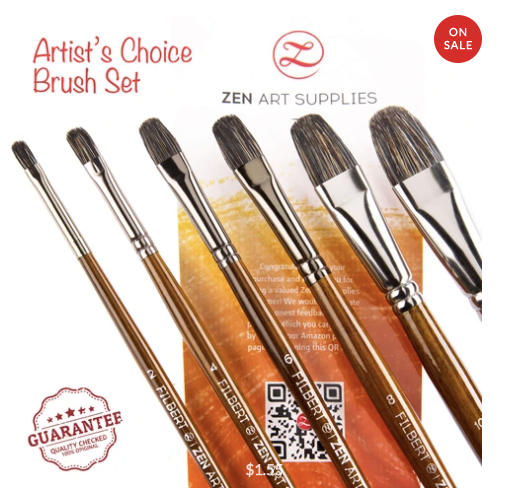
With each year our phones become a bigger and bigger part of our mobile workflow. I would like to point out that when I say “mobile workflow” I don’t mean only the professional part of our lives. Our mobile devices are tools that are always under our fingertips. Using our phones record or take behind-the-scenes pictures, photographing the subject, creating our memories on vacation, birthdays, or wedding parties, the smile of our pets, or first steps of our children. So why not make all of this much easier, quicker?

Photography or Video
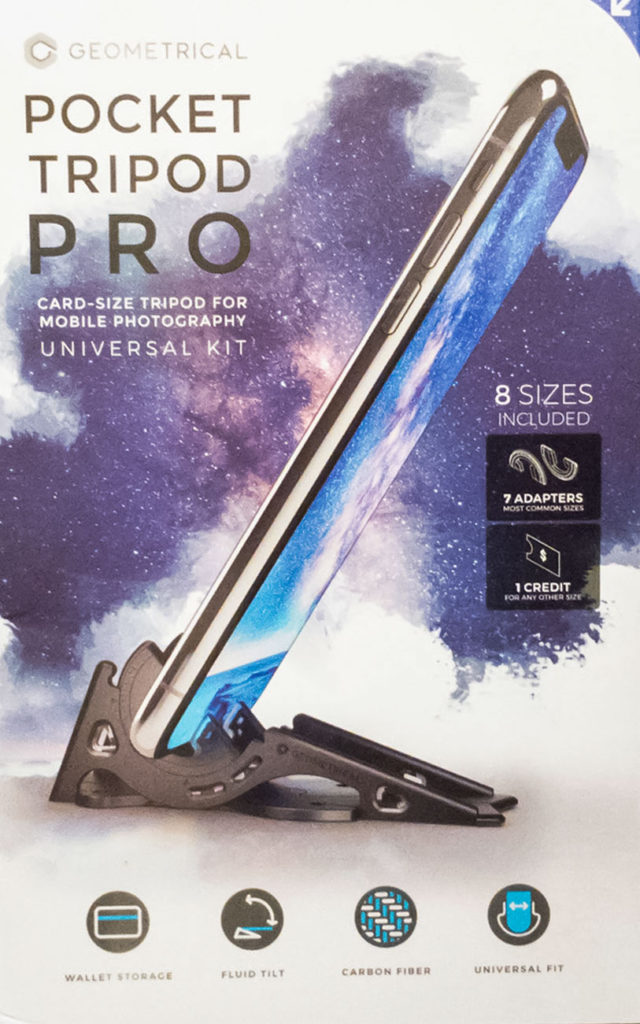
Pocket Tripod Pro, at first glance you will think that it’s impossible this small (pocket) tripod will give you the stability to take a clean shot. I thought the exact same thing, BUT when I tried it, I was amazed and now I am using it all the time, everywhere.

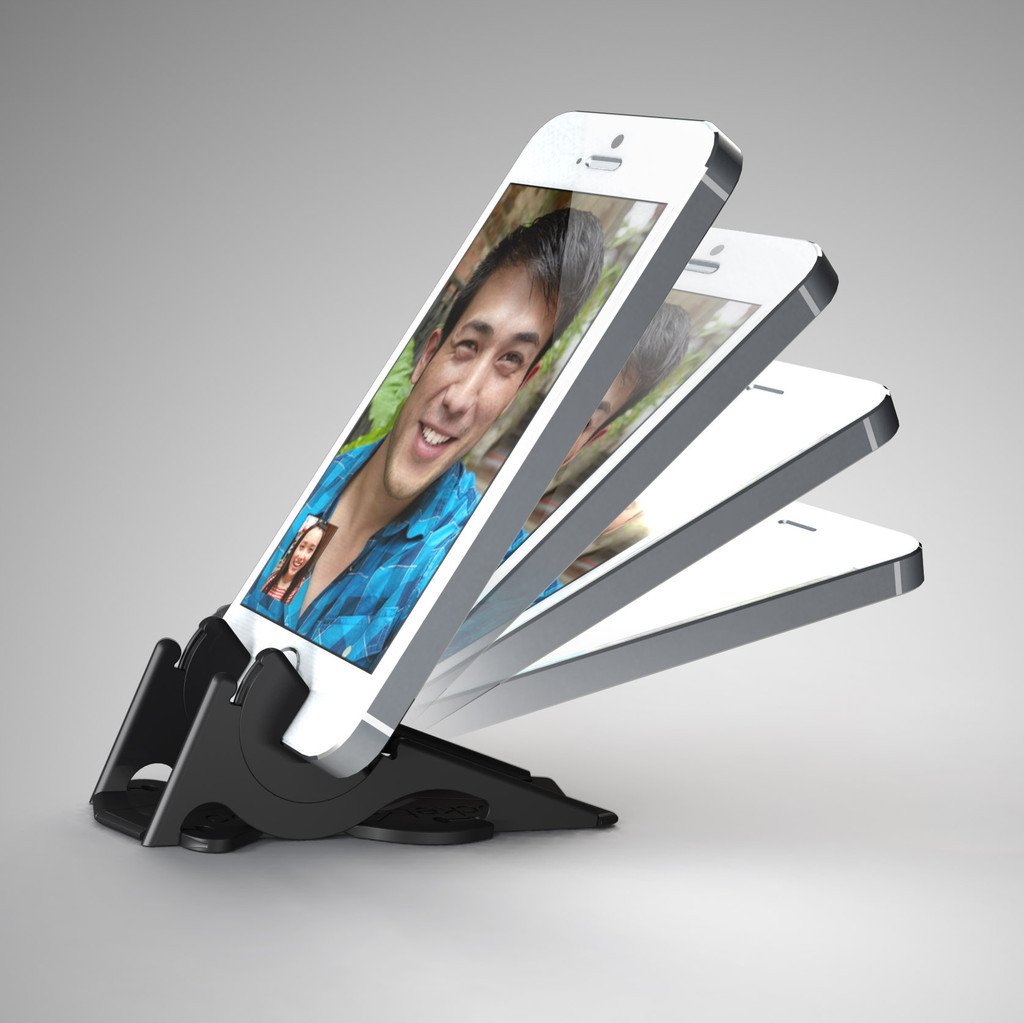
This Pocket Tripod is great in landscape or vertical orientation. It has 180Ā° of tilt in both orientations.
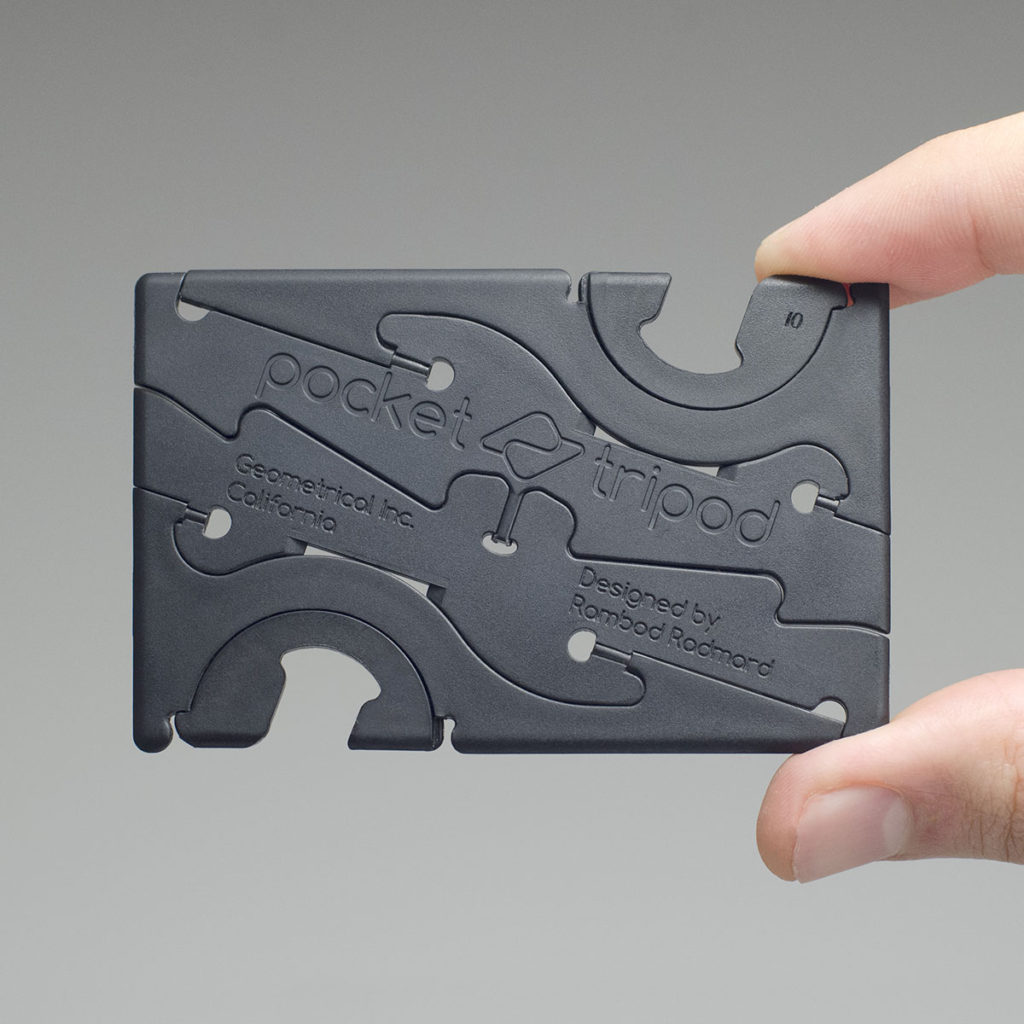
Everything you need to adjust the tripod is included in the package. This package includes 7 common sizes for most common cases and phone sizes and also includes a coupon for any size not included. This tripod works with all phones iPhone or Android.

This lightweight, pocket-size tripod is all that you need to keep your phone steady, and best of all it folds down to the size of a credit card so that you can have it with you in your wallet/purse at all times.

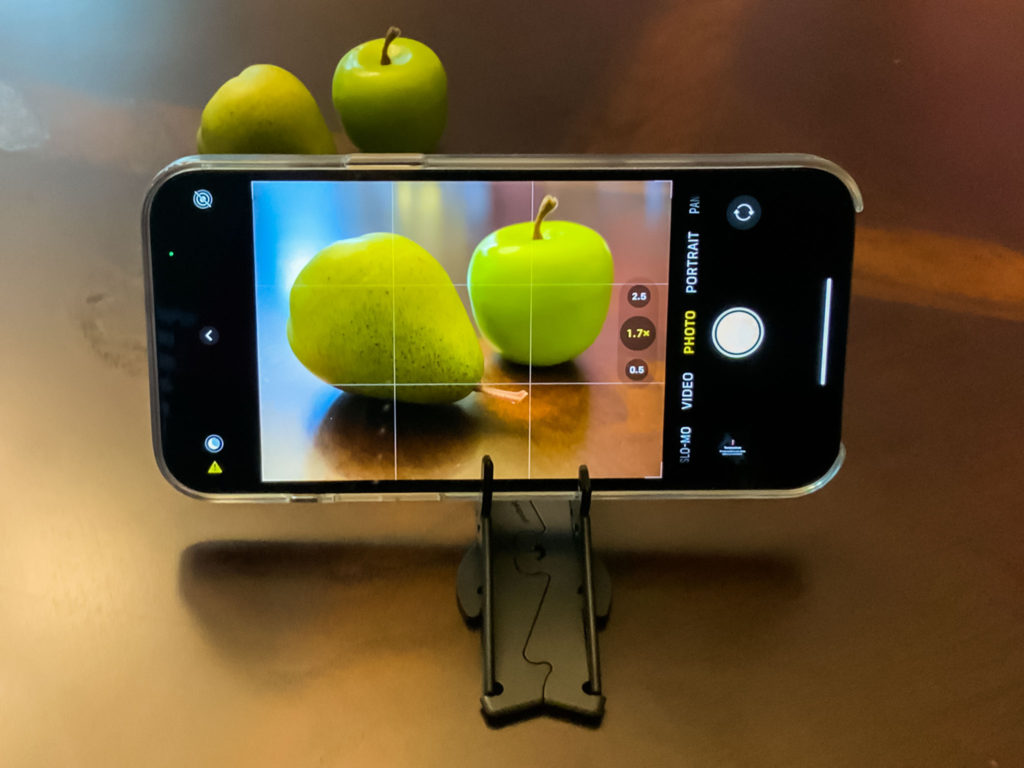
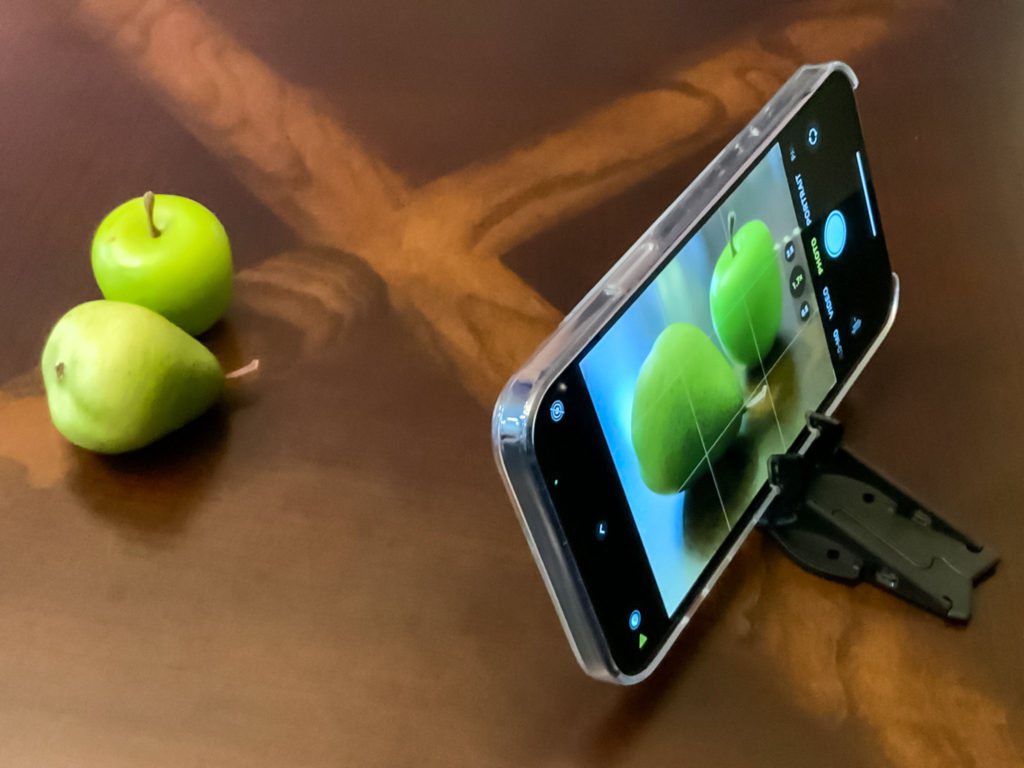
I love my new Geometrical Pocket Tripod Pro and I definitely recommend it to anyone who is using their phone’s camera to create memories of everyday life or for professional life.
By the way, you can use my link to order this beauty šŸ™‚

Digital Art and Design
If you know me, you know that digital art is the biggest part of my creative life. I use desktop and mobile devices for my digital art.
In my mobile digital art workflow, I use Adobe Fresco a lot and I was so happy when Adobe introduced Fresco for iPhone. Now I literally can paint at any time from anywhere because my iPhone is ALWAYS with me! Of course, I immediately started looking for a stylist I could use with Fresco on my iPhone. After some research, I found one. Active Stylus Digital Pen. It has a clean look (which I appreciate a lot), easy to set up, and the battery lasts for a long time. When I said “easy to set up” I meant that you don’t have to do anything. Just charge it, turn it on and you are ready to go! This is how easy it is.
The full charge is enough for 8 hours working, 30 days standby. The full charge time takes 40 minutes.
Digital Pen works with iOS and Android touch screen phones and tablets.

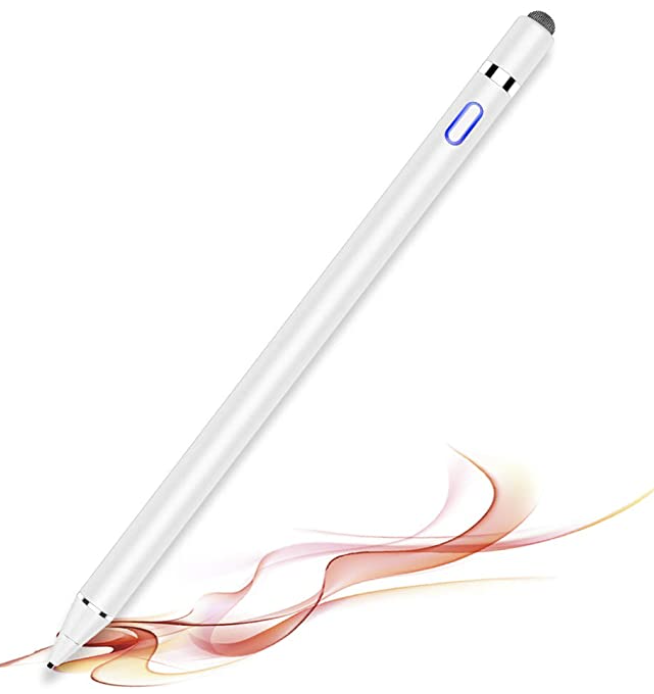
I like this stylist. It’s more comfortable than my finger (for sure). The simplicity of the stylist brings one extra good point to it.
This is not an Apple pencil so it doesn’t have the built-in support for pressure sensitivity.
The pen doesn’t work with Windows phones or tablets.


*As an Amazon Associate, I earn from qualifying purchases listed below

news I would like to share with you

Hello everyone,
I took a few days off and after the Thanksgiving break, Now I’m coming back to work but with a different schedule. Many of you have asked me to share with you my live streaming day and time, my new video tutorial release days, etc. Below is my full schedule. Hope to see you all there!

Monday: A new blog post.
Place: here (pavlovphotography.com/blog)

Tuesday: A new video tutorial.
Place:
YouTube

Wednesday: My “Art Masterclass” live stream at 11AM ET
Place:
Behance
YouTube

Friday: A new video for my Patreons
Place:
Patreon


*As an Amazon Associate, I earn from qualifying purchases listed below

My holiday Season 2020 gift guide

During this Holiday Season, I would like to share with you my gift guide.

*As an Amazon Associate, I earn from qualifying purchases listed below

1: Arkon Pro Phone or Camera Stand > View on Amazon

2: Wacom CTL6100WLK0 Intuos Creative Pen Tablet Bluetooth > View on Amazon

3: USB C Wall Charger > View on Amazon

4: Digital Painting in Adobe Photoshop > View on Amazon

5: The Digital Photography Book: The step-by-step secrets for how to make your photos look like the pros’!Ā > View on Amazon

6: The Natural Light Portrait Book: The step-by-step techniques you need to capture amazing photographs like the prosĀ  > View on Amazon

7: Wacom DTK1660K0A Cintiq 16 Drawing Tablet with Screen > View on Amazon

8: ZenART Professional Watercolor Brush SetĀ  > View on Amazon

9: Canvas Pad > View on Amazon

10: Art Portfolio Case – Artist Portfolios Case > View on Amazon

11: Derwent Graphic Drawing Pencils > View on Amazon

12: The Masters Brush Cleaner & PreserverĀ  > View on Amazon

13: Kuretake GANSAI TAMBI watercolor 48 Colors set > View on Amazon

14: Arteza Watercolor Paint > View on Amazon

15: Wacom DTK2200 Cintiq 22HD 21-Inch Pen Display Tablet > View on Amazon

16: Artist Glove for Drawing Tablet > View on Amazon

17: Apple Pencil > View on Amazon

18: TopazĀ Studio 2 > View Product

19: Zen Art Supplies > View Product

20: Starry Night by Van Gogh PuzzleĀ  > View on Amazon

Guys, you asked me what I wish to have for the Holidays. Here is my wish list.

Convert photographs into a sketch with one click

Creating custom art based on photographs has never has been easier than now. Today I will show to. you how to convert a photo into a sketch with one click.

Open the image you want to work with

With your image open, open your Creative Cloud Library panel. At the bottom of the CC library, click on “+” icon

Click on Create from image

Photoshop will redirect you to the Adobe Capture workspace

Every image is different. You need to make your own decision on how many details you would like to see in your shape. You can specify a detail value between 1- 100%. In this image I made a decision to specify detail value at 95%

Now I have converted the image into a sketch with only one click. The Smooth on Save feature will help to smooth all lines in a shape (it’s absolutely optional).

After you are happy with your shape click on Save to CC Library and Photoshop will save the new shape to the active (opened) CC library.

If you would prefer to have a white background, click on Invert and adjust details as needed. I am using this option when I want to have a transparent background instead of black.


As an Amazon Associate, I earn from qualifying purchases listed below

Sky Replacement in photoshop

If you are a photographer, this new feature in Photoshop is what you were waiting for.

Open the photograph you want to change the sky.

Click on Edit > Sky Replacement

Photoshop will open Sky Replacement workspace and will replace the sky with the last sky you used/default sky in the Sky Replacement workspace

.

From the Sky Replacement default sky library choose any sky you want to replace your sky with.

Once you specify the sky, Photoshop will replace the sky. You can adjust the new sky’s brightness and temperature in the Sky Replacement workspace

Foreground Adjustment workspace will help to adjust the foreground if needed.

If you would like to reposition the sky you can use the move tool.

By default the Sky Replacement workspace has three default libraries with different skies

If you want to bring your own sky in you can do it by clicking on the “+” icon

Photoshop is NOT applying any permanent modifications to your original image. Photoshop replaces the sky adding a new sky as a layer group.

As a photographer, I am extremely happy about the new Sky Replacement feature. I have a huge library of images I need to replace the sky in. I would like to point out this: it’s not about being a good or bad photographer because the sky in the image needs to be replaced. Any photographer knows that we all depend on the right time and the right weather when we are shooting on location. Yes, we were able to exchange the sky before as well but now with the new Sky Replacement, everything is MUCH easier, most more enjoyable, and more productive.


As an Amazon Associate, I earn from qualifying purchases listed below

My Books on Amazon:

Watercolor Brushes I useĀ