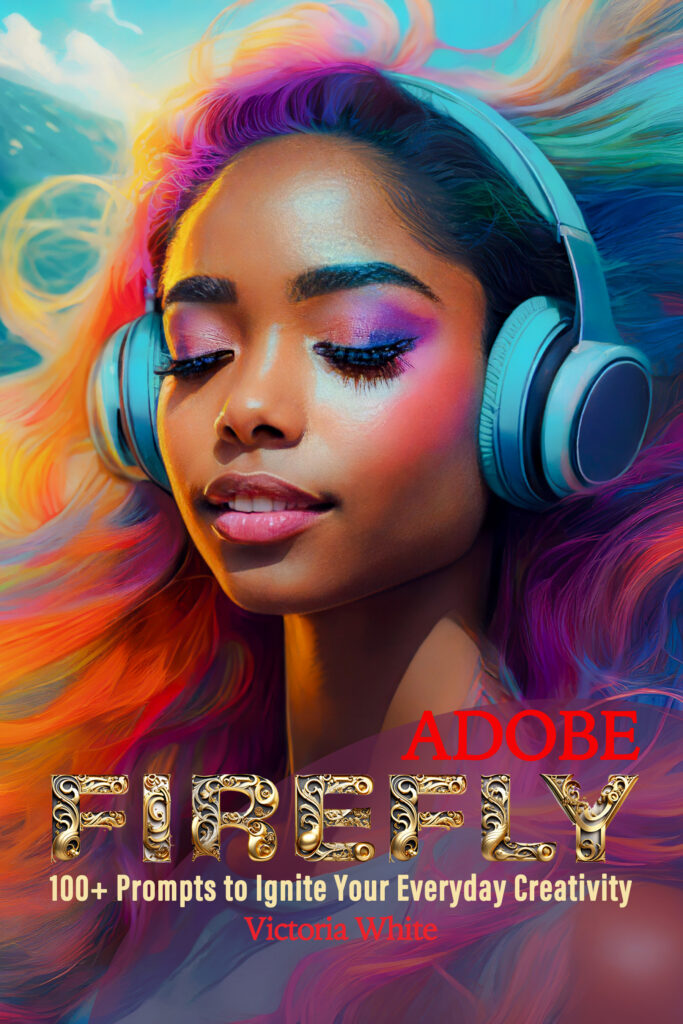
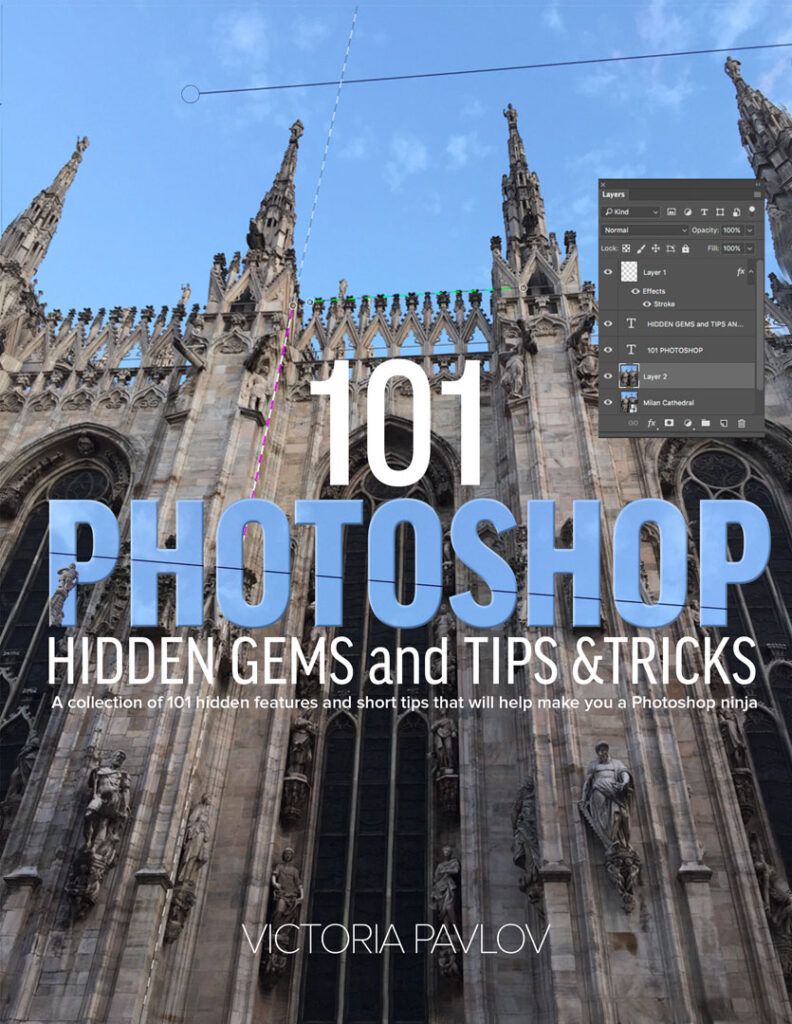
I am thrilled to announce my new book: “100+ Prompts to Ignite Your Everyday Creativity!” Delve into handpicked prompts crafted to spark your daily creativity with Adobe Firefly. Let your imagination soar like never before!
In a digital age marked by unprecedented technological advancements, Generative AI stands as a paragon of innovation. At the heart of this phenomenon is the art and science of prompting — the process of feeding specific cues to a model to elicit desired responses. Whether you’re an AI enthusiast seeking a deeper understanding, a developer aiming to harness its capabilities, or a creative writer desiring to collaborate with the machine, this book is your compass.
“100+ Prompts to Ignite Your Everyday Creativity” is more than just a compilation of cues. It’s a journey through the multifaceted dimensions of human intellect, emotion, and creativity, made possible through the lens of advanced artificial intelligence. These prompts have been curated not just for their utility, but for their ability to push the boundaries of what we believe machines can achieve.
Beyond the simple utility of each prompt, you will find insights into the philosophy of AI interactions, the nuances that make a difference, and the art of asking the right questions. Think of this book as a toolkit, a treasure trove of sparks designed to ignite inspiration and pave new avenues of exploration in the vast world of Generative AI.
As you delve into these pages, remember: The future of AI is not just about the answers machines can provide, but the questions we dare to ask. Here’s to your journey of discovery, innovation, and boundless creativity.
By the end of this book, my hope is that you not only gain a deeper appreciation for the marvels of Generative AI but also feel empowered to craft your own prompts, fostering a symbiotic collaboration between human intuition and machine intelligence. Dive in, and let your journey with Generative AI truly begin!


 and
and 
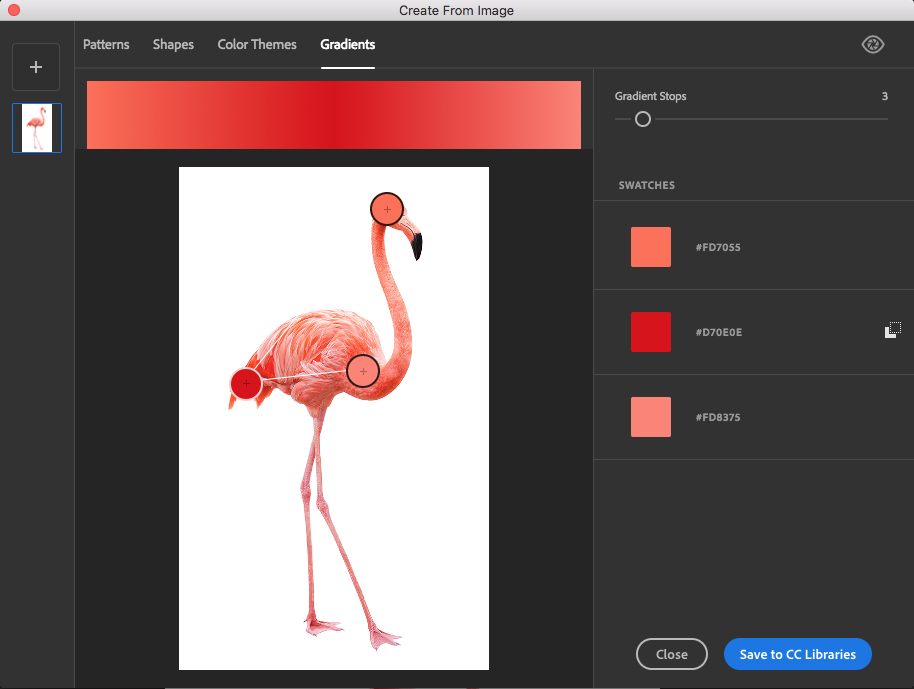
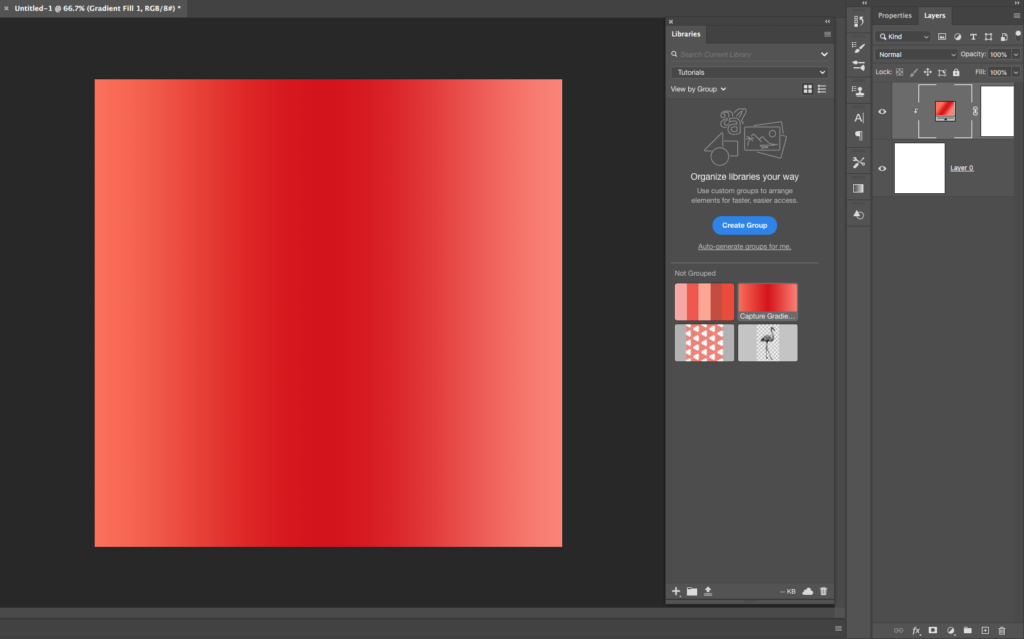
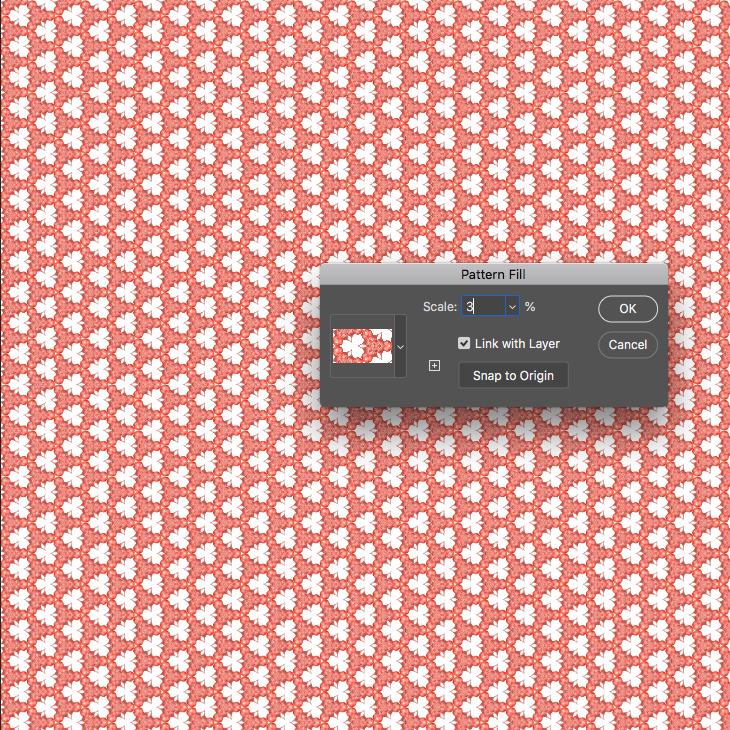
 . Because I am also The Photoshop Artist I decided to combine two passions into one to create fan art using the biggest passion in my life, Adobe Photoshop.
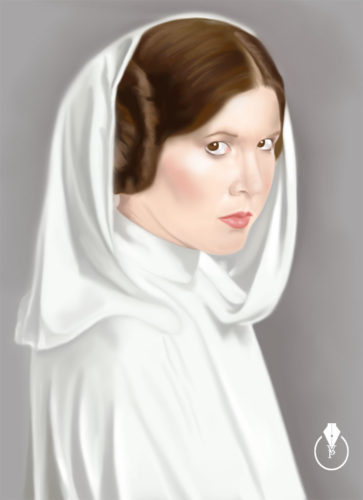
 using
using 
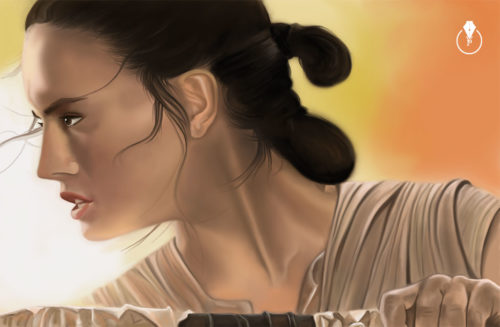

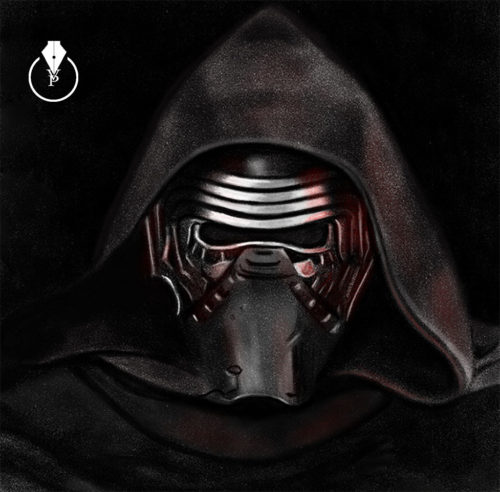 Kylo Ren
 and
and 


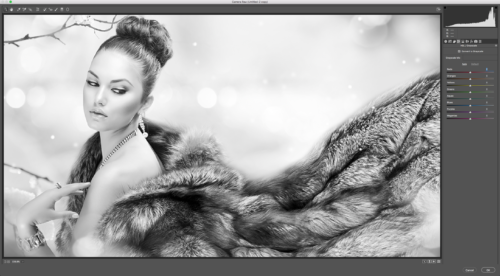
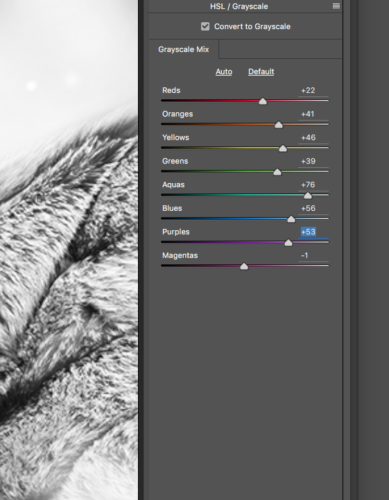
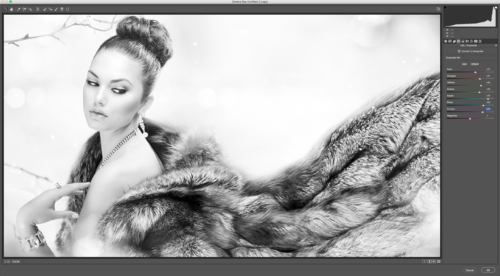

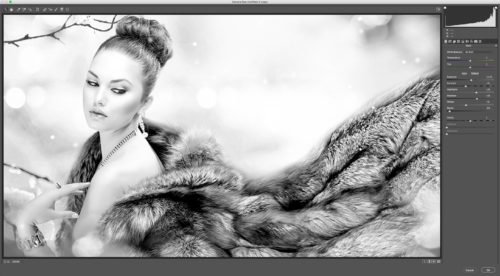
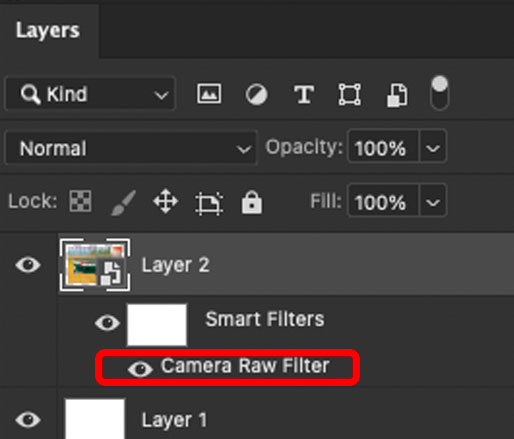
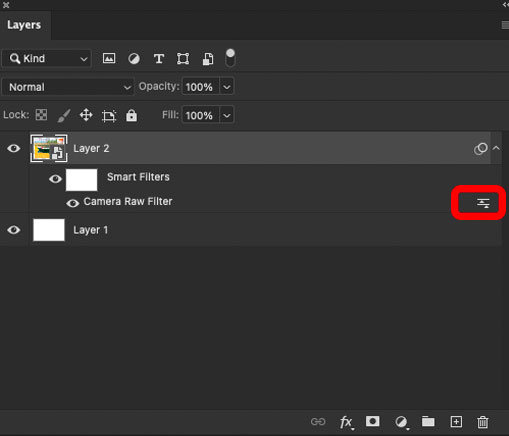
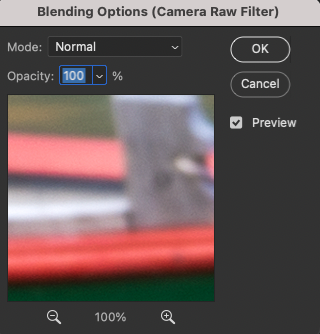
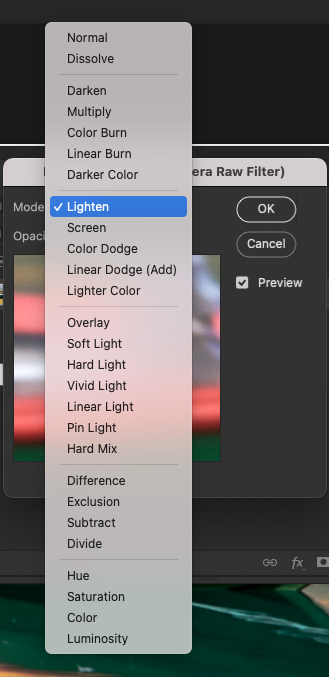
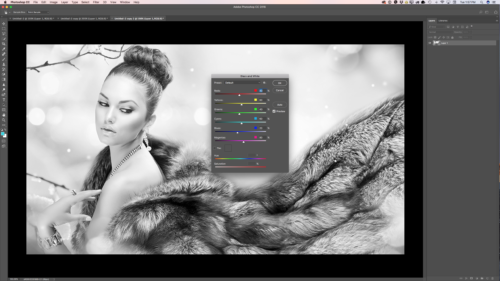
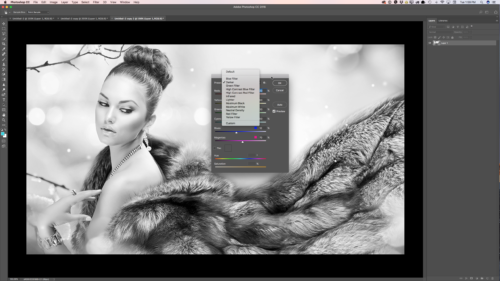
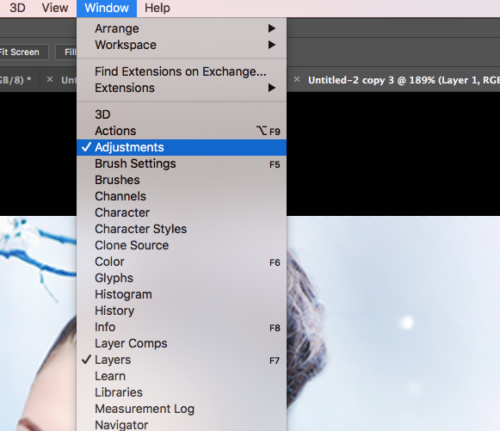
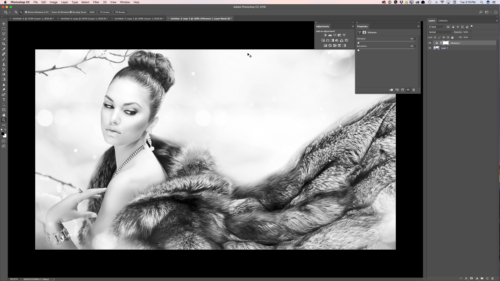
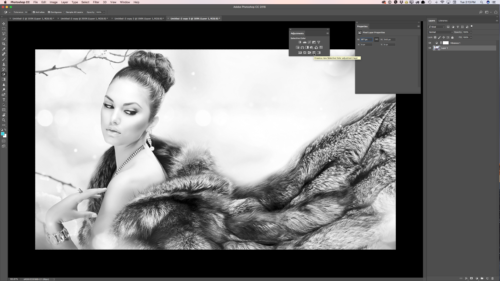
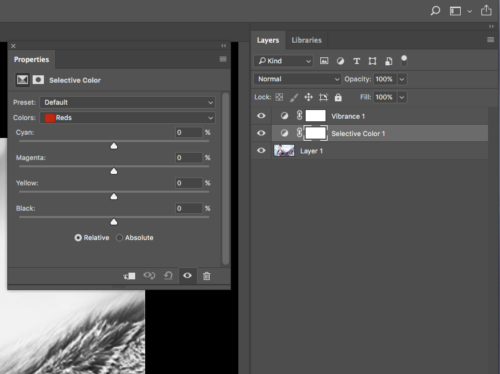
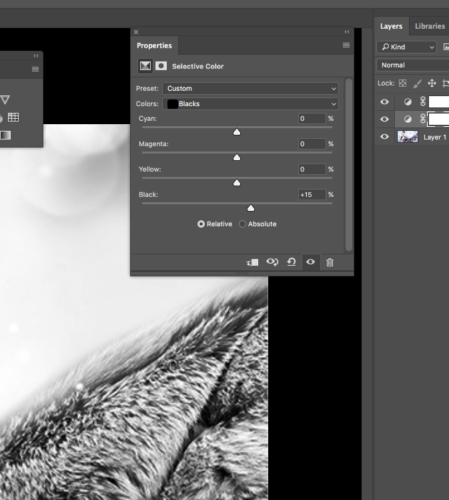
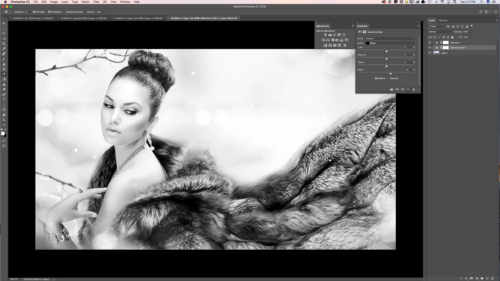
 Image > Adjustments > Black & White
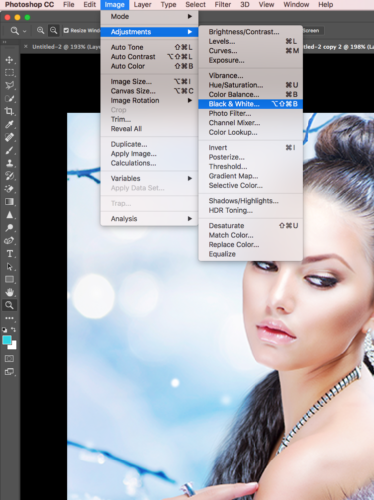


 and
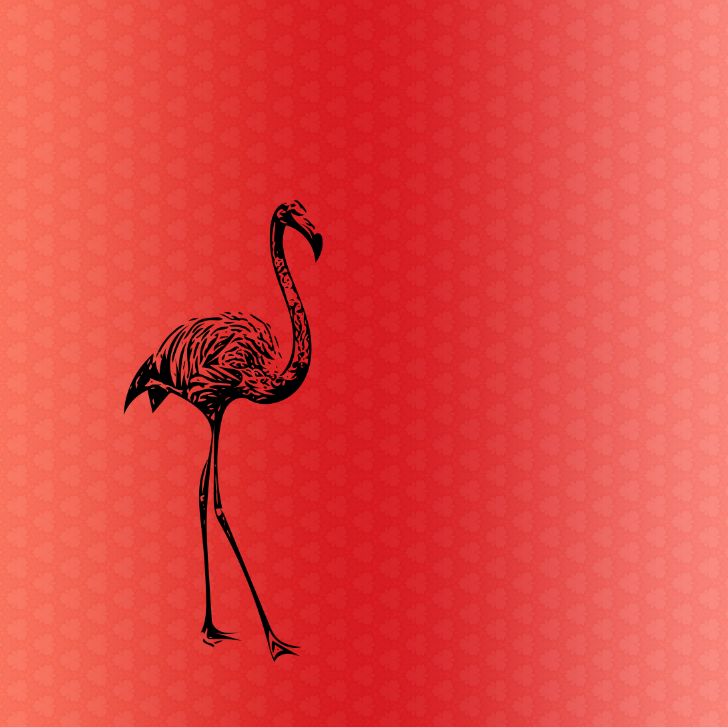
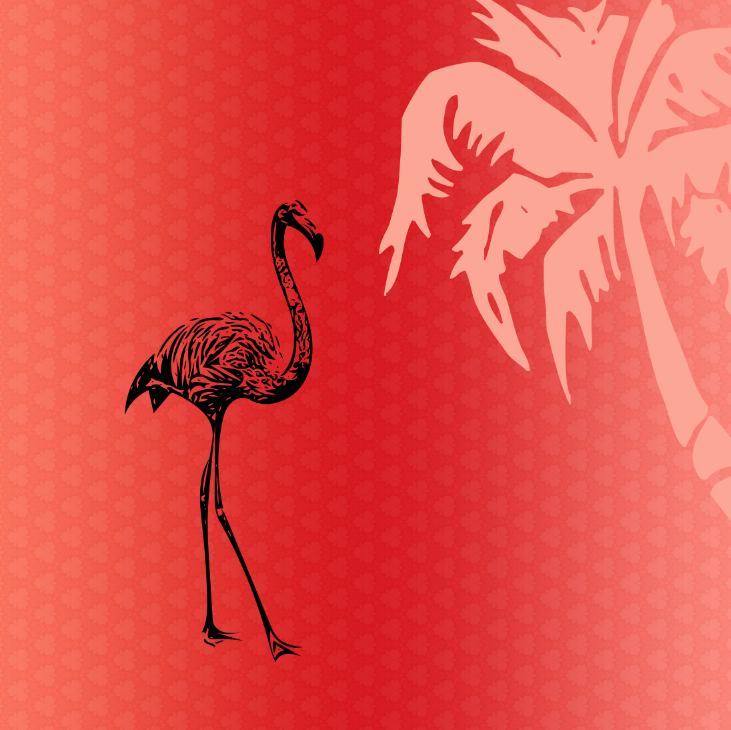
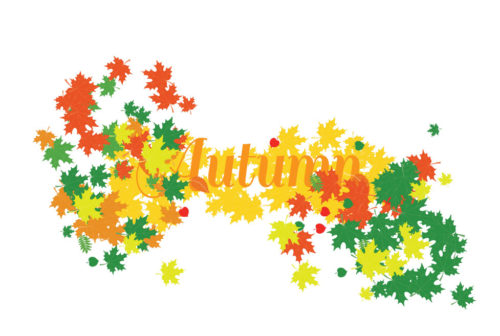
and  . Where did the inspiration come from? From my yard where I am playing with my puppy, from the trees around the fence, from the fresh and beautiful colors of the sky.