Removing An unwanted reflection

Hello and welcome to my new Monday blog post.

In this blog post, I will show you how to combine multiple images together to create your final image.
Last week I was shooting in my studio for Adobe Stock submission. I had my simple setup for a high key session. In this blog post, I will not go deep into my setup, but if you want to learn more about my settings, please let me know using the contact form below.

When you are working with product photography, and especially with a glass or reflective object, it is important to make reflections more smooth or don’t have any reflection at all (unless it is intentional).
We have many different ways of shooting products, and every photographer has his/her own way. What I will show you today is the quickest and easiest way on a small budget.
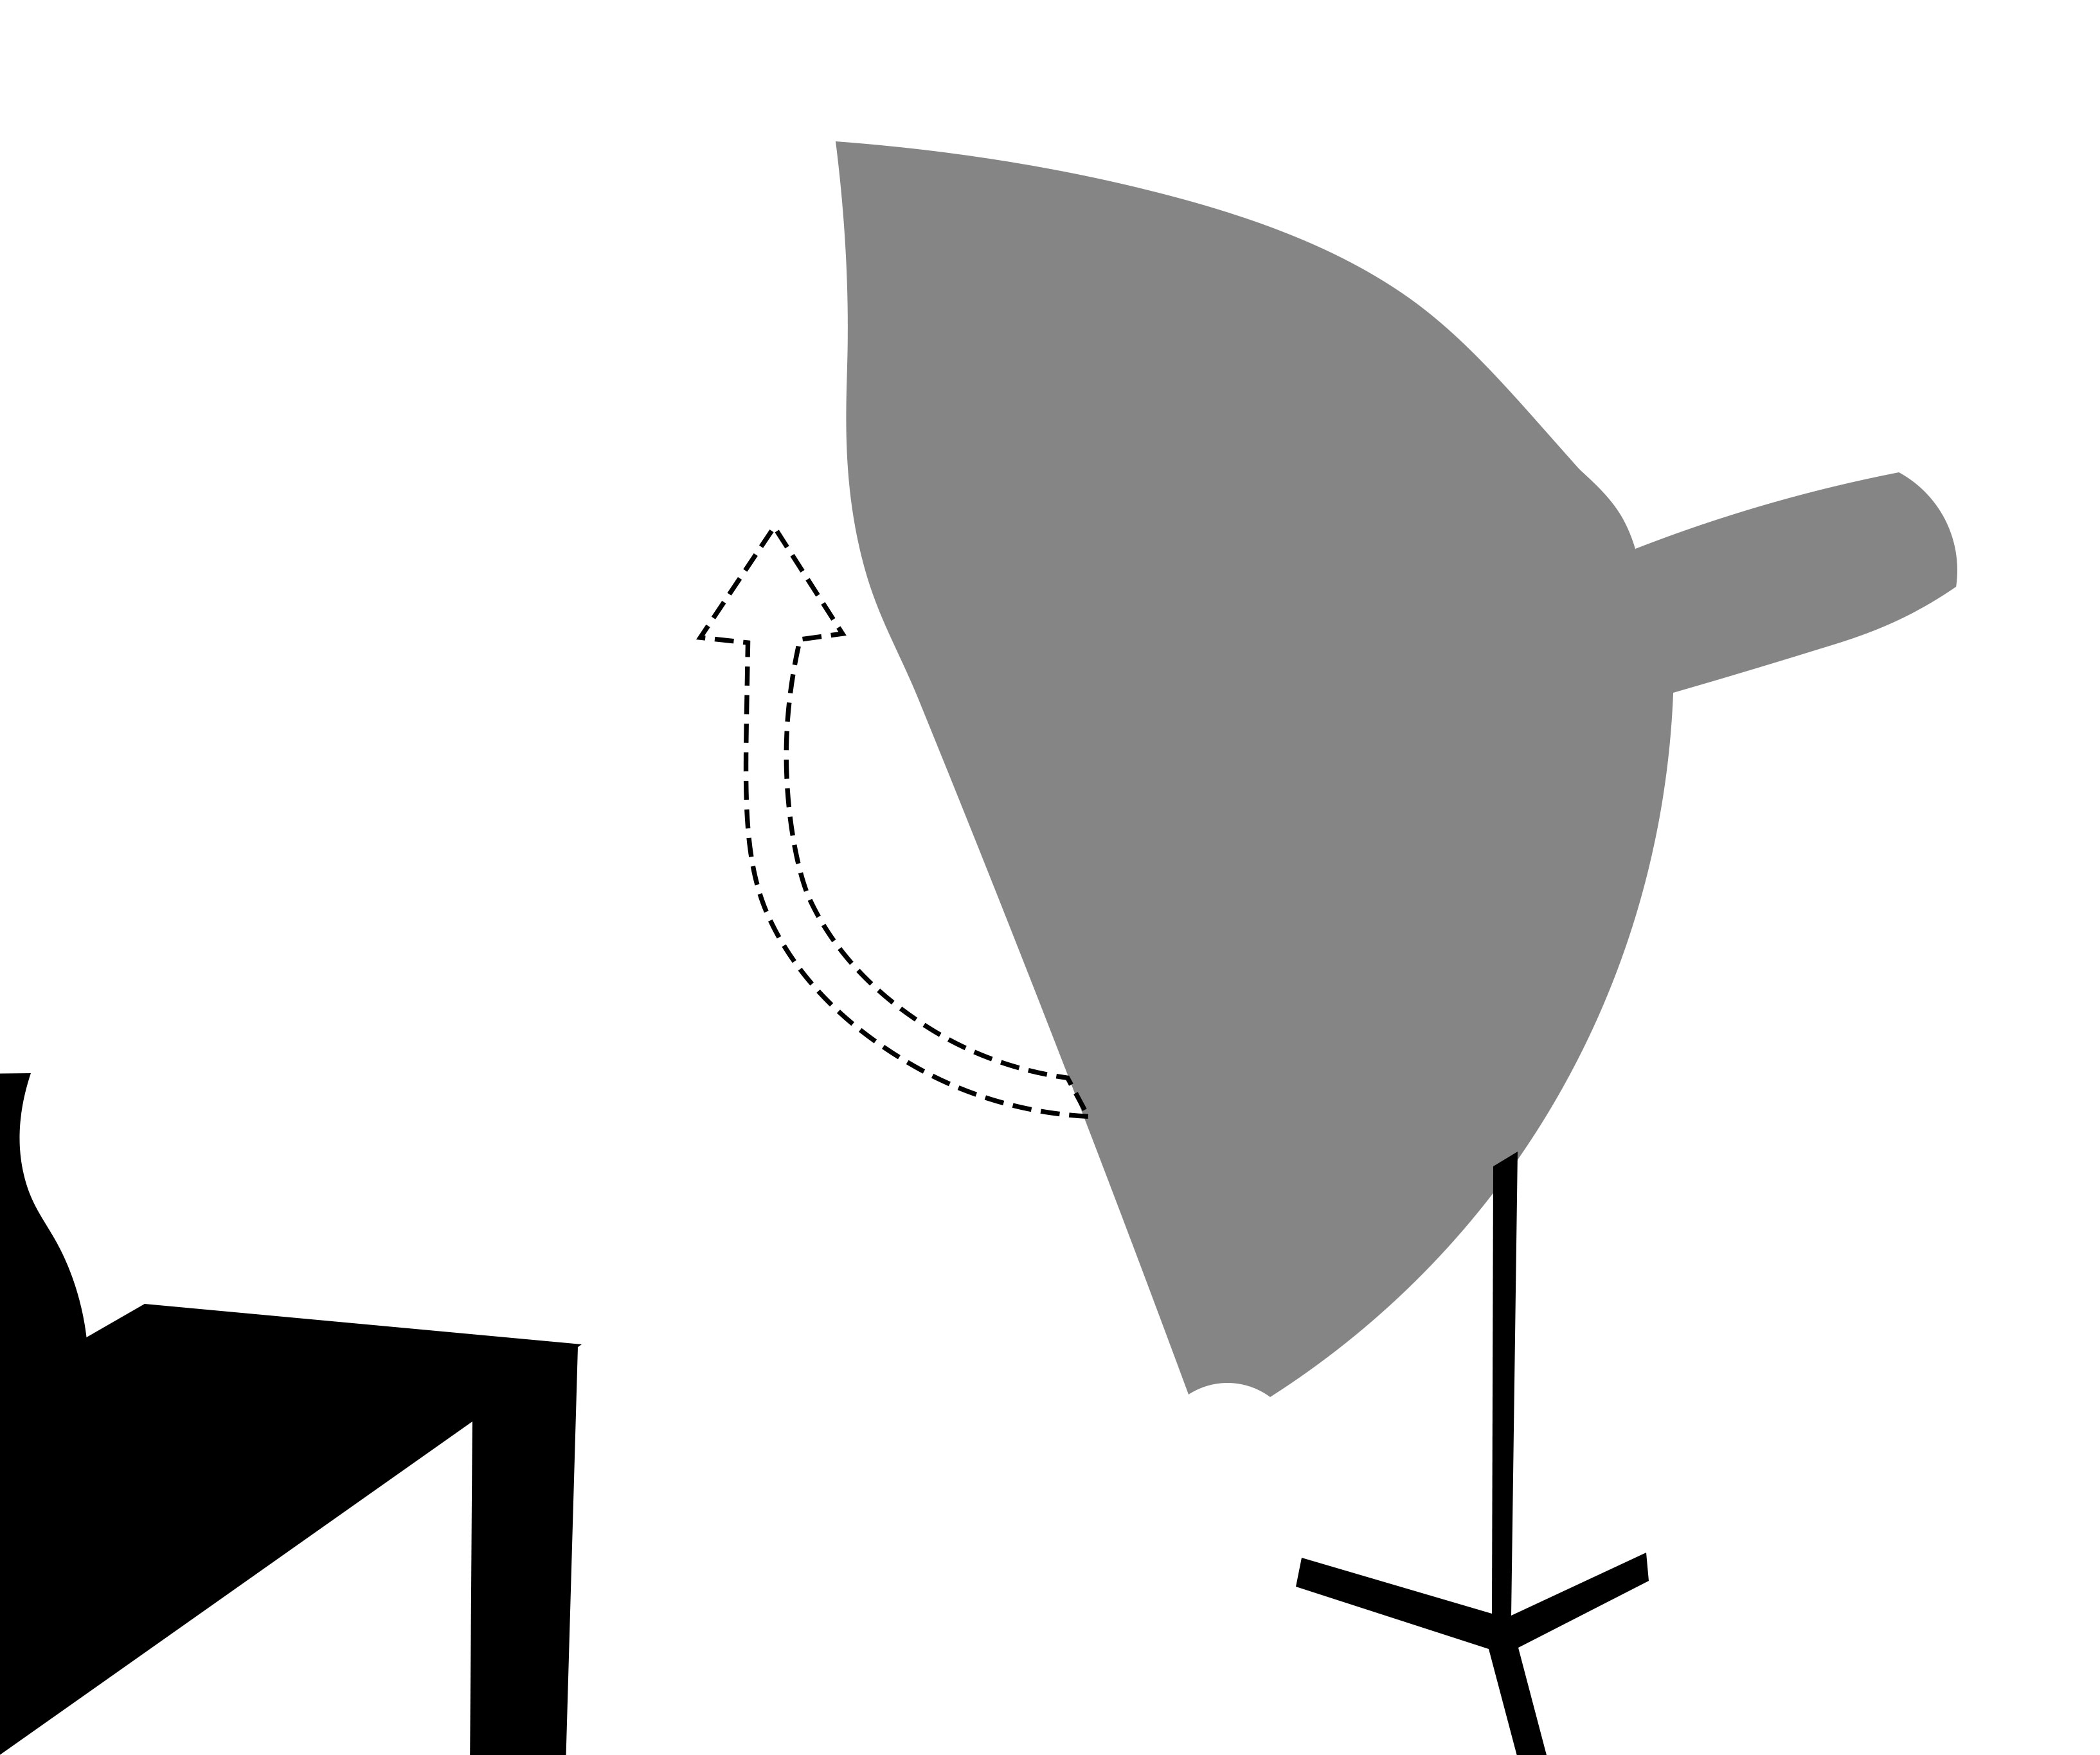
I had two lights. One light is behind my product, and the other light right in front of it.
Main Light

Using this setting I got this result
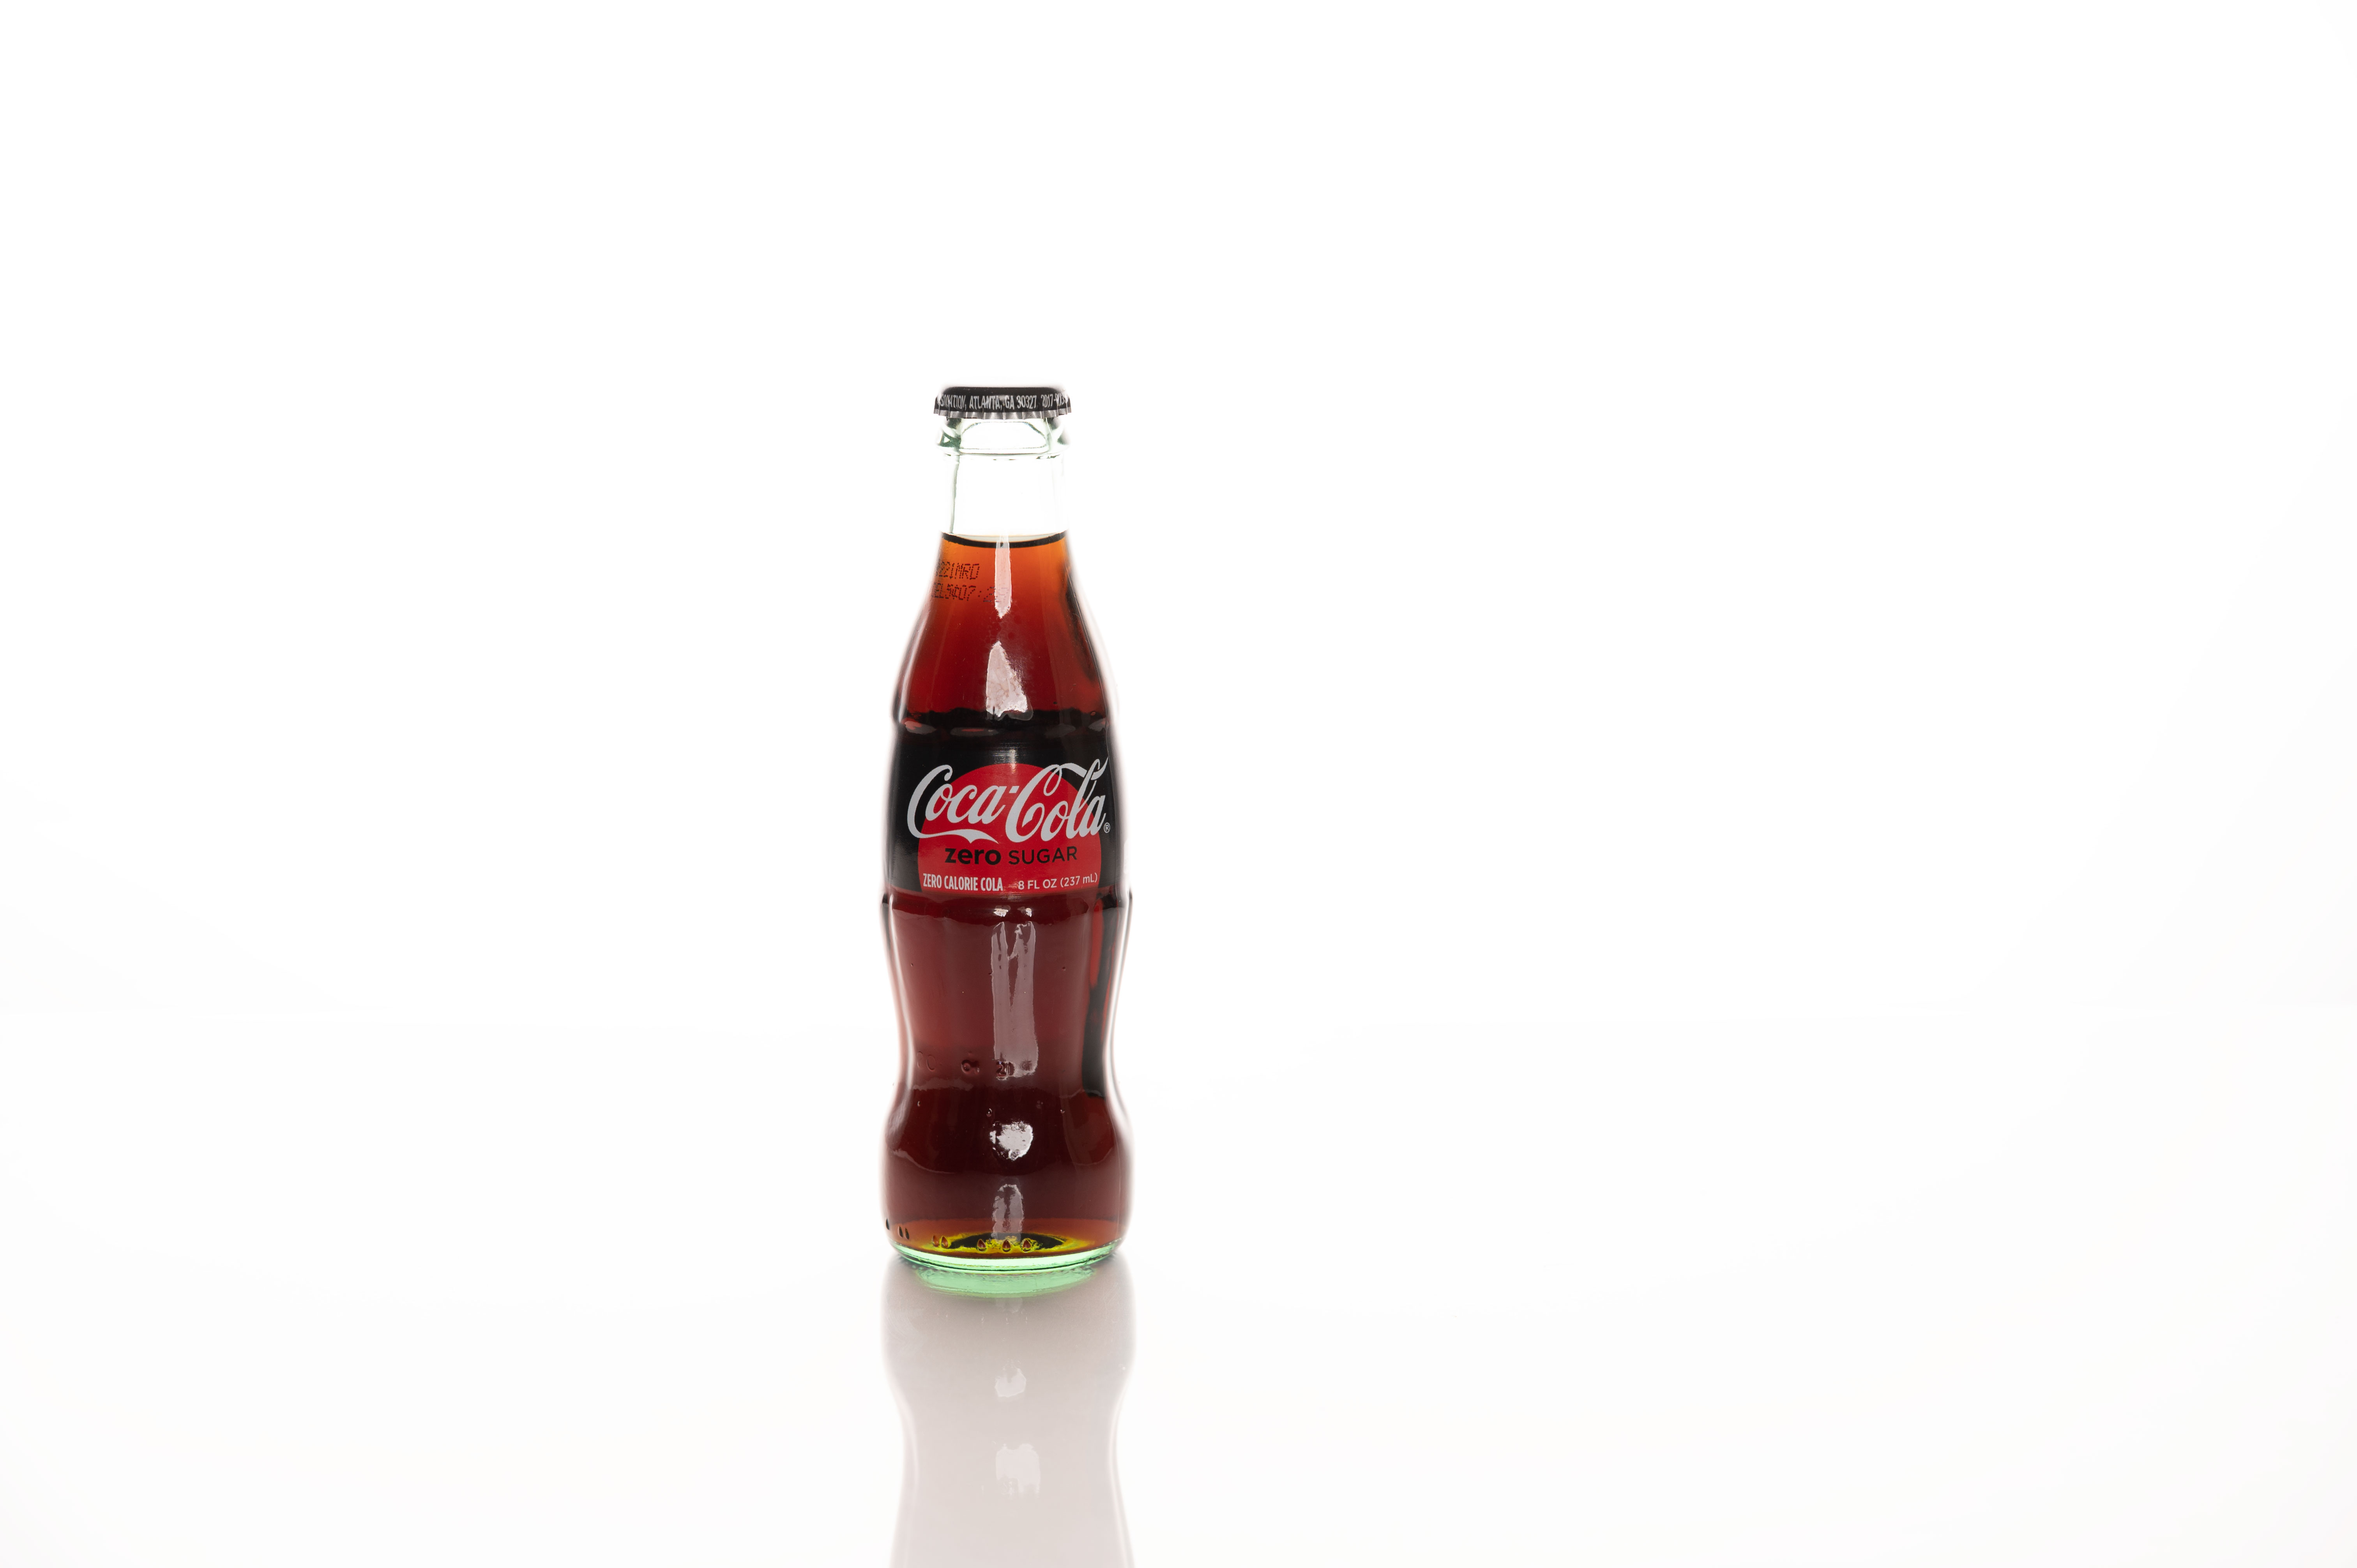
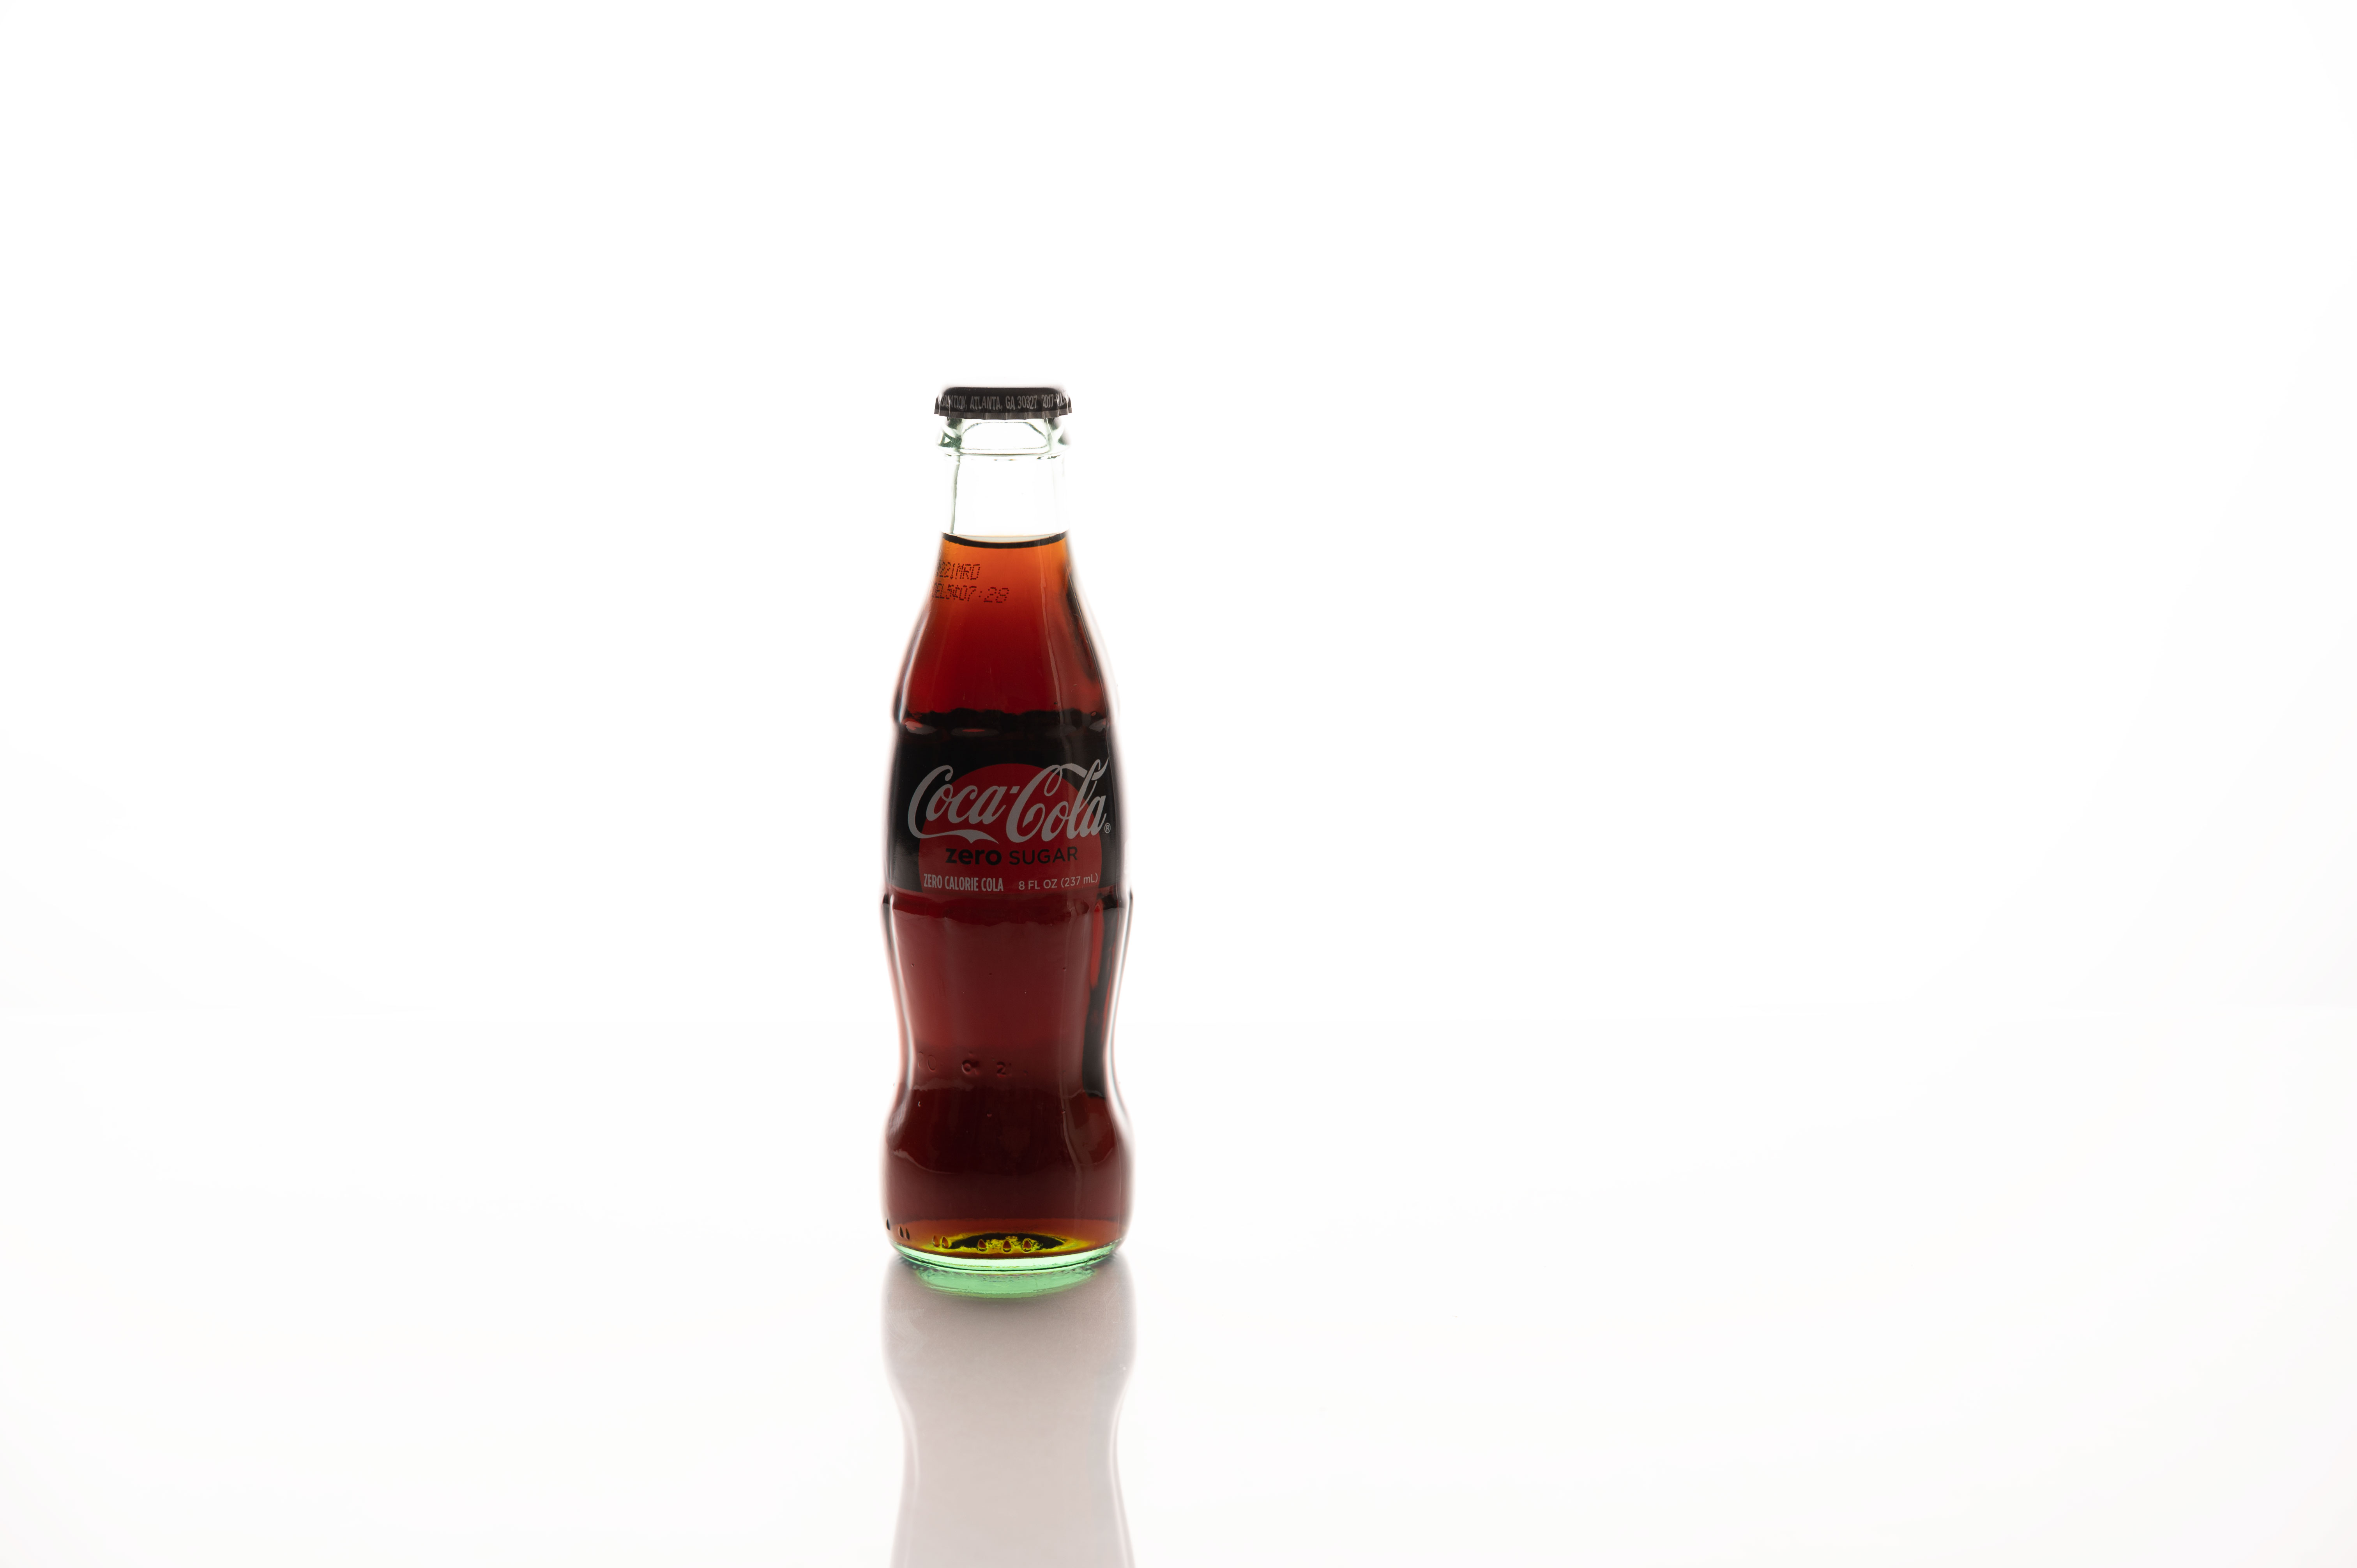
My next step was to bring my main light (which is in front of my subject) up
This is the image I got. This image doesn’t have any reflection (including Softbox reflection).
I always shoot tethered to Adobe Lightroom Classic so now we jump from the studio to Lightroom Classic.
In Lightroom Classic, I will select the first image > right-click > Edit in > Edit in Adobe Photoshop 2021
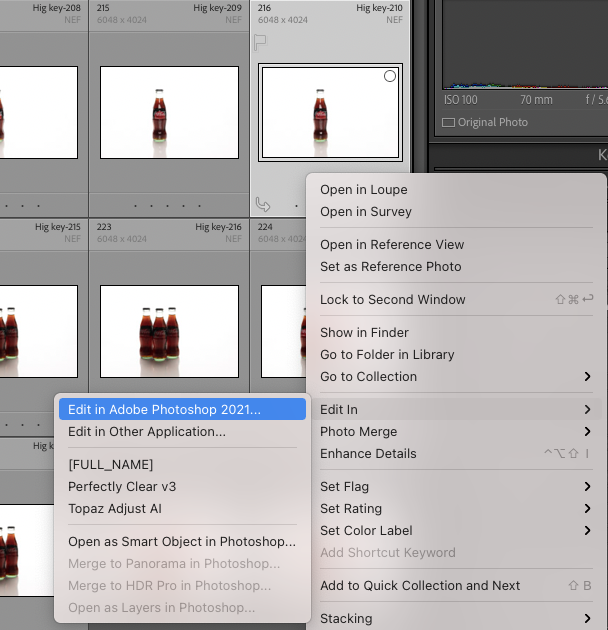
I will do the same with the second image.

Now in Adobe Photoshop, I will place the first image on top of the second one. The image with reflection is positioned on top of the image without a reflection.
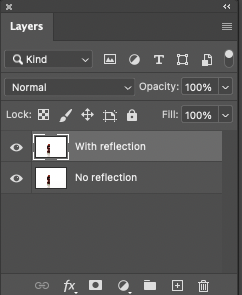
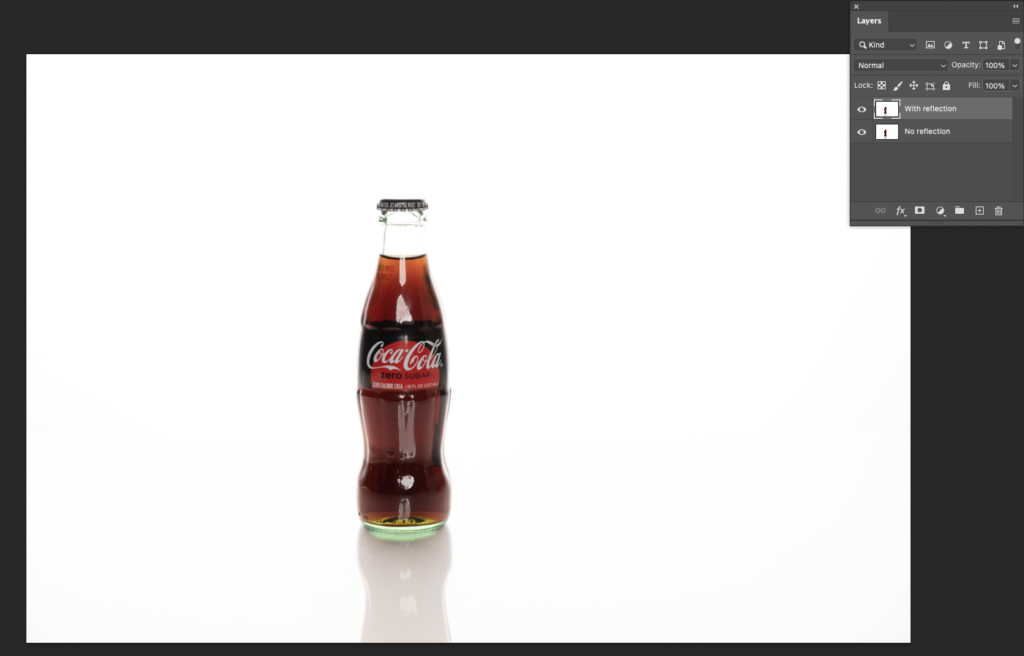
Next step: apply a layer mask to the top layer > using a soft brush with black color, paint off the reflection.
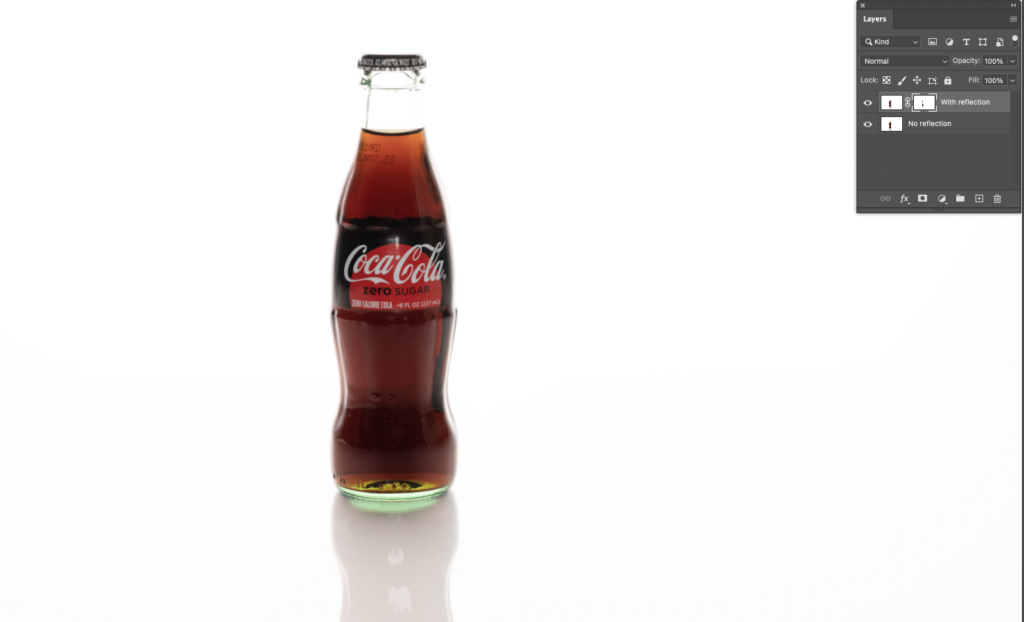
Just like this, I removed all unwanted reflections/highlights from the subject. The next step will be merging all layers and simple adjustments in a Camera Raw with a little cropping.
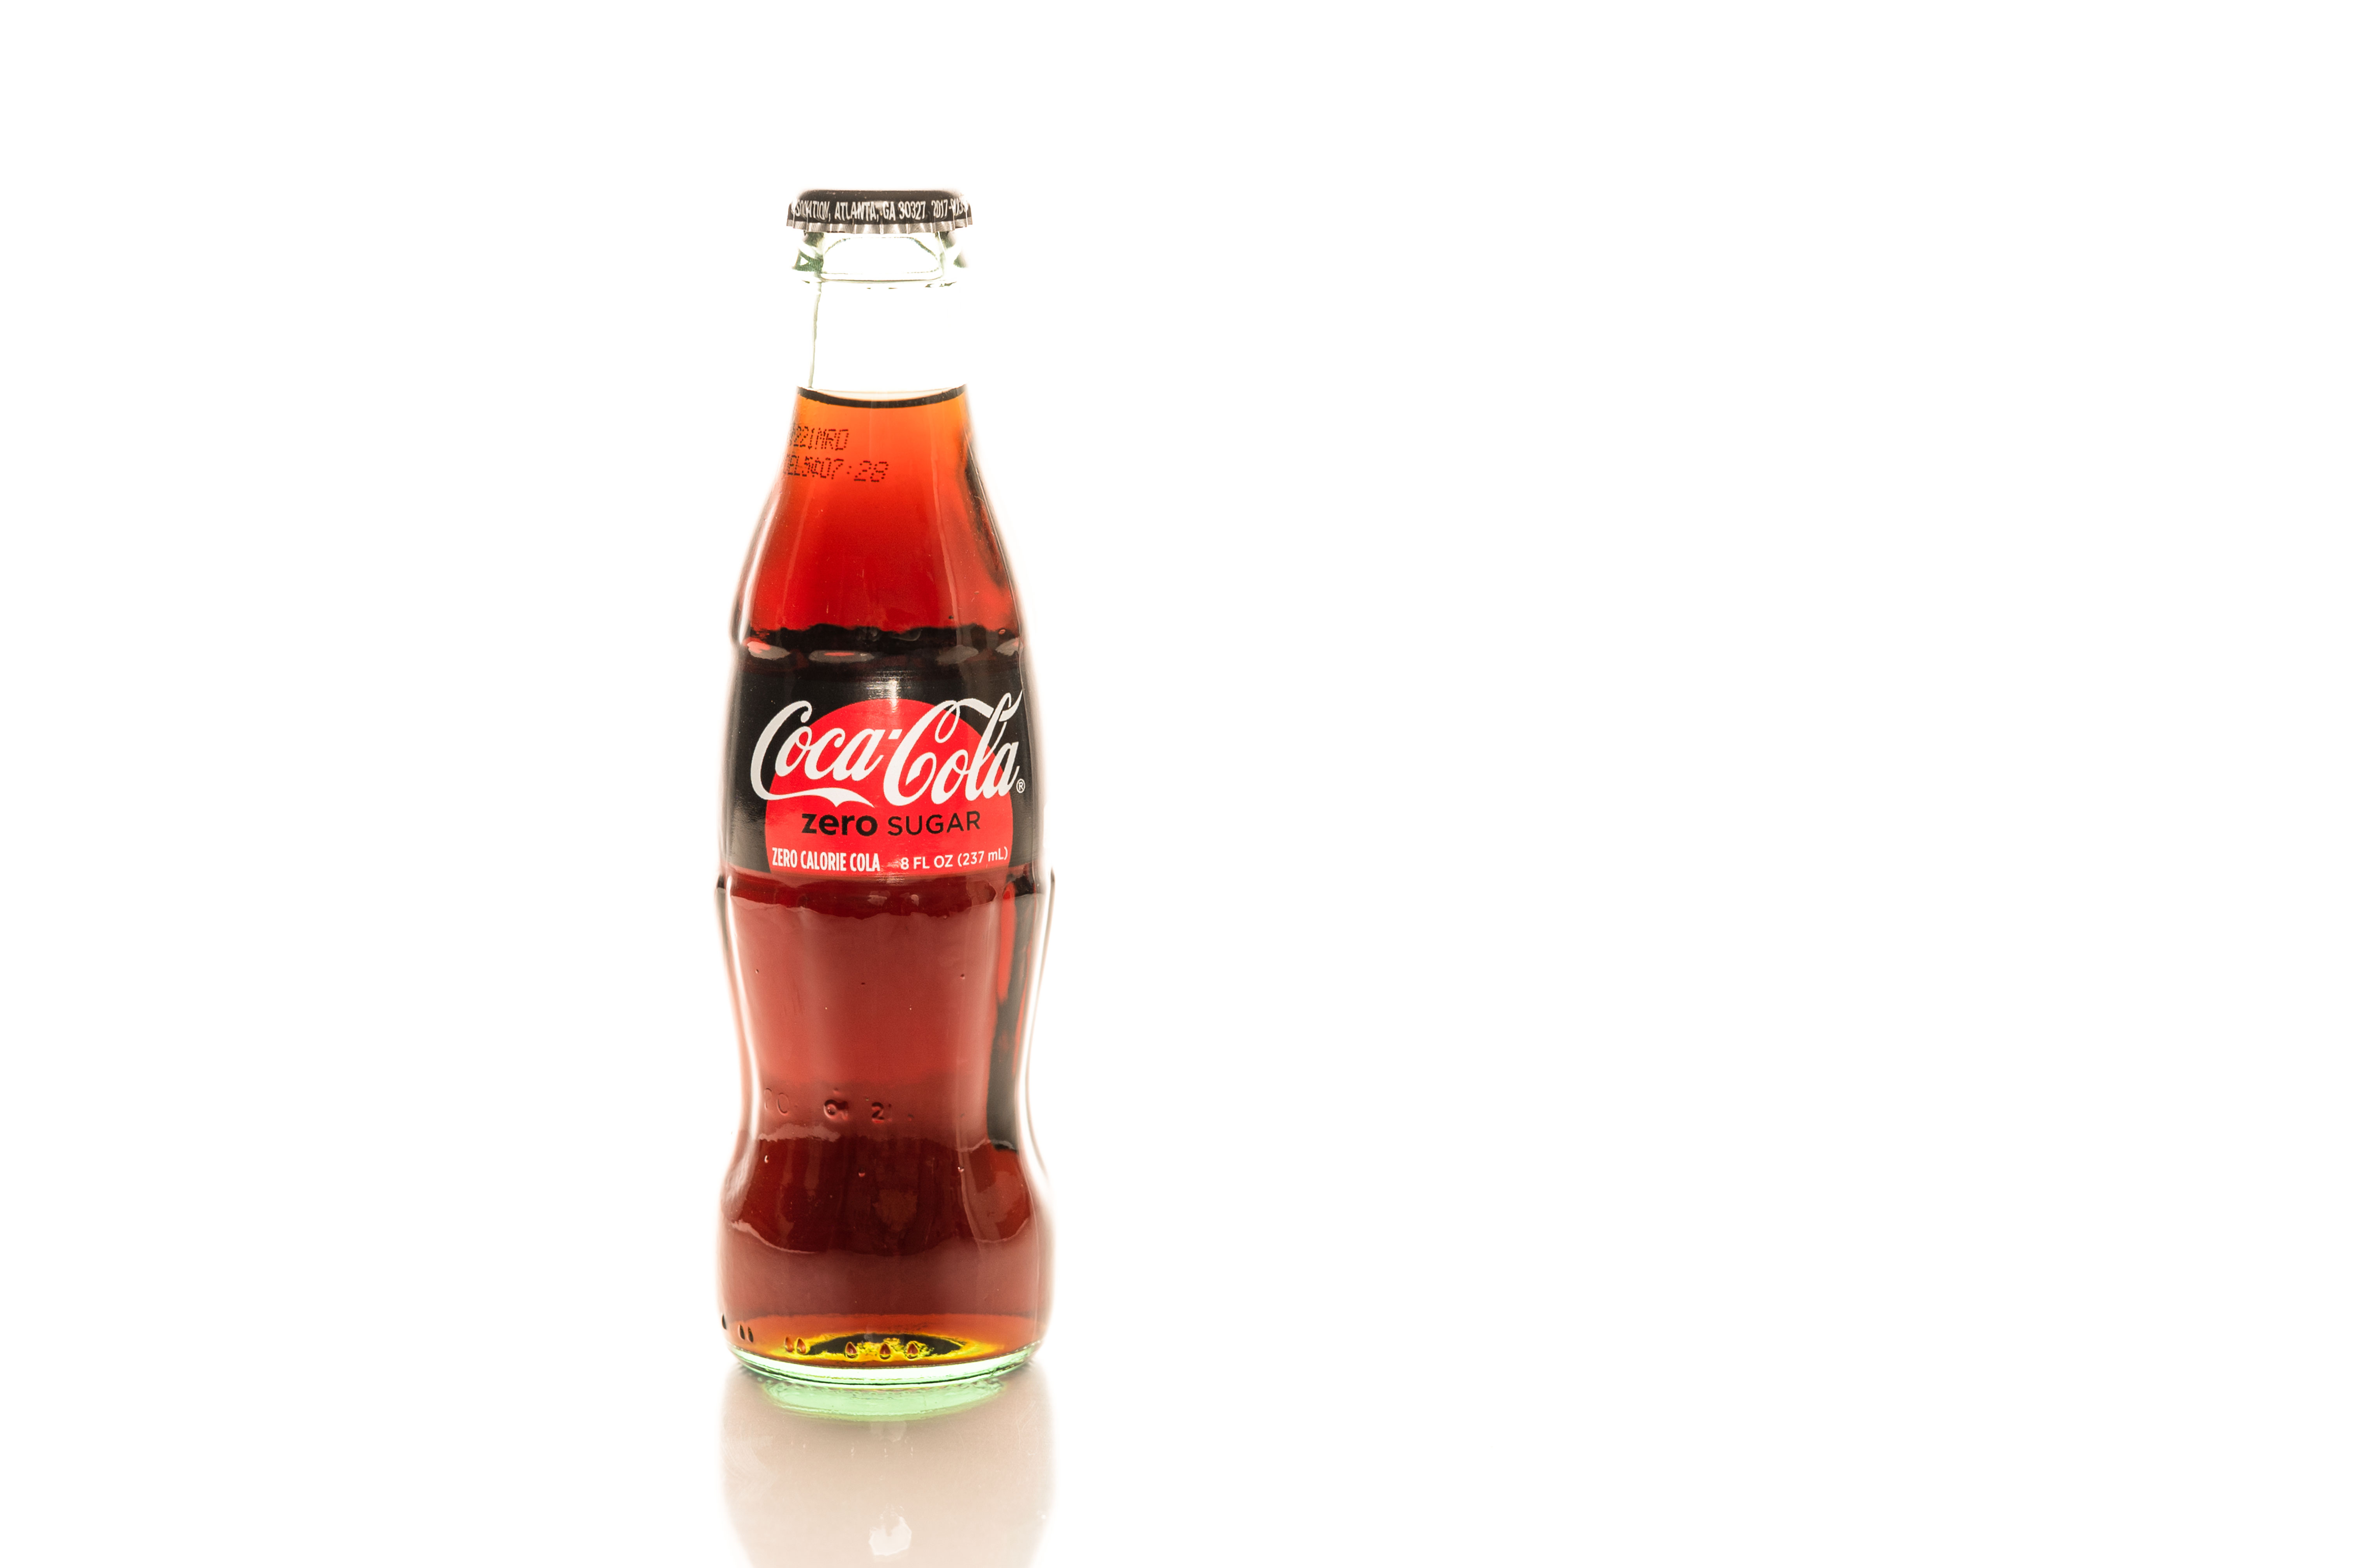
Finally, we are ready to submit the image to Adobe Stock (as an Editorial image since this is an obvious brand). I did it and my file was accepted!

Everyone, I hope now you will start shooting for Adobe Stock and shoot from anywhere, even from the smallest studio, kitchen, or from anywhere else.


*As an Amazon Associate, I earn from qualifying purchases listed below

Adding the same look to multiple images

Hello everyone. It’s Monday, so today is the day for my new blog post.
Today I want to share with you a tip that will help you in your photography workflow. You asked me, and I heard you!
Very often, we want to apply the same feeling, atmosphere to multiple images. Today I will show you one of my favorite tricks in Photoshop.
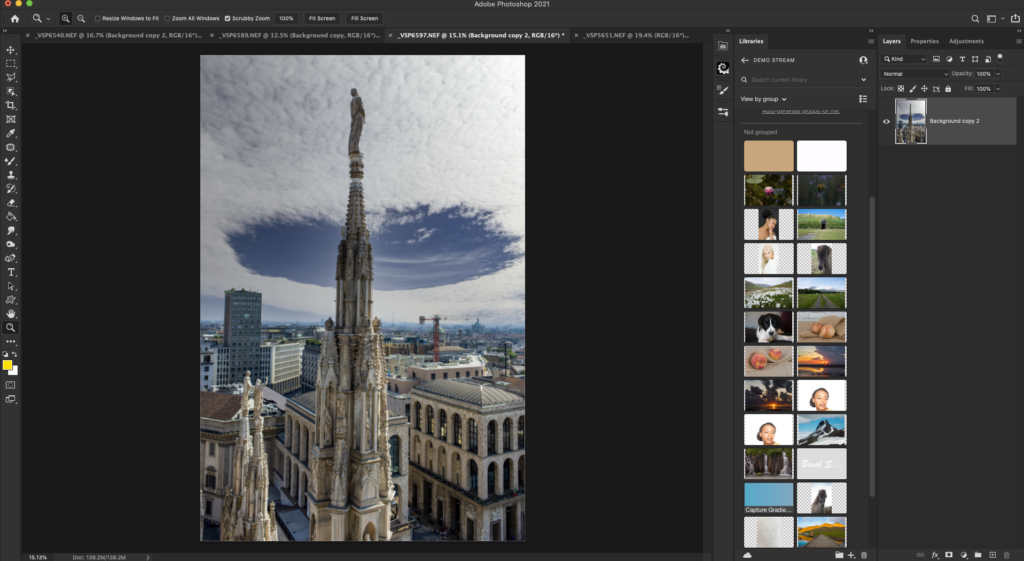
I have opened my image I would like to work with

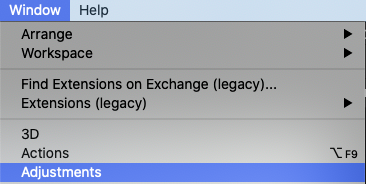
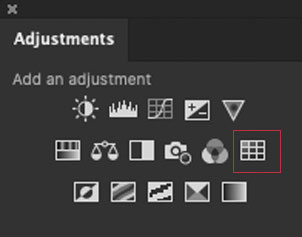
Window > Adjustments

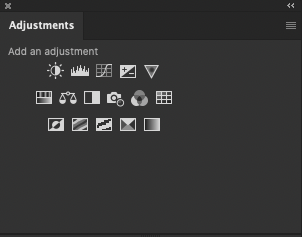
Click on “Create a New Color Lookup adjustment layer”

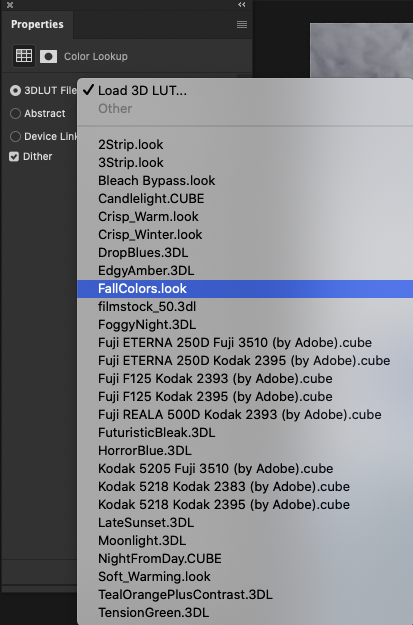
You can choose any LUT from drop down menu. My favorite is “Fall Colors. look”

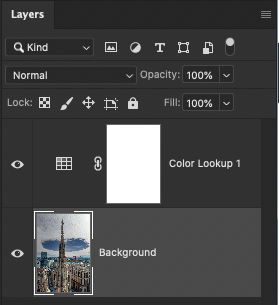
After you click on it, Photoshop will add it as a separate layer with a layer mask applied already, which makes everything much easier.

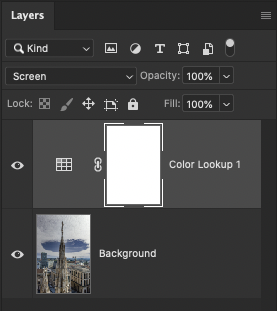
I changed the blend mode for this layer to “Screen.”

My image is ready!

Now you can apply the same steps to any other image(s) you would like to have the same look. This is how easy you can apply the same atmosphere to as many images as you wish.


Introduction to digital painting on mobile with Adobe Fresco and Adobe Illustrator on iPad
Date: 02/17/2021
Time: 7 PM ET


Subscribe to my newsletter

.

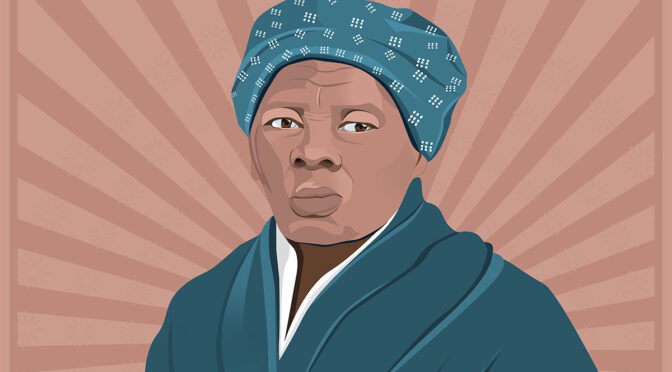
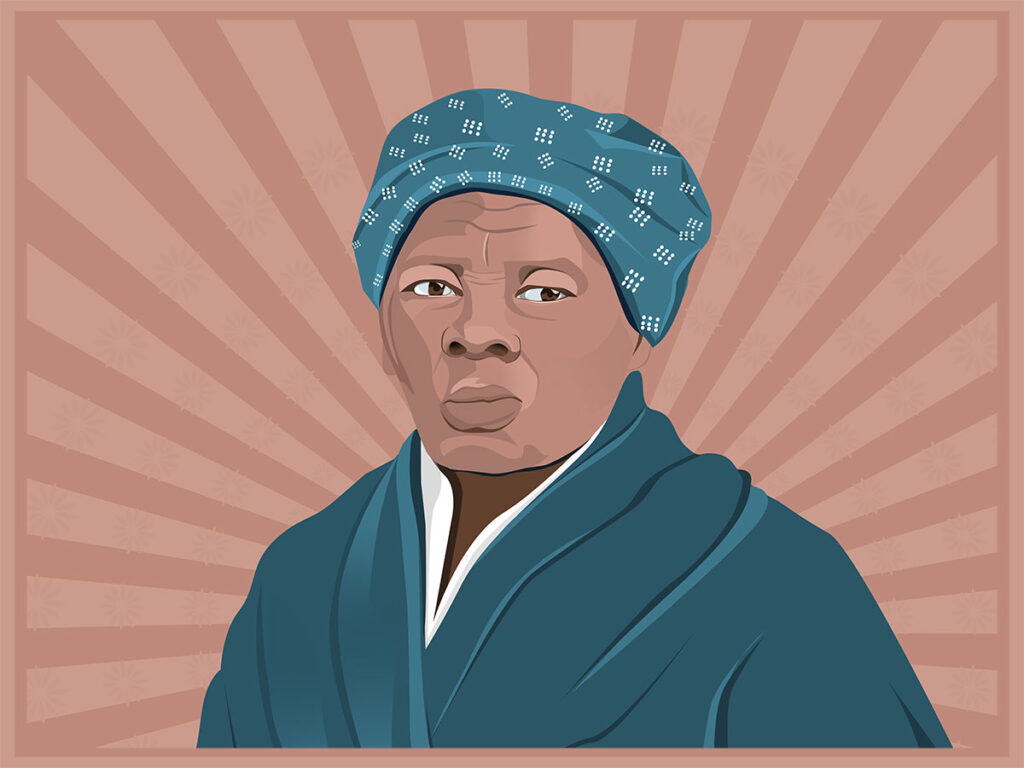
Harriet Tubman

It’s Black History Month, and I would like to start this month with a portrait of the woman I admire the most. 

Harriet Tubman was born into slavery. From her childhood, she was beaten by the various slave owners. She suffered a traumatic head wound that affected her life. She had pain, dizziness all her life. Despite all of this, she escaped to Philadelphia and RETURNED to rescue her family! After that, Tubman returned many times more to rescue others. She was traveling at night and had her strategy. Tubman never lost a passenger. 

During the Civil War, she worked for the Union Army. Tubman started as a cook and nurse, and later on as an armed scout and spy. Harriet Tubman became the first woman to lead an armed expedition during the war. She guided the raid at Combahee Ferry, which liberated more than 700 enslaved people. 

Tubman is the woman who was a fighter, the woman who did not keep her head down as she was told and forced to do. She was fighting for human rights, for equality, for freedom. It was dangerous and painful, BUT she did it! She said, “I would fight for my liberty so long as my strength lasted, and if the time came for me to go, the Lord would let them take me.”

Harriet Tubman is my hero. She stood for the right things, and she believed in them. In so many situations, it’s not easy to do. Even when it is not easy, even when we are not sure how we can do this, we MUST try. As Tubman said, “I had reasoned this out in my mind, there was one of two things I had a right to, liberty or death; if I could not have one, I would have the other.” It doesn’t matter how tired we are, and it doesn’t matter how many times people showed us the place they think we need to stay at; we MUST fight for human rights, for woman rights, for equality for everyone! Never say “I can’t”, because you are strong and you CAN. Harriet Tubman did show us that we can do it all!!! 

P.S. I hope that one day we will not celebrate Black History for only one month. I hope we will celebrate it every day. I know we can do it. Harriet Tubman said, “Every great dream begins with a dreamer. Always remember, you have within you the strength, the patience, and the passion to reach for the stars to change the world.”

I painted a portrait of Harriet Tubman in Adobe Illustrator on iPad


My Upcoming Events


.

.

.