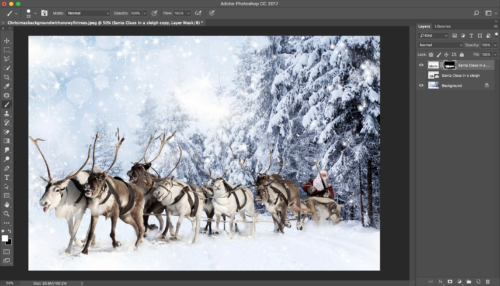
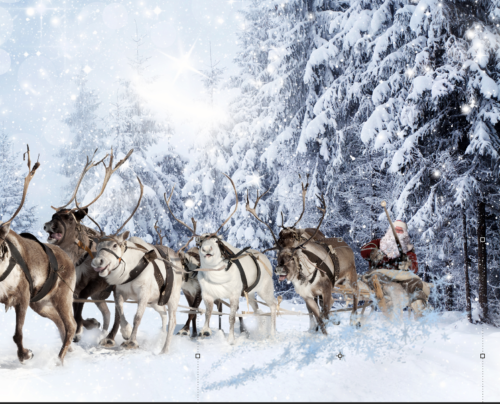
How to create a winter scene in Adobe Photoshop CC using Adobe Stock images and a 3D object from PixelSquid.com
 In this tutorial I will show you how you can create a winter scene in Adobe Photoshop
 CC using images from Adobe Stock and 3D object from PixelSquid
Adobe Stock images I downloaded for this tutorial:
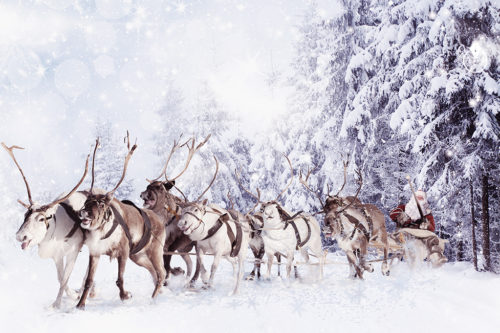
FILE #: 45012599
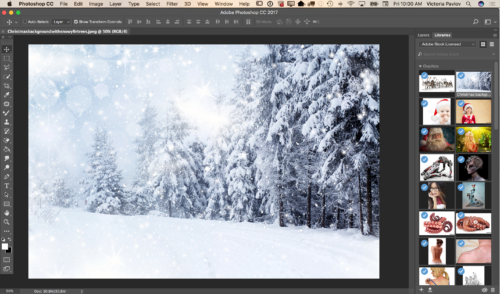
FILE #: 94046505
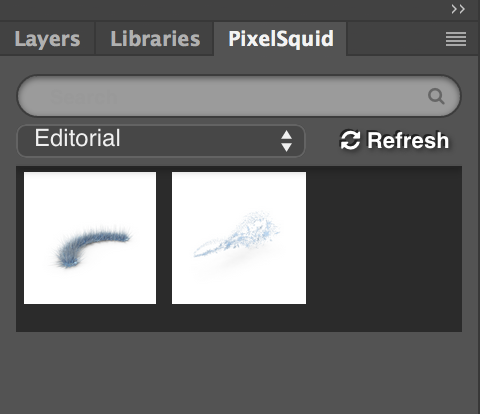
3D object I downloaded from PixelSquid
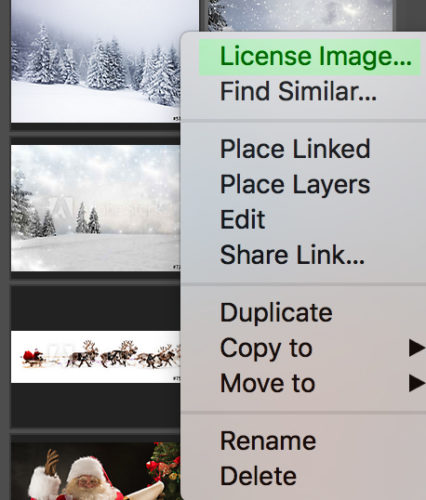
First of all I downloaded two images from Adobe Stock website. I downloaded those files as preview files and after I tried them out I licensed them directly within Adobe Photoshop CC :
:
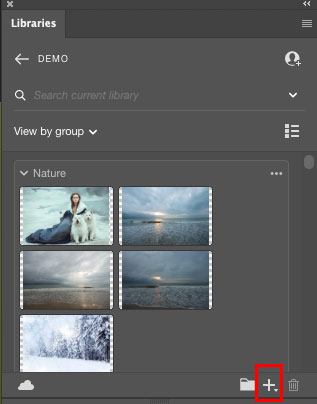
Right Click on a image in your library panel you want to license > License Image
Double click on your licensed image (in the library panel)
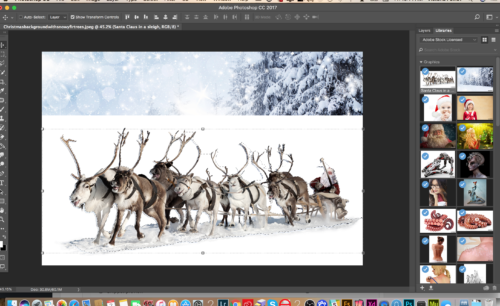
To bring another file into your document from your library panel > Click on the image > Drag into your document
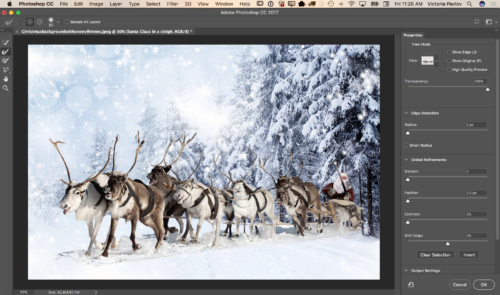
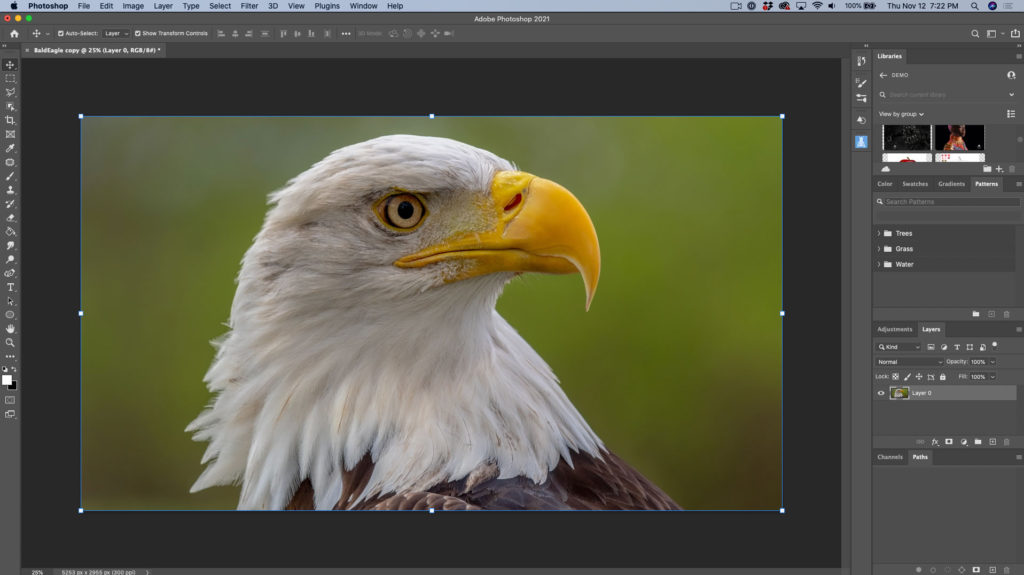
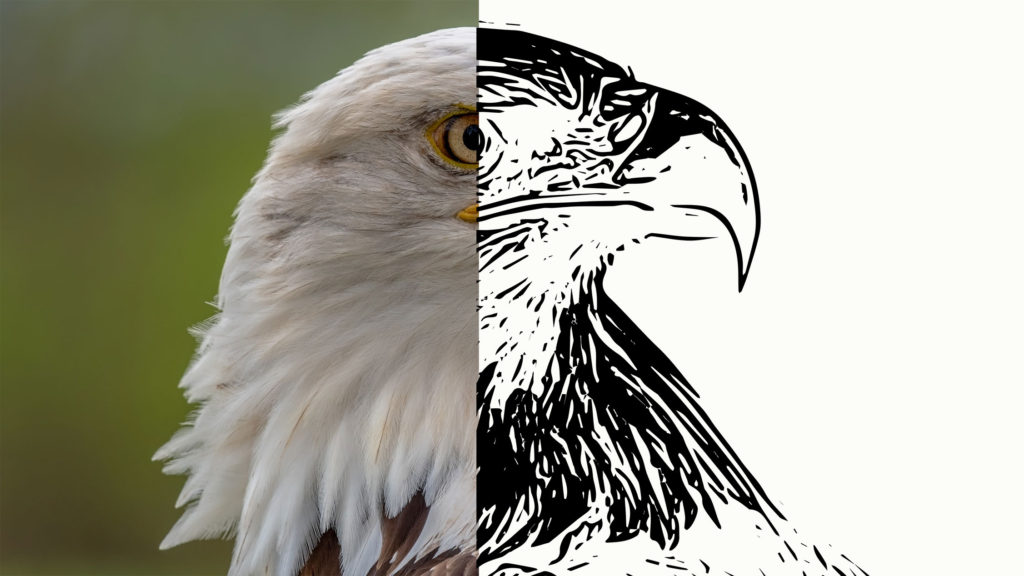
Using the Quick Selection Tool select Santa Claus and the reindeer? (don’t worry if your selection is not perfect. You will be able to fix it later on)
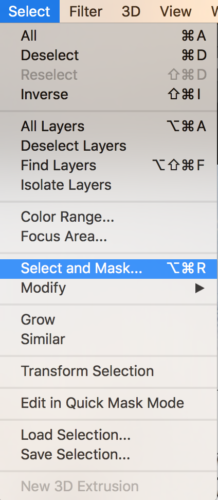
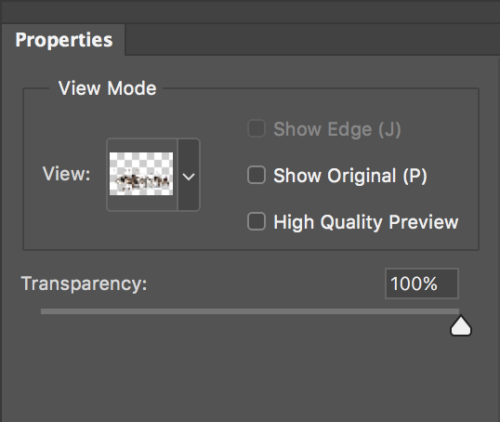
Select > Select and Mask
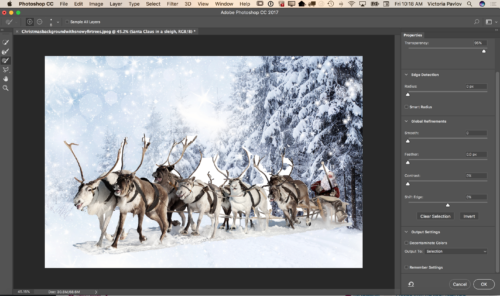
Change the View Mode to Onion Skin and Moon Transparency Slider all way to the right 100%. This way you will be able to see the background layer and make all the necessary corrections toyour initial selection right away.
Zoom In your document
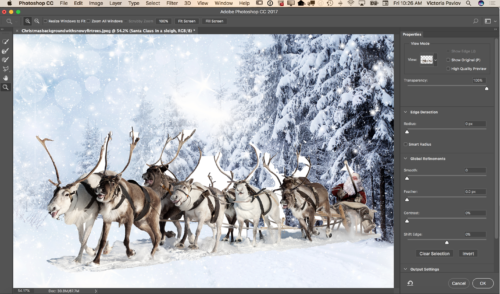
Using the Brush Tool correct your selection (switch between “+” and “-” if needed to correct the selection)


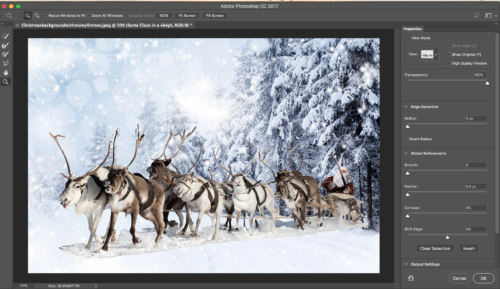
After you are happy with your selection switch to the Refine Edge Brush Tool

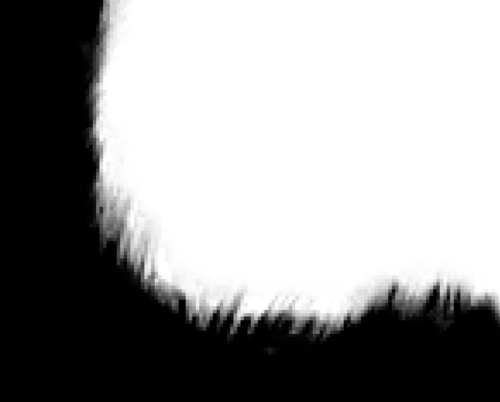
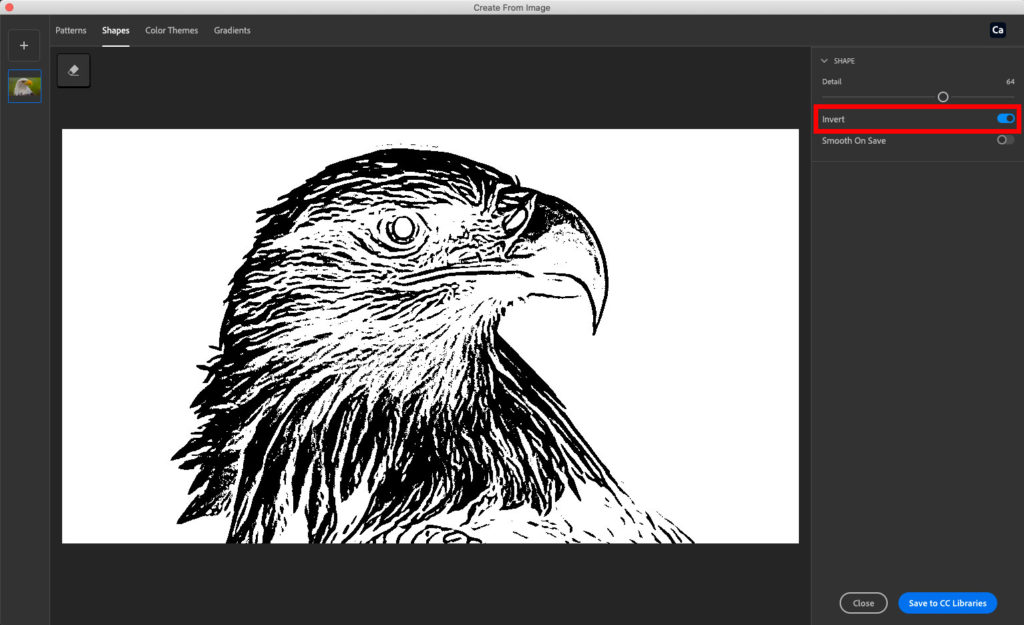
Switch View Mode to Black and White

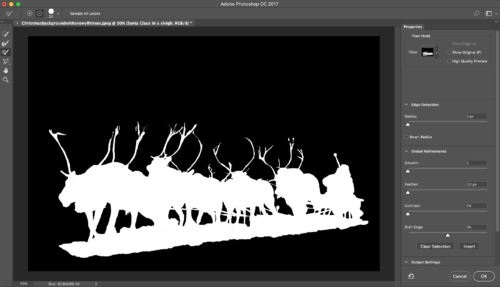
Using the Refine Edge Brush Tool clean up the edges of your selection.
After you are happy with your final selection change the Output Setting to New Layer with Layer Mask
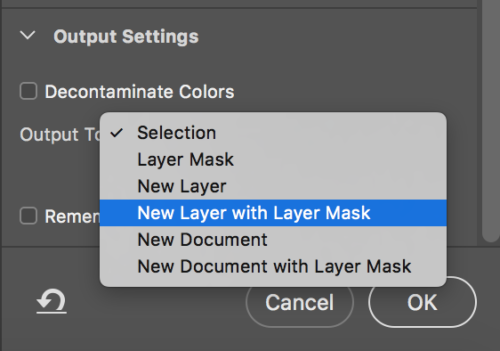
Click OK

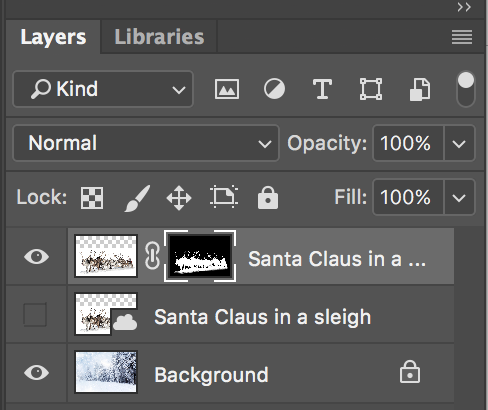
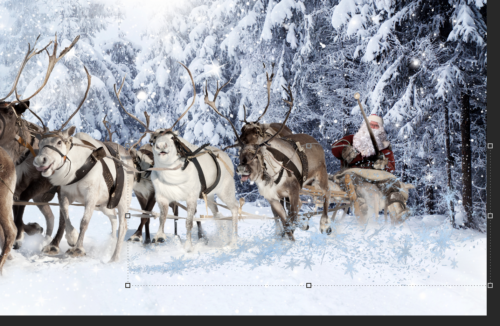
Click on the Mask Icon (Santa Layer) > Gradient Tool with Black color


Correct the part between snow under the reindeer and background snow line (simply paint it out using gradient tool)
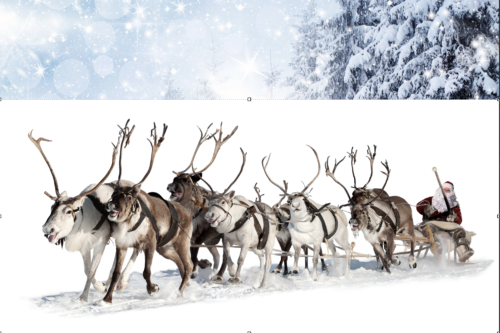
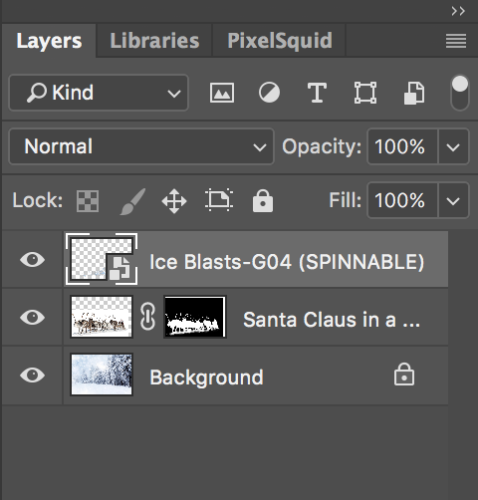
Previously I downloaded a 3D object from PixelSquid.com and now I will simply click on this object (snow) and object will be added to my document
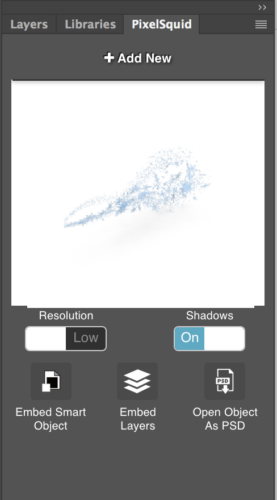
Now I will rotate my 3D object, also will Switch to High Resolution and remove the Shadow
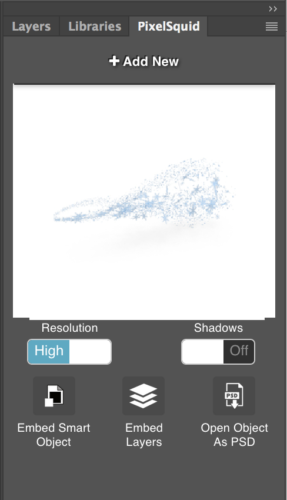
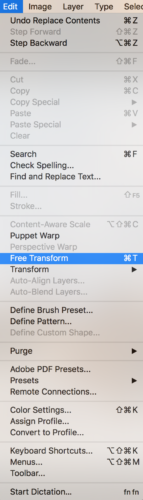
Resize your 3D object using the Free Transform tool
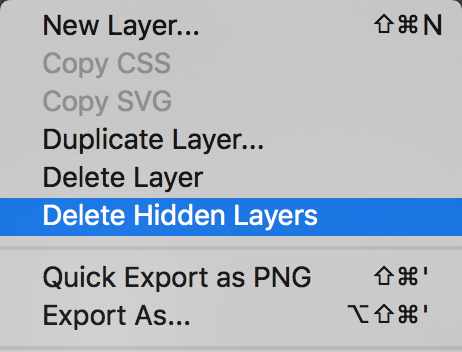
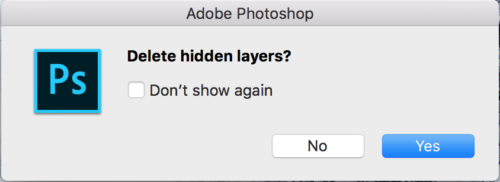
Delete the Hidden Layer from Layer Panel
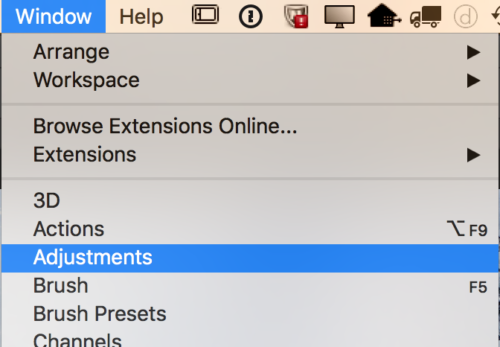
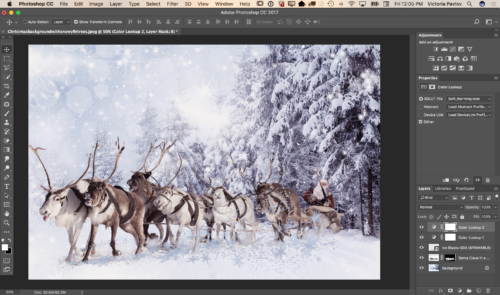
Window > Adjustments
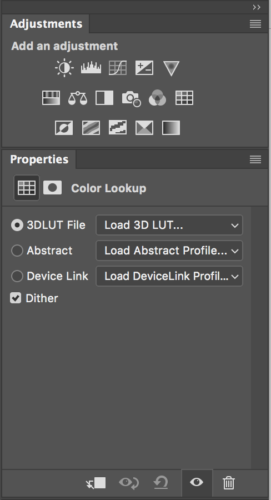
Color Lookup Adjustment
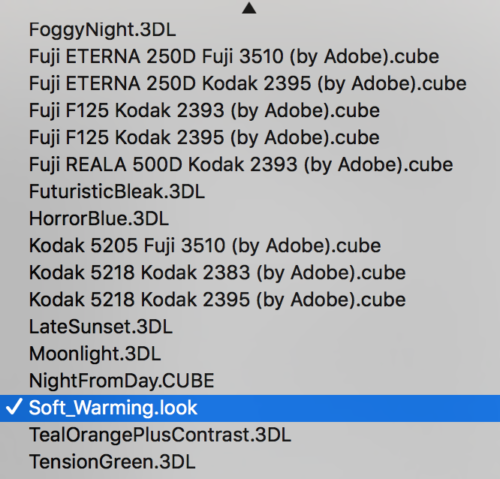
Choose Soft_Warming.look

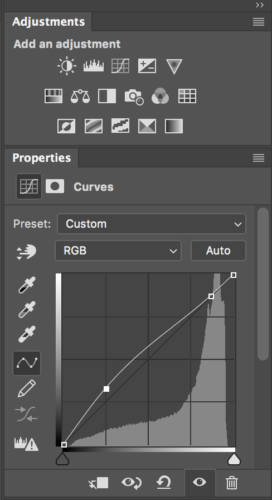
Adjustments > Curves
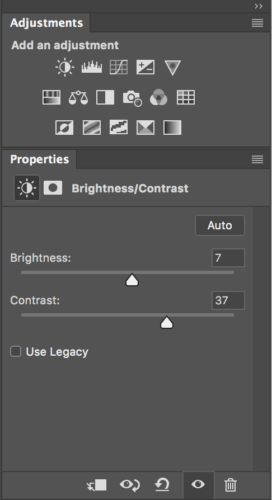
Adjustments > Brightness / Contrast
Make 3D object layer’s opacity = 67%
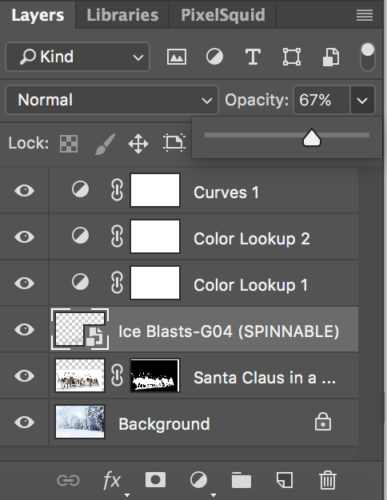
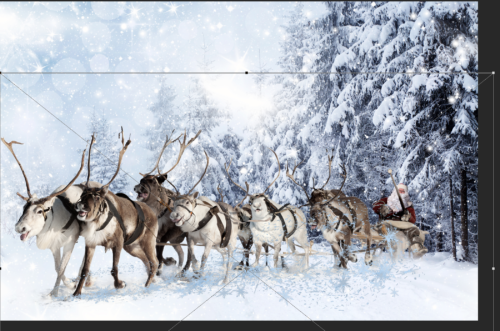
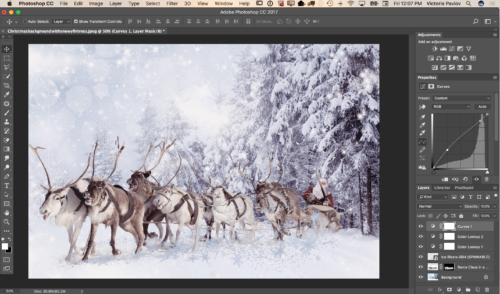
Now your image is ready

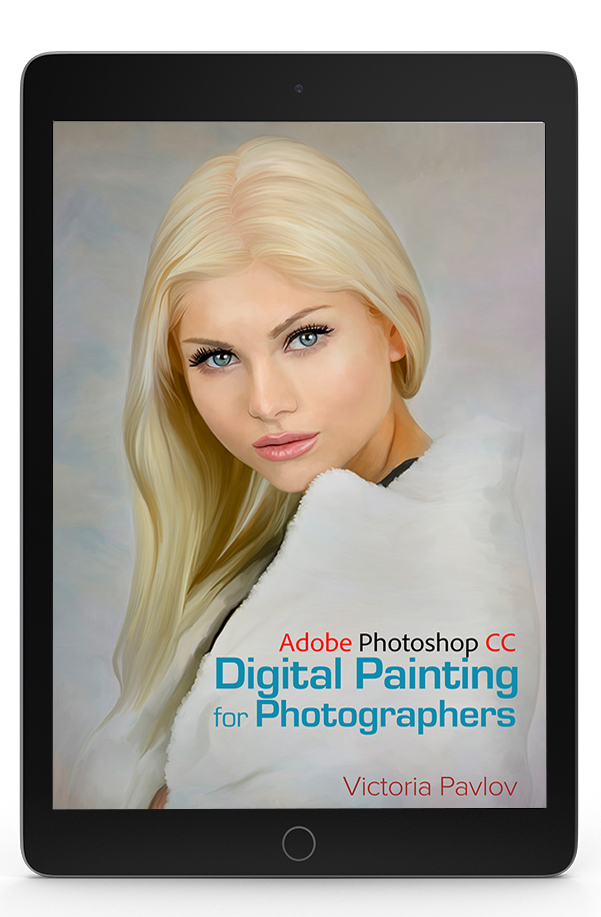
My Books on Amazon
Digital Painting for Photographers in Adobe Photoshop CC
The Adobe Mobile Apps Book


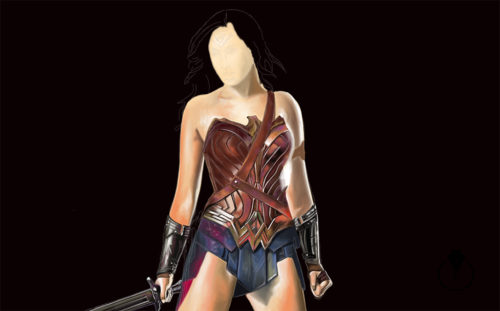
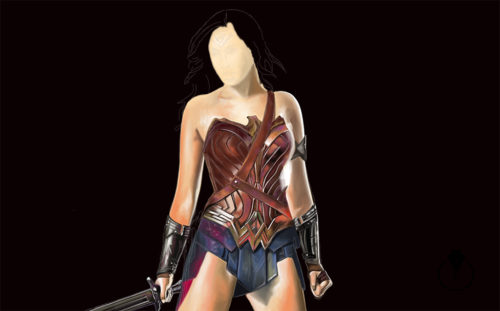
 . Because I am also The Photoshop Artist I decided to combine two passions into one to create fan art using the biggest passion in my life, Adobe Photoshop.
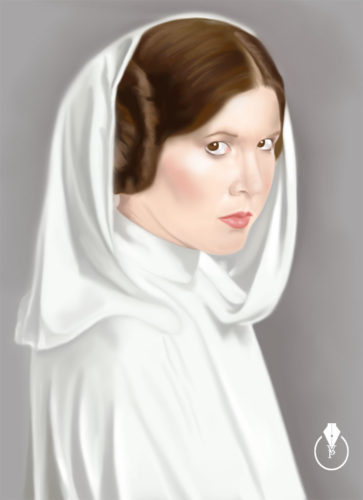
 using
using 
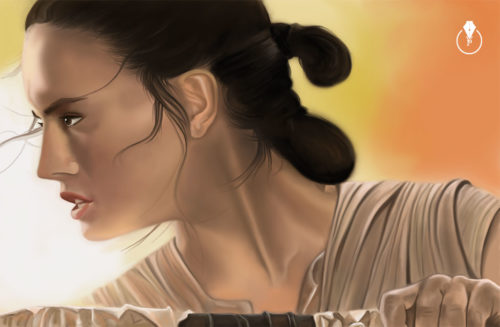

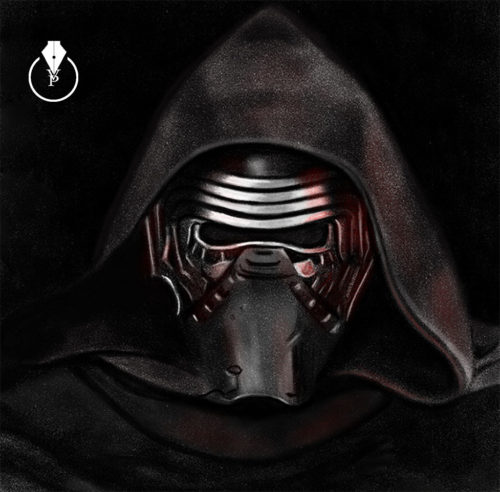 Kylo Ren
 and
and 


 and
and  .
.