Category Archives: Adobe Lightroom CC

Removing An unwanted reflection

Hello and welcome to my new Monday blog post.

In this blog post, I will show you how to combine multiple images together to create your final image.
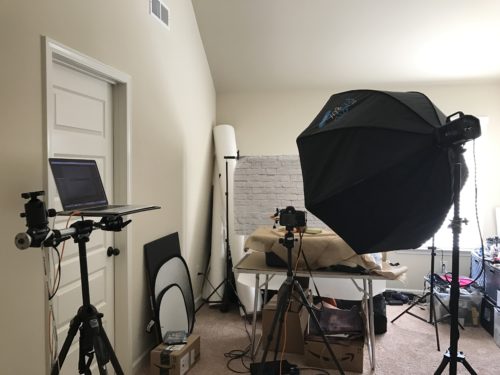
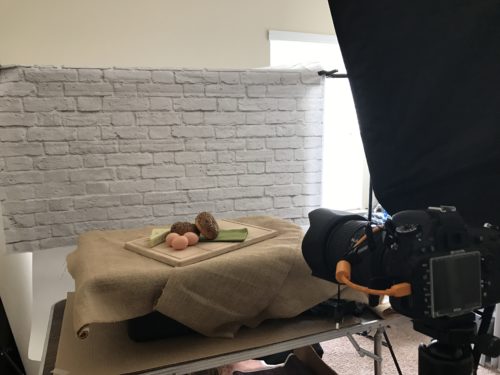
Last week I was shooting in my studio for Adobe Stock submission. I had my simple setup for a high key session. In this blog post, I will not go deep into my setup, but if you want to learn more about my settings, please let me know using the contact form below.

When you are working with product photography, and especially with a glass or reflective object, it is important to make reflections more smooth or don’t have any reflection at all (unless it is intentional).
We have many different ways of shooting products, and every photographer has his/her own way. What I will show you today is the quickest and easiest way on a small budget.
I had two lights. One light is behind my product, and the other light right in front of it.
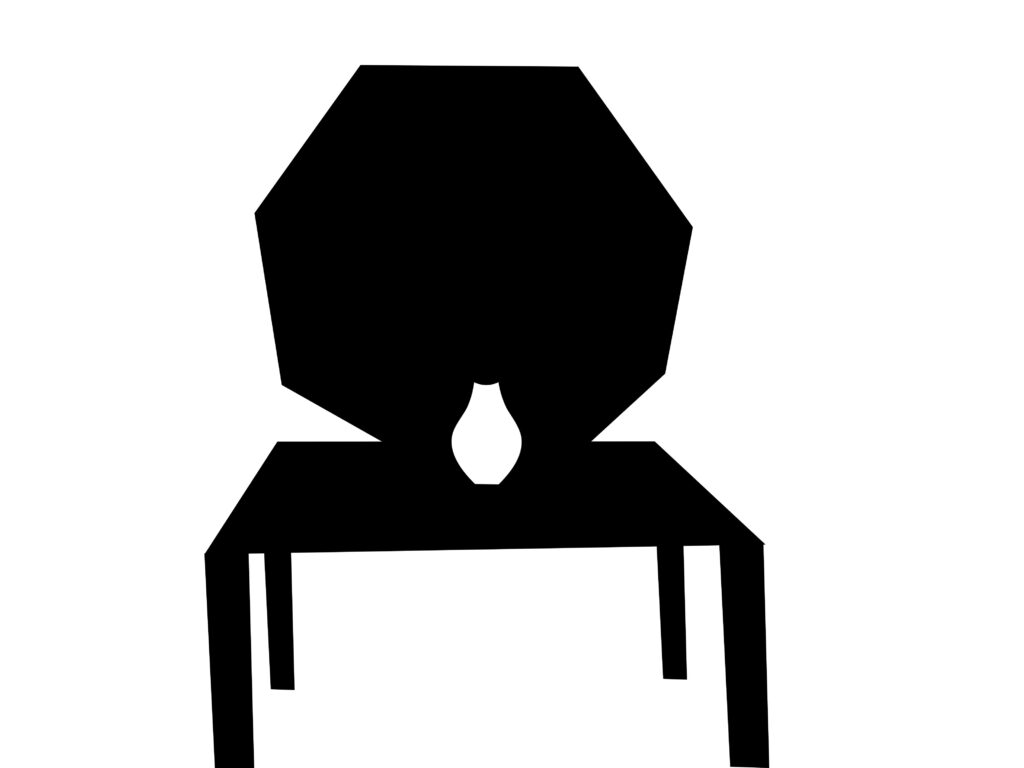

Main Light

Using this setting I got this result

My next step was to bring my main light (which is in front of my subject) up
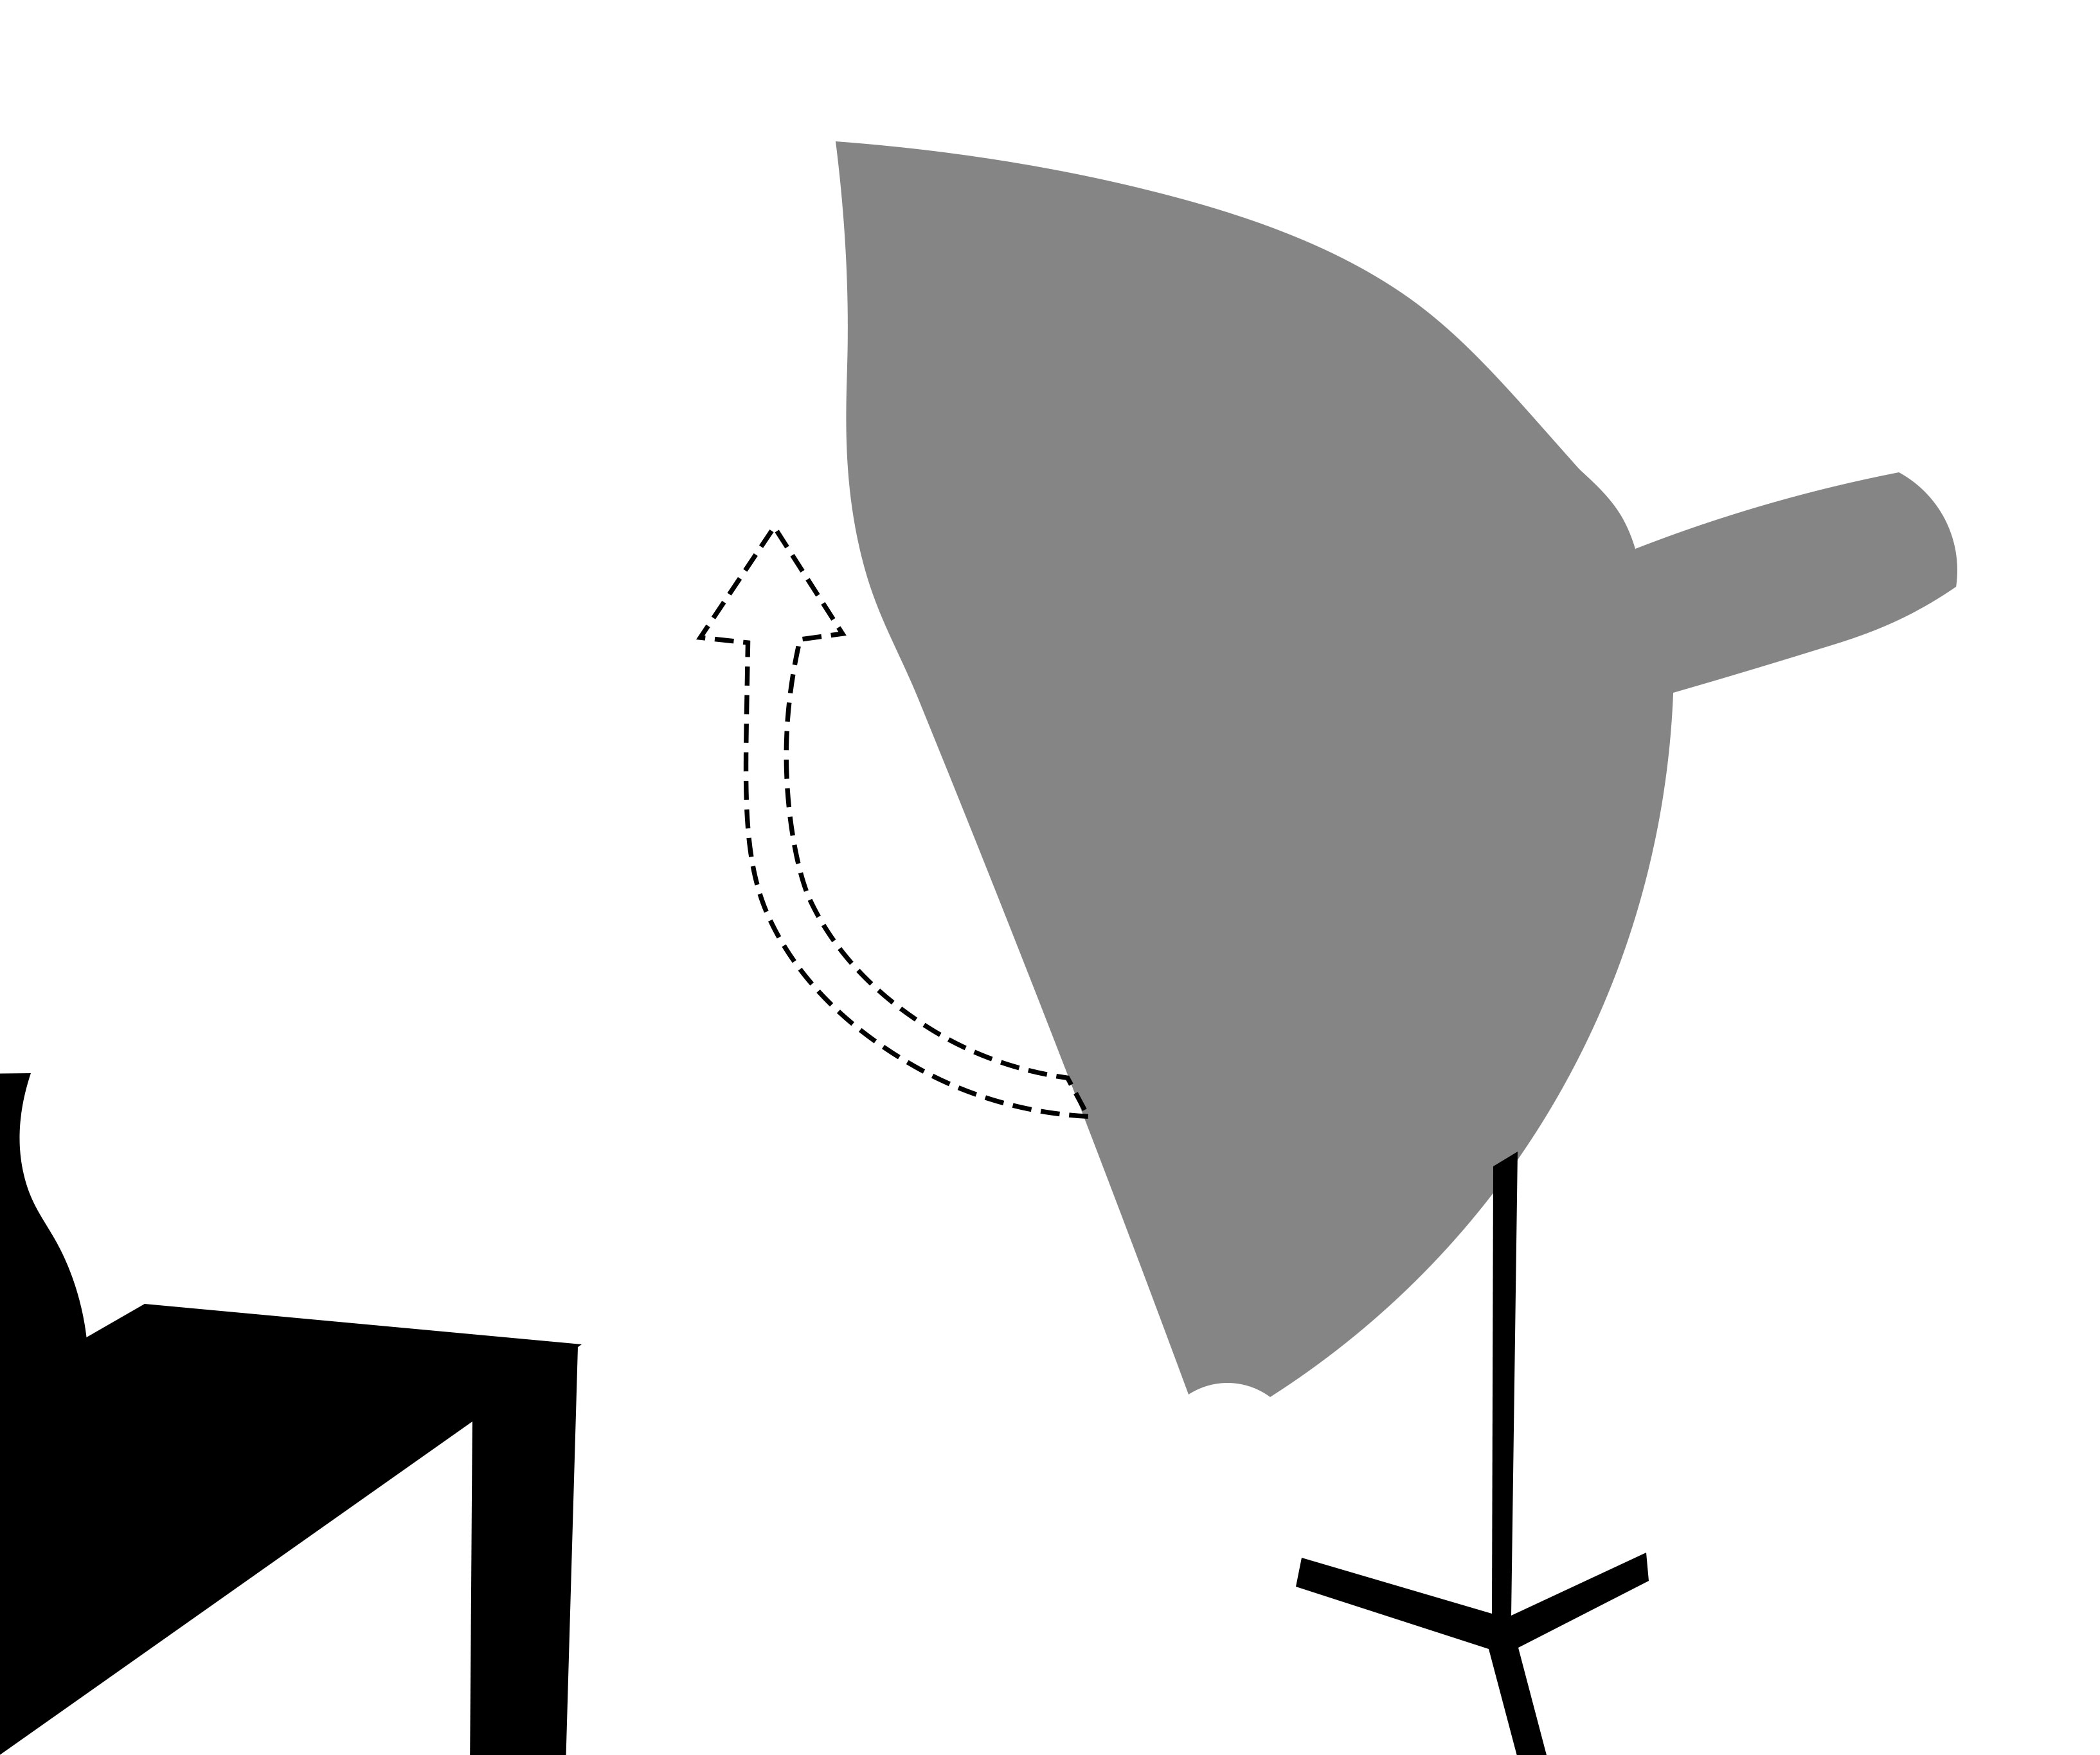
This is the image I got. This image doesn’t have any reflection (including Softbox reflection).

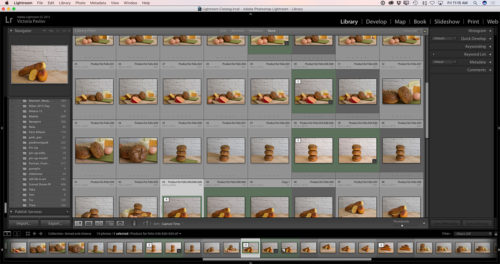
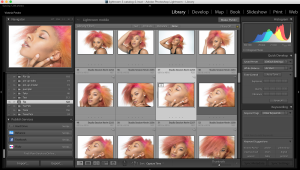
I always shoot tethered to Adobe Lightroom Classic so now we jump from the studio to Lightroom Classic.
In Lightroom Classic, I will select the first image > right-click > Edit in > Edit in Adobe Photoshop 2021
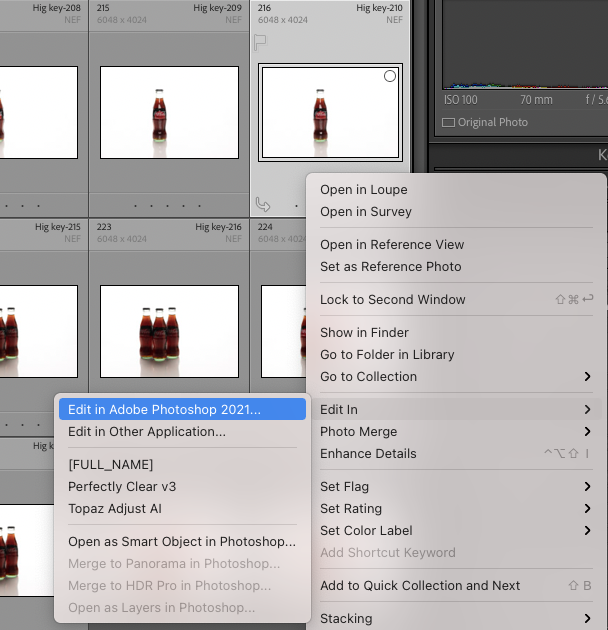
I will do the same with the second image.

Now in Adobe Photoshop, I will place the first image on top of the second one. The image with reflection is positioned on top of the image without a reflection.
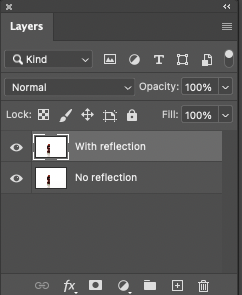
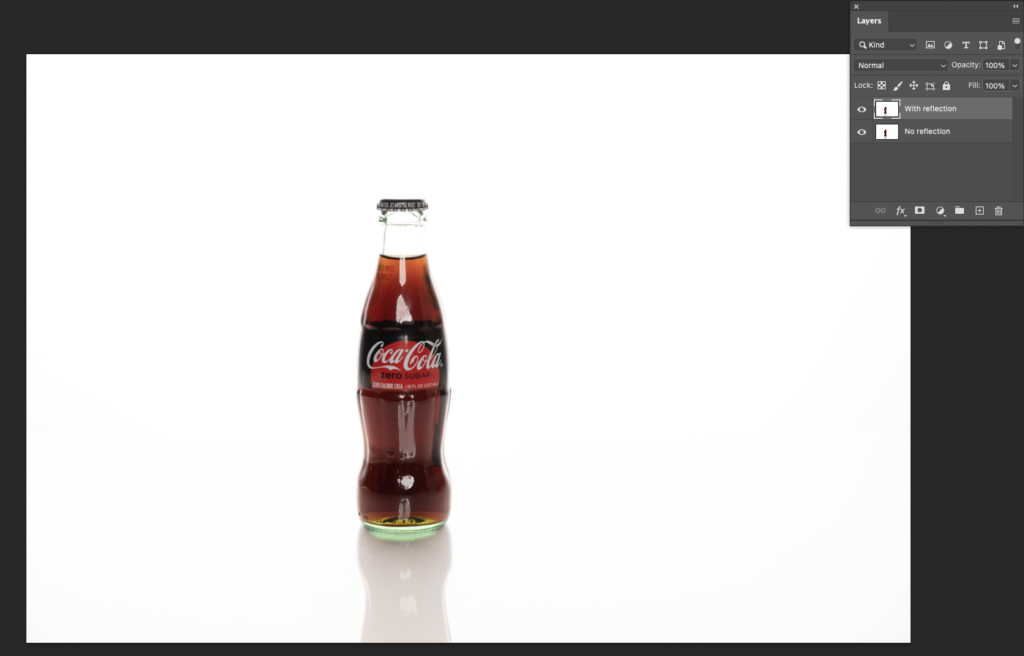
Next step: apply a layer mask to the top layer > using a soft brush with black color, paint off the reflection.
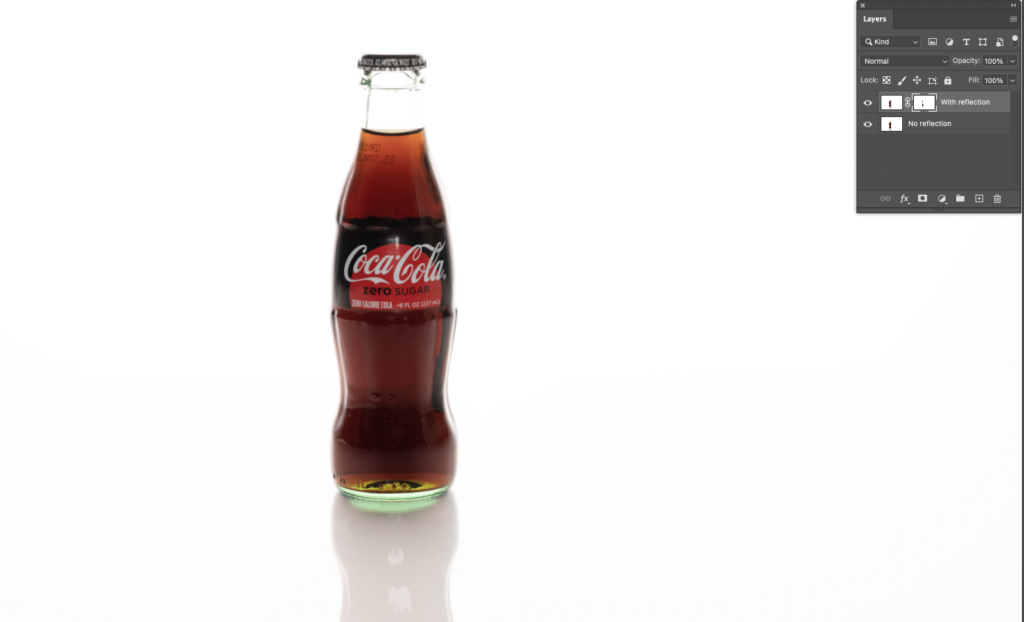
Just like this, I removed all unwanted reflections/highlights from the subject. The next step will be merging all layers and simple adjustments in a Camera Raw with a little cropping.

Finally, we are ready to submit the image to Adobe Stock (as an Editorial image since this is an obvious brand). I did it and my file was accepted!

Everyone, I hope now you will start shooting for Adobe Stock and shoot from anywhere, even from the smallest studio, kitchen, or from anywhere else.


*As an Amazon Associate, I earn from qualifying purchases listed below

My New Online Training Site

I’m very please to announce my NEW online training site! “Everything Digital” 

About my training site: my main goal is inspire you and make your digital workflow more enjoyable. All of my tutorials are recorded in a conversational manner. No “robotic” talking head tutorials. I want to have a conversation with YOU. I want to make the learning experience more enjoyable. Here you will find different tutorials: from beginner to advanced level. I believe that the learning experience is suppose to be enjoyable and a two-way conversation.  

In my All Digital course you will be able to access all of my courses for one monthly payment of $15.00 

My Books on Amazon:
Digital Painting for Photographers in Adobe Photoshop CC
Adobe Mobile Apps

Project Felix fits well in my Photography workflow

Project Felix fits well in my photography workflow


I was shooting product shots for my client.  My client has a bagel bakery and she asked me to take pictures of her product and create commercial ad to promote her bakery.
She shipped her products to my studio and I started working on her shots.
I took pictures of her products using my Nikon DSLR Camera, Adobe Photoshop Lightroom, Westcott Lighting.

After my usual post-production workflow I sent to my client all of the edited files to review. She came back to me and said that now she wants to add coffee to-go to her bakery service. Sure, I can re-shoot some of her product with to-go mug, but I had sent back all the products to her already. We had no time before her campaign was  suppose to start . I know many of photographers would be in a panic situation at this point. “What can I do now”, “I have no time” …. I know…
I was thinking about “how can I add the to-go coffee mug to her images?” I decided to add the to-go mug using Adobe’s Project Felix.
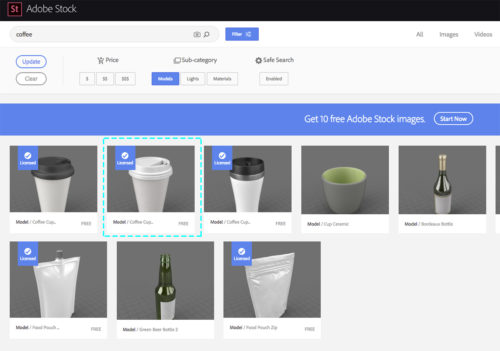
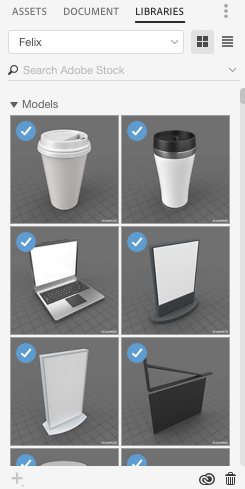
I downloaded a coffee cup model from Adobe Stock to my 3D library

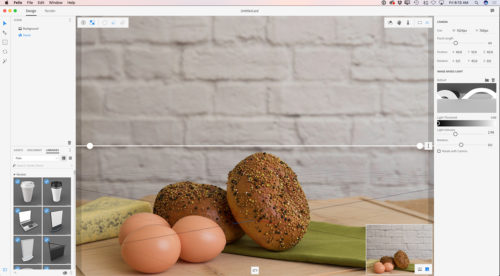
I opened Project Felix. I used my image as the background

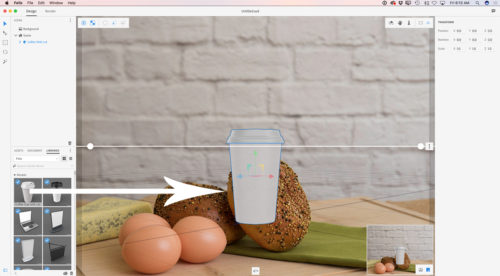
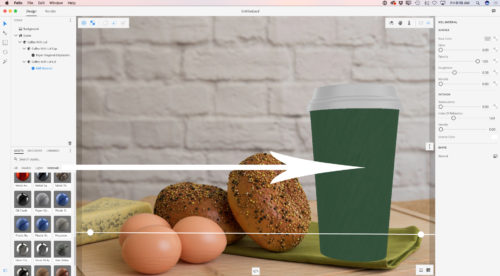
I aded a coffee cup downloaded from Adobe Stock to my image just with a single click

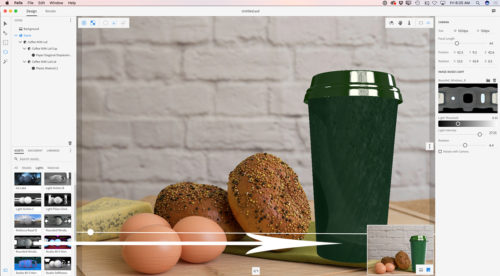
I added material to it. It was so easy! Just one click on any material you want to use in the Assets panel.

I added a light. All with one click!

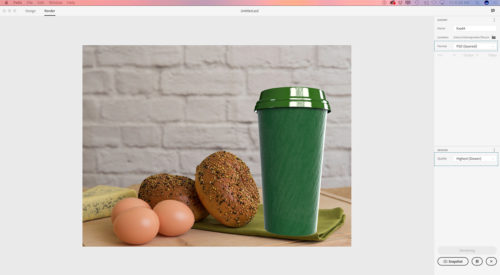
The last step in Project Felix is to Render. I specified the file location and chose Render quality “Highest”

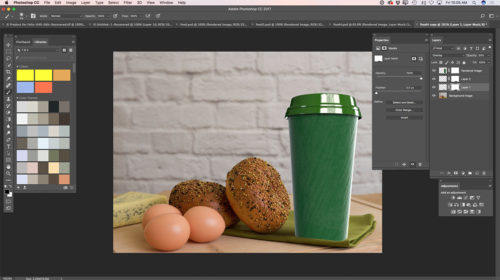
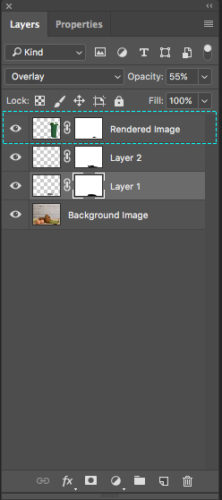
After my Project Felix finished rendering my file I opened this file in Adobe Photoshop CC

I had the coffee cup as a separate layer(s) so I started working on the finishing  touches.

A few minutes later my image was ready to be delivered to my customer (she approved this image).


My books on Amazon
Digital Painting  for Photographers in Adobe Photoshop CC
The Adobe Mobile Apps 

My New Book – The Adobe Mobile Apps Book

Now you can preorder my new book – The Adobe Mobile Apps Book: Your Complete Guide to Adobe’s Creative Mobile Apps


bookcover1


Adobe is pushing the creative envelope with what can be done on mobile devices. In this book you will see how to use Adobe’s complete offering of FREE mobile Apps to do everything from photo editing, to layout, video editing, story telling, social media posts and full blown page layout. Whether you plan to just start the creation process on your mobile device and finish on the desktop or do your entire project on your mobile device, this book will show you what’s possible in each app and best of all provide you with the knowledge of how to use the apps.

PREORDER  BOOK

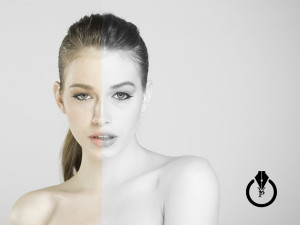
How to do portrait retouching in Adobe Photoshop Lightroom

How to do portrait retouching in Adobe Photoshop Lightroom 

Lightroom

Join me as we explore how to do portrait retouching in Adobe Photoshop Lightroom. We’ll use the Develop module not only to make global adjustments, but also local adjustments and best part is that all of these edits will be non-destructive.

Registration Page 

Importance of Daily Digital Exercise

Importance of Daily Exercise


Portrait

I found that daily exercise is very important for many reasons. Daily exercise helps with exploring/developing  new techniques, polishing your skills, pushing your artistic vision into another higher level, and teaches you how to be productive and not to be stressed under the “less time” pressure.

Adobe Photoshop Daily exercise: try to have 20 minutes every day to create something new in PS. its not supposed to be too complicated or perfect. Try to composite 2 or 3 images together (and the best practice is to composite random images, not images that you thought will be good with some composition. Just choose images with absolutely different style, schemes and start working on your  Photoshop composition).
Photoshop Painting: try different styles of painting every day. Don’t spend more than 20-30 minutes and you don’t need to finish your painting if you don’t have time. Just practice with brush strokes, colors, try different brushes.

Photography: simply keep your camera next to you all the time. See something > take the shot. Different light, different angles. Try it and you will see a huge improvement just in a few days!

Mobile Apps: what could be easier?!!! You have your mobile devices with you all the time! So Adobe Photoshop Sketch, Adobe Photoshop Mix and Adobe Photoshop Fix. Try them and you will be impressed with your improvement just in a few days!

Traditional Painting: use any paper you have. Don’t try to finish your masterpiece every day. Exercise with different brush, pencil strokes, composition.

What you would like to see

I am planning to record new series of tutorials:

  • Adobe Creative Cloud
  • Adobe Photoshop CC
  • Adobe Fuse CC
  • Adobe Lightroom CC
  • Adobe Muse CC
  • Adobe Photoshop Sketch
  • Adobe Illustrator Draw
  • Adobe Comp CC
  • Adobe Capture CC
  • Adobe Lightroom Mobile
  • Adobe Photoshop Mix
  • Adobe Photoshop Fix
  • Adobe Stock


Any specific tutorials you would like to see? If so please, let me know using Post Comment option below or send me a tweet @Victoria_Pavlov
Help To Go

panic button isolated on white

My Help To Go service

My Help To Go service offers help with any of your design and photography projects. If you want a second opinion, or you’re just not sure if you are in a rough patch I can help you. This is a one-on-one online consultation. You can choose between half hour and one hour consultation.

I support follow applications:

  • Adobe Photoshop
  • Adobe Lightroom
  • Adobe Muse
  • Adobe Comp
  • Adobe Sketch
  • Adobe Brush
  • Adobe Shape
  • Adobe Lightroom Mobile
  • Adobe Color
  • Adobe Premiere Clip
  • Adobe Photoshop Mix
  • Adobe Creative Cloud
  • Digital Painting

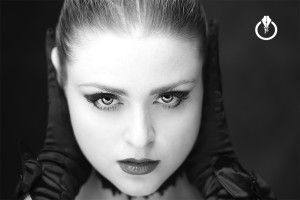
Black & White with Adobe Lightroom CC

Photoshop Tutorial

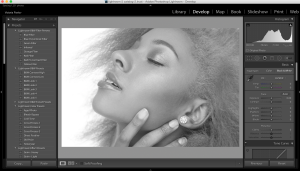
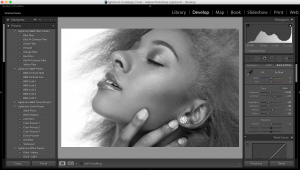
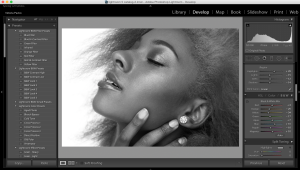
Today I will show you how to create a Black & White image in Adobe Lightroom in only 3 steps

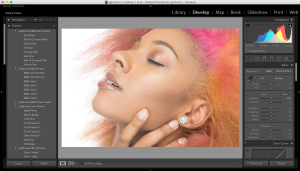
Select the image you want to work with
Screen Shot 2015-08-25 at 8.00.24 AM

Switch to the Develop Module
Screen Shot 2015-08-25 at 8.02.36 AM

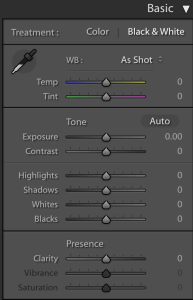
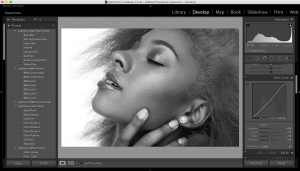
1: Choose Black & White from the Basic panel
Screen Shot 2015-08-25 at 8.03.39 AM

Screen Shot 2015-08-25 at 8.04.19 AM

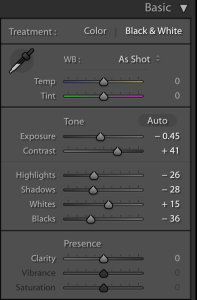
Adjust the sliders to get the look you want or use mine below
Screen Shot 2015-08-25 at 8.05.35 AM Screen Shot 2015-08-25 at 8.06.31 AM


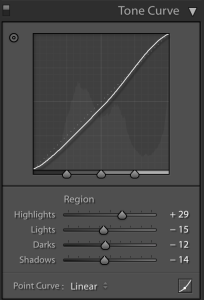
2: Using Tone Curve panel change numbers of each slider ( Highlights, Lights, Dark, Shadows )
Screen Shot 2015-08-25 at 8.07.58 AM Screen Shot 2015-08-25 at 8.08.06 AM


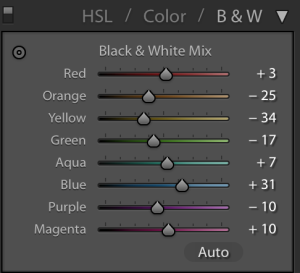
3: Change numbers of each B & W slider (it will depend of your image)

Screen Shot 2015-08-25 at 8.11.28 AM Screen Shot 2015-08-25 at 8.11.39 AM


Fotolia
 

ParticleShop Plugin for Adobe Photoshop

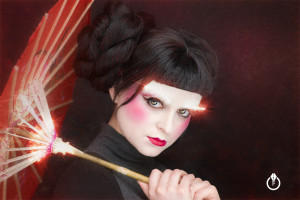
Geisha

ParticleShop is a brush plugin for Adobe Photoshop.

I was introduced to ParticleShop the brush plugin for Adobe Photoshop at Photoshop World 2015. I liked the demo and I decided to buy and try this plugin ( You can download the trial version to try first).

First of  all I want to point  out that if you are looking for a great painting plugin this in NOT your plugin. I can’t imagine using this plugin for my type of painting. My primary and one and only application for my all digital painting work is Adobe Photoshop CC and most of the time I am using the Mixer Brush Tool. Also I am using Adobe Sketch ( Adobe mobile drawing application) as well. So if you will ask me what is the best application for a digital painting I will answer: The ONE and ONLY Adobe Photoshop CC.

I am not using any third party plugins.   As an  Adobe Creative Cloud subscriber the main and primary reason for  me to use ParticleShop plugin is that this plugin is works with the newest version of Adobe Photoshop CC 2015 and the one one license you purchase will be installed for Adobe Photoshop CC  and Adobe Lightroom as well.

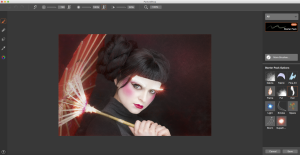
Screen Shot 2015-08-16 at 1.53.28 PM

The ParticleShop plugin is a great plugin for any type of artistic retouching. It’s amazing with hair and high fashion retouching, and if you like to apply any effects to your image you’ll probably like it. Because ParticleShop is the brush plugin for Adobe Photoshop you have access to all powerful Adobe Photoshop futures, including layers and if combine the plugin with other Photoshop features you will create a very powerful image. With the ParticleShop plugin you have control over your image, you can control the brush strokes:  light, color, and angle. You can apply multiple brush(es) effects in one image. Combine, change the  color,  and opacity of the brush. You can apply brush strokes effects and return to Photoshop and apply the layer mask, duplicate the layer and continue your workflow using Adobe Photoshop. If after that you want to  return to ParticleShop you can do it at any time.
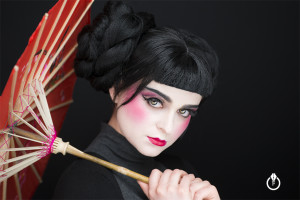
I like the plugin and will use it for sure with my design and art workflow.
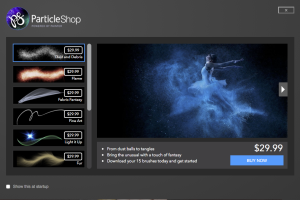
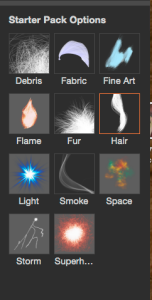
I have only two complaints about the Starter Pack Options:

Screen Shot 2015-08-16 at 1.53.05 PM
1: I wish I had at least two different types of each default brushes.
You can buy additional brush packs for $29.99 each but I am not sure I will spend $29.99 for each brush pack (each plugin has 11 brushes and  so it would be 11 packs) just after I spent $49.99 for the plugin. If I would have at least two different combinations  of each brush as a Starter Pack Options I would feel much better.
2: I had trouble making some of my brushes big enough for my image ( 6016 x 4016 ) even after I made  the Brush size by Maximum = 750 ( Starter Pack Options)
Screen Shot 2015-08-16 at 2.02.41 PM

Screen Shot 2015-08-16 at 1.52.53 PM

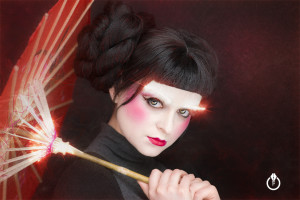
Geisha

Before

Geisha

After


Fotolia