
Hello and welcome to my new Monday blog post.
In this blog post, I will show you how to combine multiple images together to create your final image.
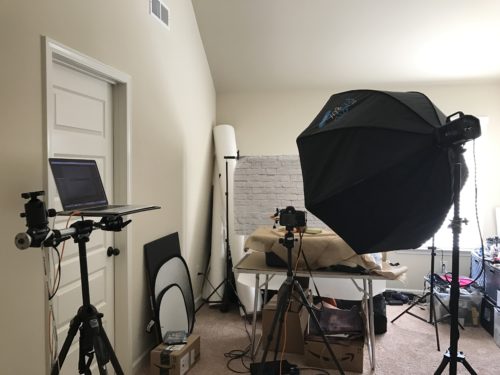
Last week I was shooting in my studio for Adobe Stock submission. I had my simple setup for a high key session. In this blog post, I will not go deep into my setup, but if you want to learn more about my settings, please let me know using the contact form below.
When you are working with product photography, and especially with a glass or reflective object, it is important to make reflections more smooth or don’t have any reflection at all (unless it is intentional).
We have many different ways of shooting products, and every photographer has his/her own way. What I will show you today is the quickest and easiest way on a small budget.
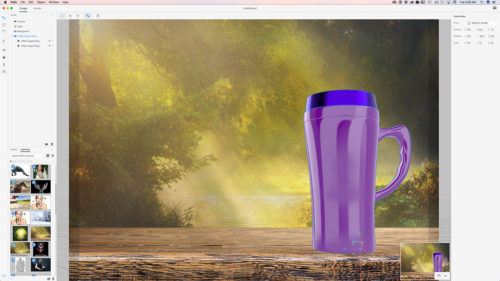
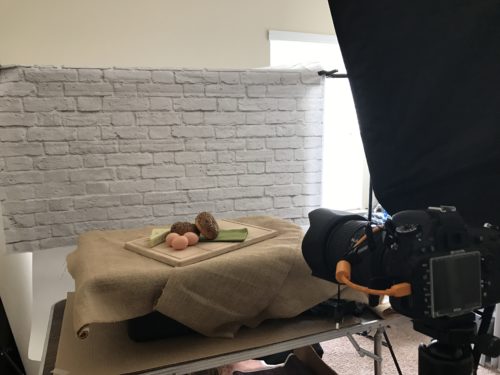
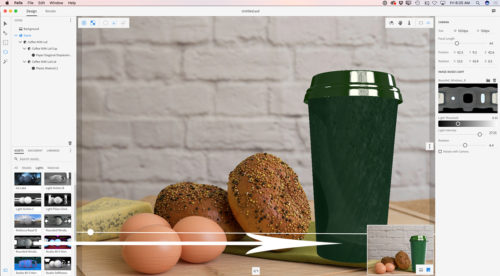
I had two lights. One light is behind my product, and the other light right in front of it.
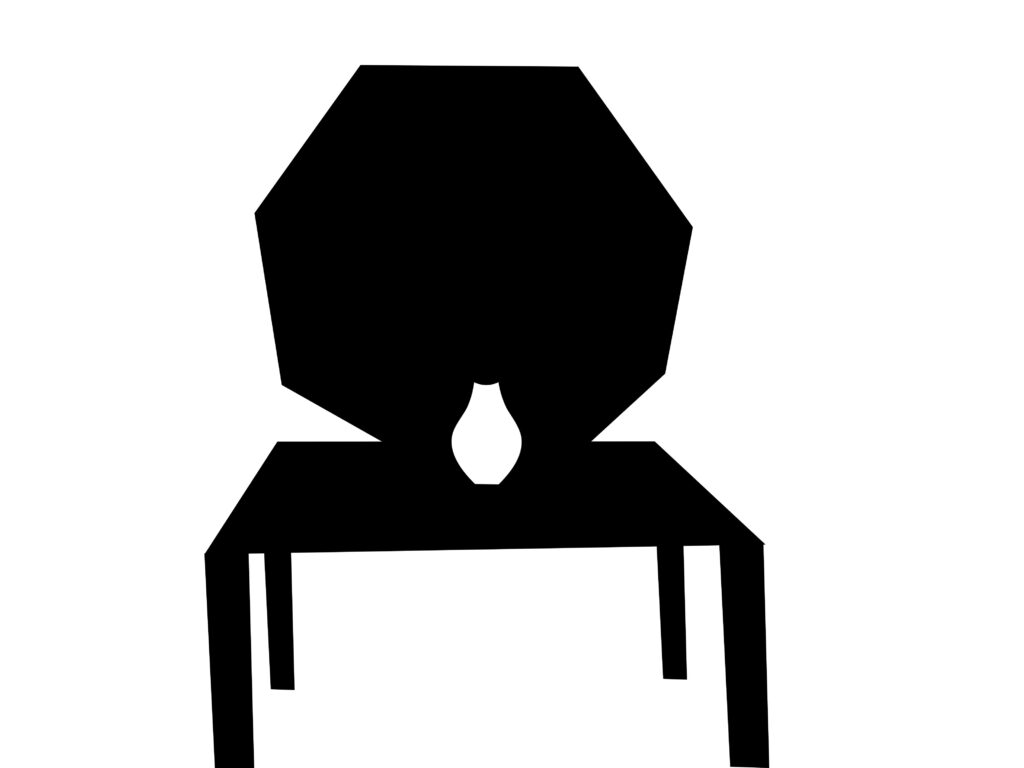
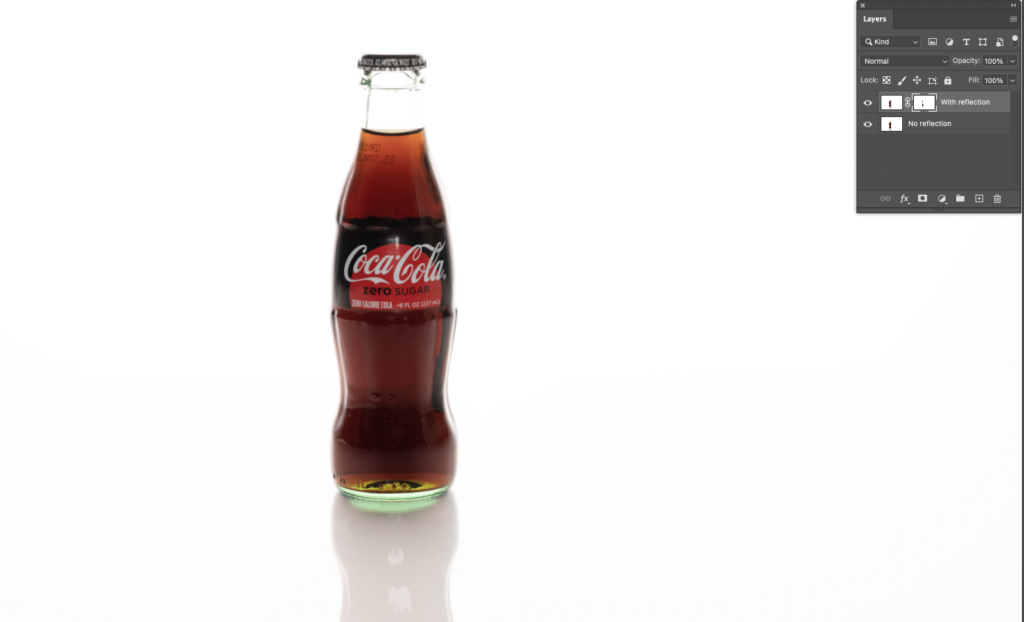
Main Light
Using this setting I got this result

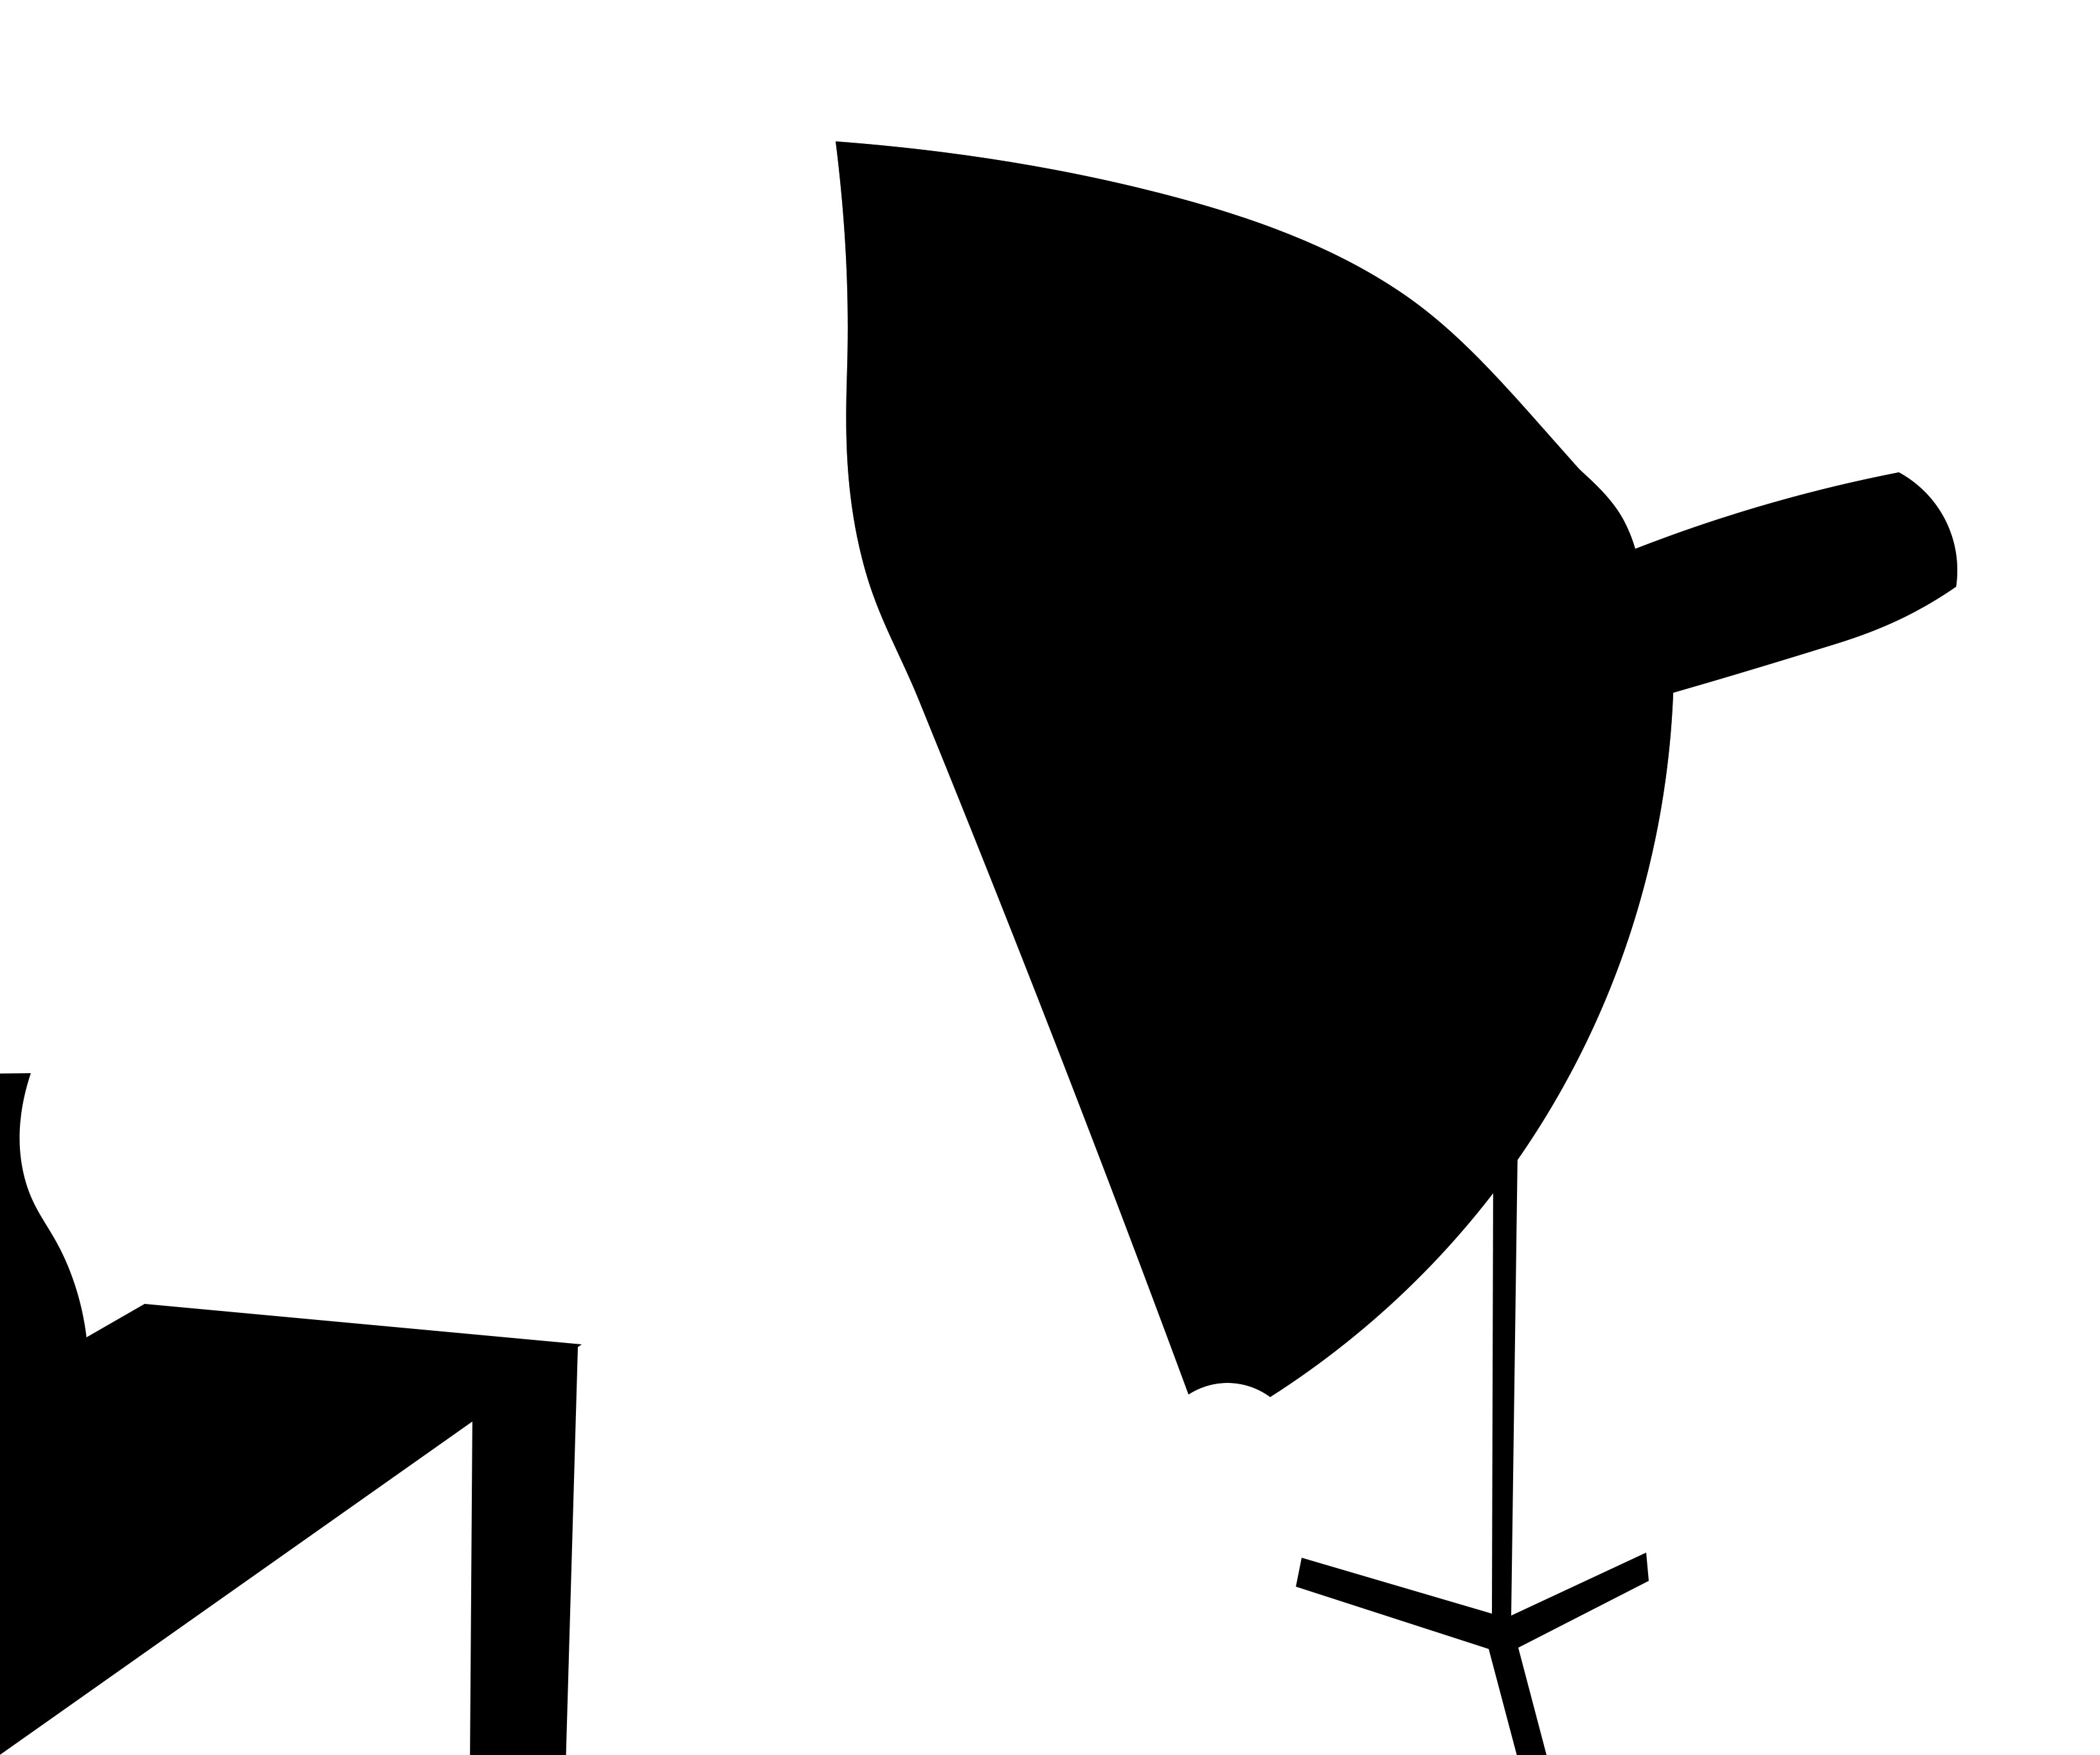
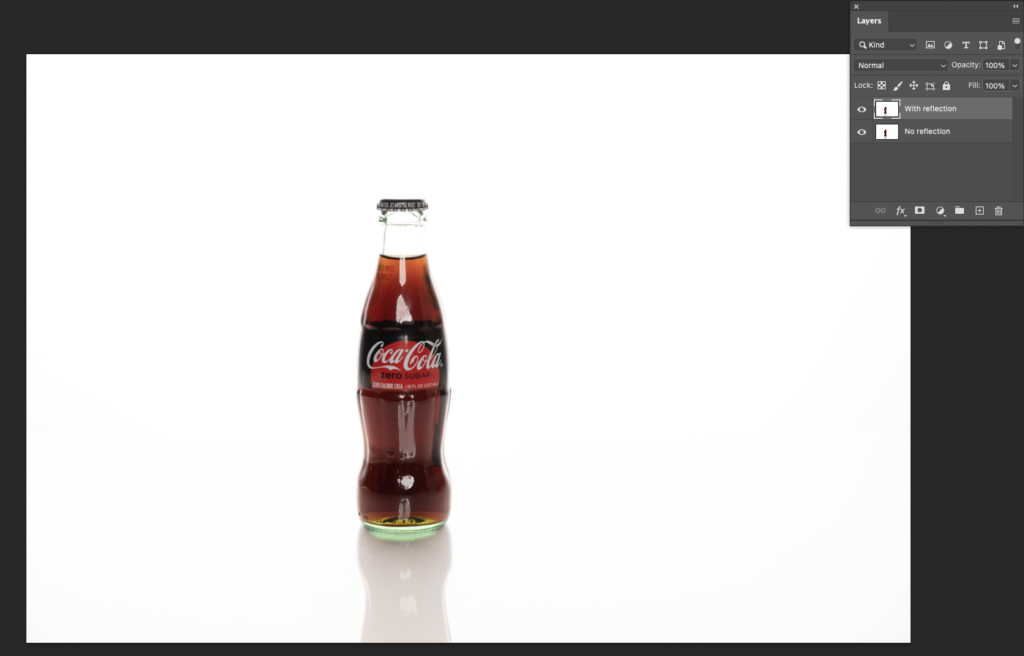
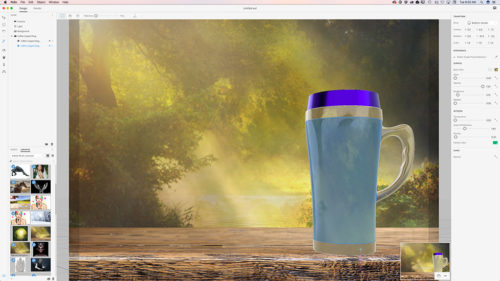
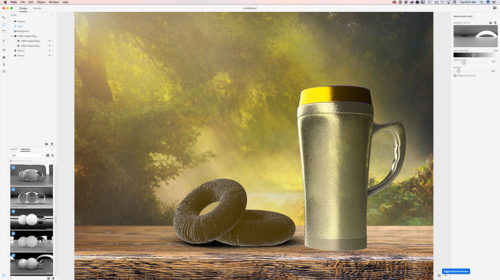
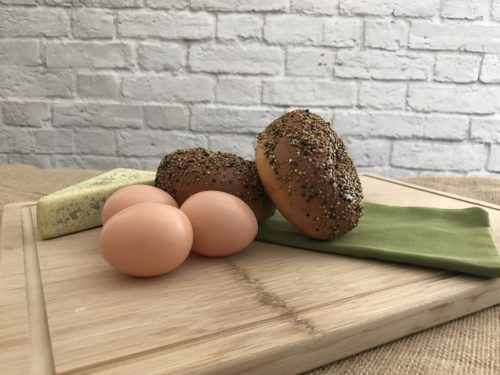
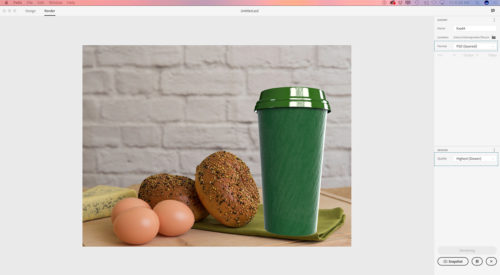
My next step was to bring my main light (which is in front of my subject) up

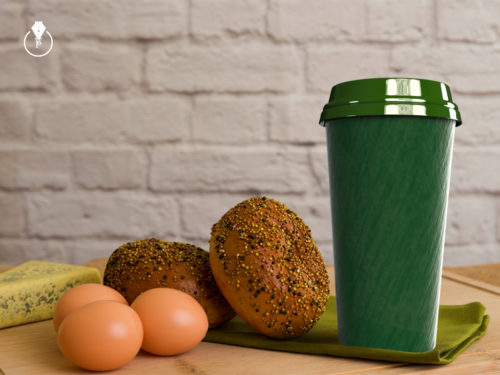
This is the image I got. This image doesn’t have any reflection (including Softbox reflection).
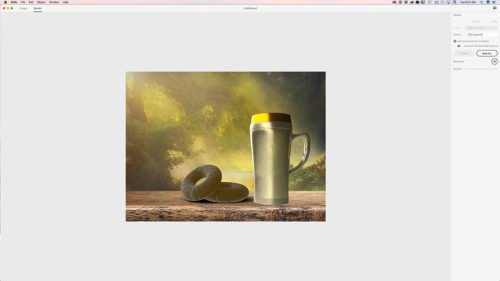
I always shoot tethered to Adobe Lightroom Classic so now we jump from the studio to Lightroom Classic.
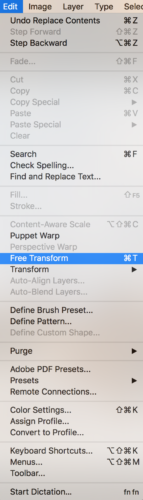
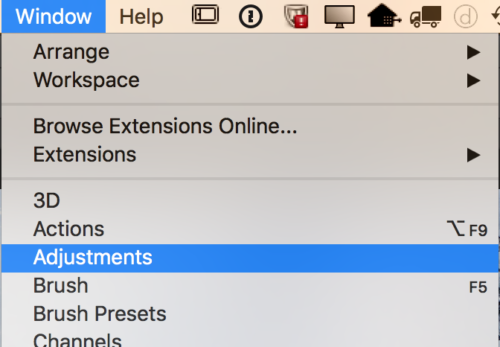
In Lightroom Classic, I will select the first image > right-click > Edit in > Edit in Adobe Photoshop 2021
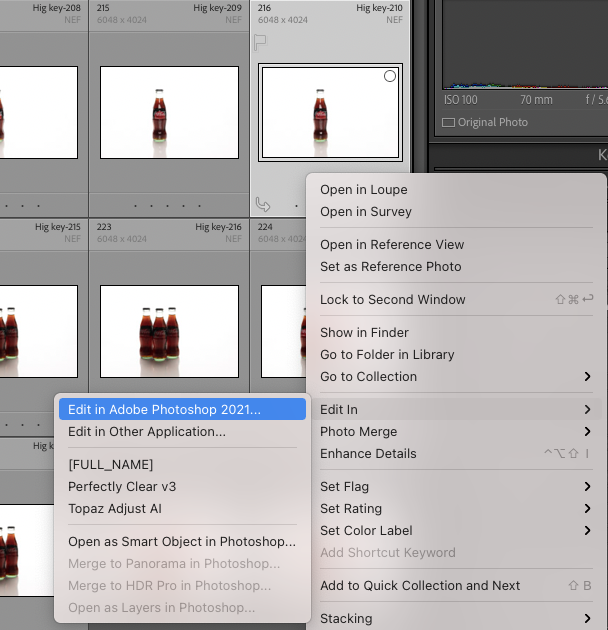
I will do the same with the second image.
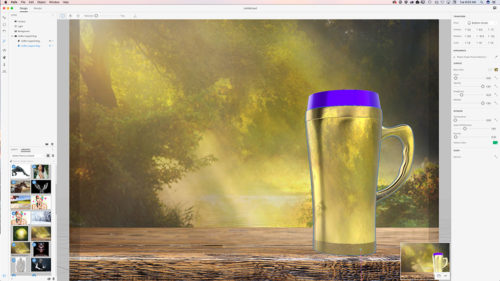
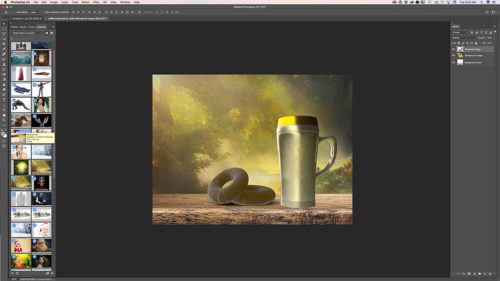
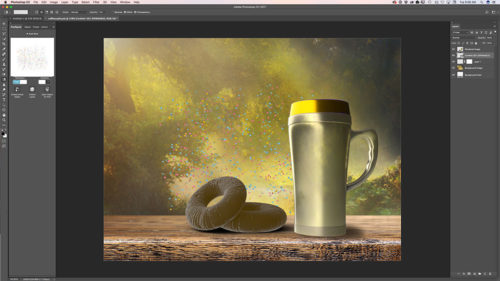
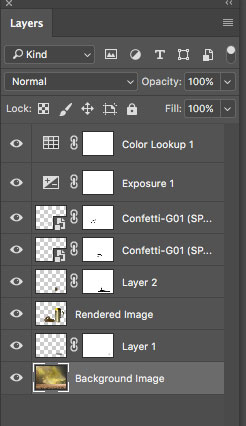
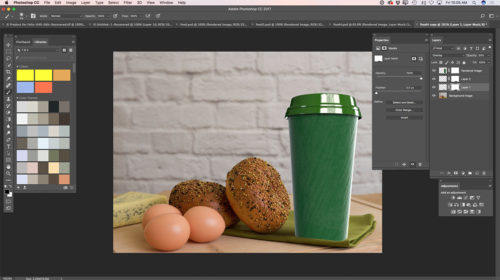
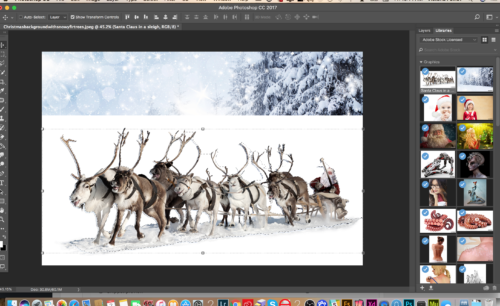
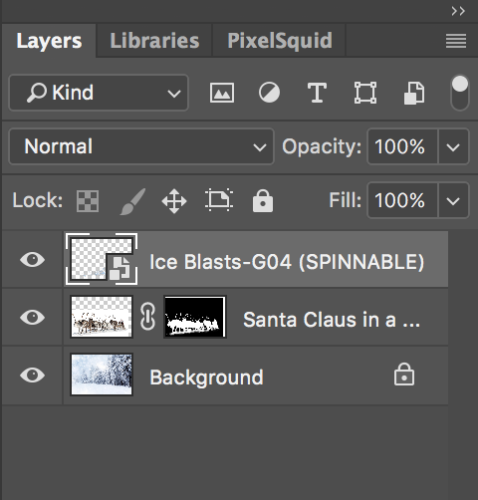
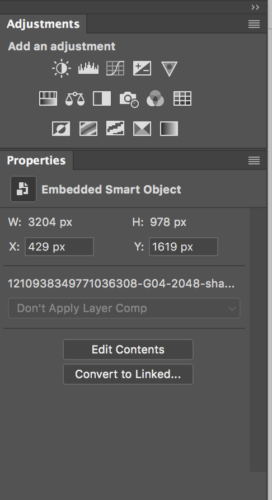
Now in Adobe Photoshop, I will place the first image on top of the second one. The image with reflection is positioned on top of the image without a reflection.
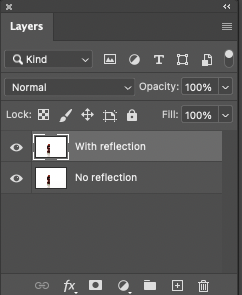
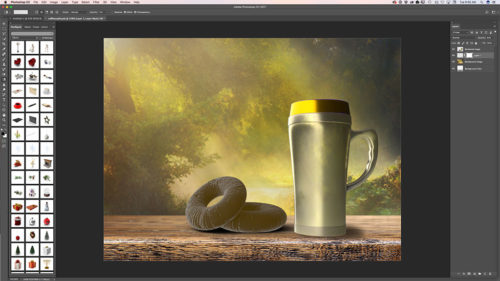
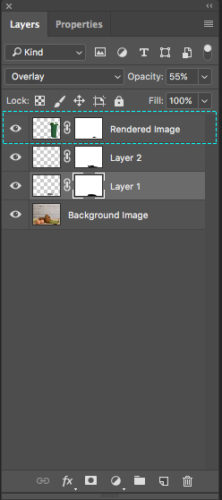
Next step: apply a layer mask to the top layer > using a soft brush with black color, paint off the reflection.
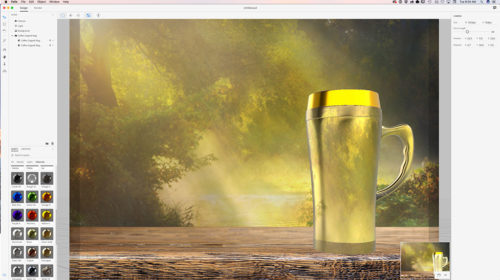
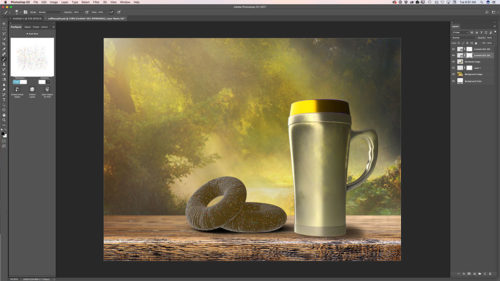
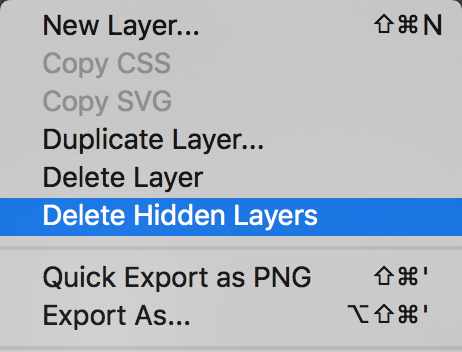
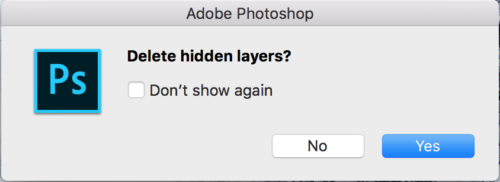
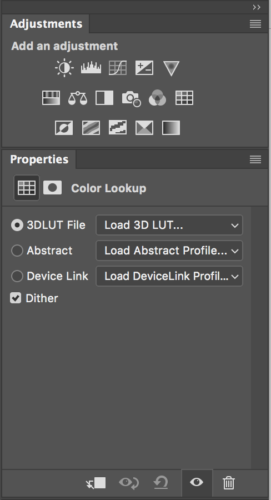
Just like this, I removed all unwanted reflections/highlights from the subject. The next step will be merging all layers and simple adjustments in a Camera Raw with a little cropping.

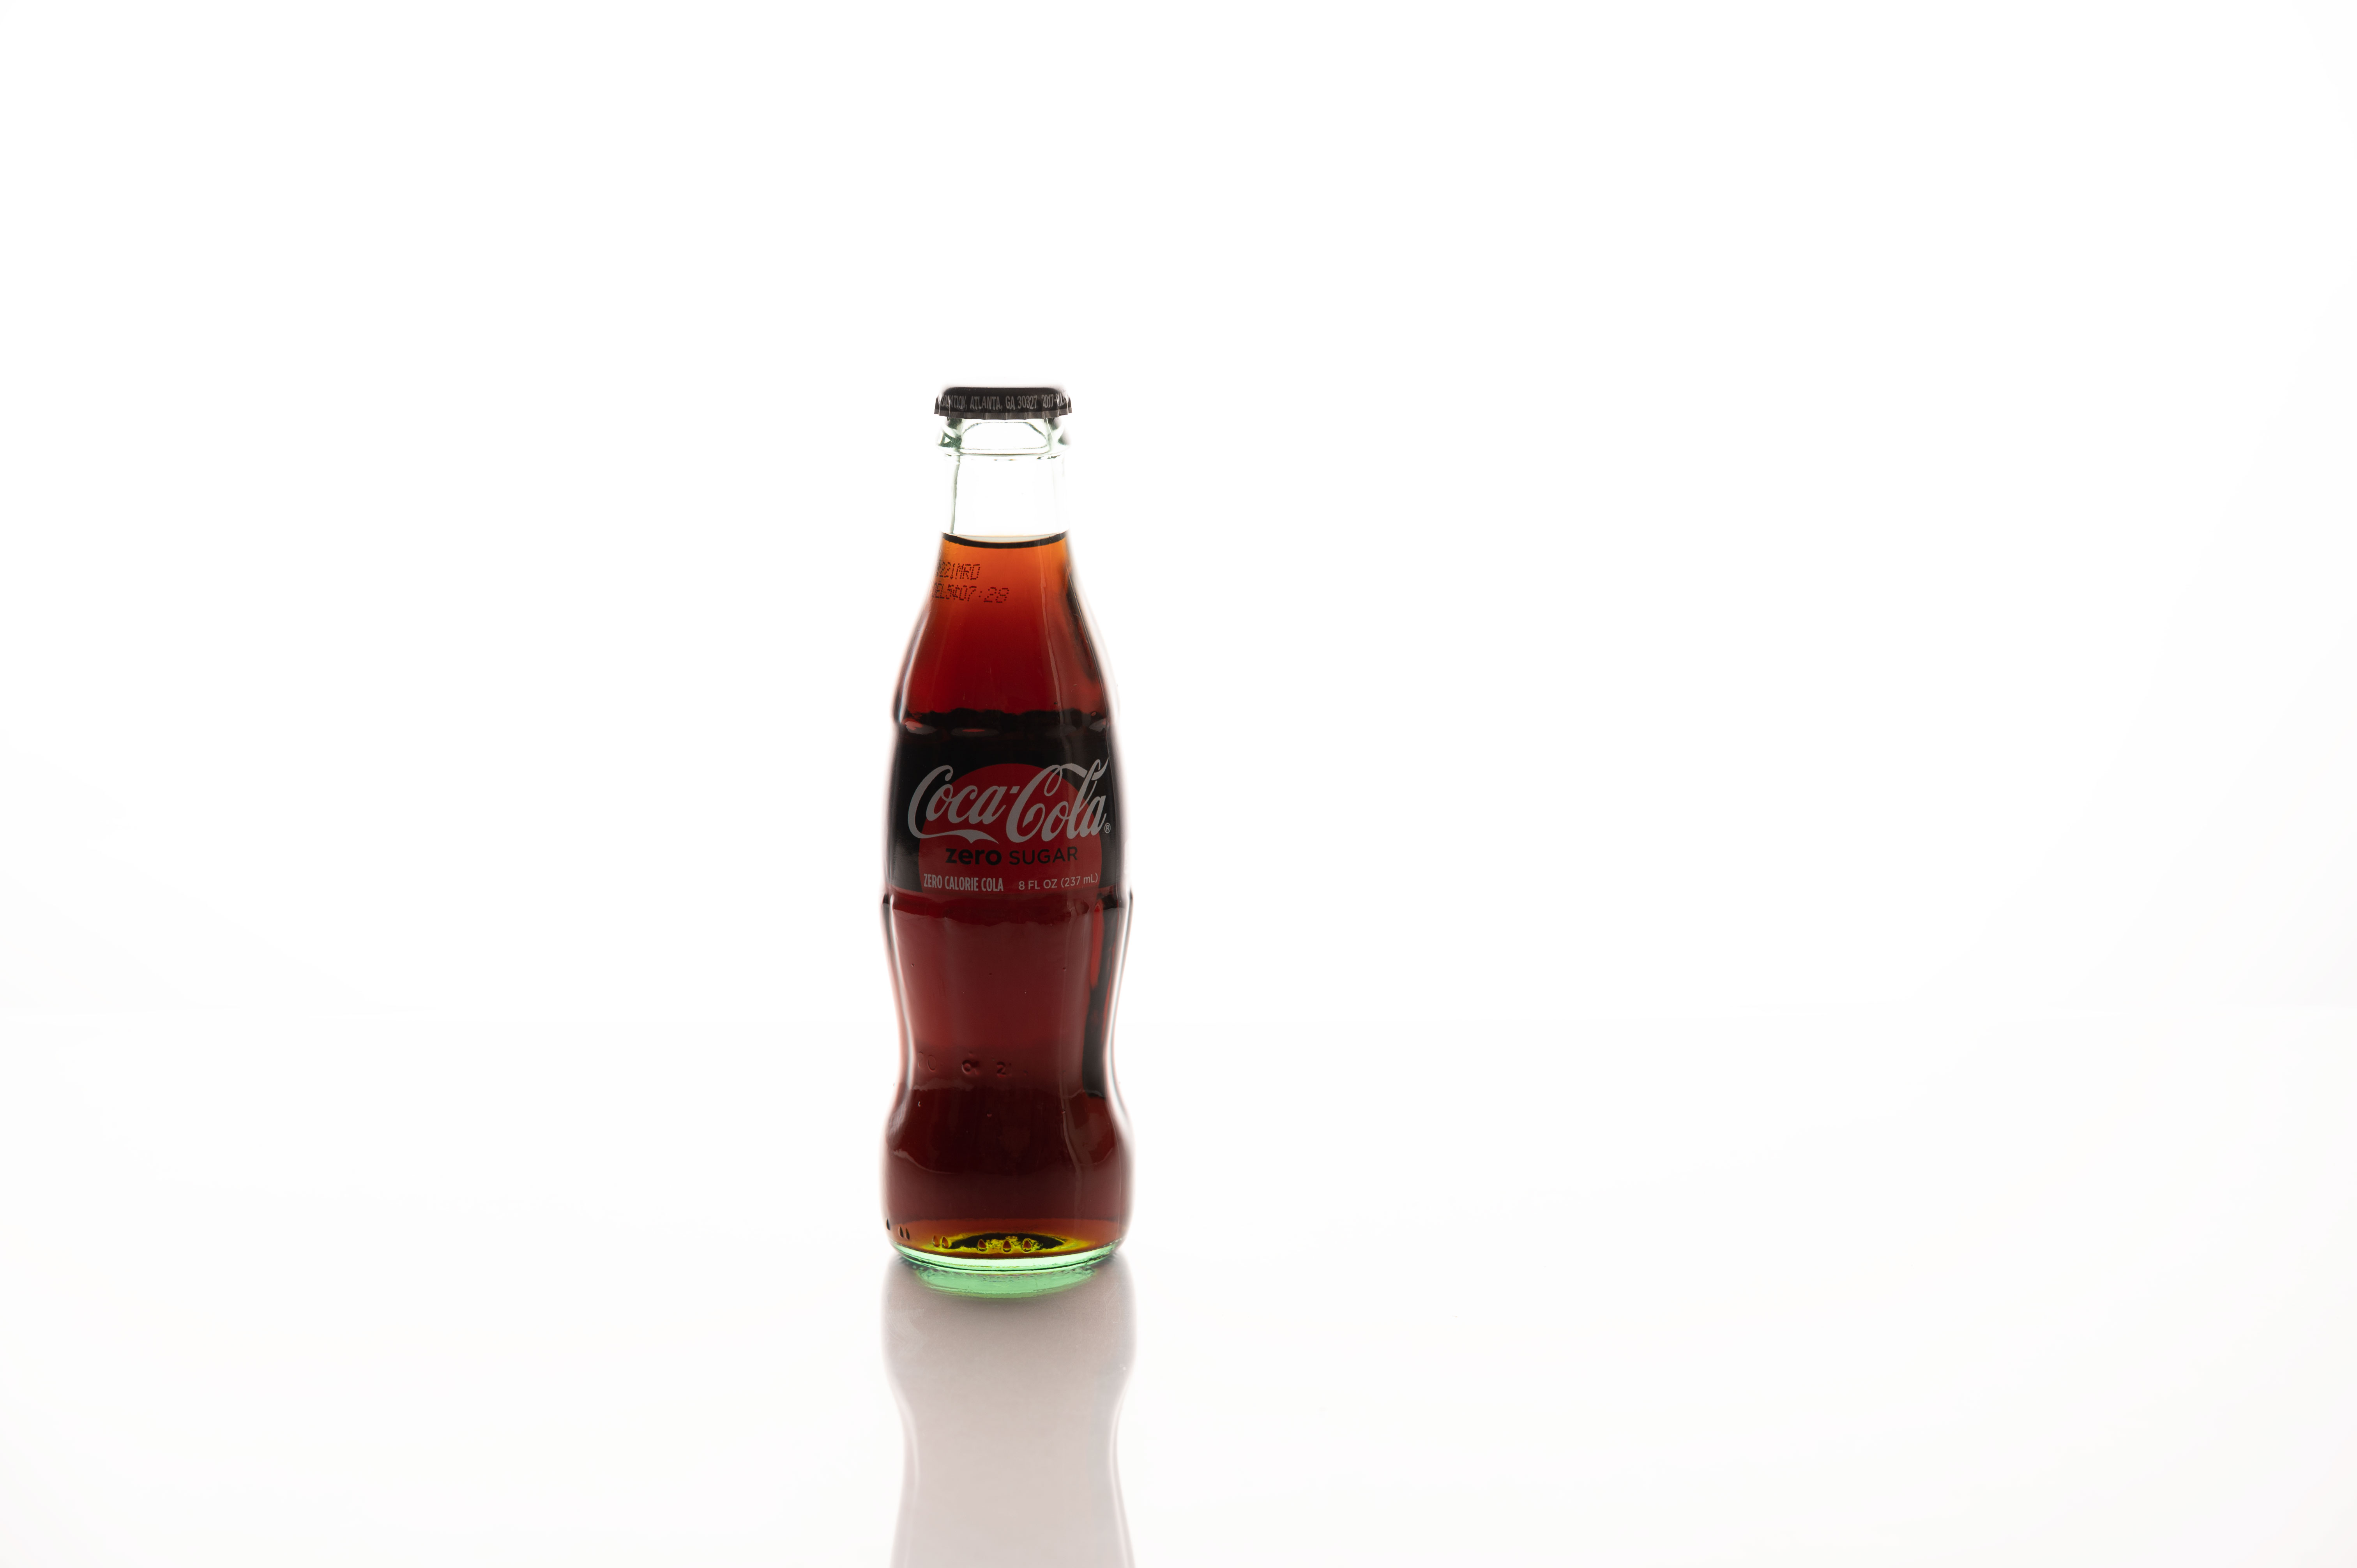
Finally, we are ready to submit the image to Adobe Stock (as an Editorial image since this is an obvious brand). I did it and my file was accepted!
Everyone, I hope now you will start shooting for Adobe Stock and shoot from anywhere, even from the smallest studio, kitchen, or from anywhere else.
Your message has been sent

*As an Amazon Associate, I earn from qualifying purchases listed below
 and
and  . Where did the inspiration come from? From my yard where I am playing with my puppy, from the trees around the fence, from the fresh and beautiful colors of the sky.


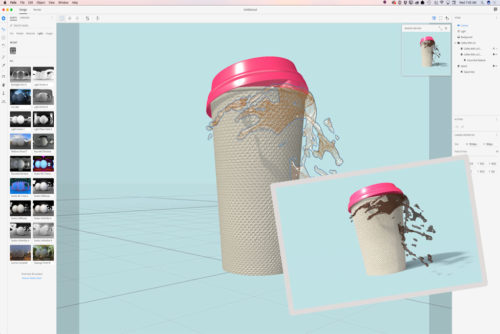
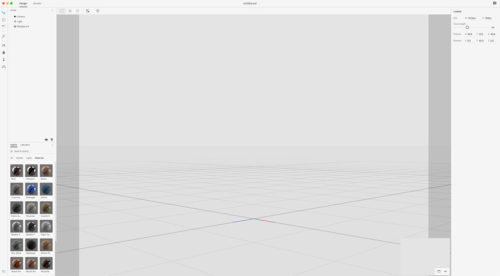
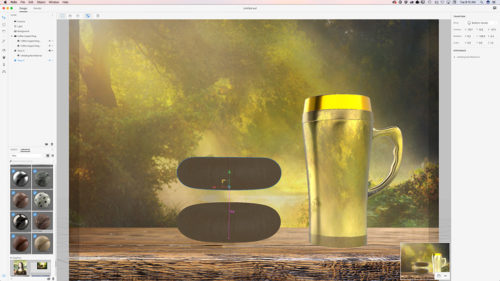
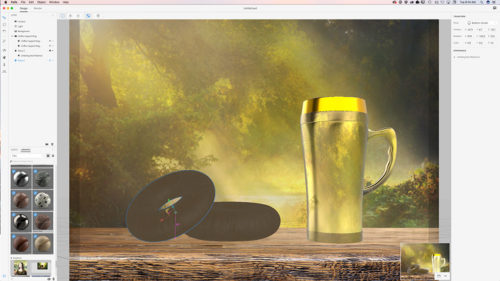
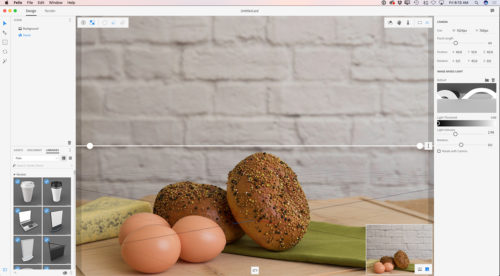
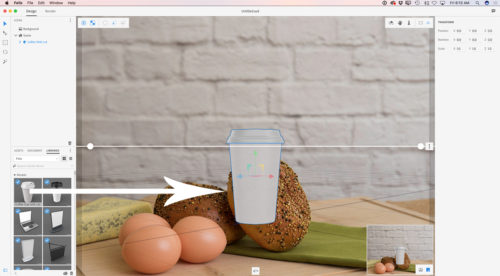
 Project Felix with custom background and 3D objects from
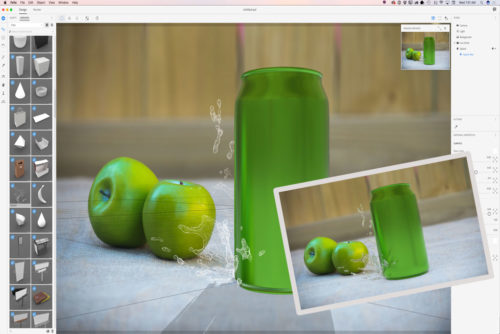
 using pattern created in
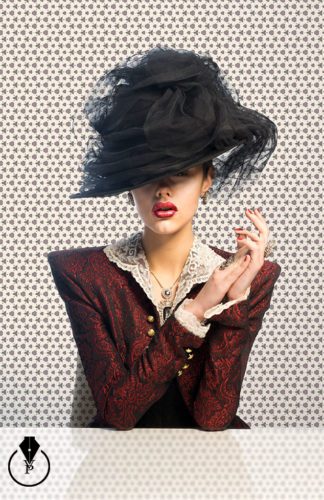
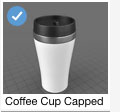
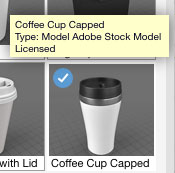
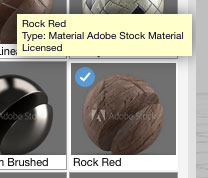
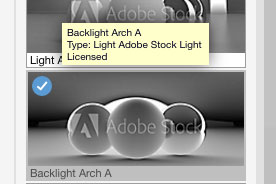
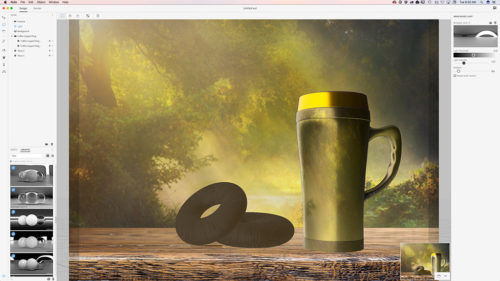
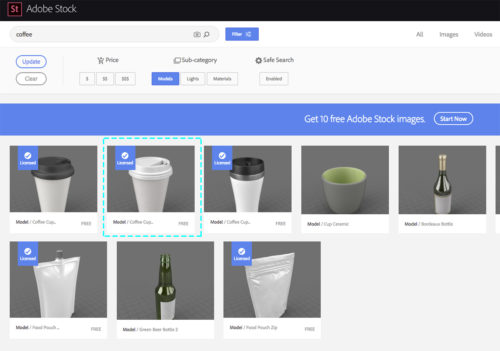
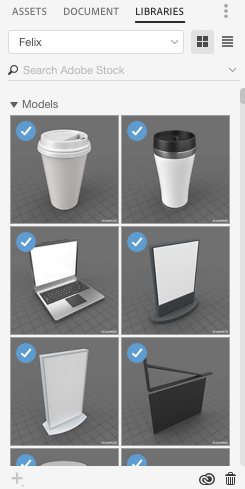
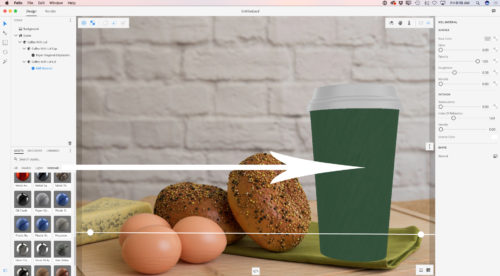
 using model, material and light downloaded from
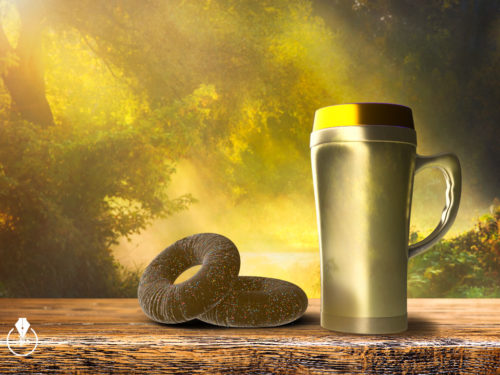

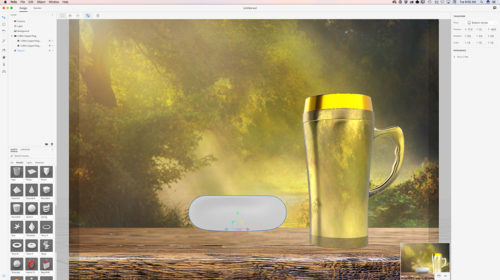


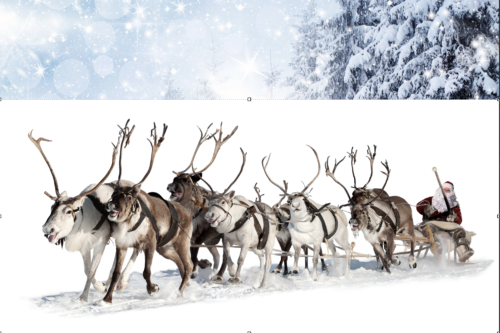
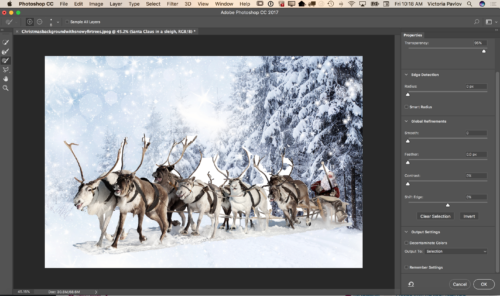
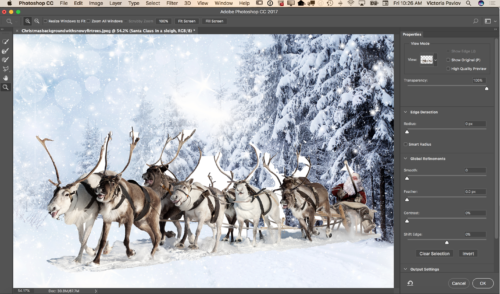
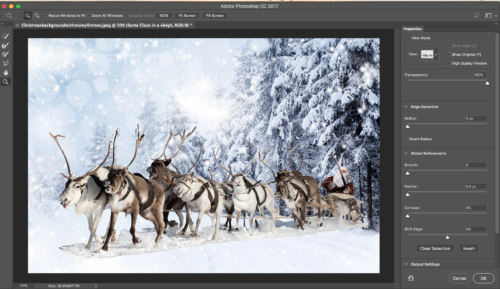
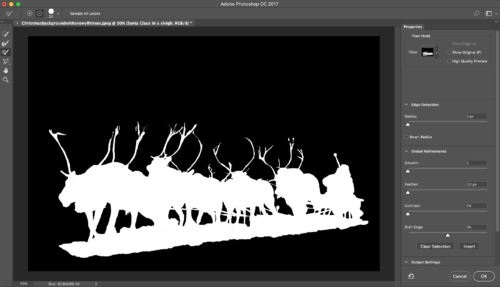
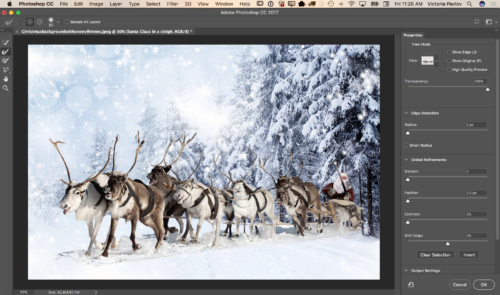
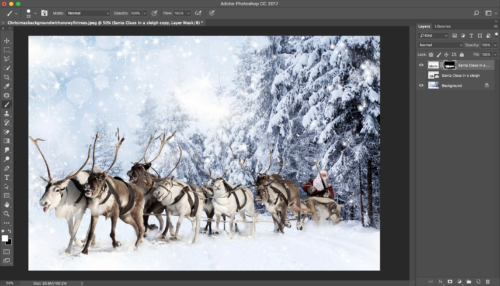
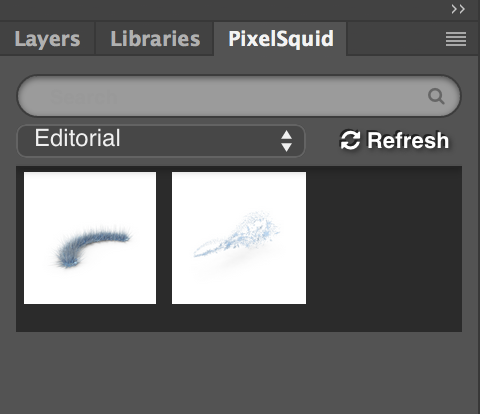
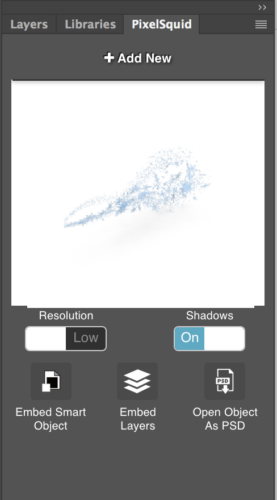
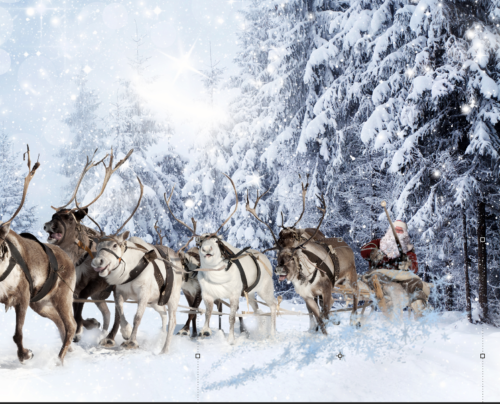
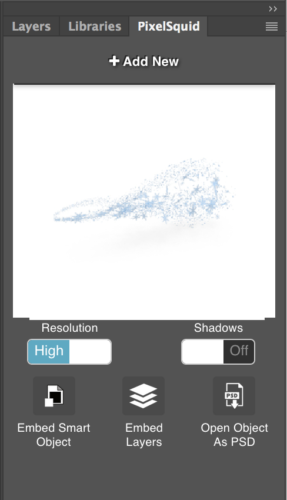
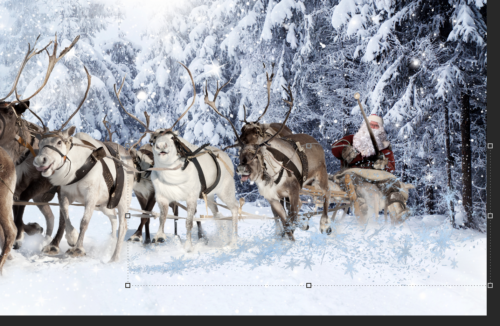
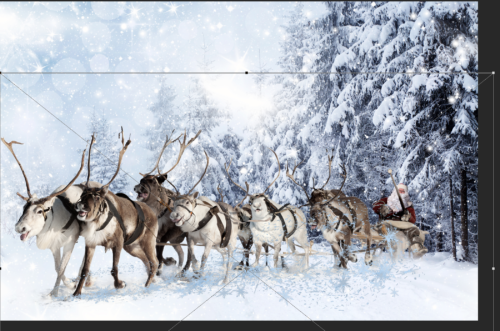
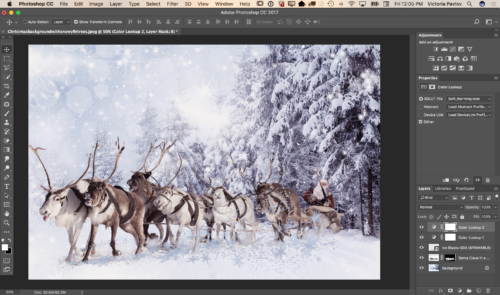
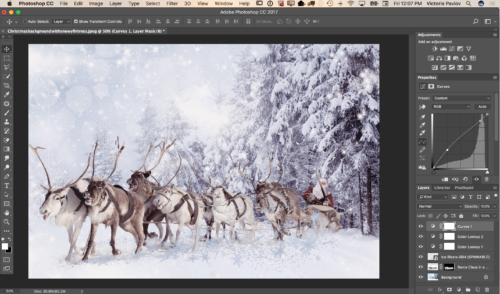
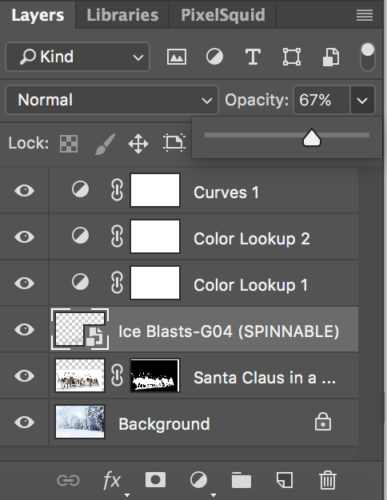
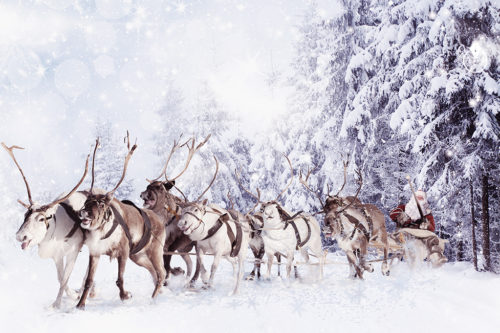 In this tutorial I will show you how you can create a winter scene in
  CC using images from Adobe Stock and 3D object from


 plan on Amazon.
 CC
CC Apps
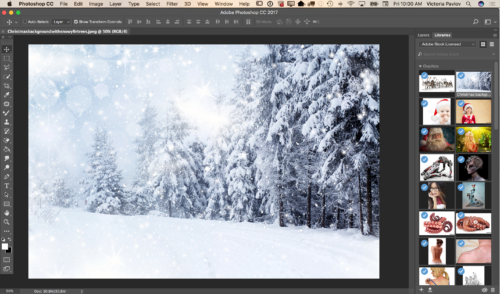
Apps in Adobe Photoshop CC