Hello everyone. Thanks for visiting my blog today.
Today is all about how to use small spaces for product photography. I posted on my social media a few product images I made for my client, and some of you asked me to share my process.
Use a small space to your advantage:
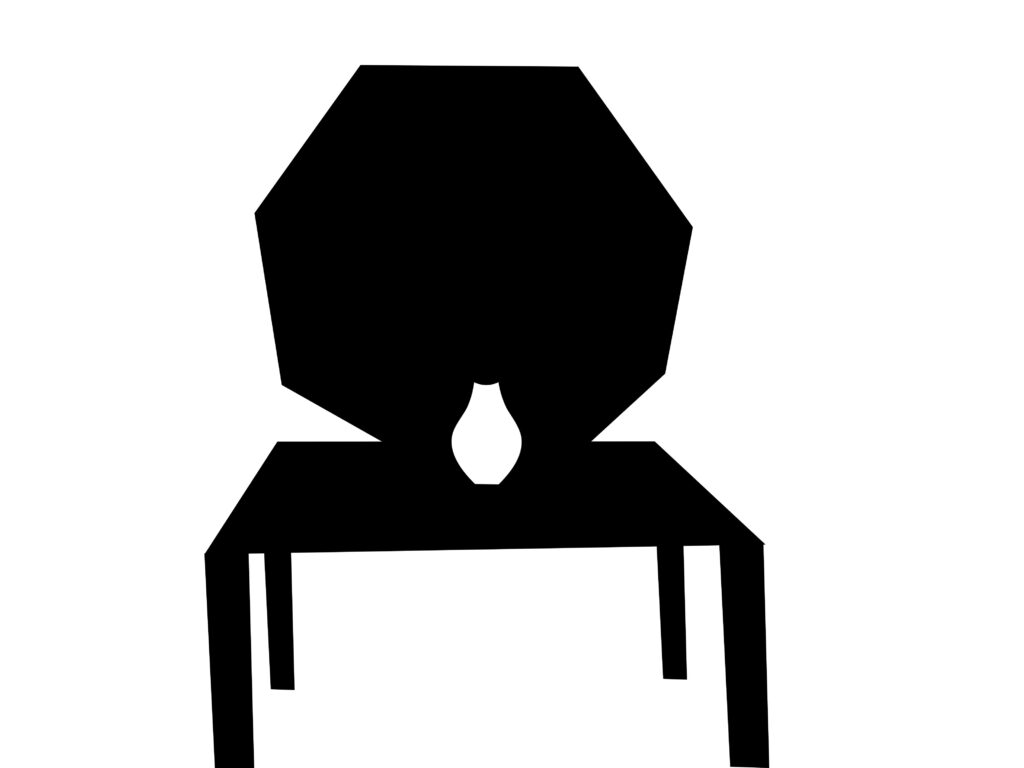
1: For product photography, you don’t need to have a lot of space. I had a situation when I had no space at all, so I use a bathtub for all my product shots. I used a school project board positioned on top of a bathtub as a table.
Shooting using small spaces can be very helpful to eliminate a reflection in your product. Smaller spaces have less “environmental chaos” reflected in your product, which means less post-production. It’s cheaper to buy a small flag to block the reflection. You even can use one school project board divided into two pieces.
2: Light. Small spaces require less light. So it’s cheaper.
Must have:
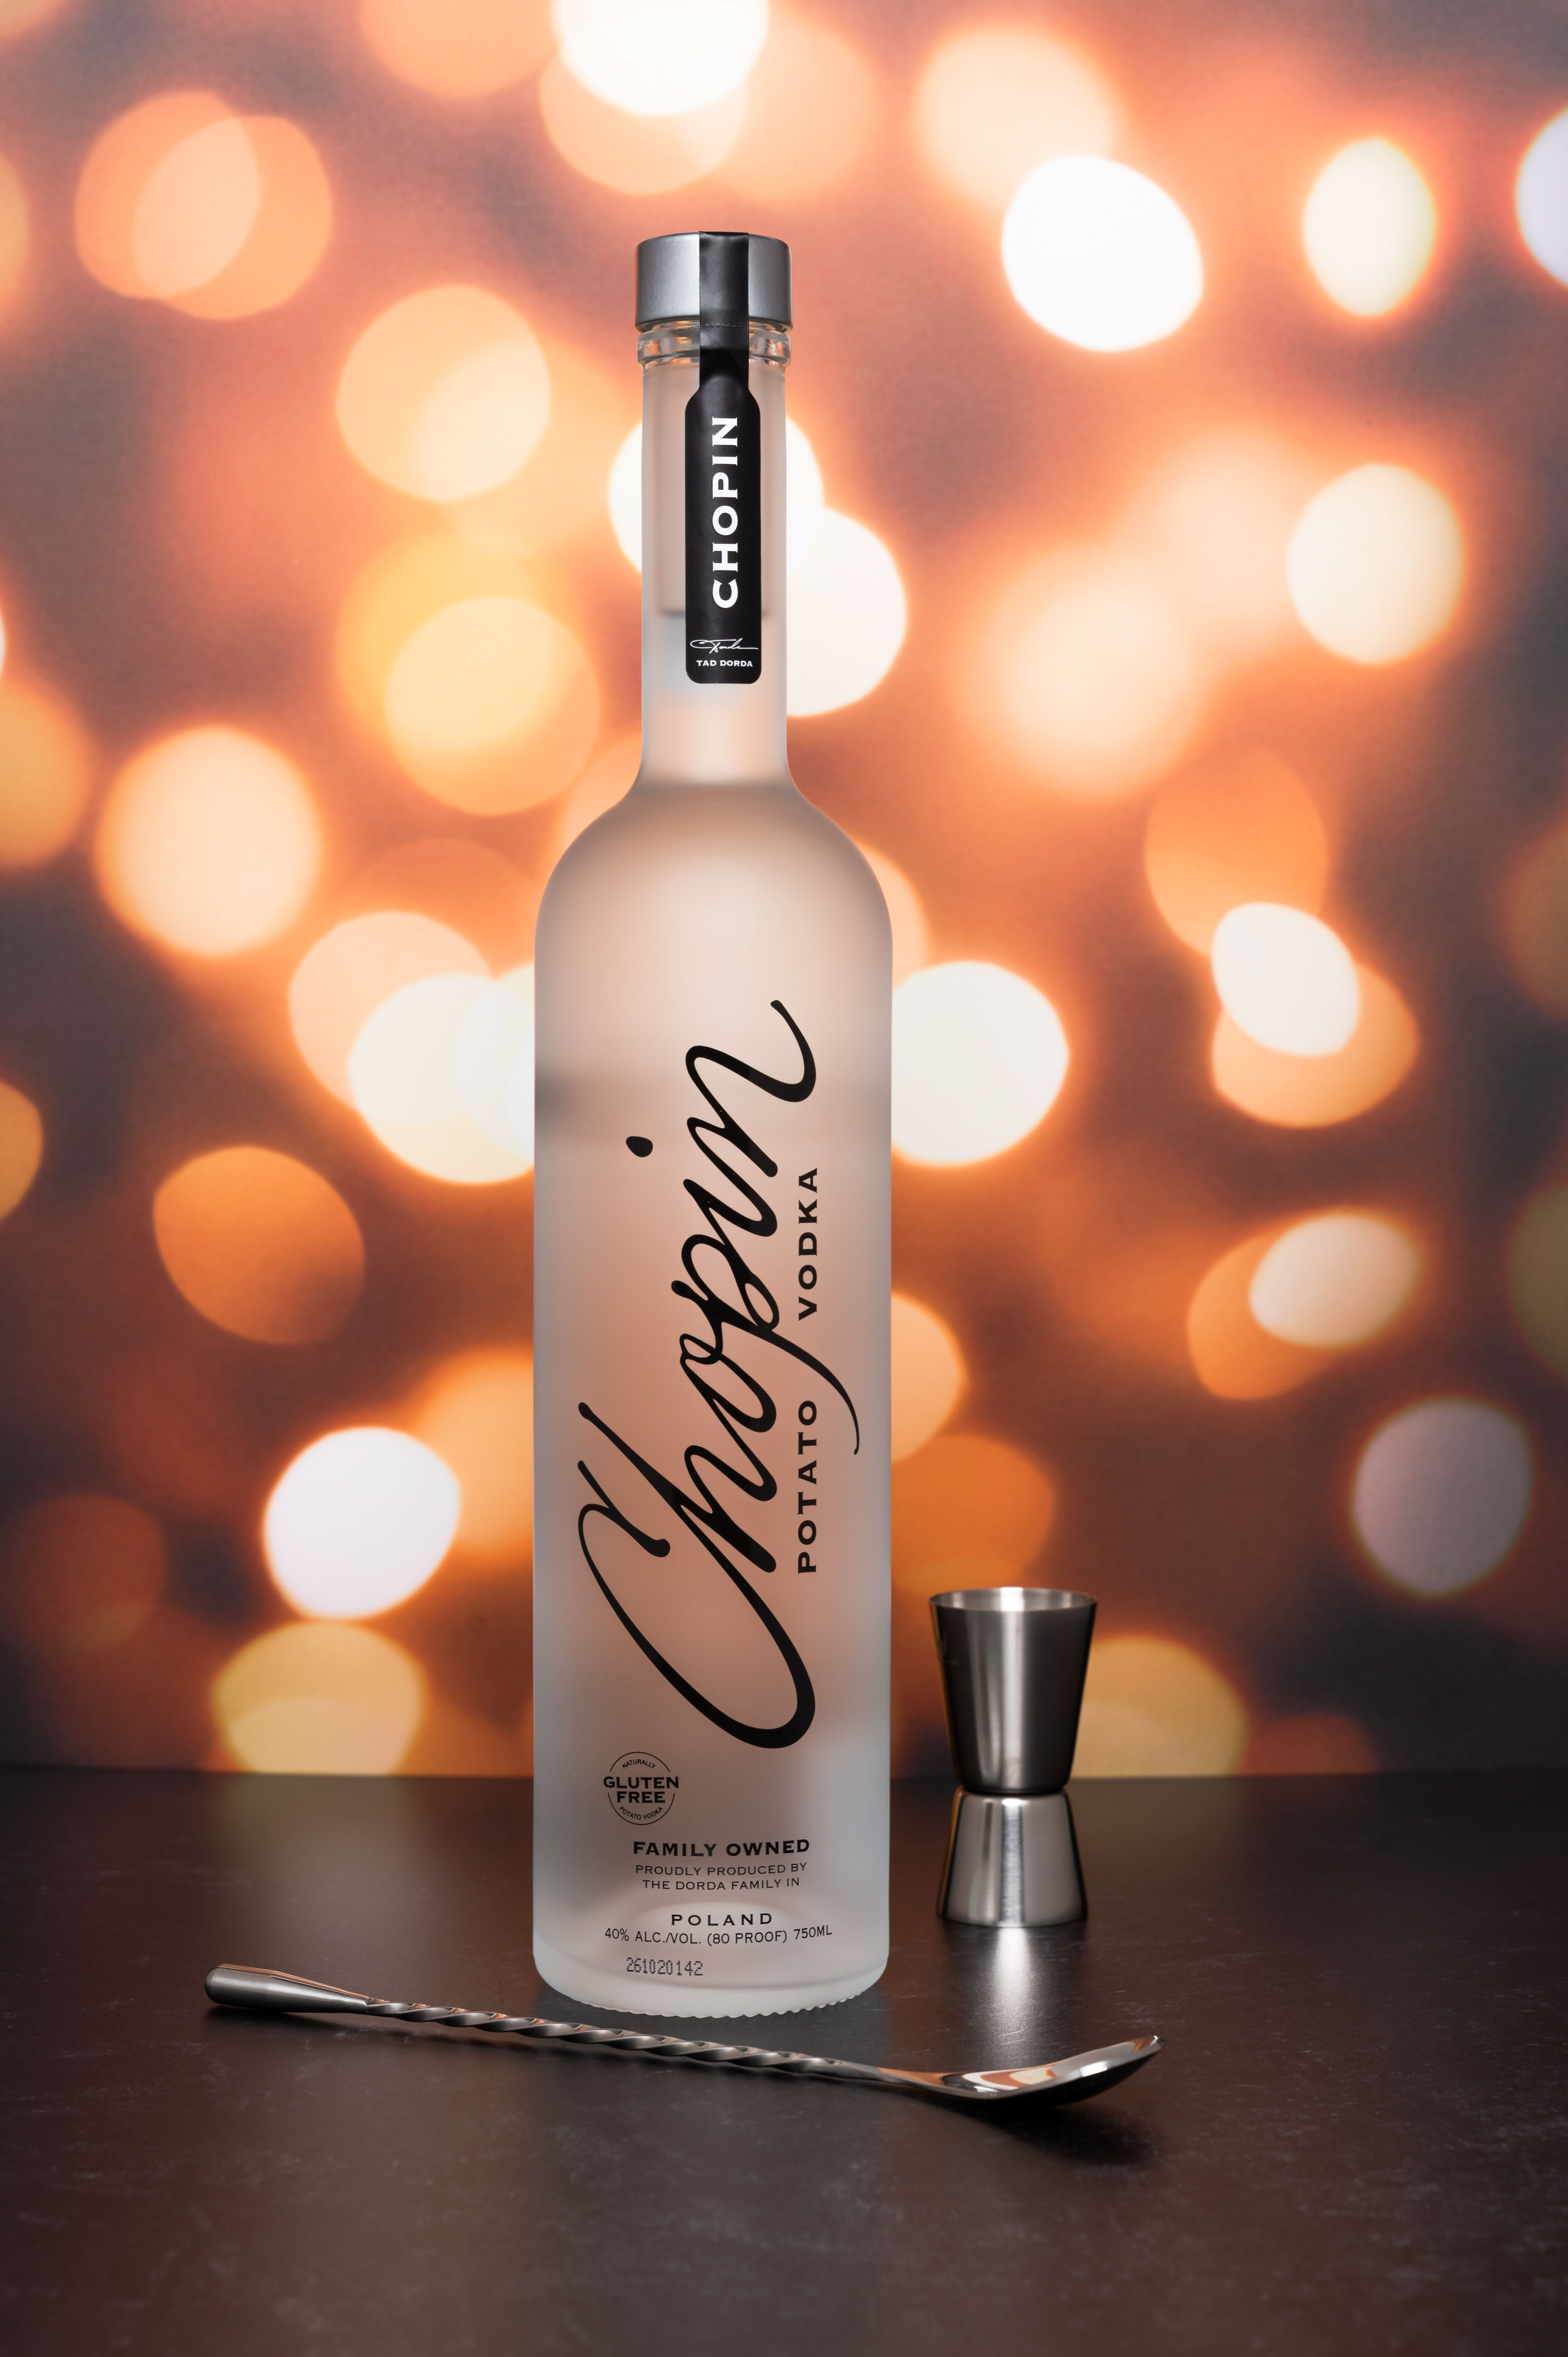
1: it’s necessary to have the right surface(s) or backdrop(s) for product photography. The right surface will help to tell the story of your product along with the simplicity of post-production.
I use surfaces I bought from Replica Surfaces. They are beautiful realistic-looking surfaces, easy to shoot with, and easy to clean up. Another big plus is that having even only two surfaces you can create 4 different sciences.
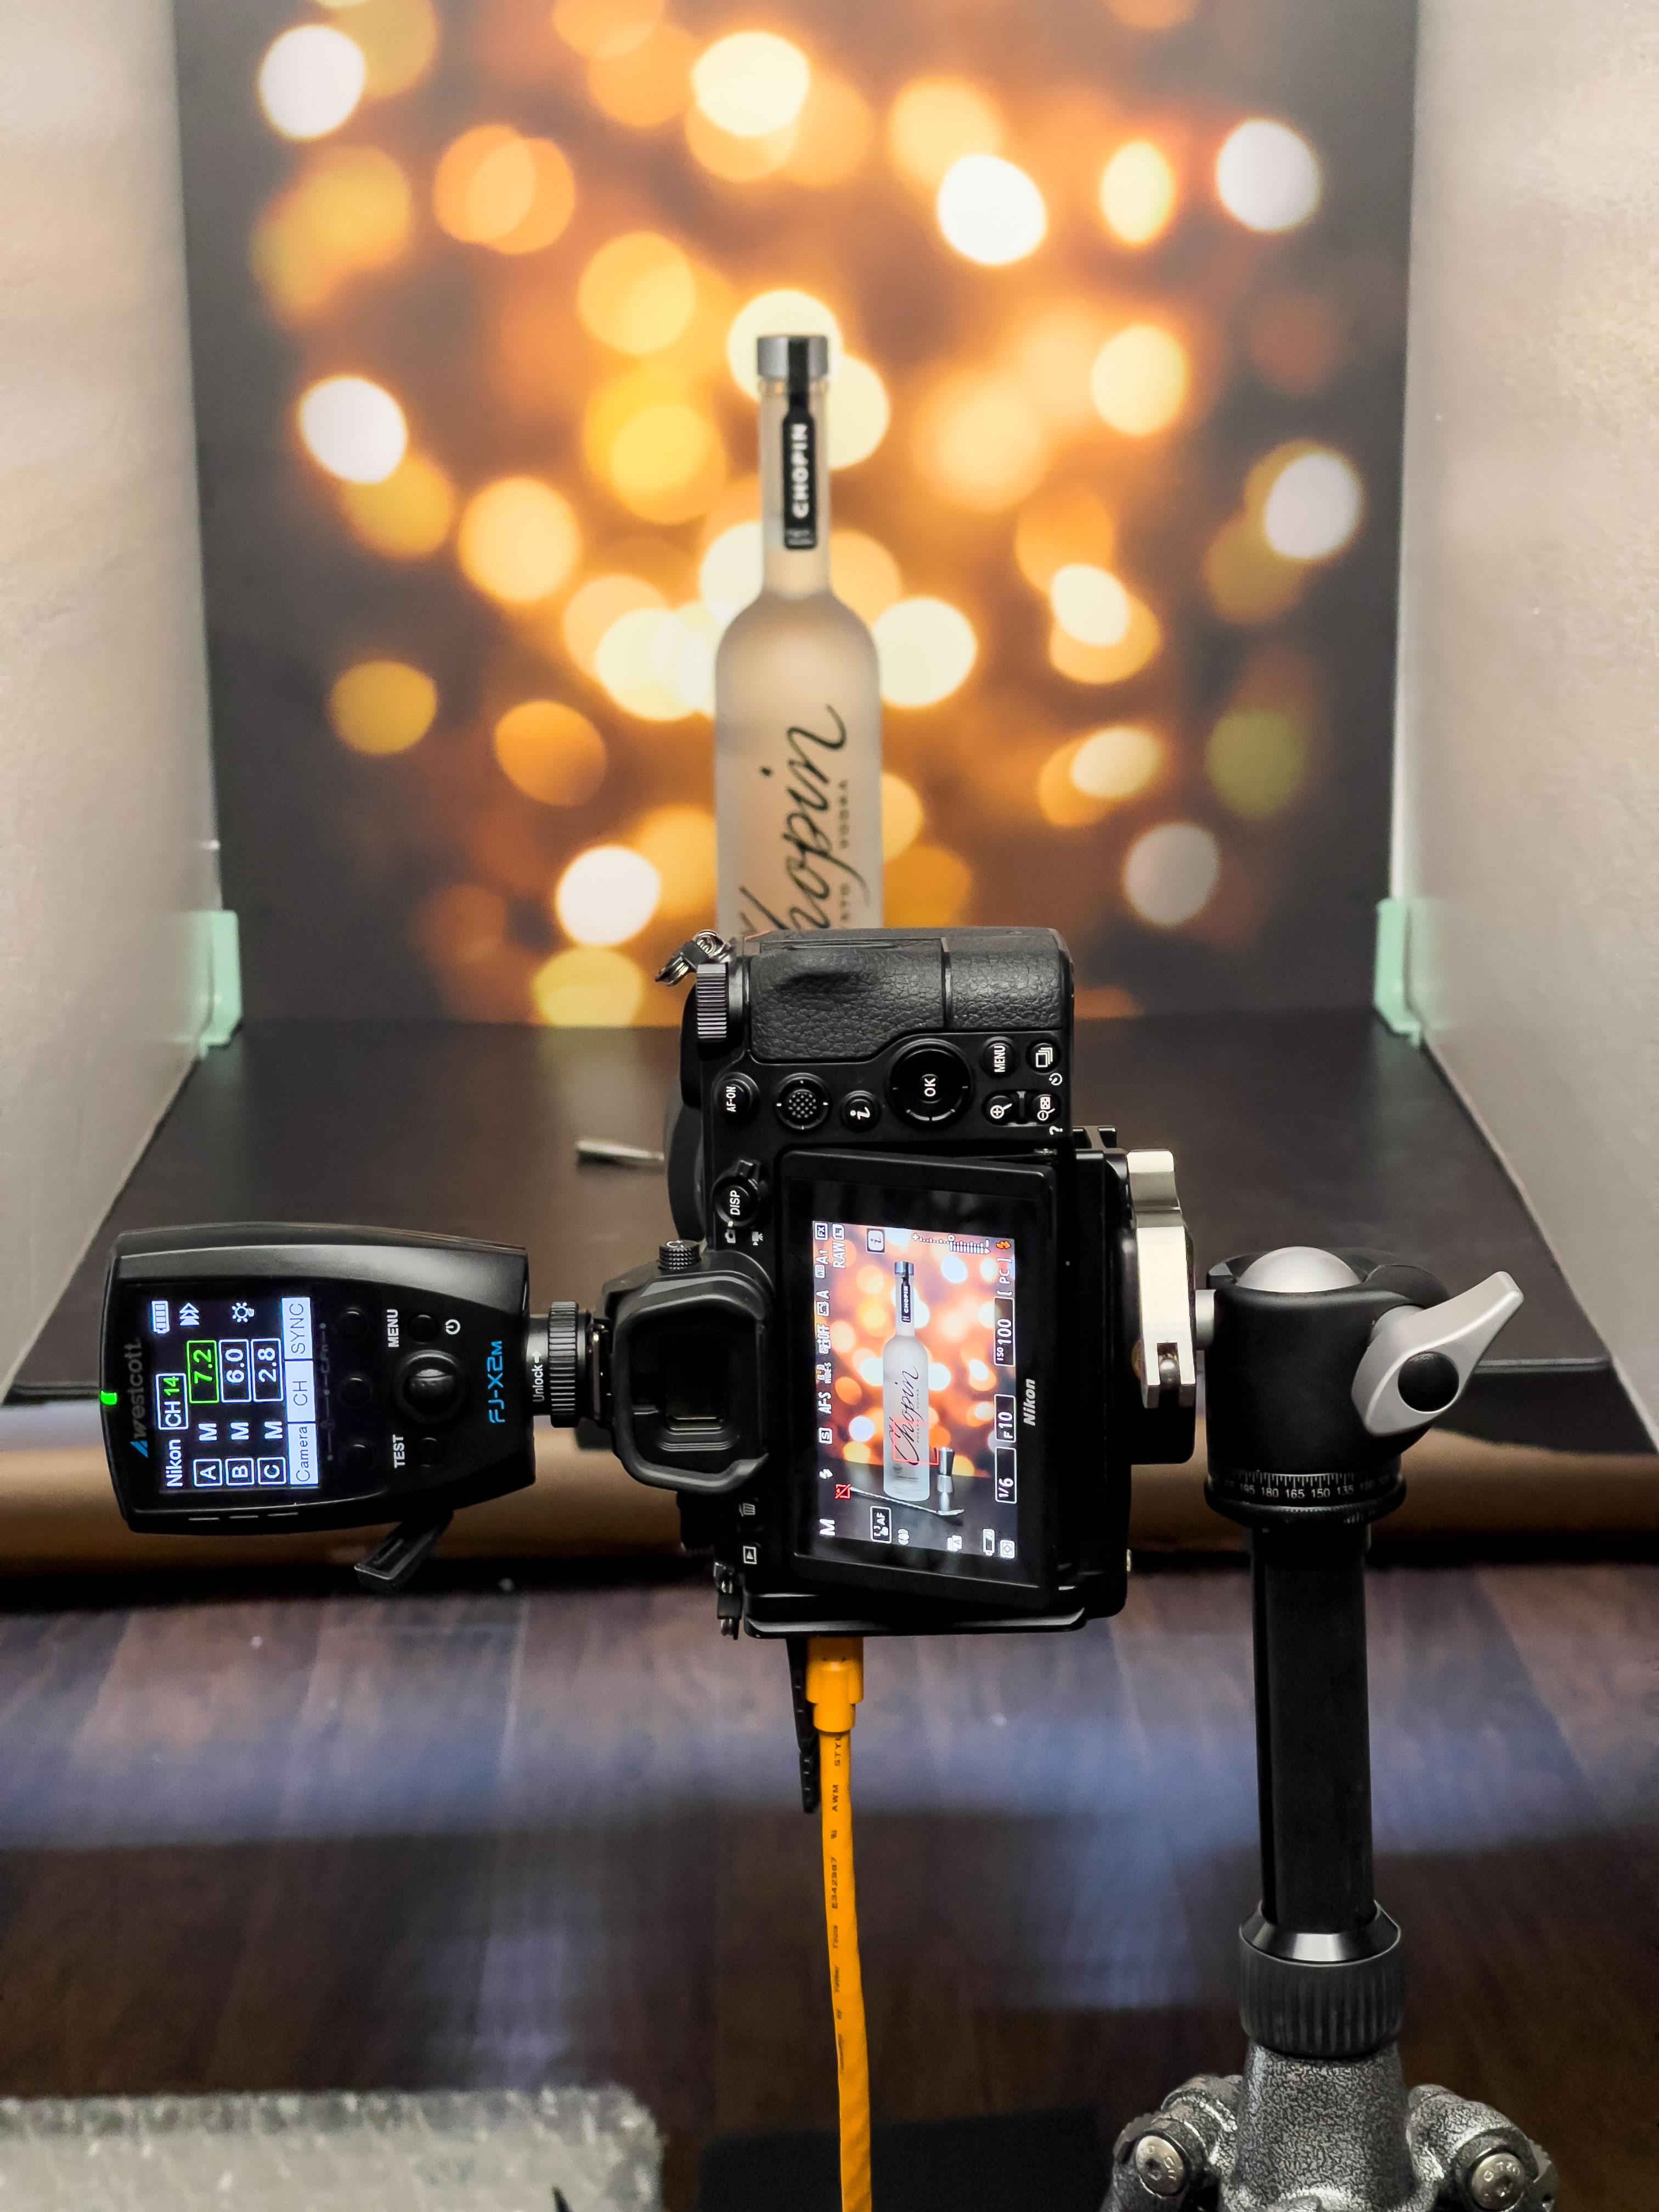
2: Excellent lighting is a must to have. You don’t buy new lights every month or year. So invest in good lighting. I use Westcott FJ400 with a Westcott FJ-X2M trigger.
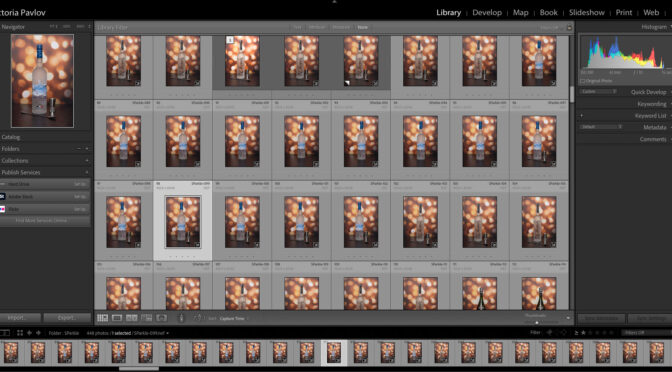
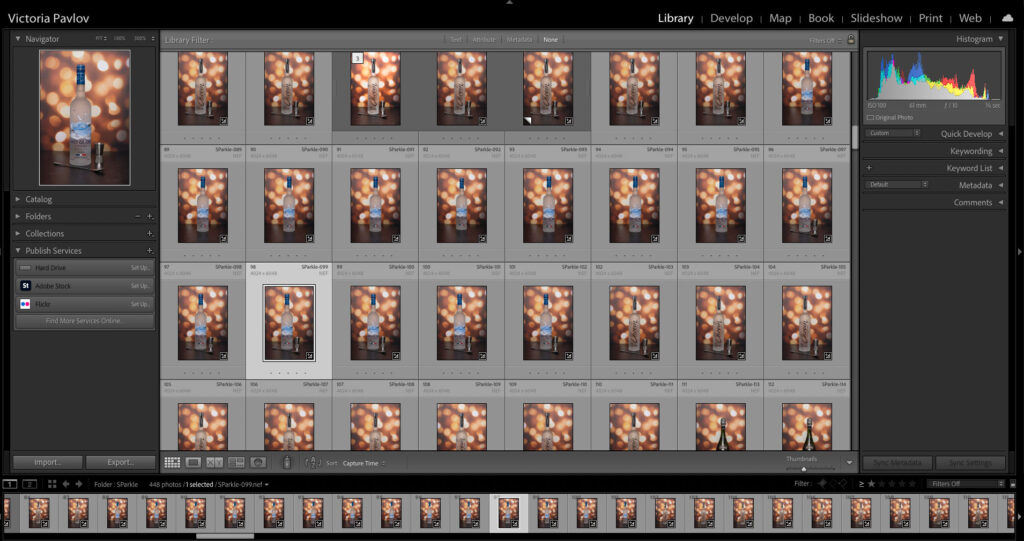
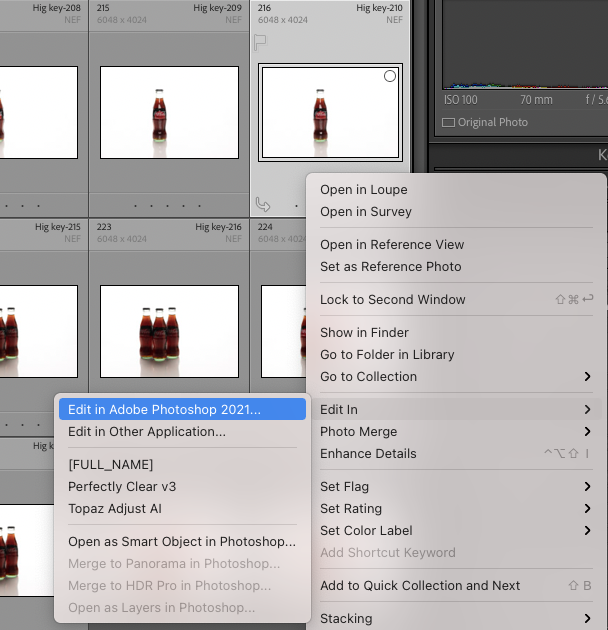
3: It’s necessary to shoot tethered. Shooting tethered will save time on post-production and eliminate mistakes you will notice after the photo session. You sow something you’d like to improve – you will be able to change/ improve it right away.
I use Adobe Lightroom and tethering cable from tether tools.
4: Gloves and lint free cleaning cloth. A clean product is the first step in any product photography. So take time to clean the product using a soft cloth before the session. A glove will give you the ability to move the product without leaving any fingerprint on it.
5: Tripod. I use a tripod in all my sessions. I can’t imagine my photography life without one. Don’t buy cheap tripods. Buy a sturdy one that will make your photography life easier and more enjoyable.
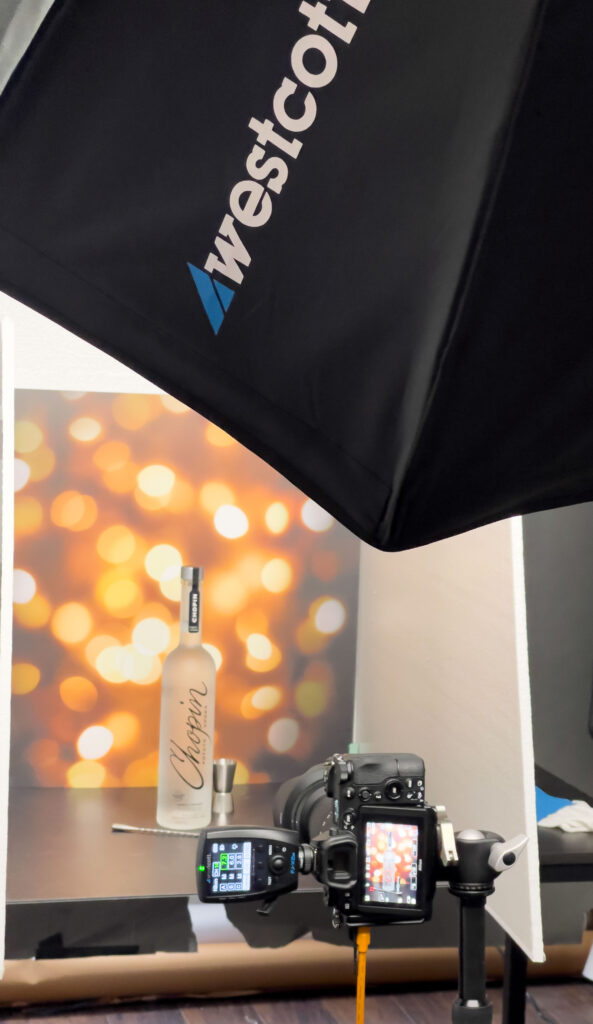
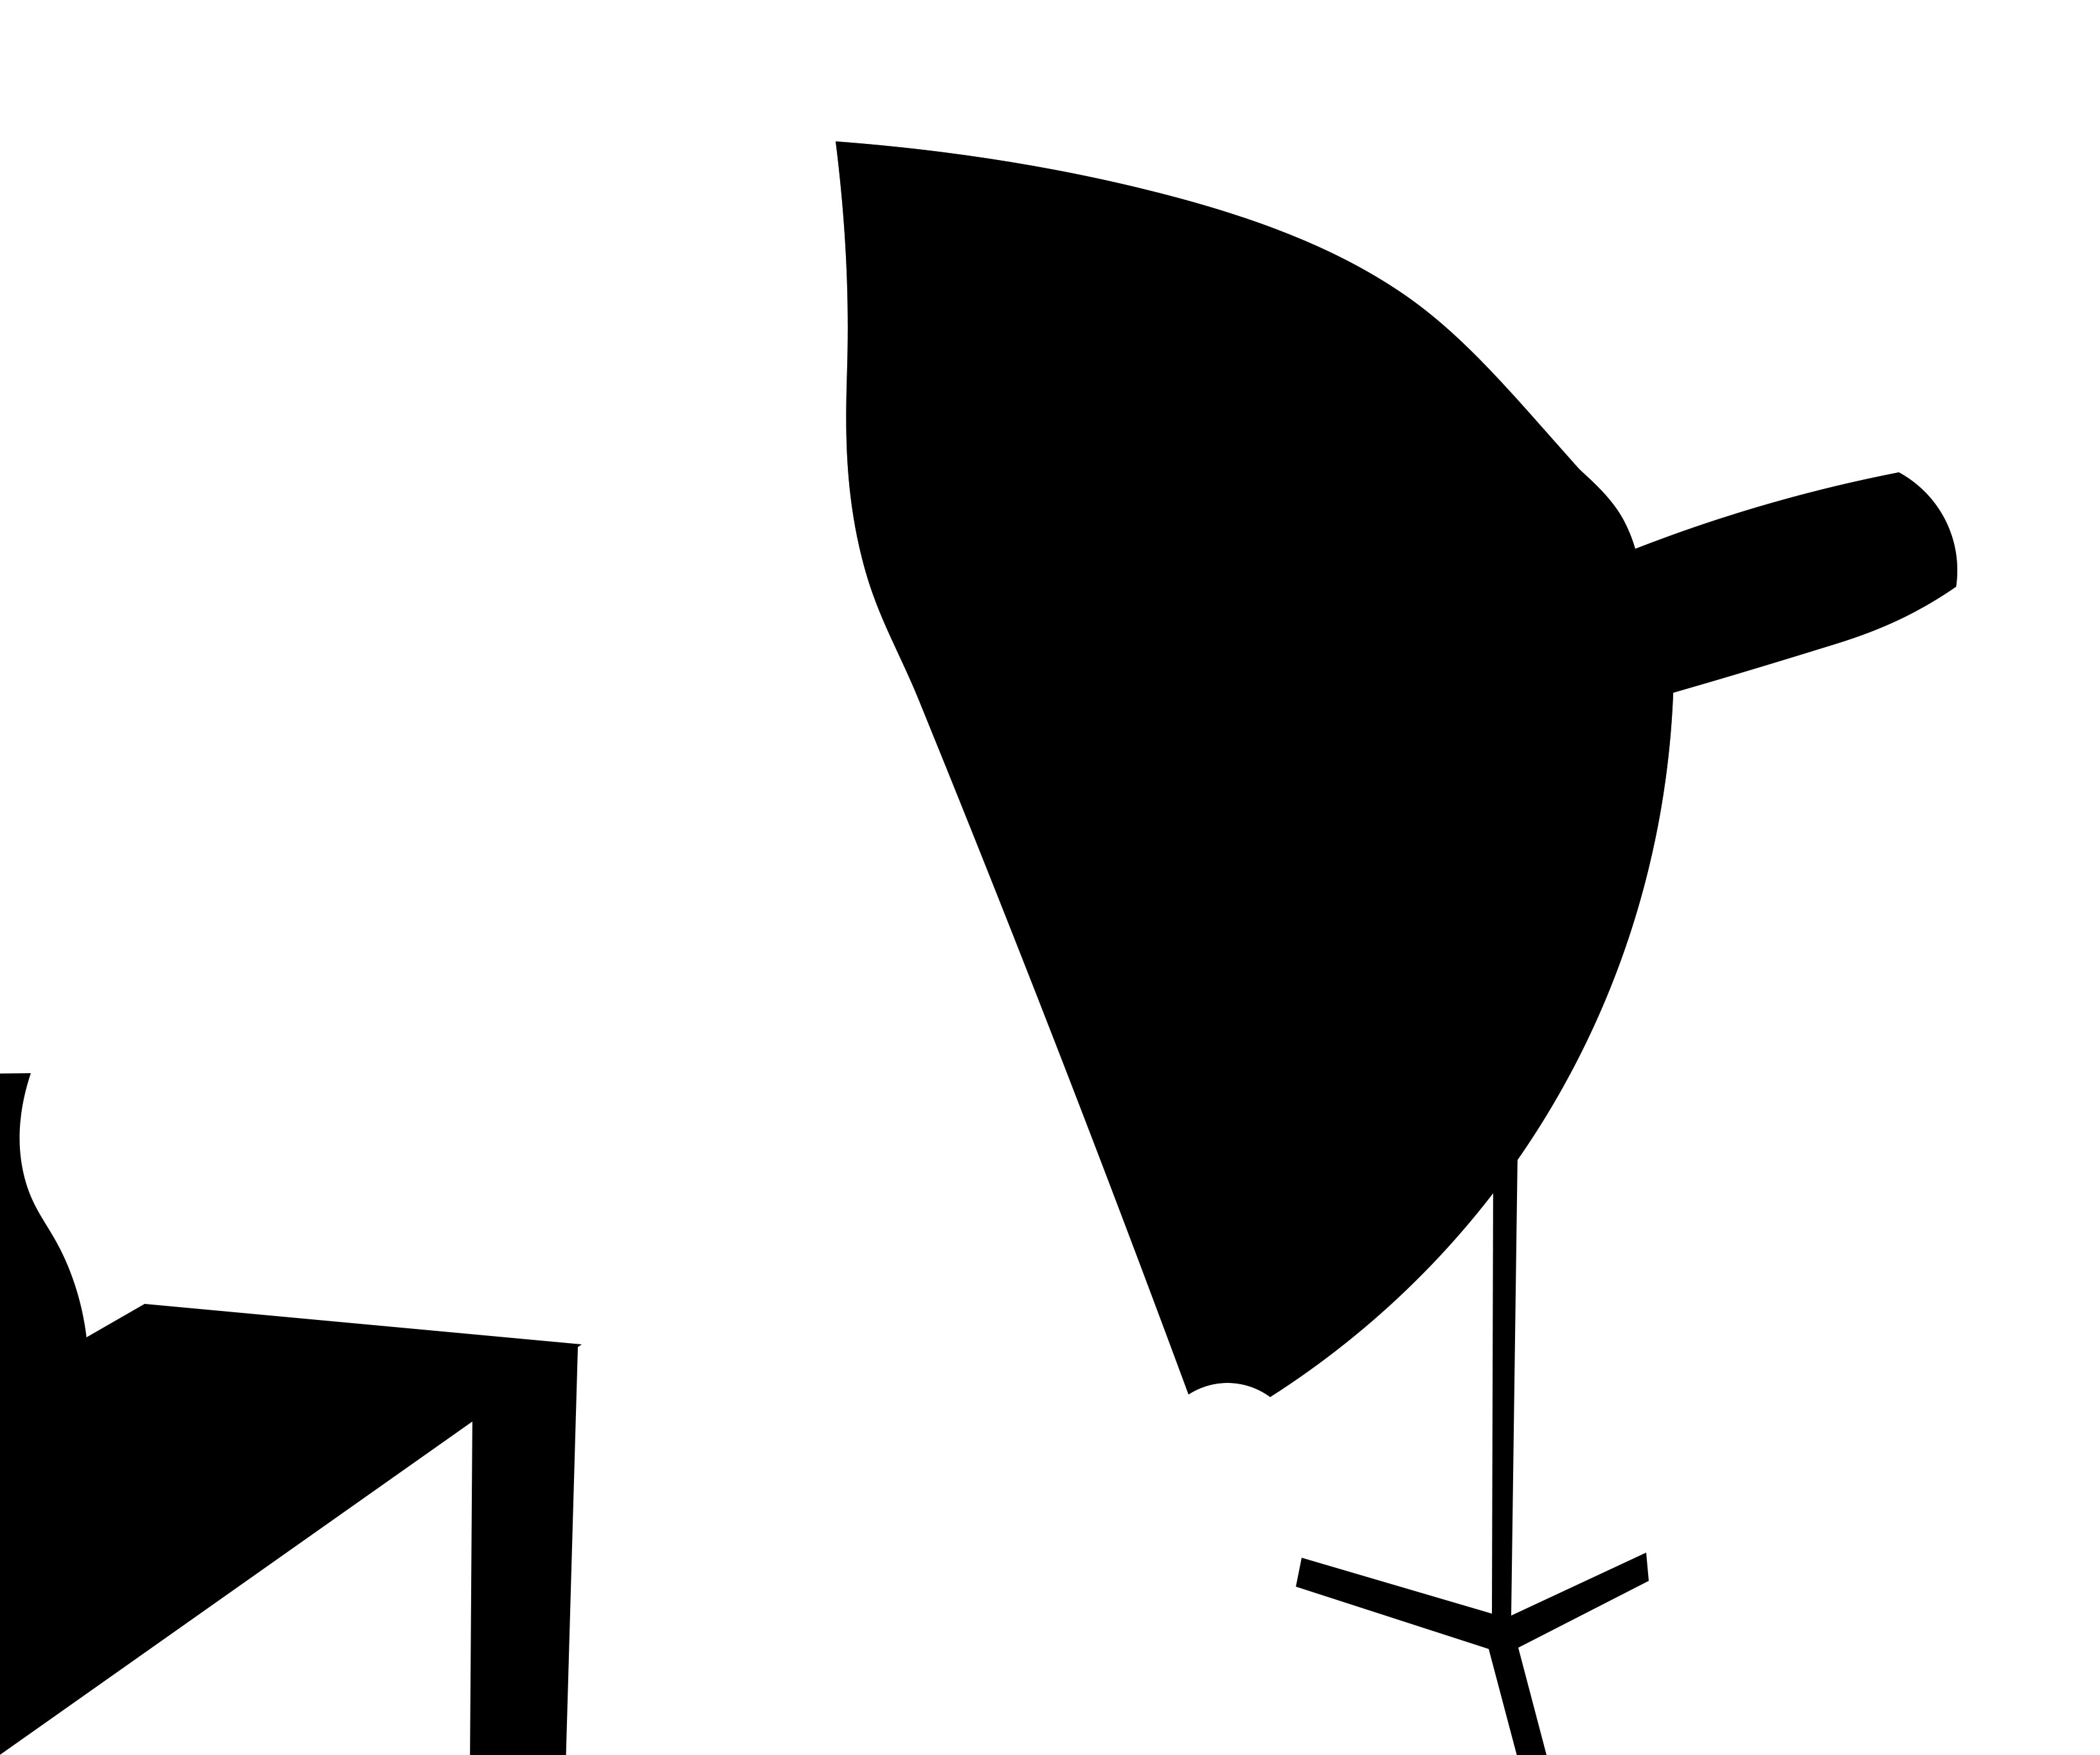
Below is the setup for my last session
I used only one softbox (yes, you can shoot product with only one light)
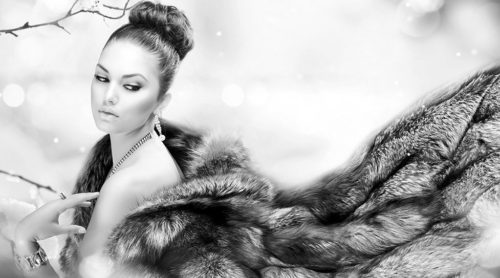
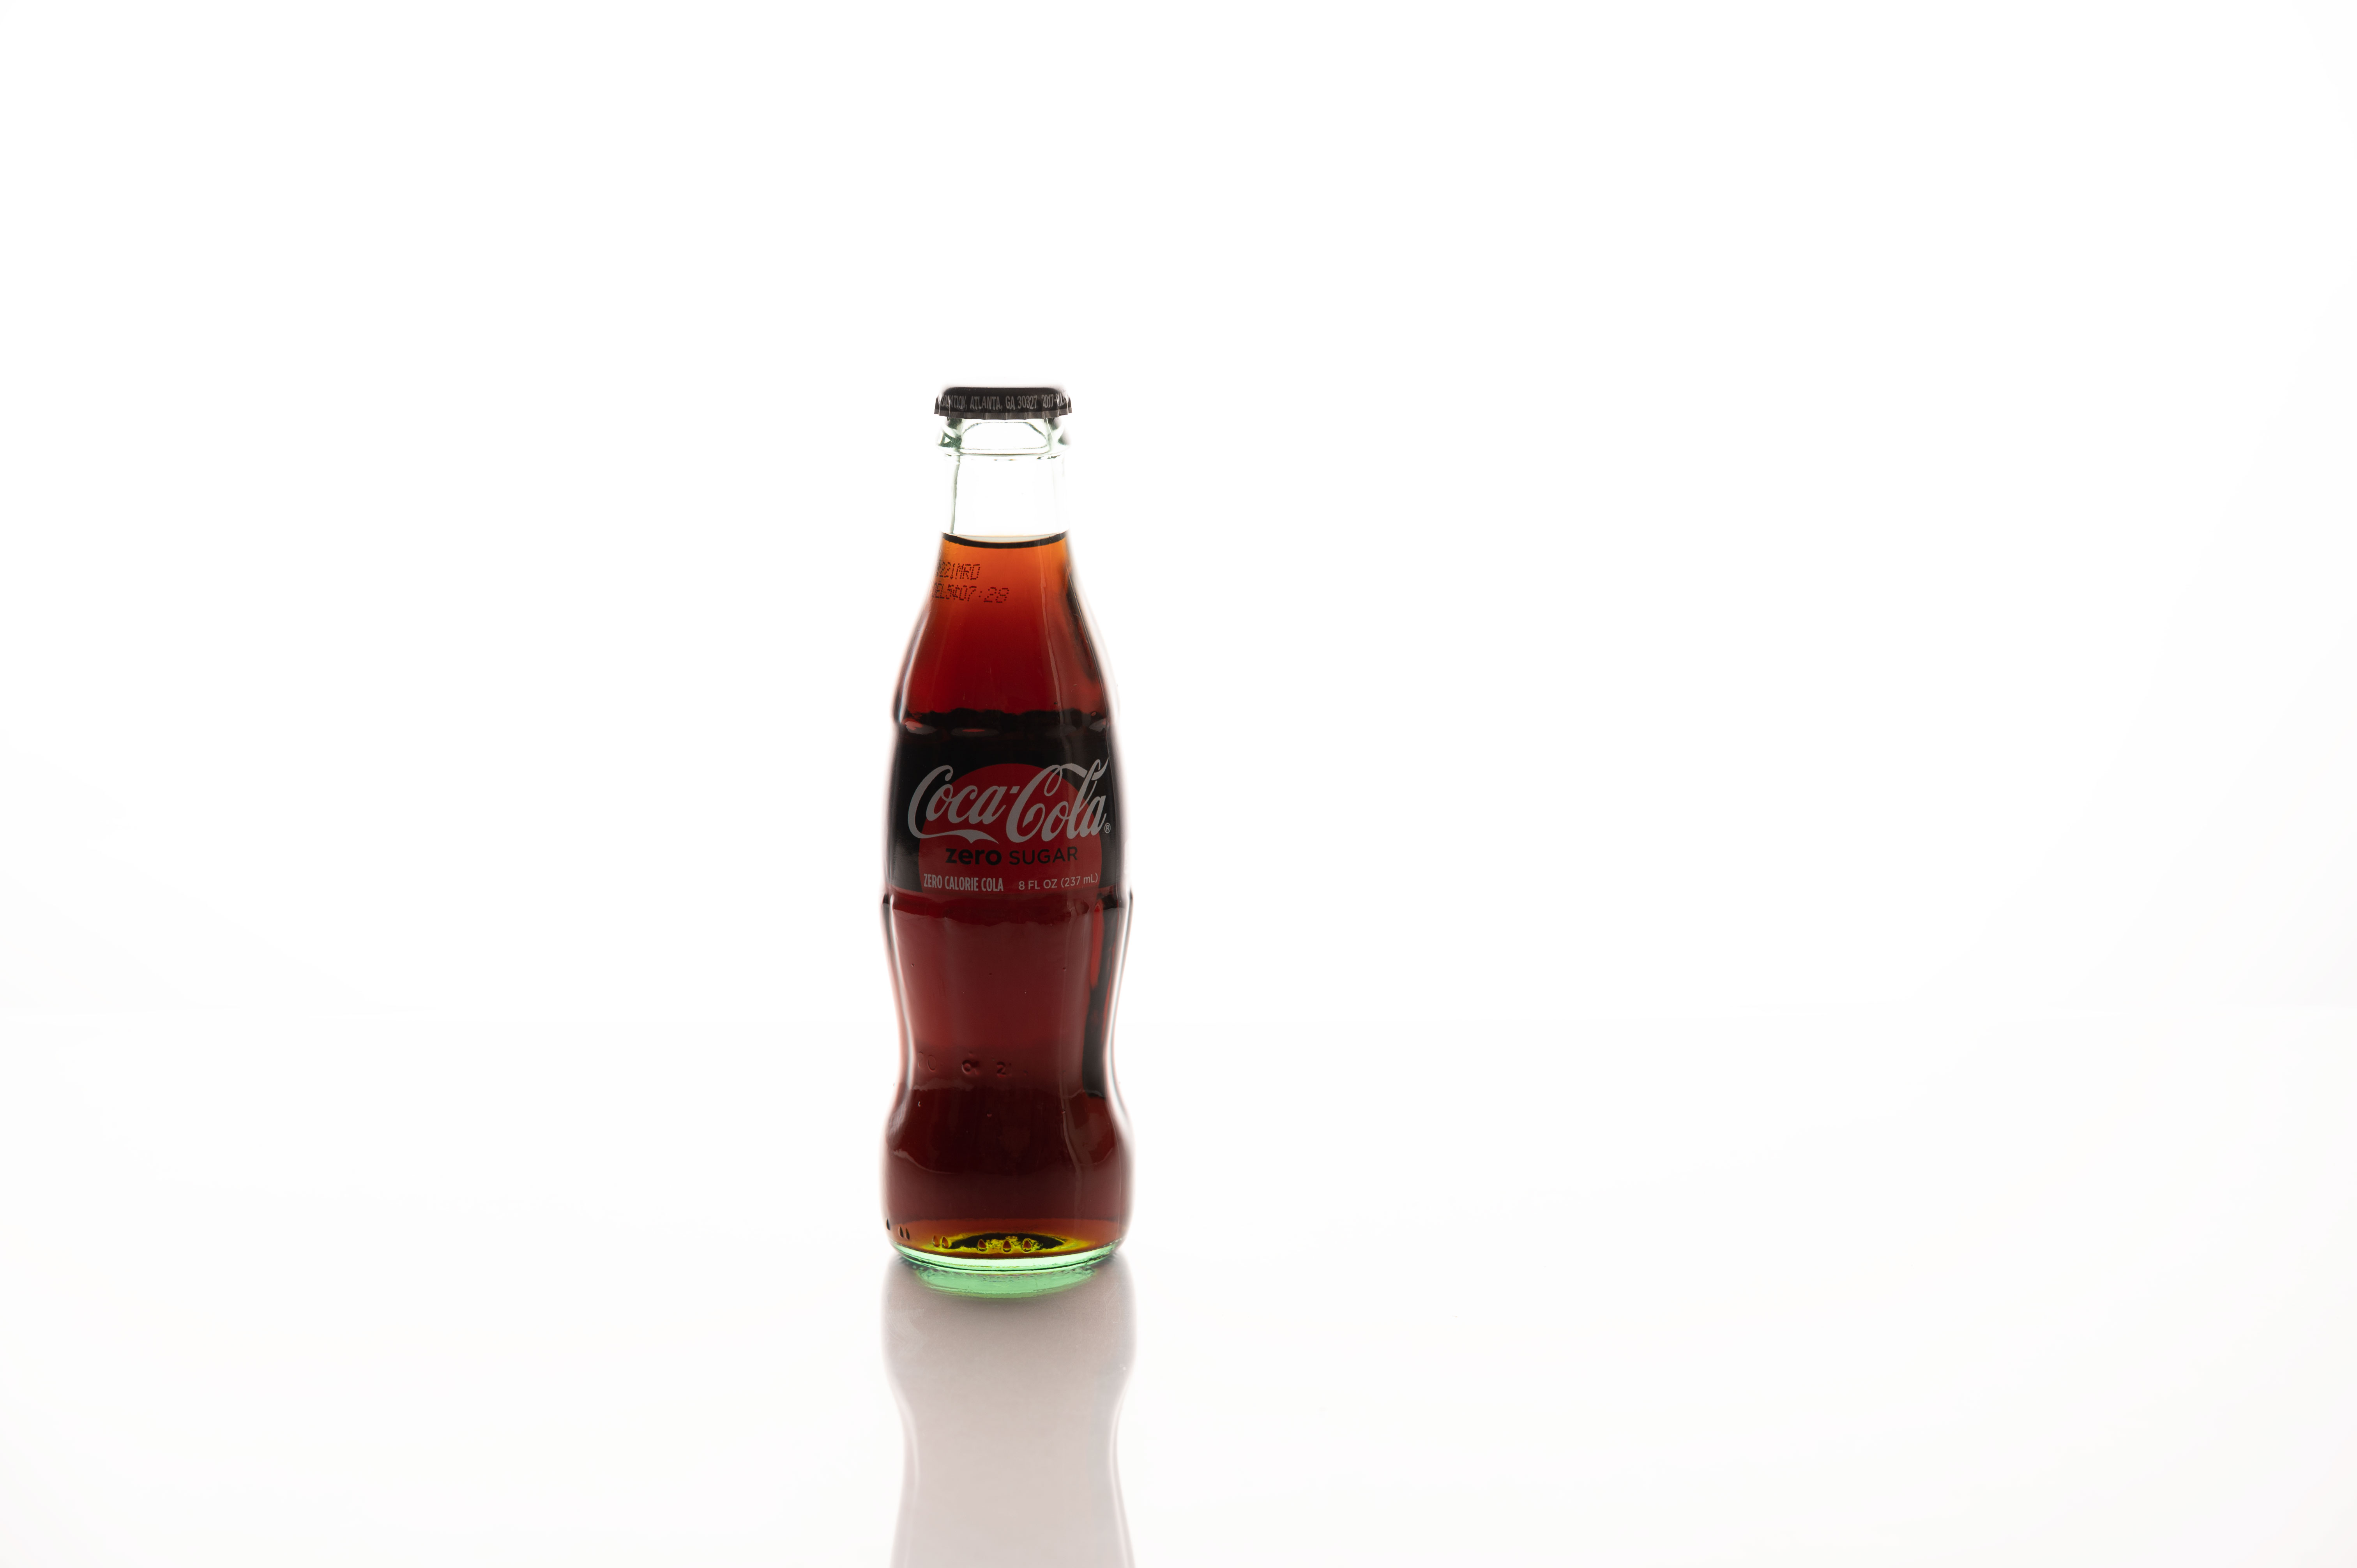
A few final images

The Bottom Line
Product photography is fun and the best part is that your subject is always available and never gets tired. You can shoot products whenever the mood strikes you. Try it and have fun.


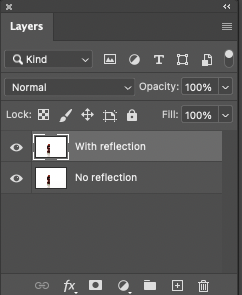
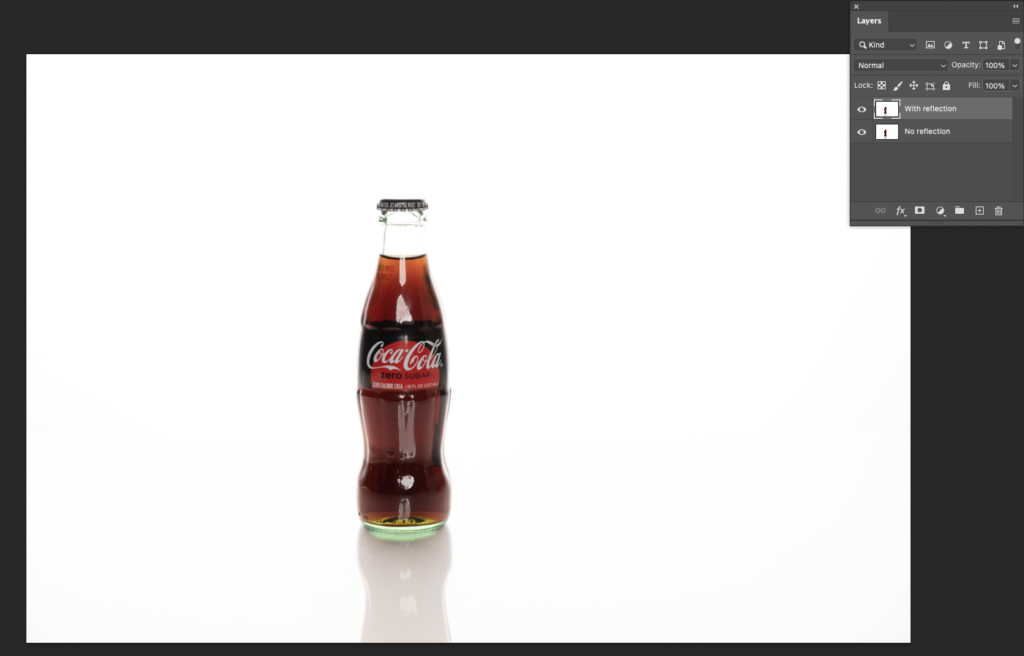
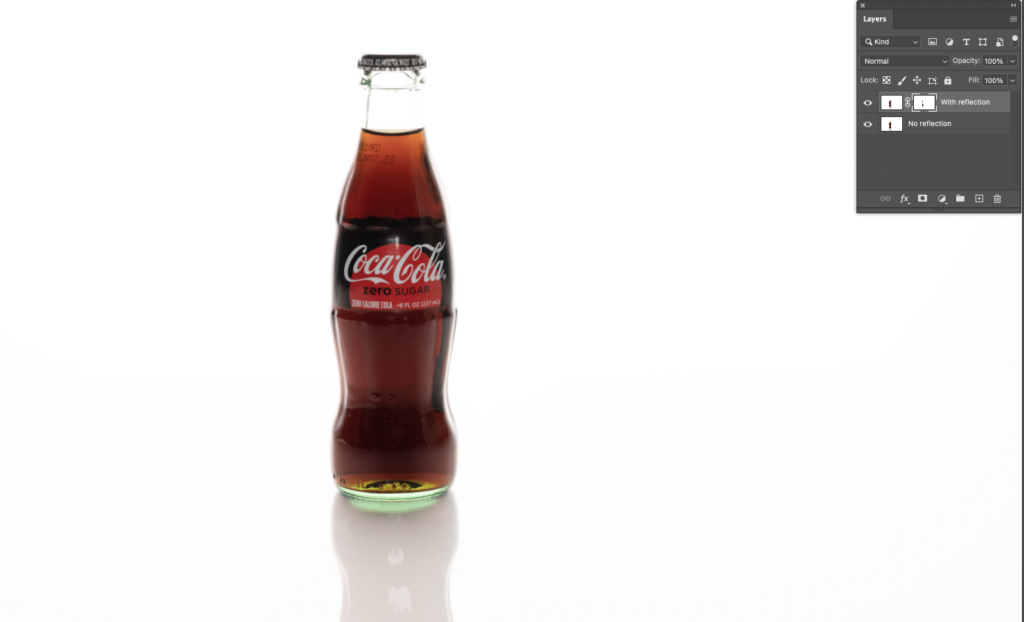


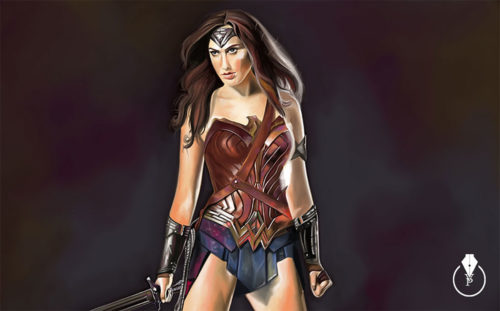
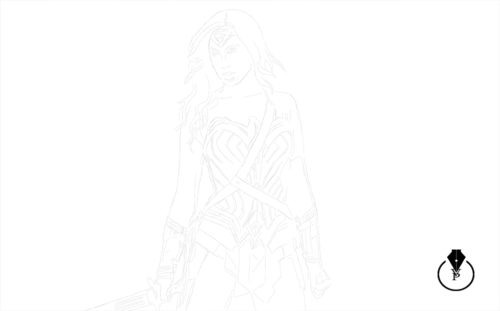
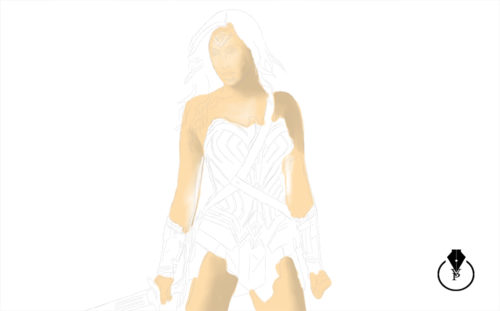
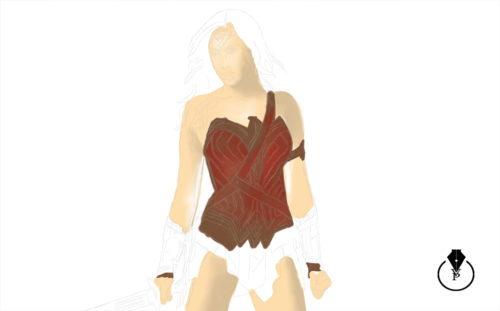
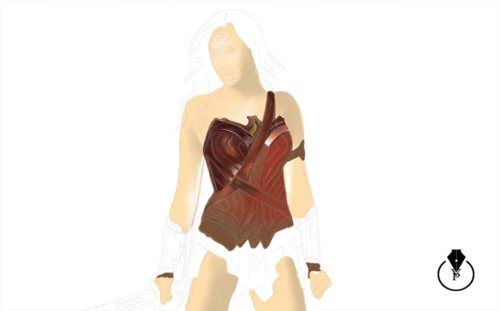
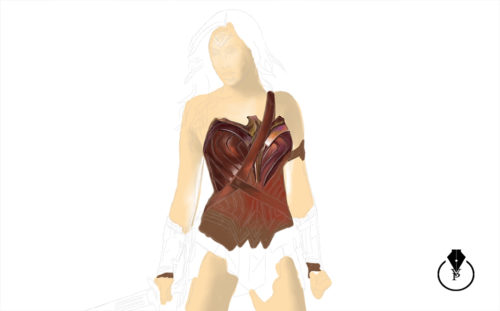
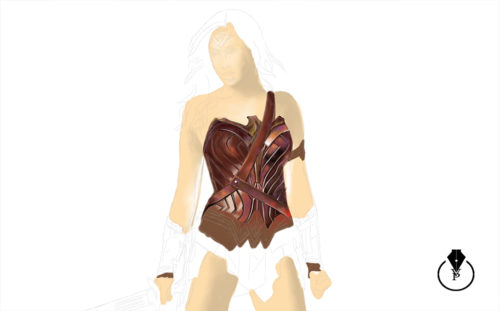
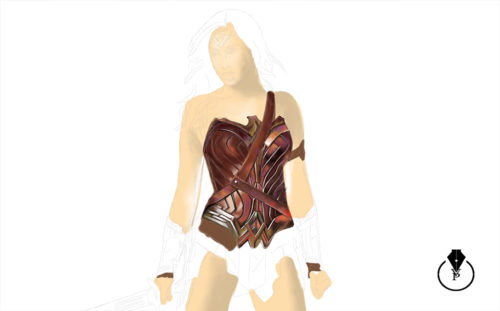
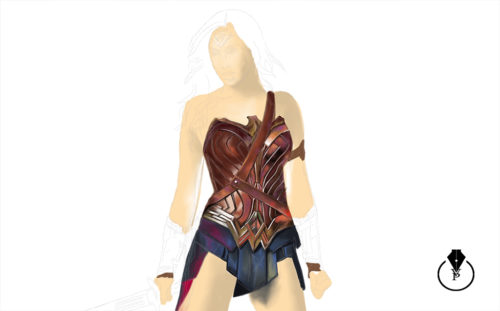
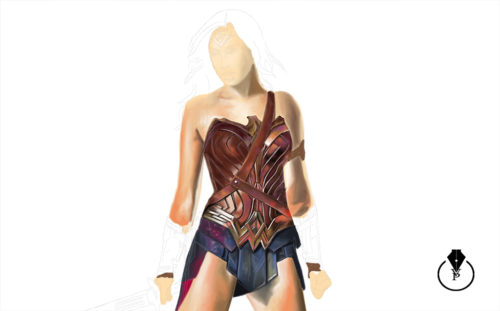
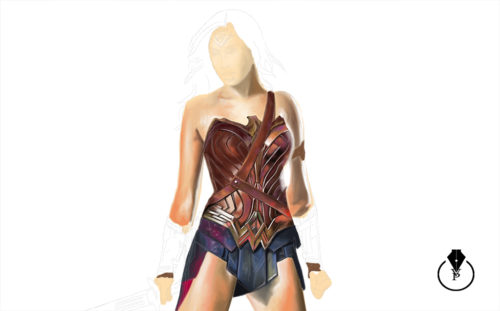
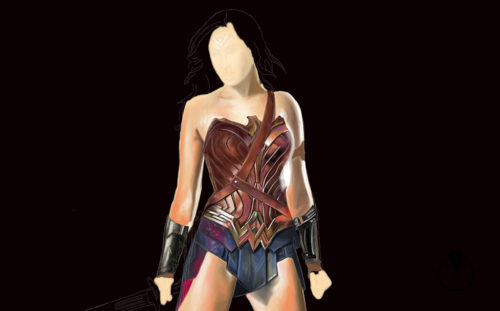
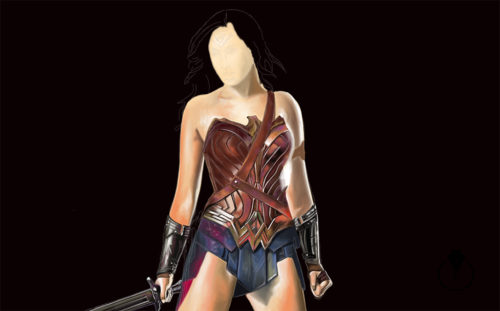
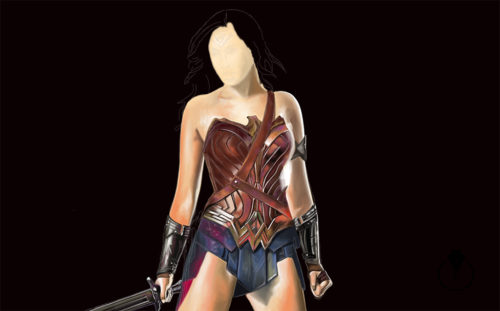
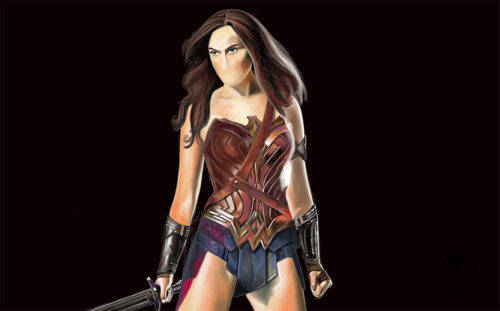
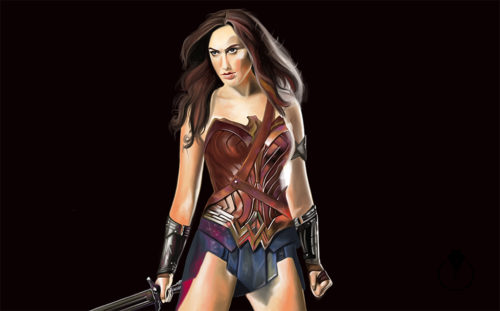
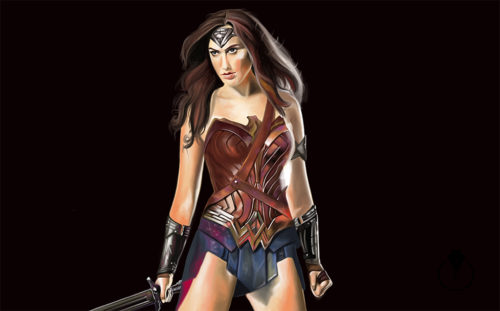
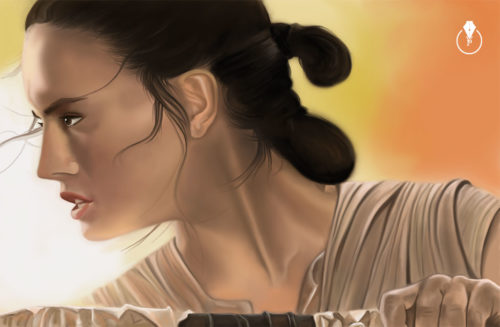
 . Because I am also The Photoshop Artist I decided to combine two passions into one to create fan art using the biggest passion in my life, Adobe Photoshop.
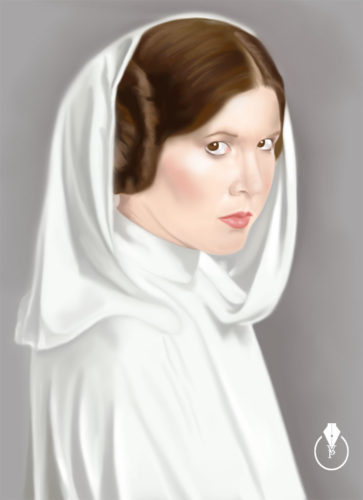
 using
using 

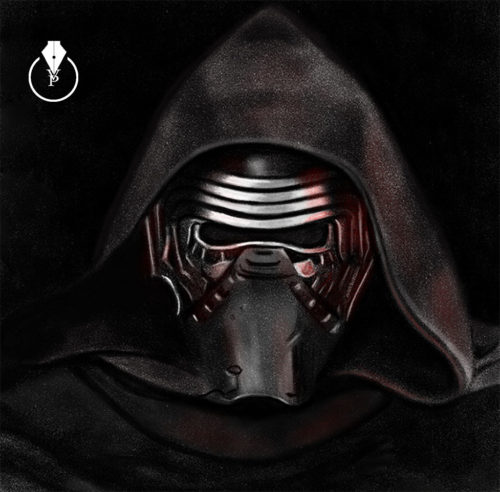 Kylo Ren
 and
and 

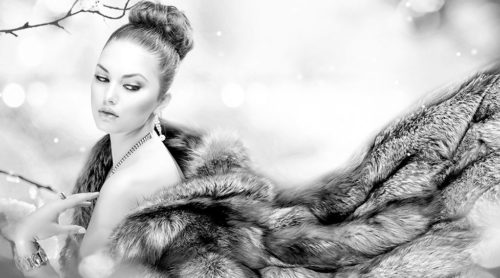
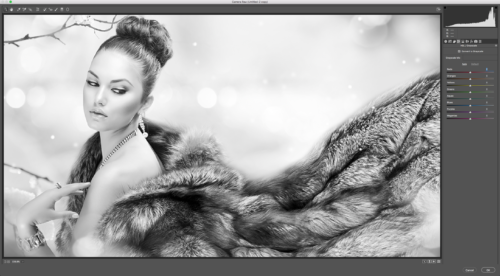
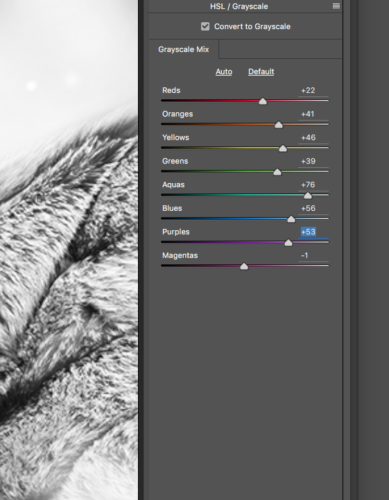
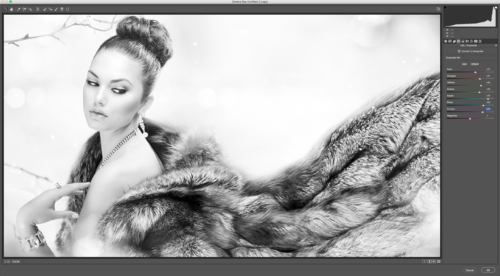

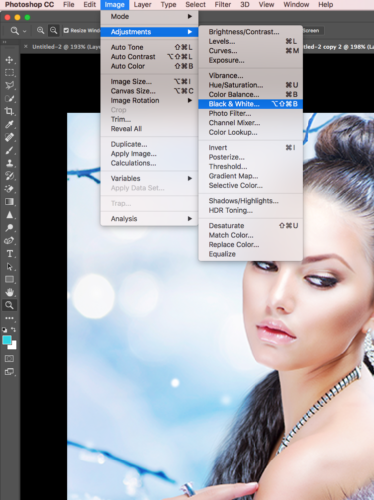
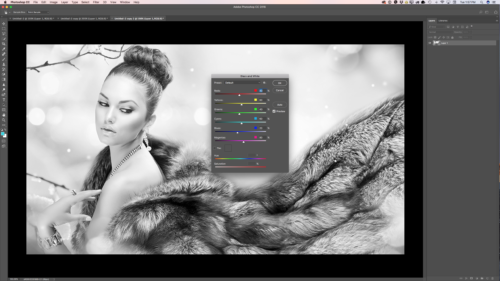
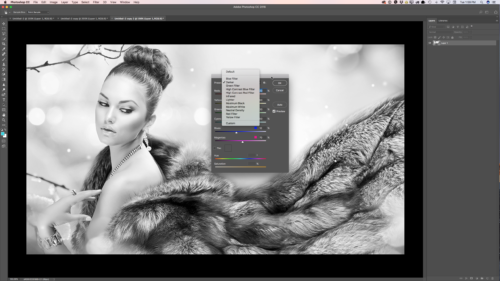
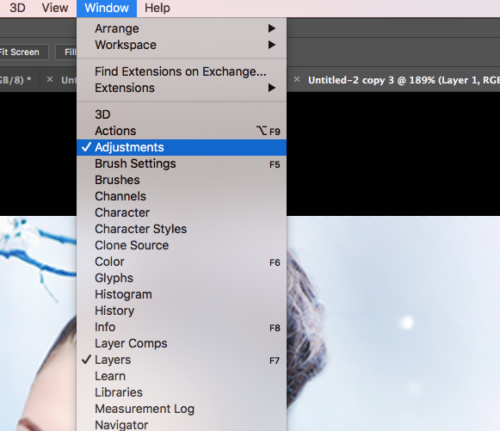
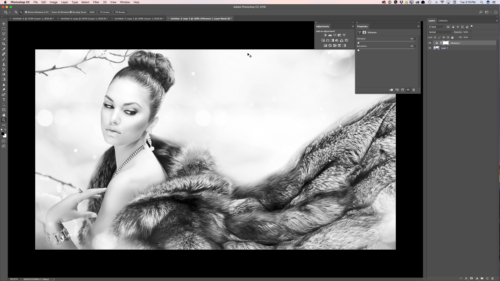
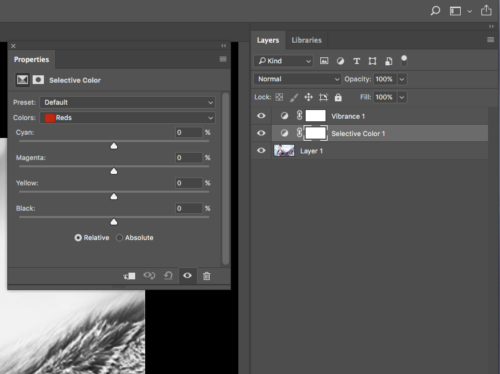
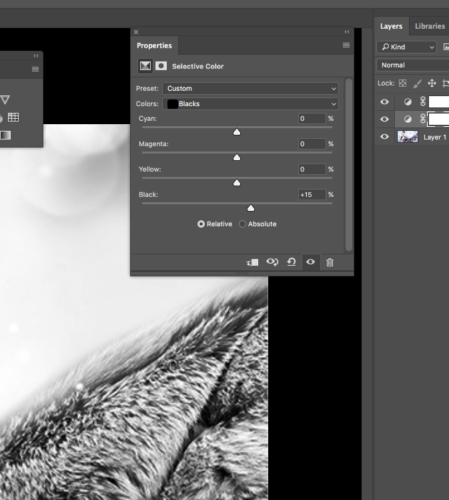
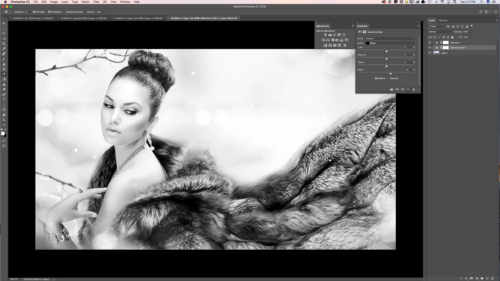
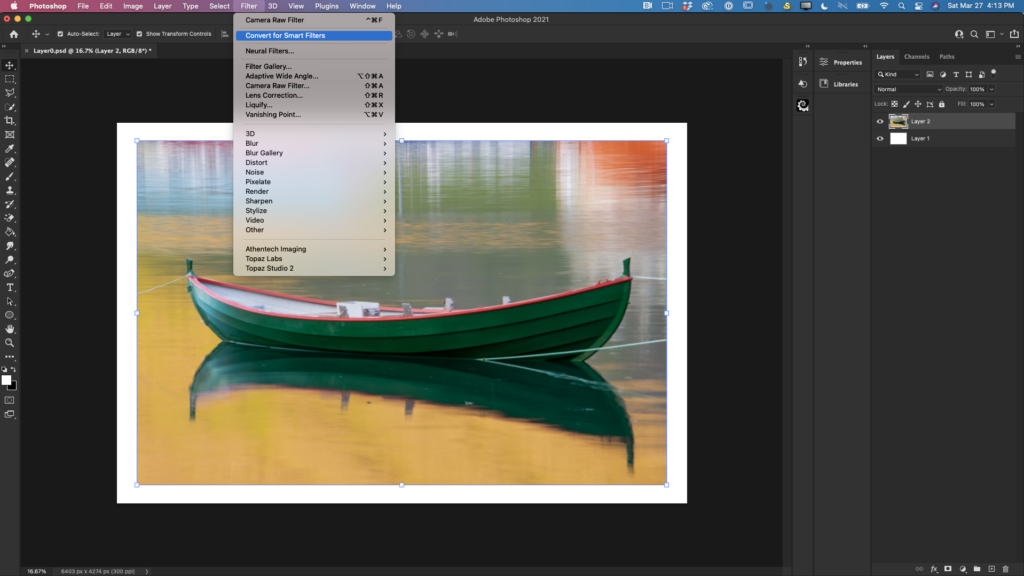
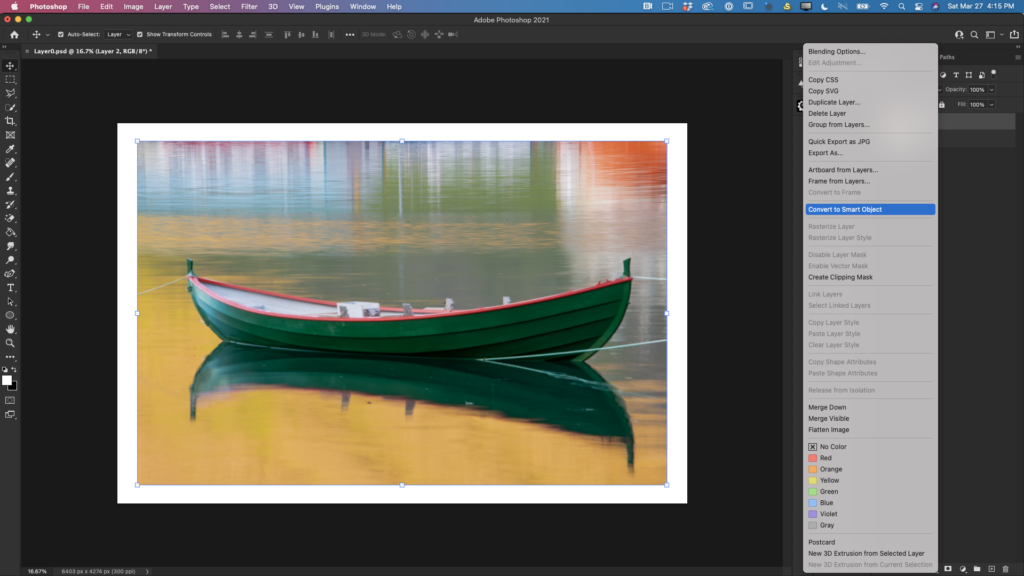
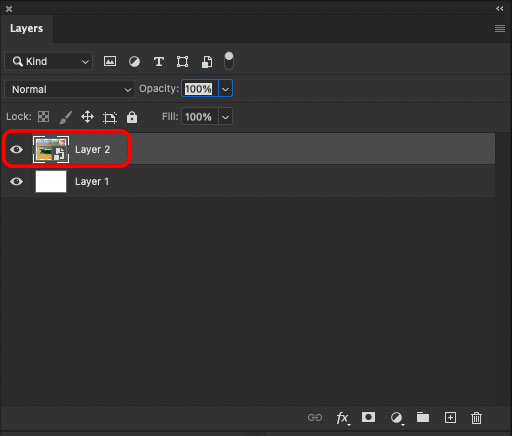
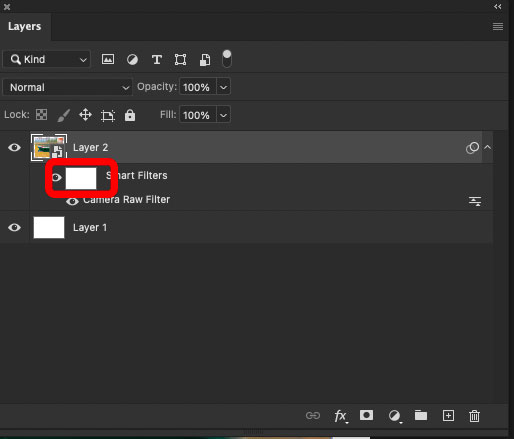
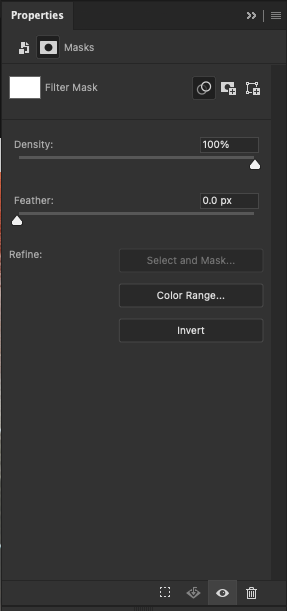
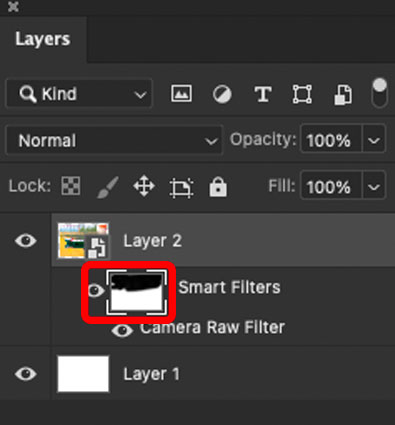
 Image > Adjustments > Black & White