It’s always a big plus (at least for me) if we can work non-destructively in Photoshop. What is it non-destructive editing? Non-destructive editing means that we can apply edits to our image and without permanently changing the pixels. You can always come back and make changes or remove the edits.
One of my favorite non-destructive features is the Smart Filter Layer. Converting a layer to a Smart Filter layer I can apply filters, non-destructively to my image. If I want to adjust my filter, delete or hide it, I can do it at any time (as long as all layers are not merged or flattened, and the document saved as a PSD file).
Note: Lens Blur, Flame Picture Frame, Trees, and Vanishing Point— don’t work with layers converted to Smart Filter layers.
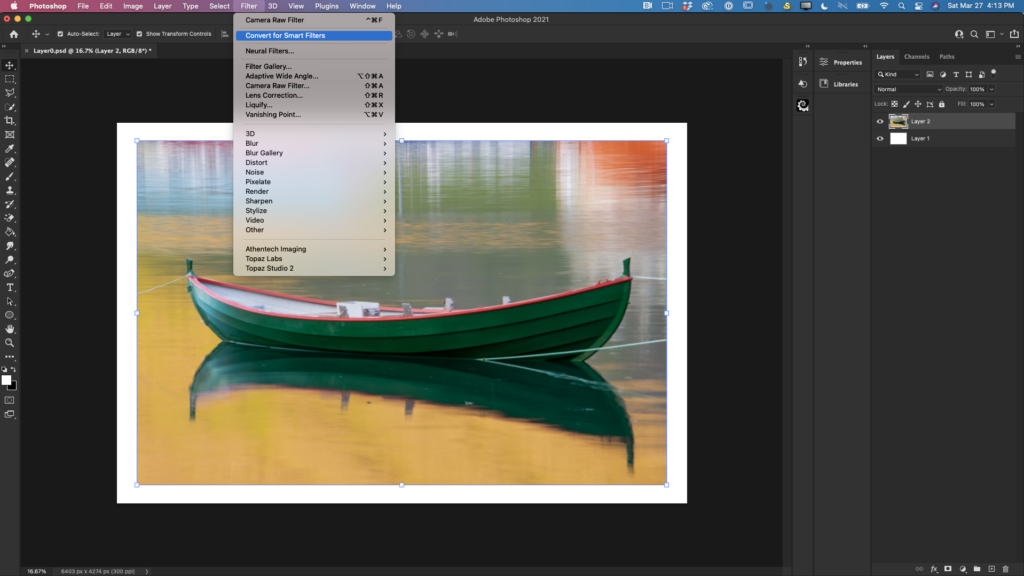
To convert a layer to Smart Filter > Click on a layer you want to convert to a Smart Filter layer chose the menu Filter > Convert to Smart Filters (image 1)
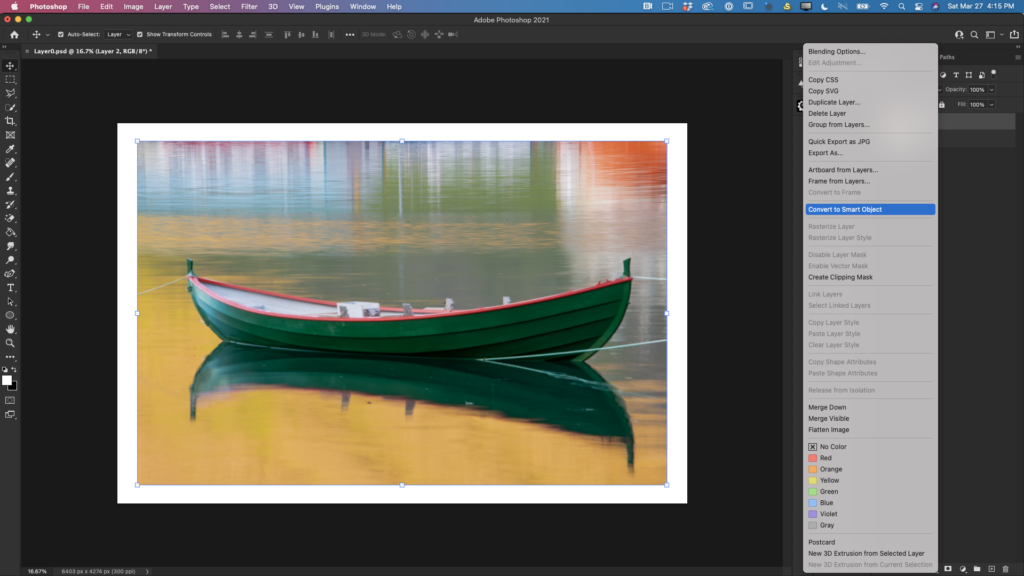
or > Right-click on a layer > Convert to Smart Object 9 Image2)
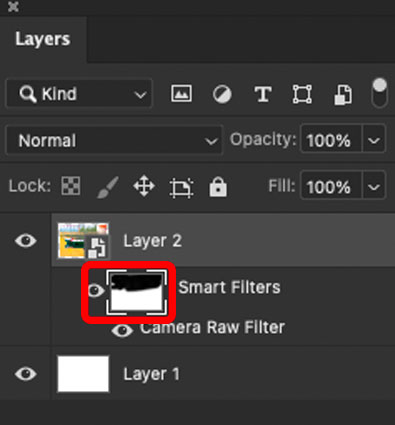
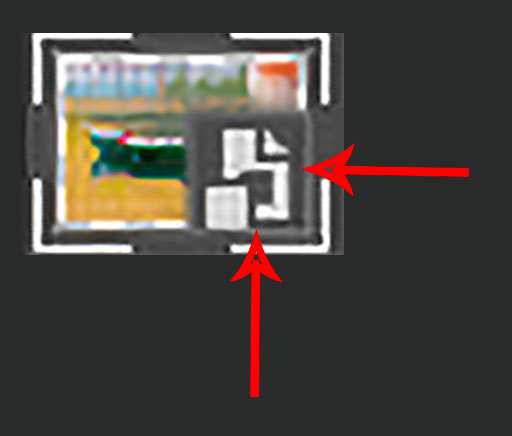
The layer you applied the Smart Filter or converted to a smart object looks like any other layer, but at the right lower corner of the thumbnail you can see a smart filter/smart object icon.
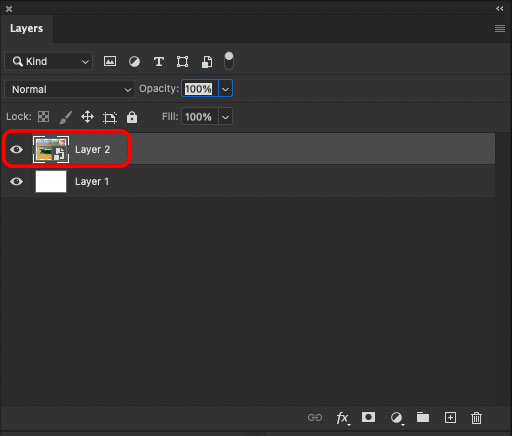
Now it’s time to apply a filter. I will apply the Camera Raw Filter. You can see in the image below that a Camera Raw icon was added to my layer under Smart Filters.
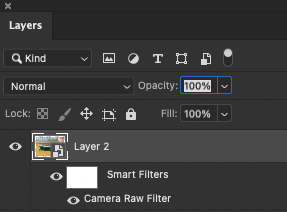
If you want to adjust a filter > double click on the filter’s name and you will be redirected back to the filter.
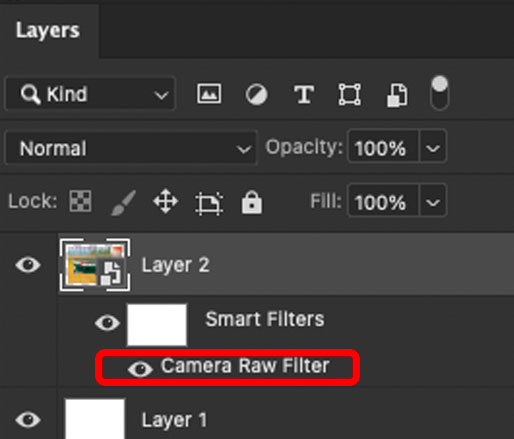
To edit a filter blending mode > double- click on Edit filter blending option
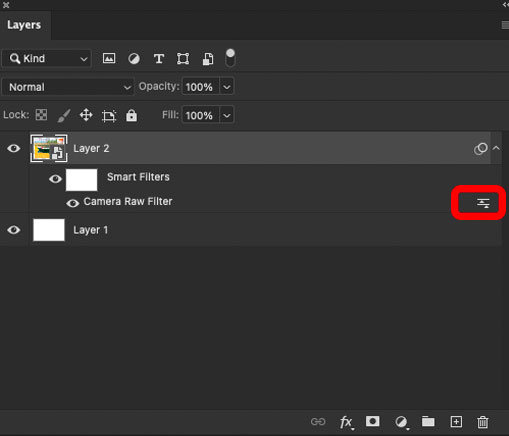
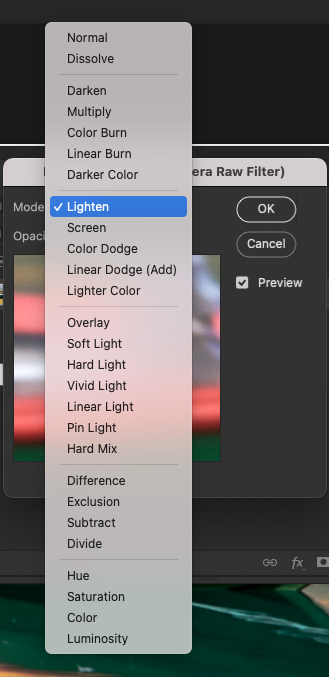
Now I can change the filter’s blending mode
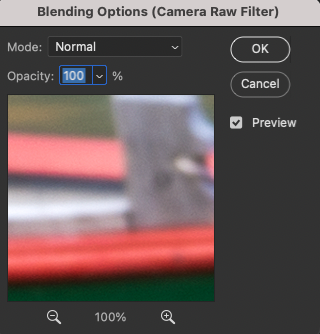
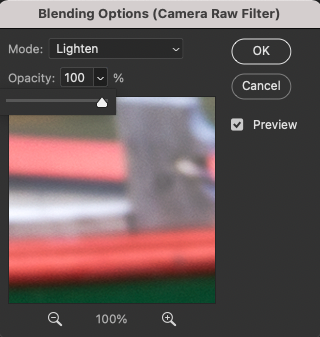
Also, I can change a filter’s opacity value.
Note: you can apply multiple smart filters to the same layer. You can reorder, and duplicate smart filters.
To hide a single Smart Filter, click the eye icon next to the Smart Filter. To show the Smart Filter, click in the column again.
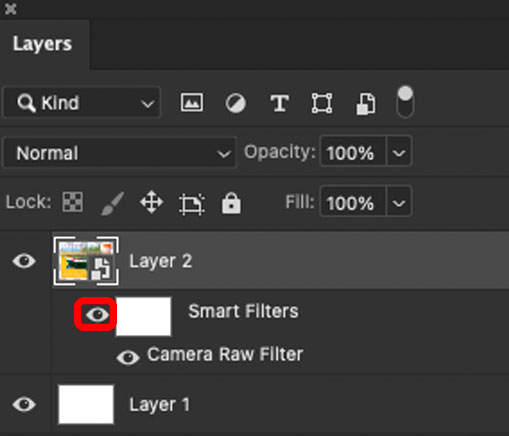
To hide all Smart Filters applied to a Smart Object layer, click the eye icon next to the Smart Filters line.
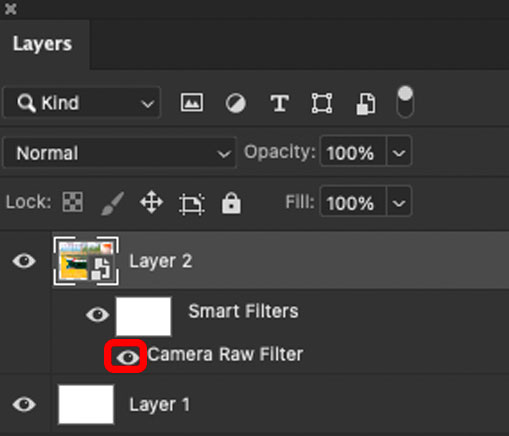
To show the Smart Filters, click in the column again.
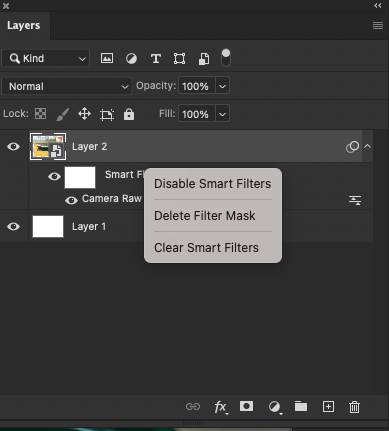
Right-click on a smart filter and choose any option from the drop down menu (if needed)
P.S. Photoshop creates a Smart Filter with a filter mask already applied > White box in a smart filters raw
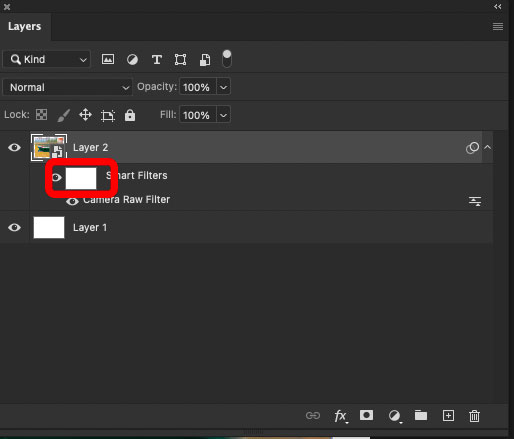
It’s very helpful if you wants to hide parts of the applied filter.
Double-click on a Smart Filter mask to display the Properties Panel.
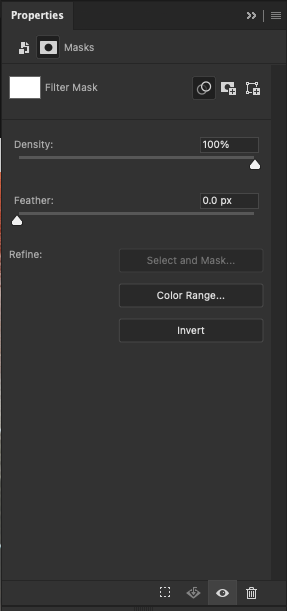
To hide part of an applied Smart Filter > click on a Smart Filter’s mask icon > choose any brush and black color > paint over the area you want to hide. If you painted more than you wanted > change color of your brush to white and paint areas back.
