Category Archives: design

Convert to Smart Filter in Photoshop

It’s always a big plus (at least for me) if we can work non-destructively in Photoshop. What is it non-destructive editing? Non-destructive editing means that we can apply edits to our image and without permanently changing the pixels. You can always come back and make changes or remove the edits.

One of my favorite non-destructive features is the Smart Filter Layer. Converting a layer to a Smart Filter layer I can apply filters, non-destructively to my image. If I want to adjust my filter, delete or hide it, I can do it at any time (as long as all layers are not merged or flattened, and the document saved as a PSD file).

Note: Lens Blur, Flame Picture Frame, Trees, and Vanishing Point— don’t work with layers converted to Smart Filter layers.

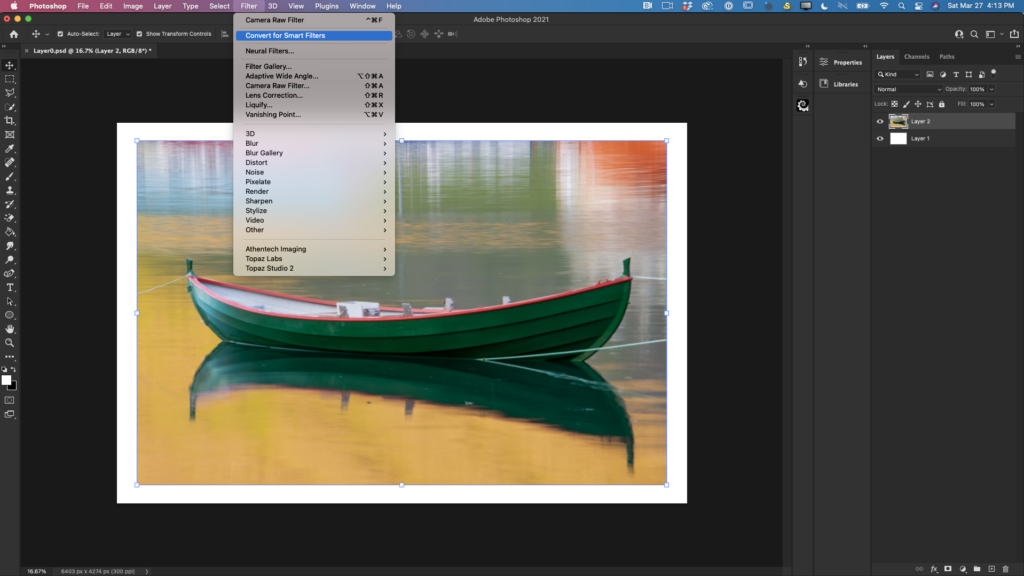
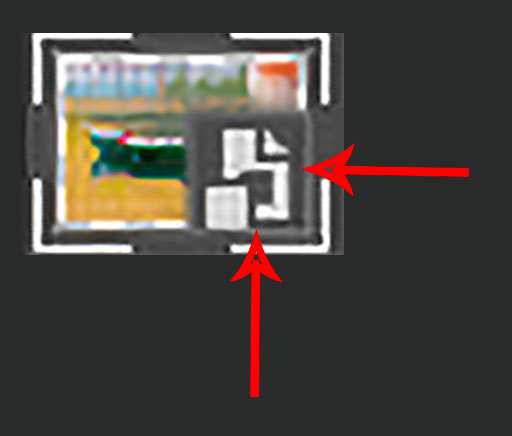
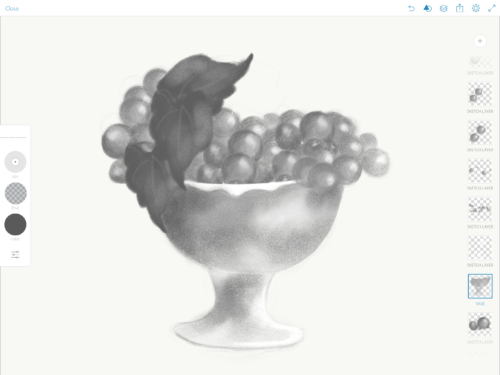
To convert a layer to Smart Filter > Click on a layer you want to convert to a Smart Filter layer chose the menu Filter > Convert to Smart Filters (image 1)
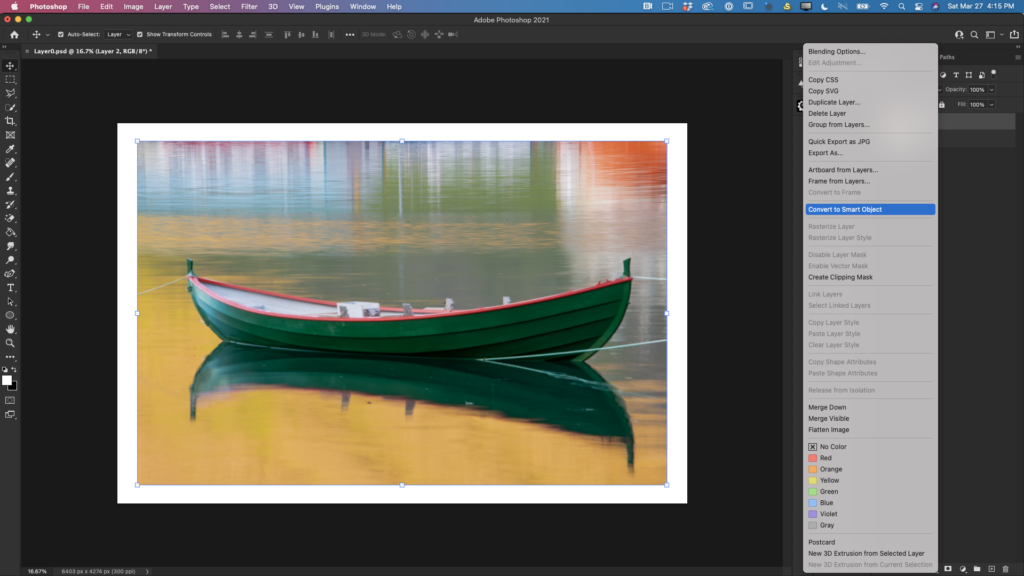
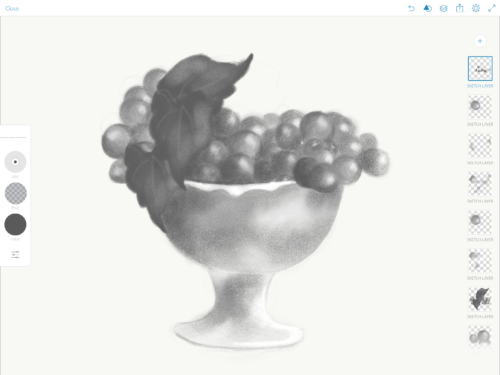
or > Right-click on a layer > Convert to Smart Object 9 Image2)

Image 1
image 2

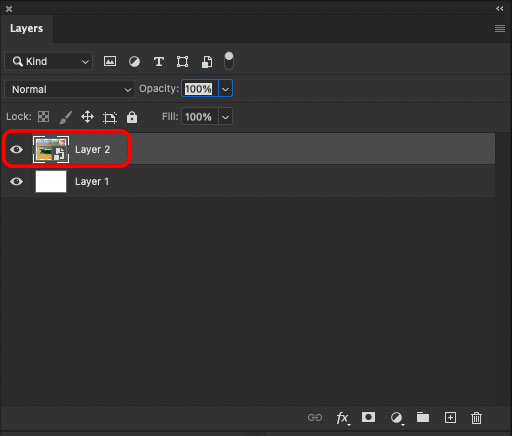
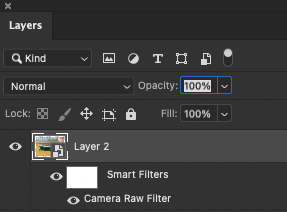
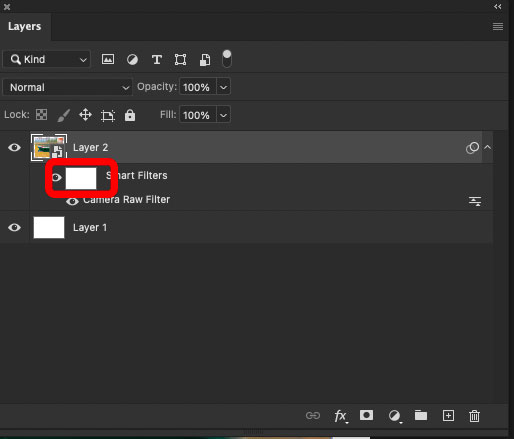
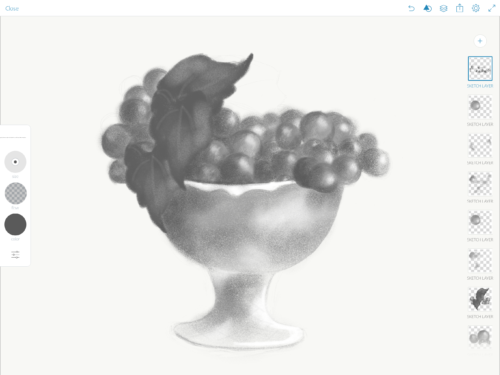
The layer you applied the Smart Filter or converted to a smart object looks like any other layer, but at the right lower corner of the thumbnail you can see a smart filter/smart object icon.

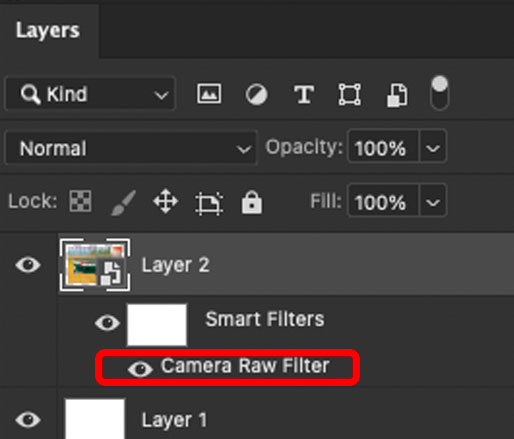
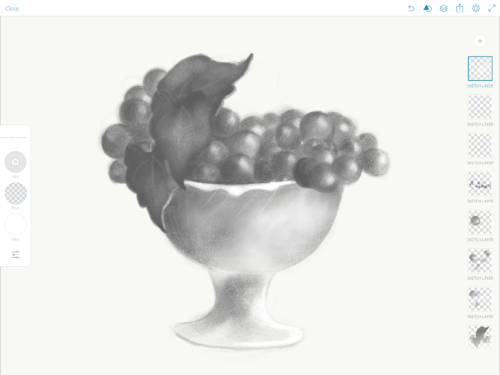
Now it’s time to apply a filter. I will apply the Camera Raw Filter. You can see in the image below that a Camera Raw icon was added to my layer under Smart Filters.

If you want to adjust a filter > double click on the filter’s name and you will be redirected back to the filter.

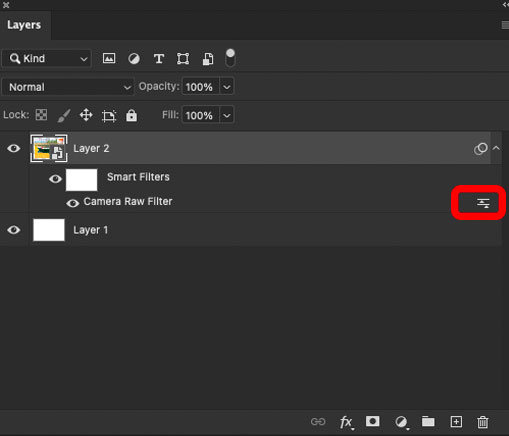
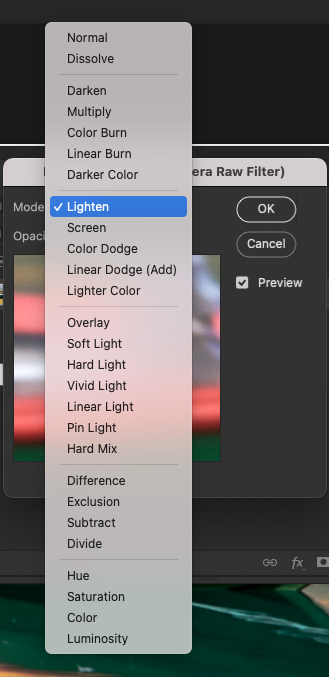
To edit a filter blending mode > double- click on Edit filter blending option

Now I can change the filter’s blending mode


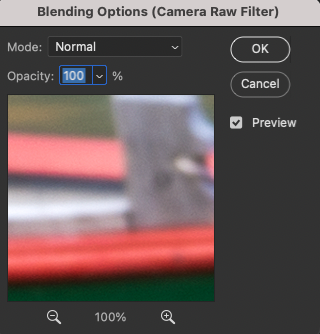
Also, I can change a filter’s opacity value.

Note: you can apply multiple smart filters to the same layer. You can reorder, and duplicate smart filters.

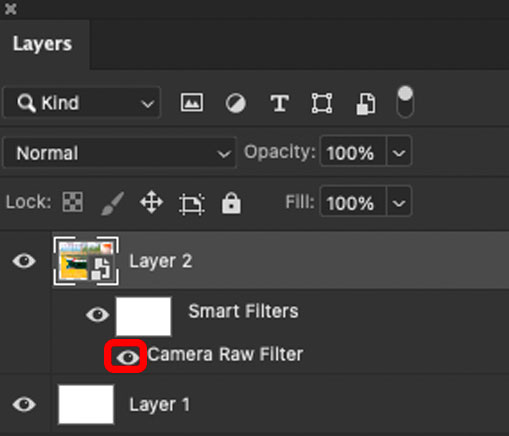
To hide a single Smart Filter, click the eye icon next to the Smart Filter. To show the Smart Filter, click in the column again.

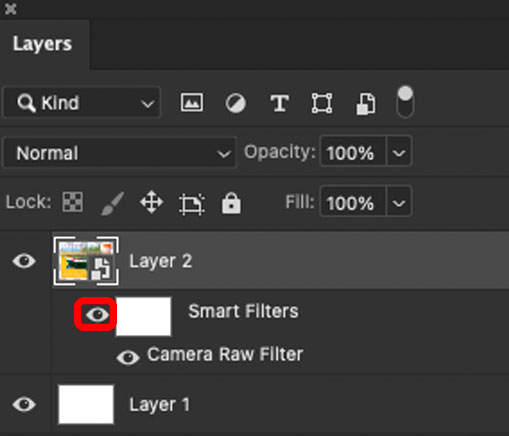
To hide all Smart Filters applied to a Smart Object layer, click the eye icon next to the Smart Filters line.

To show the Smart Filters, click in the column again.

Right-click on a smart filter and choose any option from the drop down menu (if needed)

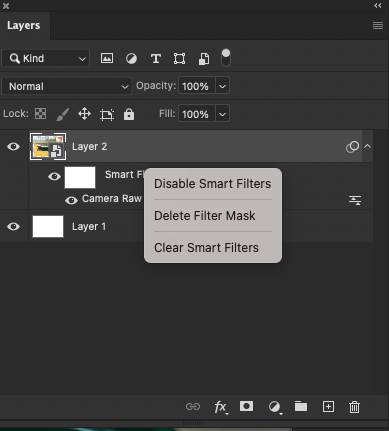
P.S. Photoshop creates a Smart Filter with a filter mask already applied > White box in a smart filters raw

It’s very helpful if you wants to hide parts of the applied filter.
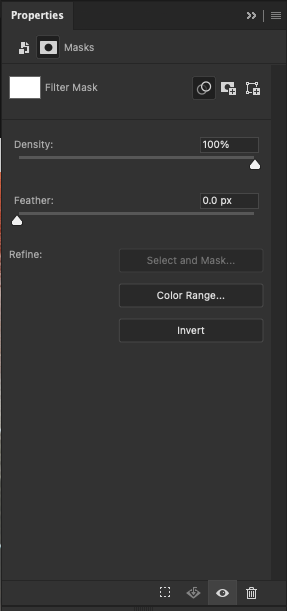
Double-click on a Smart Filter mask to display the Properties Panel.

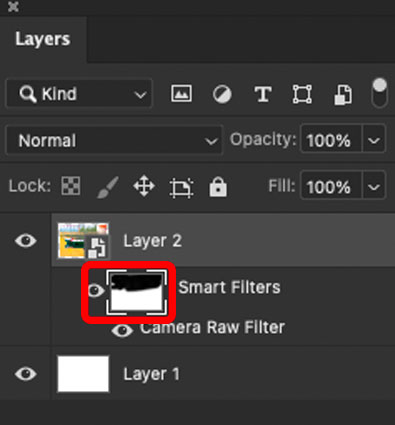
To hide part of an applied Smart Filter > click on a Smart Filter’s mask icon > choose any brush and black color > paint over the area you want to hide. If you painted more than you wanted > change color of your brush to white and paint areas back.

JPEG to RAW AI

Topaz Labs

Select Subject in Adobe Photoshop CC

Select Subject in Adobe Photoshop CC ONLY with one click!!!


What’s New in Adobe Photoshop CC 2018

My Books on Amazon:

101 Photoshop Hidden Gems and Tips & Tricks: A collection of 101 hidden features and short tips that will help make you a Photoshop ninja 

Digital Painting for Photographers

The Adobe Mobile Apps Book: Your Complete Guide to Adobe’s Creative Mobile Apps

My Teaching Website

My Website

My Wacom Tablet Preferences

My Wacom  Cintiq Tablet Preferences.
Many of you have asked me to share my Wacom tablet preferences. In this blog I will share my preferences for my main Wacom,  Cintiq 24HD.

Wacom Cintiq.

I am using a Wacom Cintiq 24HD

I set up my preferences for easy access to the tools I use the most. These preferences help me to be more productive and speed up my workflow.

The Left Wheel:

I use the left wheel to Zoom In/Out my canvas. This option is very helpful in my painting and retouching workflow. With any selected/active tool I easily can zoom in/out my canvas without changing the active tool.

The Right Wheel:

I use the right wheel  to increase/decrease the brush size. This method of brush size adjusting  just perfect to my painting and masking workflow.

The Left ExpressKeys:

From the left to the right:
Modifier: Opt key
On Screen Keyboard (I use this option during my live stream or presentation to show my audience which key(s) I am currently pressing.

Scroll Up: Scroll the document up without changing the currently active tool
Scroll Down: Scroll the document down without changing currently active tool
Pan/Scroll: Scroll the document using Hand Tool without changing currently active tool (super helpful in my painting and masking workflow)

The Right ExpressKeys:

From the right to the left:

Back: Move  the active layer down without changing currently active tool
Forward: Move the active layer up without changing currently active tool
Brush Panel: Activating the brush panel
Setting: Opening the current Wacom Cintiq Settings

Right Click: Activating Right Click

Wacom Pen Setting:

I am using a Wacom Airbrush Pen with the setting I’ve attached below:

P.S. With the Wacom Airbrush Pen workflow make sure that you have checked the “Transfer” box and switched to “Stylus Wheel” Control from Control Drop Down menus. It will help you to use in maximum power of Airbrush Pen.


My Books
My Online Training 
My YouTube 


My New Online Training Site

I’m very please to announce my NEW online training site! “Everything Digital” 

About my training site: my main goal is inspire you and make your digital workflow more enjoyable. All of my tutorials are recorded in a conversational manner. No “robotic” talking head tutorials. I want to have a conversation with YOU. I want to make the learning experience more enjoyable. Here you will find different tutorials: from beginner to advanced level. I believe that the learning experience is suppose to be enjoyable and a two-way conversation.  

In my All Digital course you will be able to access all of my courses for one monthly payment of $15.00 

My Books on Amazon:
Digital Painting for Photographers in Adobe Photoshop CC
Adobe Mobile Apps

Digital Painting

Digital Painting in Adobe Photoshop Sketch with iPad Pro and
Apple Pencil 


Digital Painting in Adobe Photoshop CC with Wacom Cintiq


My ebook on Amazon
Digital Painting for Photographers  in Adobe Photoshop CC
The Adobe Mobile Apps

My New Book – The Adobe Mobile Apps Book

Now you can preorder my new book – The Adobe Mobile Apps Book: Your Complete Guide to Adobe’s Creative Mobile Apps


bookcover1


Adobe is pushing the creative envelope with what can be done on mobile devices. In this book you will see how to use Adobe’s complete offering of FREE mobile Apps to do everything from photo editing, to layout, video editing, story telling, social media posts and full blown page layout. Whether you plan to just start the creation process on your mobile device and finish on the desktop or do your entire project on your mobile device, this book will show you what’s possible in each app and best of all provide you with the knowledge of how to use the apps.

PREORDER  BOOK

New videos have been uploaded to my YouTube channel

Few videos have been uploaded to my  YouTube channel 

Face-Aware Liquify in Adobe Photoshop CC


Select and Mask workspace in Adobe Photoshop CC

How to create a movie poster in Adobe Photoshop CC

How to create a movie poster using Adobe Mobile Apps

Create an art inspired by Vincent van Gogh in Adobe Photoshop CC

and MANY more!

My “Digital Painting for Photographers in Adobe Photoshop CC” kindle book on Amazon