How to exchange background in Adobe Photoshop CC 

My Books:
http://www.pavlovphotography.com/my-books.html
My Training Website:
http://everythingdigital.teachable.com/
My website:
http://www.pavlovphotography.com/

How to exchange background in Adobe Photoshop CC
My Books:
http://www.pavlovphotography.com/my-books.html
My Training Website:
http://everythingdigital.teachable.com/
My website:
http://www.pavlovphotography.com/
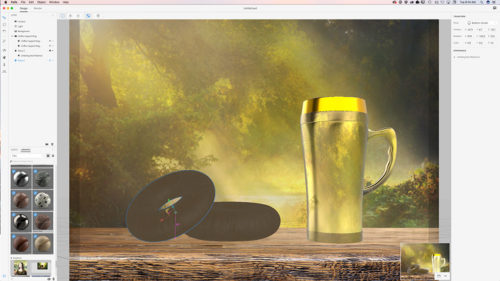
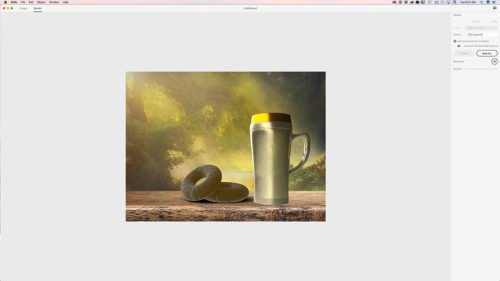
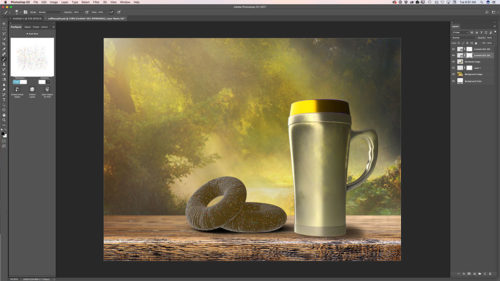
My workflow in Adobe Project Felix and Adobe Photoshop CC
Image created in Adobe Project Felix and Adobe Photoshop CC

Step-by-Step


My Books on Amazon
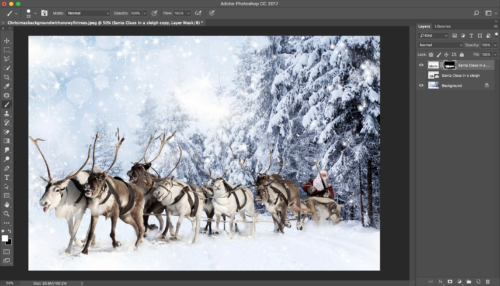
How to create a winter scene in Adobe Photoshop CC using Adobe Stock images and a 3D object from PixelSquid.com
 In this tutorial I will show you how you can create a winter scene in Adobe Photoshop
Adobe Stock images I downloaded for this tutorial:
FILE #: 45012599
FILE #: 94046505
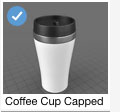
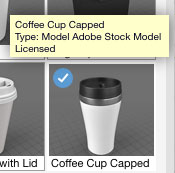
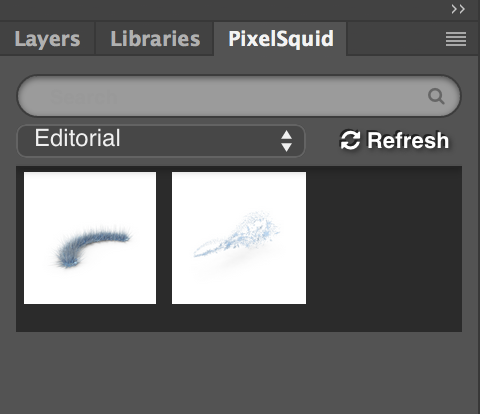
3D object I downloaded from PixelSquid
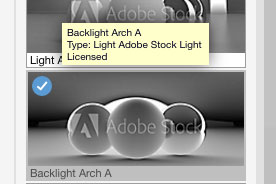
First of all I downloaded two images from Adobe Stock website. I downloaded those files as preview files and after I tried them out I licensed them directly within Adobe Photoshop CC
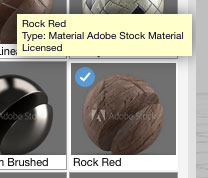
Right Click on a image in your library panel you want to license > License Image
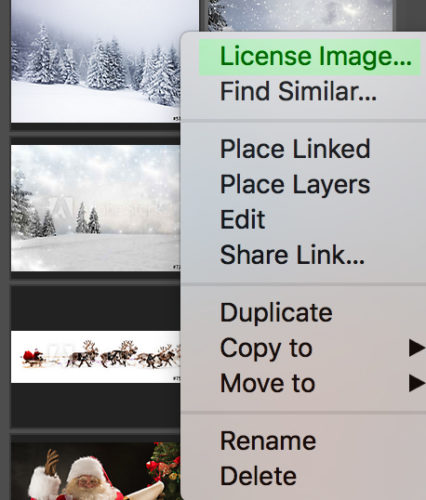
Double click on your licensed image (in the library panel)
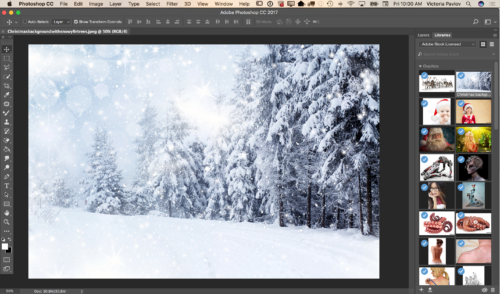
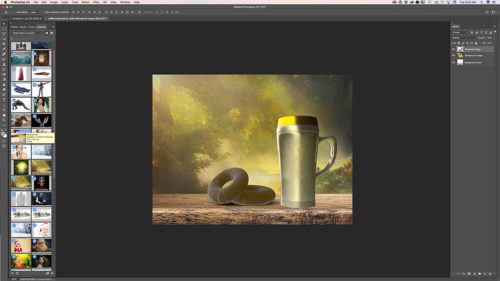
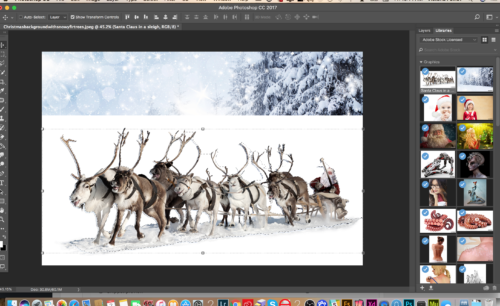
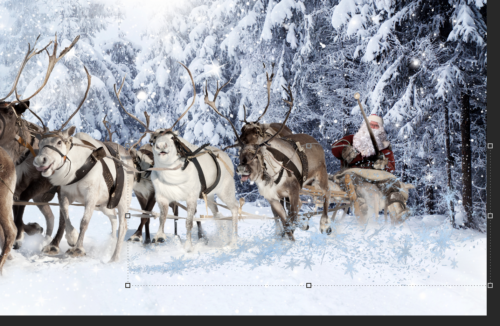
To bring another file into your document from your library panel > Click on the image > Drag into your document

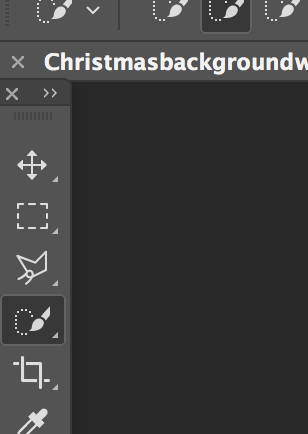
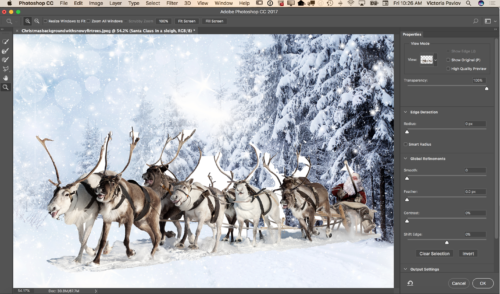
Using the Quick Selection Tool select Santa Claus and the reindeer? (don’t worry if your selection is not perfect. You will be able to fix it later on)
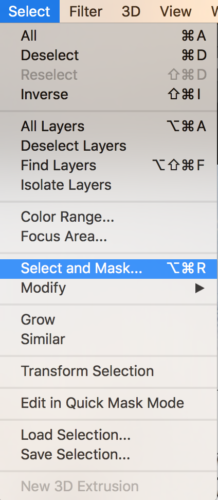
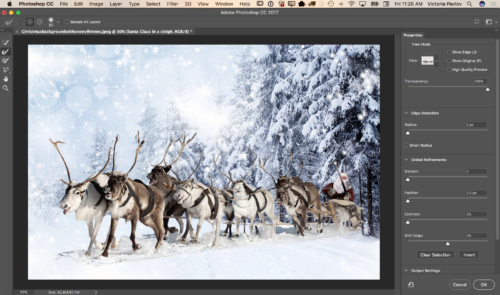
Select > Select and Mask
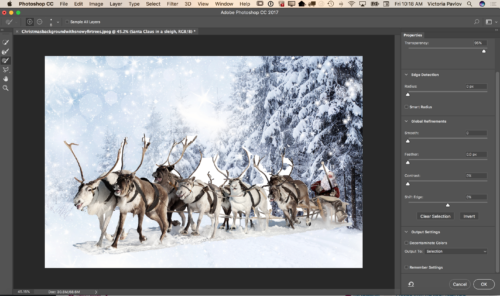
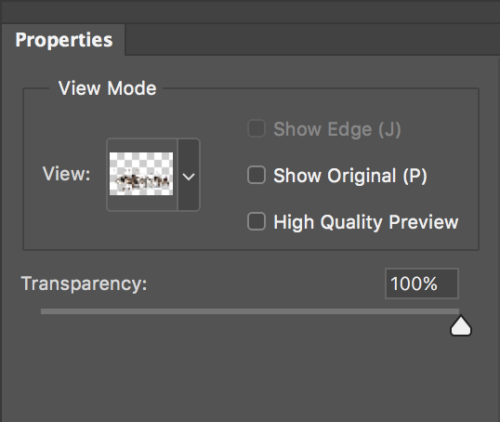
Change the View Mode to Onion Skin and Moon Transparency Slider all way to the right 100%. This way you will be able to see the background layer and make all the necessary corrections toyour initial selection right away.
Zoom In your document
Using the Brush Tool correct your selection (switch between “+” and “-” if needed to correct the selection)


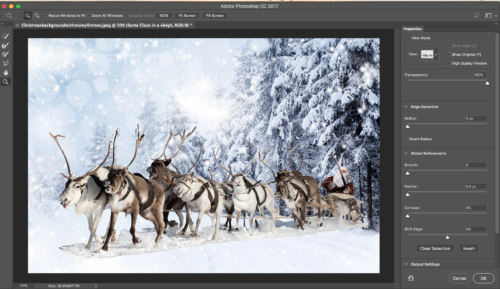
After you are happy with your selection switch to the Refine Edge Brush Tool

Switch View Mode to Black and White

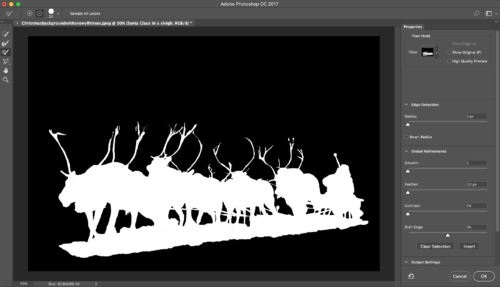
Using the Refine Edge Brush Tool clean up the edges of your selection.

After you are happy with your final selection change the Output Setting to New Layer with Layer Mask
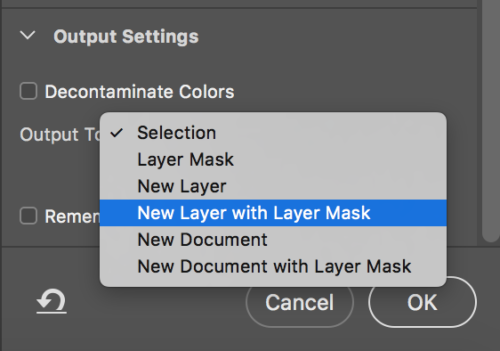
Click OK

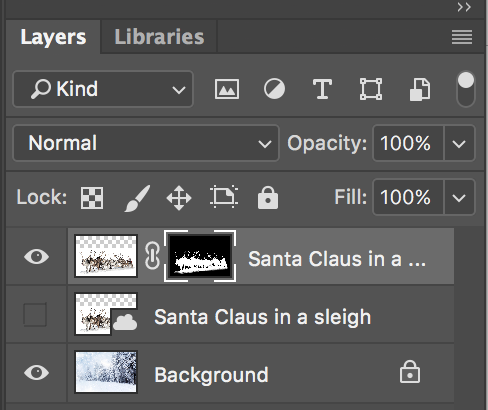
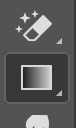
Click on the Mask Icon (Santa Layer) > Gradient Tool with Black color
![]()
Correct the part between snow under the reindeer and background snow line (simply paint it out using gradient tool)
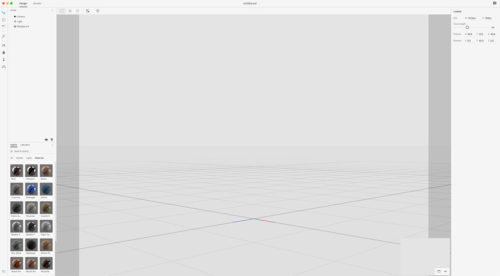
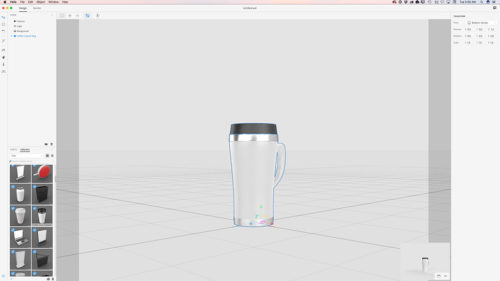
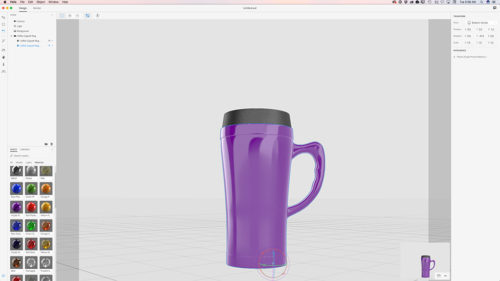
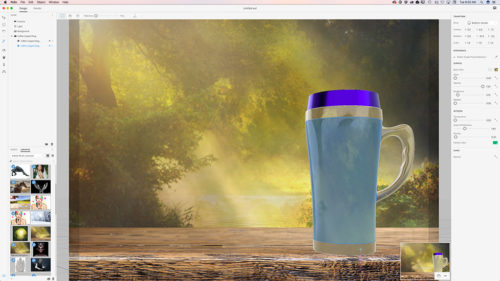
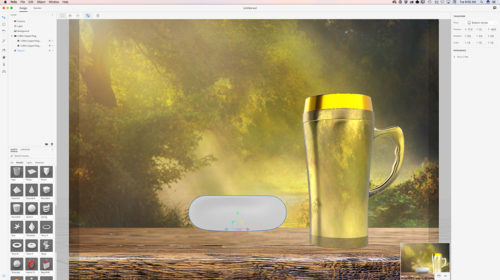
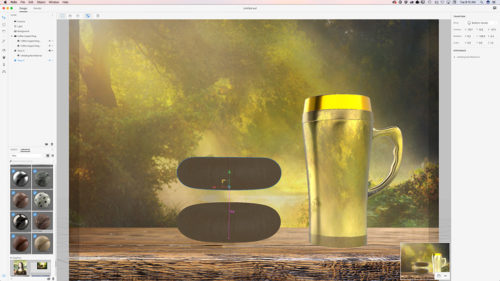
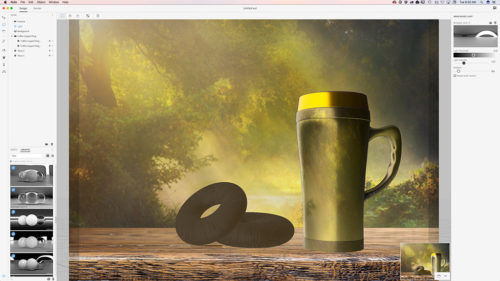
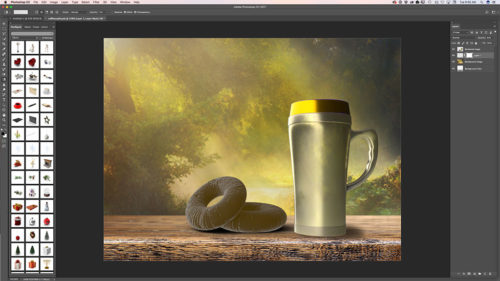
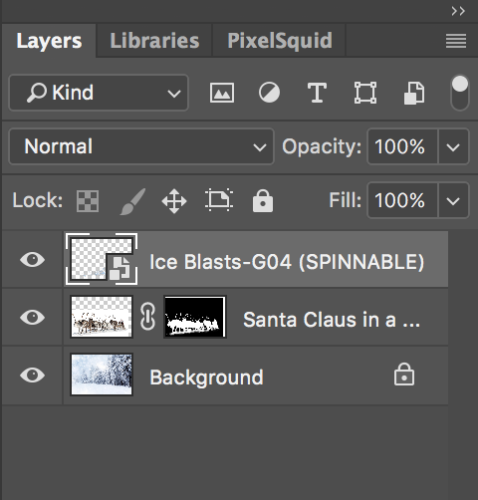
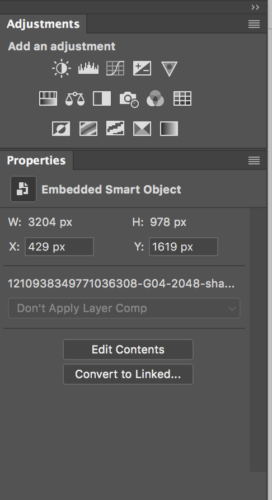
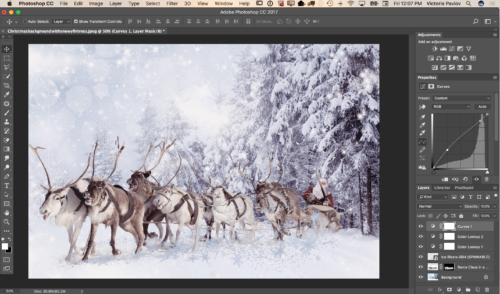
Previously I downloaded a 3D object from PixelSquid.com and now I will simply click on this object (snow) and object will be added to my document
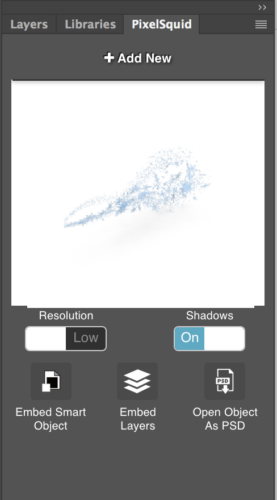

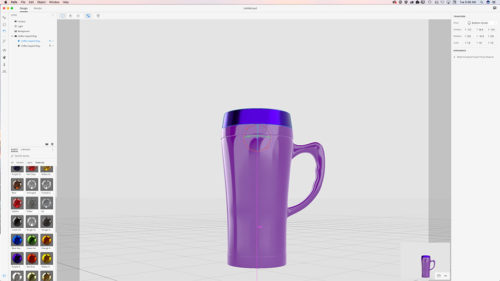
Now I will rotate my 3D object, also will Switch to High Resolution and remove the Shadow
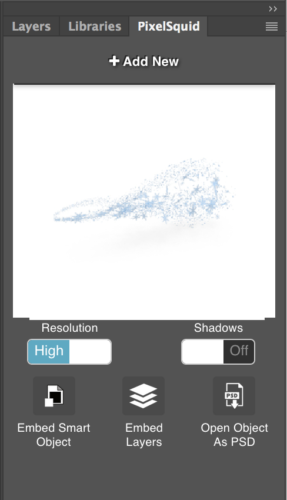
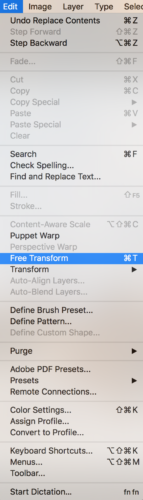
Resize your 3D object using the Free Transform tool
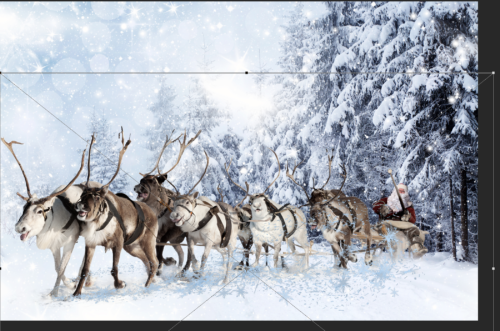
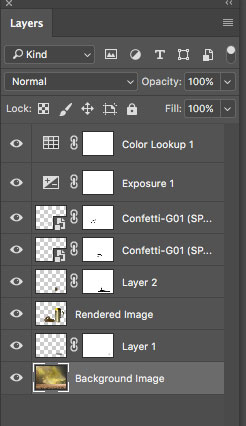
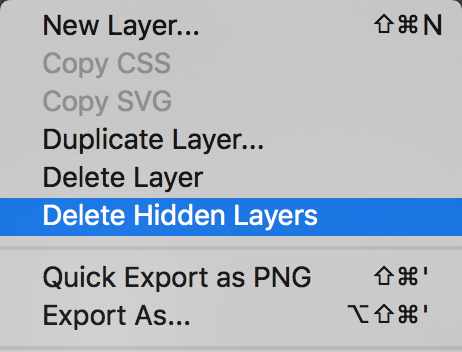
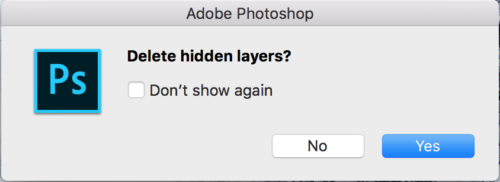
Delete the Hidden Layer from Layer Panel
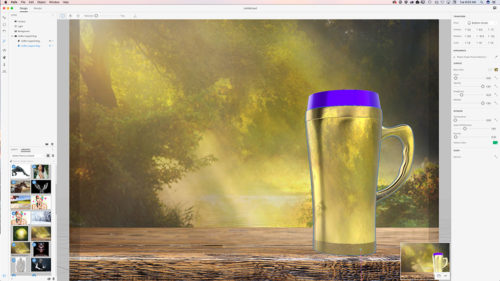
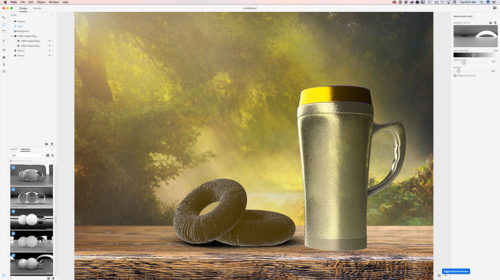
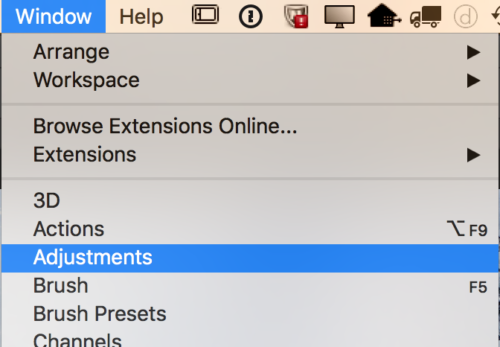
Window > Adjustments
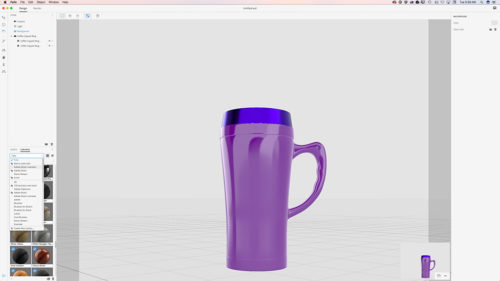
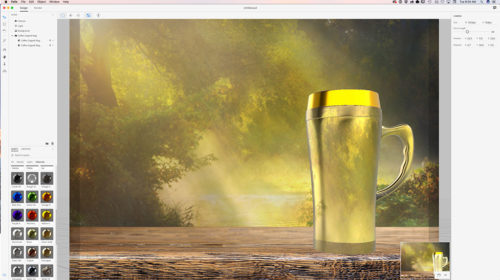
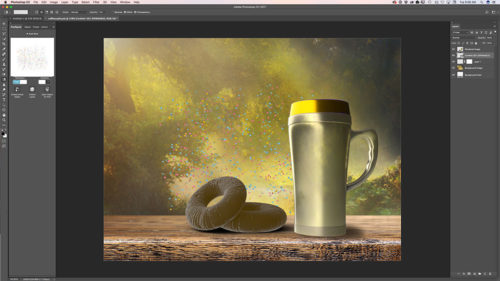
Color Lookup Adjustment
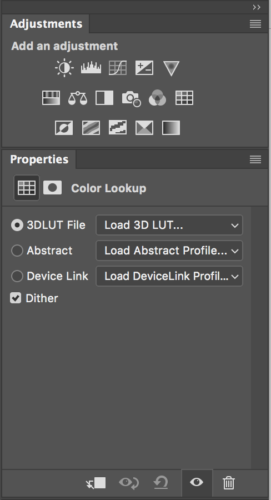
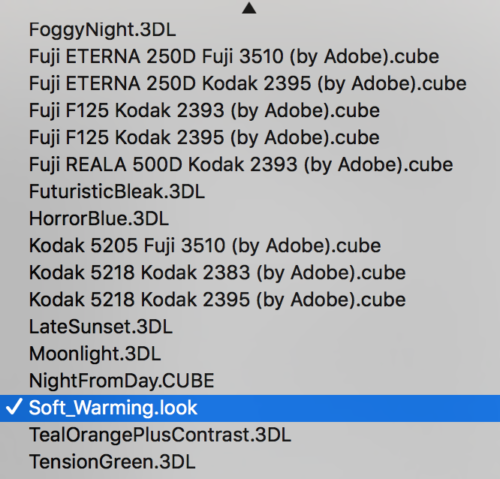
Choose Soft_Warming.look

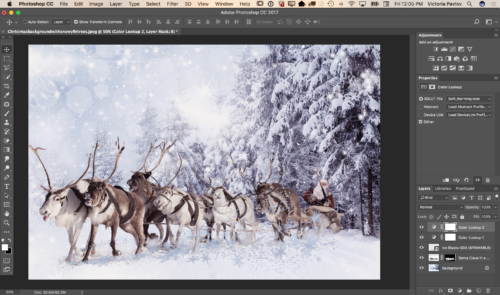
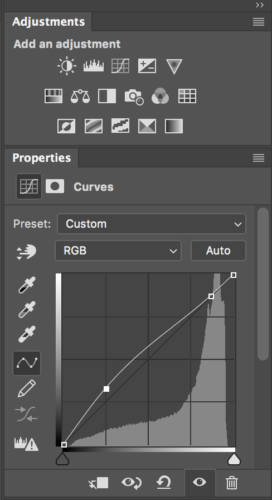
Adjustments > Curves
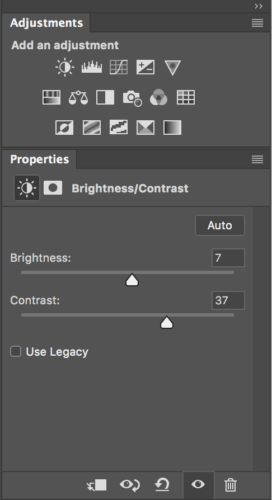
Adjustments > Brightness / Contrast
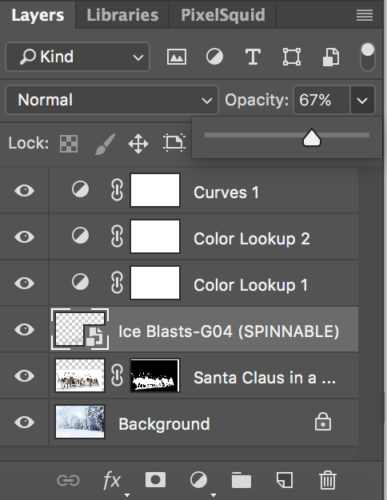
Make 3D object layer’s opacity = 67%
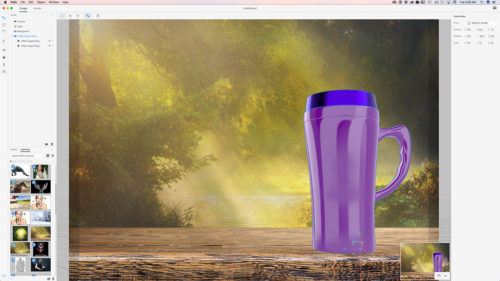
Now your image is ready

My Books on Amazon
New Adobe Photoshop CC Tutorials
How to add a light from your lamp to a photo
How to add a light from your window to a photo

Adobe Photoshop Creative Cloud 


Shooting for Adobe Stock using Westcott LED
I am a professional photographer and digital artist. I am using Adobe Stock images every day with most of my digital imaging workflow, tutorials and etc. I love Adobe Stock because it’s easy to use and I am able to find any high quality image that I need in no time. Also I am very happy about being able to contribute my own photography, digital imaging I create to Adobe Stock. Last week I desided to do a still life photo shoot ( fall inspIred colors) to submit my images for Thanksgiving season. I did set up a small “home studio” setting and used a Westcott Flex Light LED 10″

I was looking for stock images for a many years and I was not impressed with what I could see on a market until I was introduced to Adobe Stock.
I am professional photographer, digital artist, and educator. I am working and teaching Adobe Photoshop, Adobe Muse, Adobe Dreamweaver, Adobe Premiere Pro, Adobe Lightroom, and all Adobe mobile applications and I found that Adobe Stock is the BEST source for my design, photography, painting, education workflow. Why?
Reason 1:
I’ve heard many people say: ” I am a professional photographer, designer and I am not using any stock images”. Hmmmm so if you need any professional image, background, graphic image to build your clients “travel with us” website you will go around the world to take pictures of the places were your client offers services? And keep in mind that as usual our clients don’t know what image(s) they will use and they are depending on us to show them at least a few examples that they can choose from. So if you multiply all the costs of traveling around the world, and the time just to take pictures, your price for client’s website will rise up significantly and I am not talking about the extra time that you need to build the website. My question is: will your client wait at least 7 extra months and pay 99% more than he/ she should pay just to let you use your own images? The answer is NO and NEVER.
So reason #1: use Adobe Stock images to make your workflow more productive along with building great communication between you and your client.
Reason 2:
When you working on your client project and you’re not sure which image you or your client will use with your design, simply download a “preview” version of the image(s) your want to use, finish your design, project, show it to your client and if your client approves your design simply click on Adobe Stock image > License image and you will visually see that your Preview image will be replaced with high resolution, ready to use royalty free image. You don’t need to do any EXTRA steps that will increase your workflow time and your client will receive the final copy of the approved project in no time!
So reason 2: Fast and stress free workflow
Reason 3:
Quality
Adobe Stock is a worldwide library (40 million +) of the best photographers, digital artists, designers. All images are with HIGH quality ready to use right away.
Reason 4:
The price
You have many optiosn to subscribe to Adobe Stock
1: As a Creative Cloud member you are saving 40% of the monthly plan!!!!!!
10 images a month
US $29.99 / mo
Annual plan, paid monthly
2: 10 Images a month
US $49.99/mo
Monthly plan
3: 750 images a month
4: Single images are just US $9.99 without a subscription
Reason 5:
If you are a photographer, digital artist, 3D artist, graphic designer you can make money selling your work. You can sell your images, even the ones taken with your smart phone!! You can make money from your work just from your home using your computer!


