I want to share the story behind these two images with you because they hold a very special place in my heart.
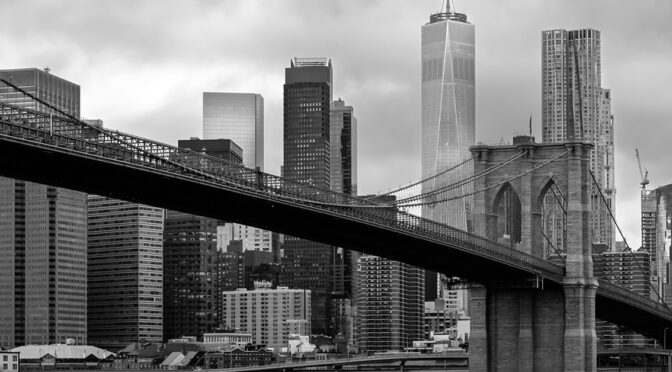
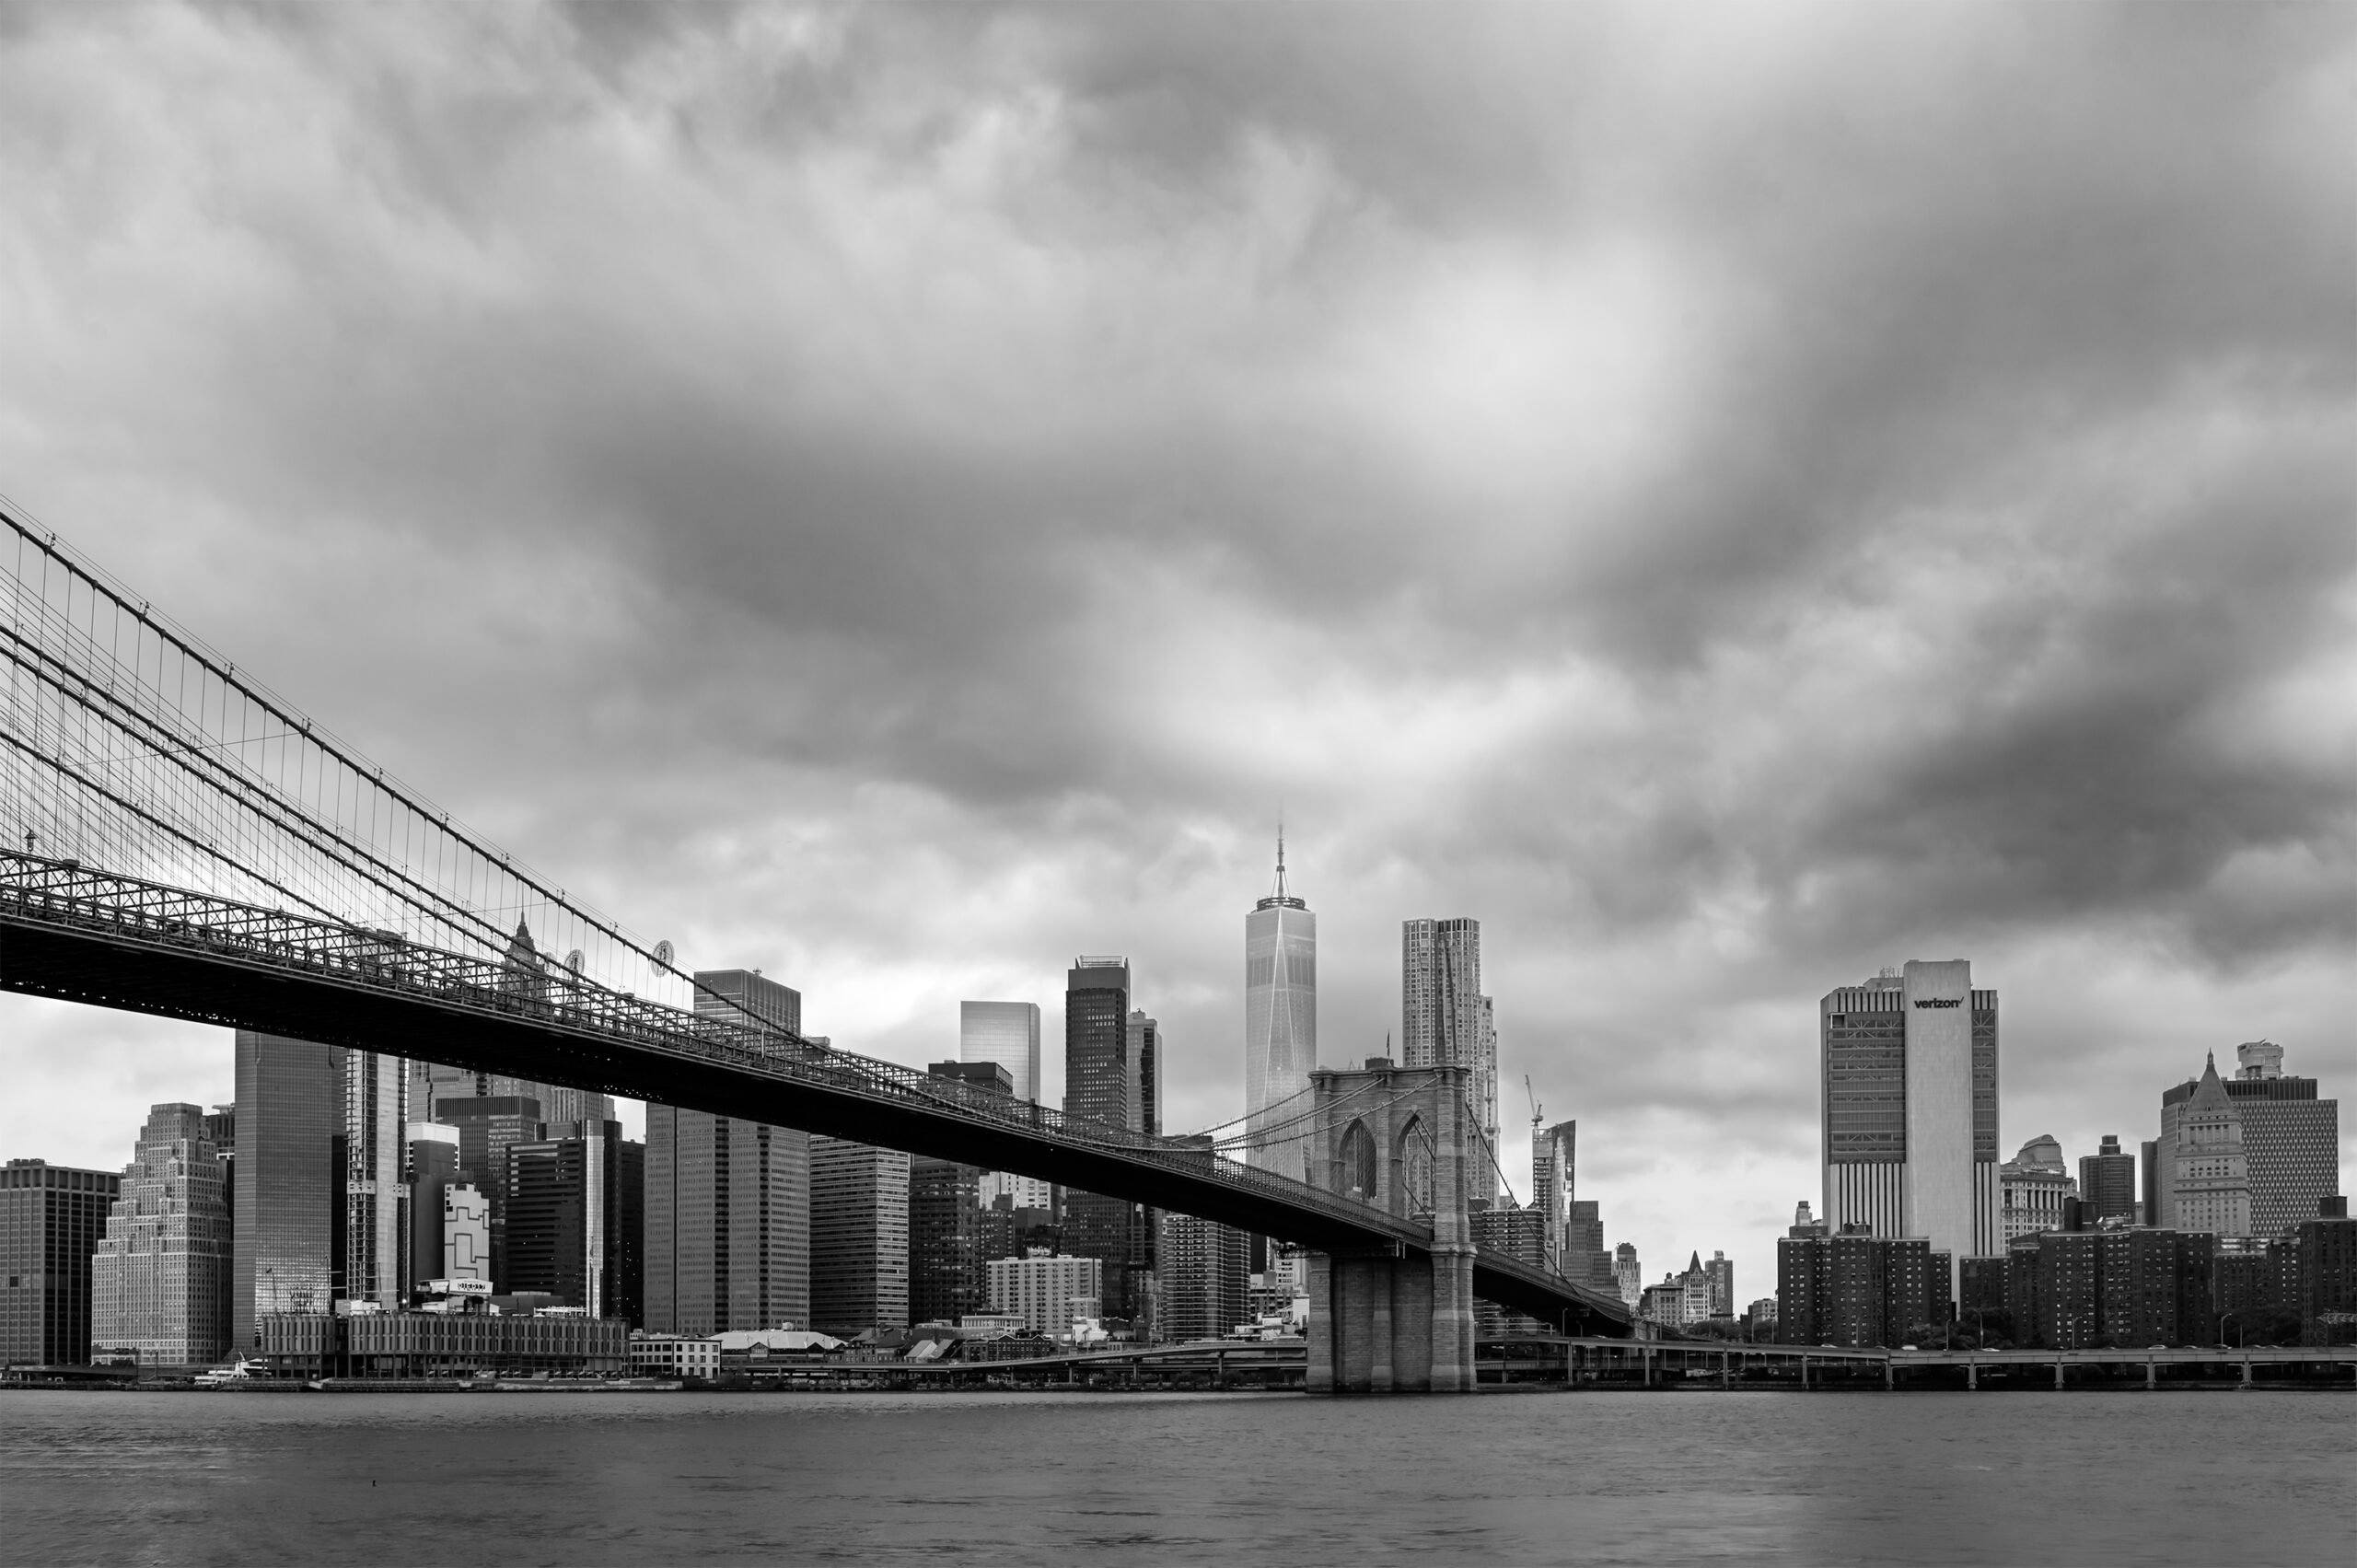
The first time I “saw” the USA was in a movie set in New York City. In that movie, I caught my first glimpse of the Brooklyn Bridge. I remember feeling this incredible sense of awe and wonder. It was a mix of excitement and disbelief—is this real? Could people really see such beauty every single day? Could they walk across that iconic bridge whenever they wanted?
I started imagining their lives: Do they have electricity all day, every day? Can they just go to a store and buy whatever food they need? Can they gather with loved ones to celebrate whenever they want? For me, the thought of such a life was magical, almost too good to be true.
That feeling—“This is America”—filled my heart with warmth and inspiration. It may sound silly, maybe even naïve, but that’s exactly how I felt.
After that first movie, I began watching more American films, and so many of them were set in New York City. I kept seeing the Brooklyn Bridge and Dumbo over and over again. It became more than just a place; it became a dream. In my mind, New York was alive, vibrant, and full of endless possibilities. I started imagining the people who lived there—how they went about their lives, how they embraced the magic of their city.
I fell in love with New York. It became the city of my dreams, where everything seemed possible.
As a digital artist and photographer, I have this deep need to capture and create what I love—what moves me. So last year, my husband and I finally traveled to New York, and I took my dream photos. To me, these aren’t just pictures. They are pieces of my heart that I was able to bring home with me.
Why am I sharing this story with you? For two reasons. First, I simply wanted to share a little piece of my journey and the inspiration behind my work. And second, I want to encourage you to create, express, and follow your heart. Whether it’s taking photos, painting, or creating in any form, it’s not about technical perfection. It’s about expressing yourself, capturing the things you love, and making your heart a little happier.

If you missed my announcement, I’ve moved all my technology-related conversations, including tutorials, to my dedicated tech blog. Be sure to check it out for in-depth content and updates!
If you enjoy my posts about art and technology, I’d love for you to subscribe to my newsletter! As a thank you, if you subscribe by the end of this month, I’ll send you a link to my custom templates, holiday coloring pages, and more.
 :
:
 ,
,  , community and much more.
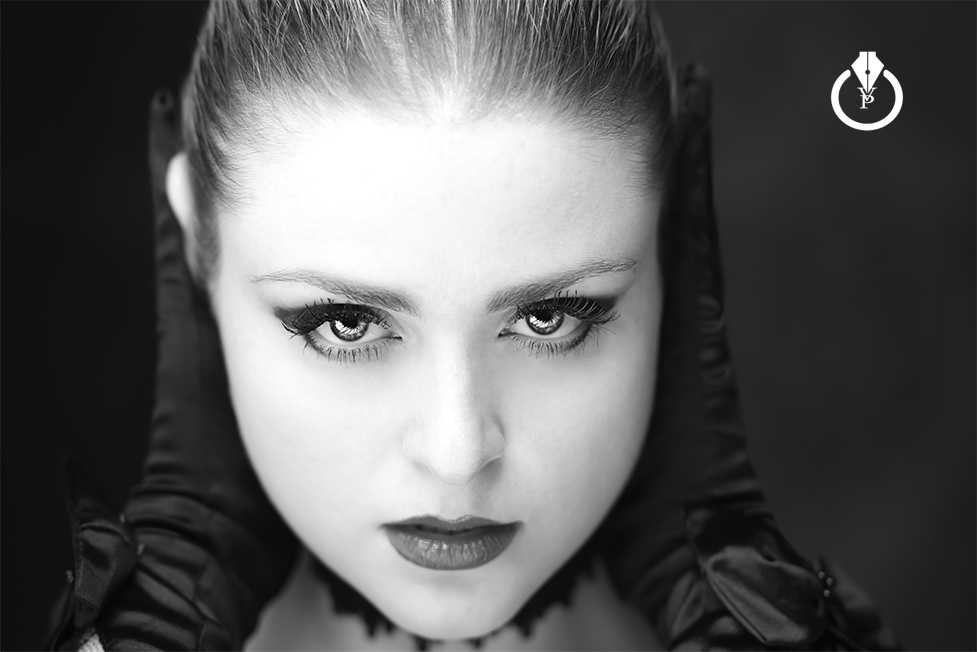
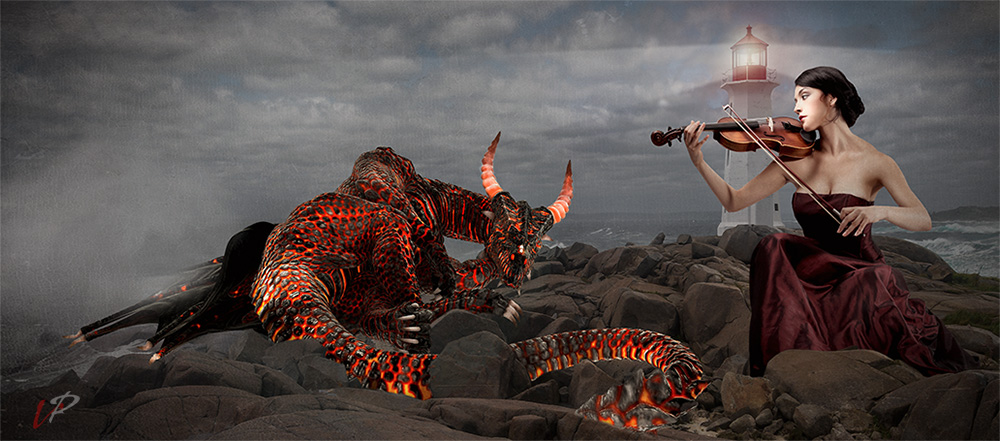
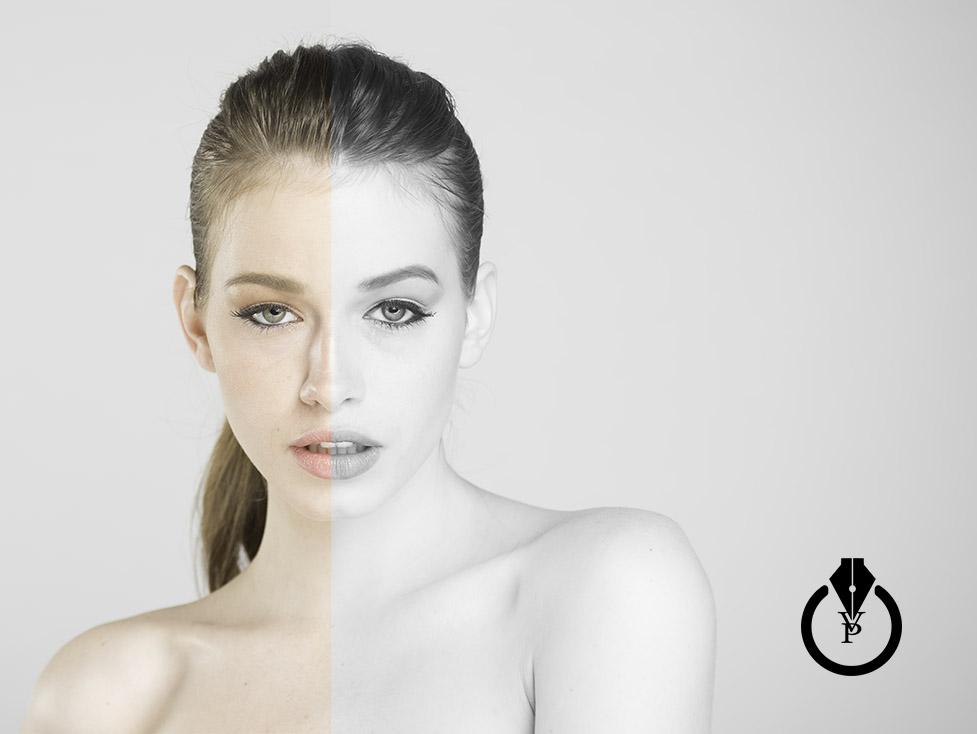
 Daily exercise: try to have 20 minutes every day to create something new in PS. its not supposed to be too complicated or perfect. Try to composite 2 or 3 images together (and the best practice is to composite random images, not images that you thought will be good with some composition. Just choose images with absolutely different style, schemes and start working on your Photoshop composition).
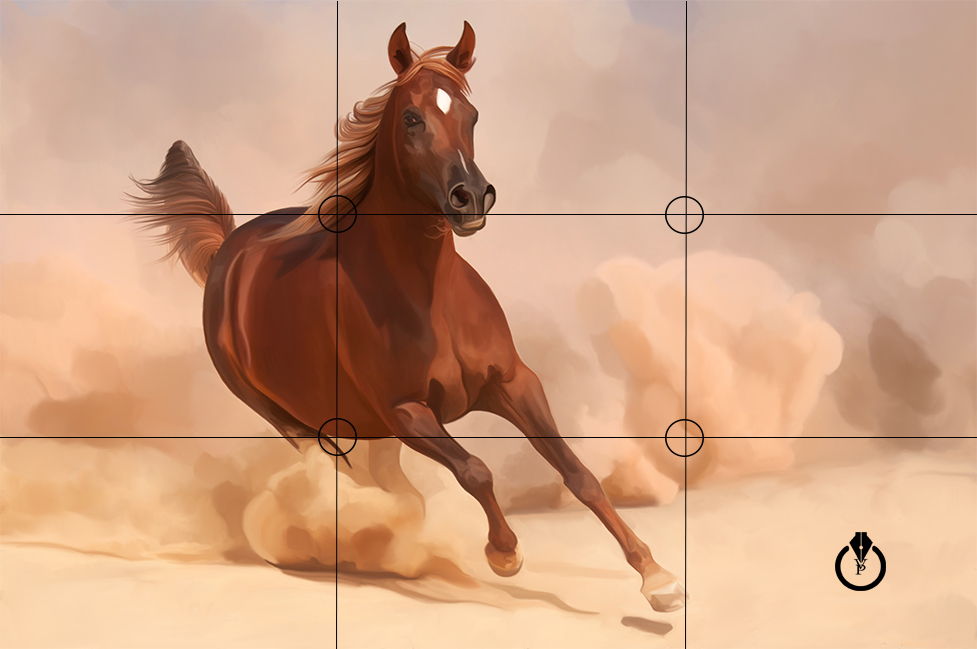
 : simply keep your camera next to you all the time. See something > take the shot. Different light, different angles. Try it and you will see a huge improvement just in a few days!
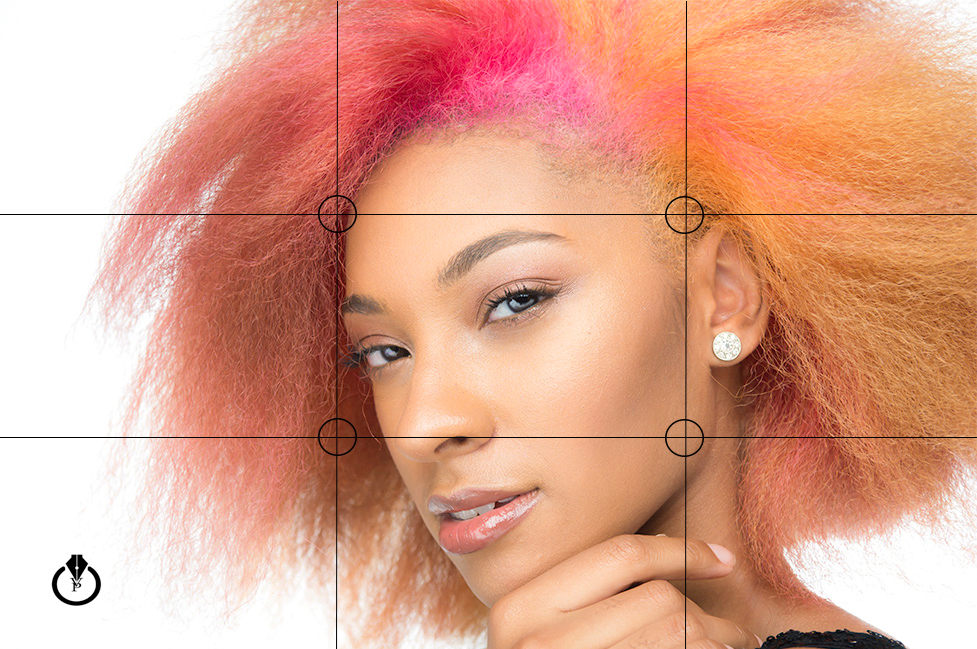
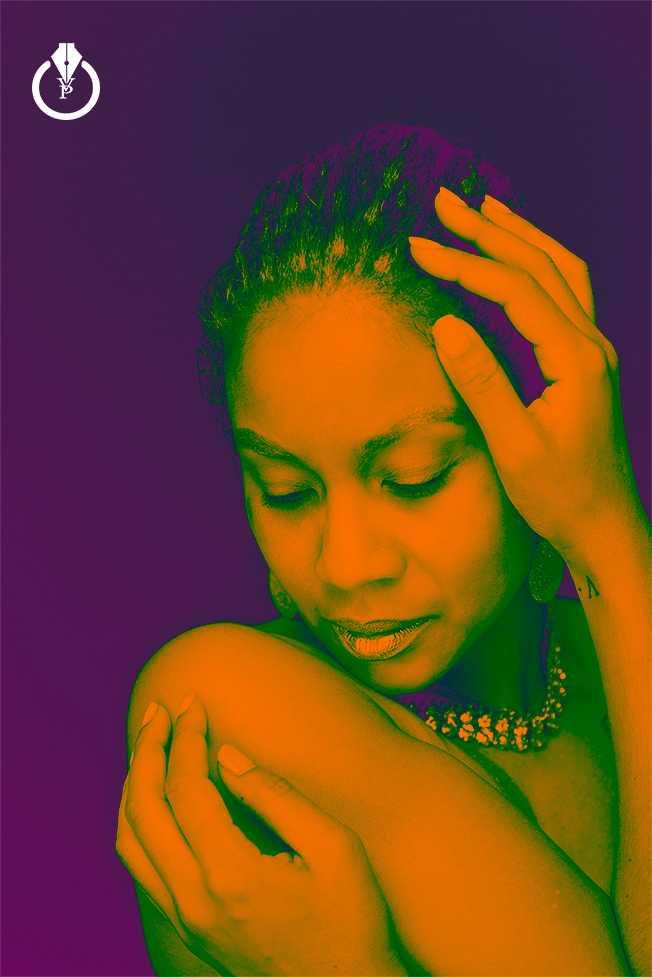
 : use any paper you have. Don’t try to finish your masterpiece every day. Exercise with different brush, pencil strokes, composition.
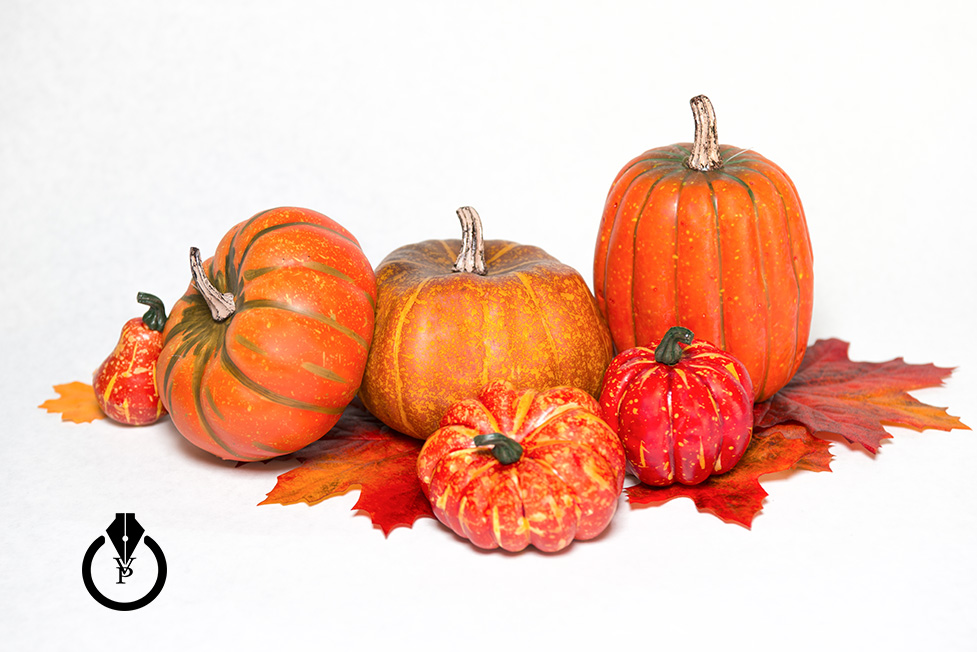
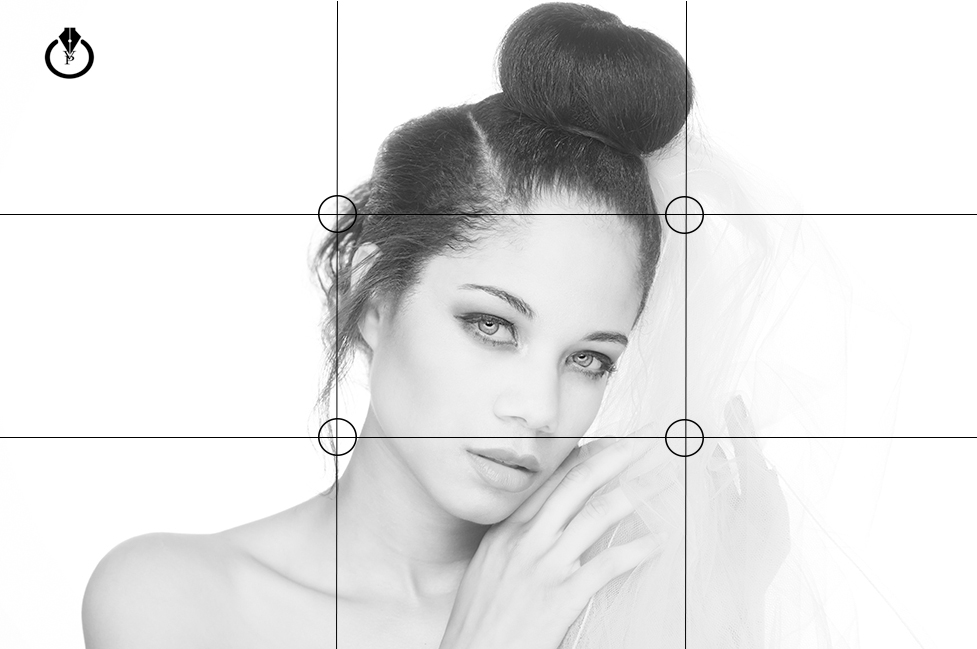
 . I used Wesfcott LED continuous lighting before during my portrait session along with the Westcott Eye Lighter and I decided to try it with my still life session. I loved everything about their LED lights: quality of lightning, being able to control the range of lightning. I can mount the Flex Light LED anywhere and on almost anything including a chair, light stand, door, table, just name it and most of all I can take it anywhere with me when I travel. It’s very flexible and I don’t worry about extra space in my backpack (as usual I don’t have any space at all), I can fold it and use at any location at any place with any type of my photo session.