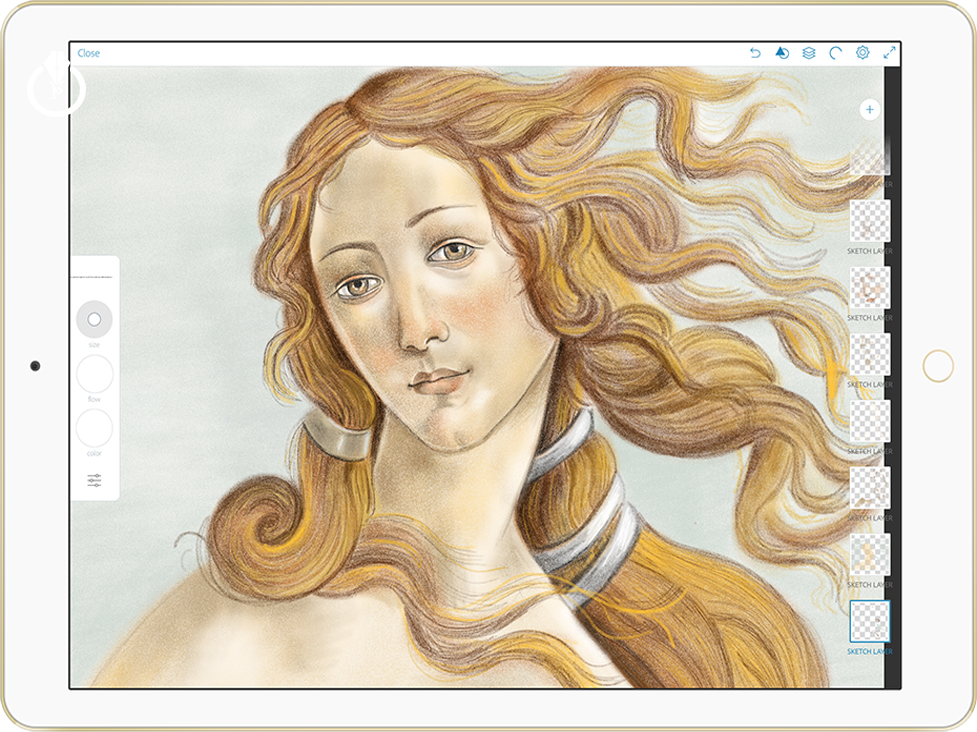
How to retouch eyelashes and eyebrows in Adobe Photoshop 
My Kindle Book on Amazon

How to retouch eyelashes and eyebrows in Adobe Photoshop
My Kindle Book on Amazon
Few videos have been uploaded to my YouTube channel
Face-Aware Liquify in Adobe Photoshop
Select and Mask workspace in Adobe Photoshop CC
How to create a movie poster in Adobe Photoshop CC
How to create a movie poster using Adobe Mobile
Create an art inspired by Vincent van Gogh
and MANY more!
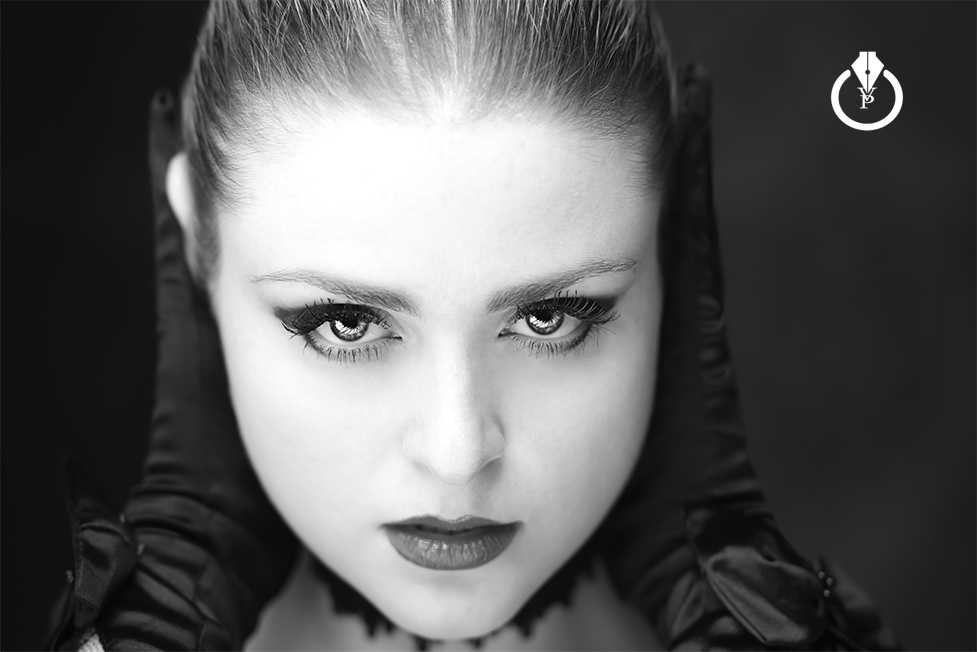
How to add a sunset effect in Adobe Photoshop
I took this picture few year ago in NYC using my iPhone

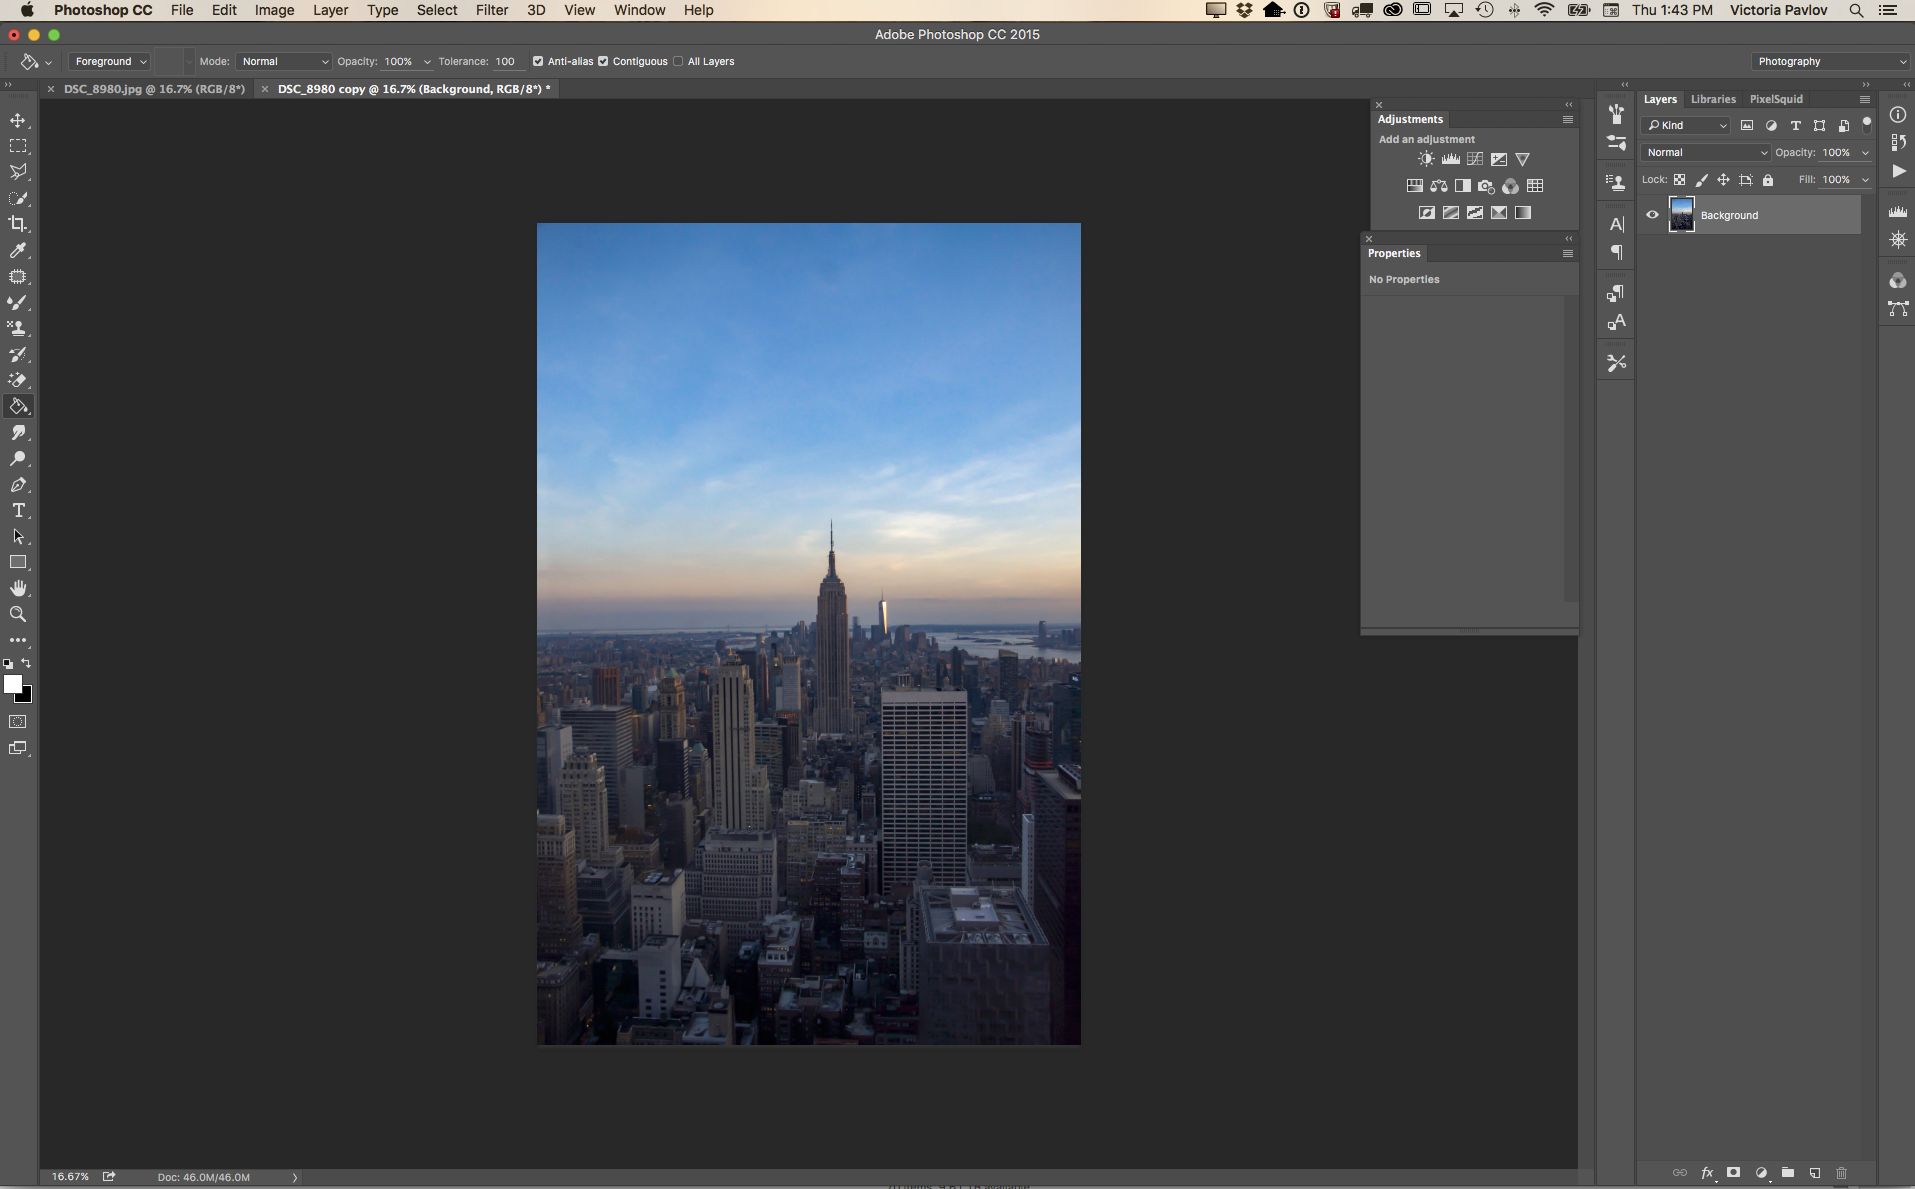
The above image was taken in the evening through a glass window with MANY PEOPLE around me so I did not have time to adjust my camera settings. Thanks to Adobe Photoshop I can improve my image (because I know how warm and beautiful the sunset looked and I want to make my photo looks as close to original condition as possible).
Window> Adjustments
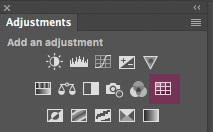
Color Lookup > FallColors.look
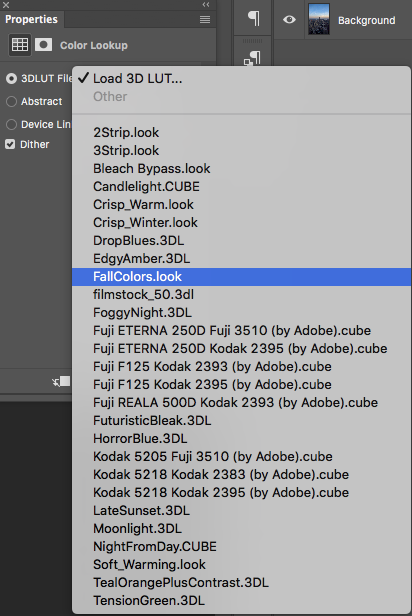

You can change the layer’s opacity (if needed)
My New Book “Digital Painting for Photographers in Adobe Photoshop CC “ on Amazon
How to create a custom brush for Valentine’s Day

Importance of Daily Exercise
I found that daily exercise is very important for many reasons. Daily exercise helps with exploring/developing new techniques, polishing your skills, pushing your artistic vision into another higher level, and teaches you how to be productive and not to be stressed under the “less time” pressure.
Adobe Photoshop
Photoshop Painting: try different styles of painting every day. Don’t spend more than 20-30 minutes and you don’t need to finish your painting if you don’t have time. Just practice with brush strokes, colors, try different brushes.
Photography
Mobile Apps: what could be easier?!!! You have your mobile devices with you all the time! So Adobe Photoshop Sketch, Adobe Photoshop Mix and Adobe Photoshop Fix. Try them and you will be impressed with your improvement just in a few days!
Traditional Painting


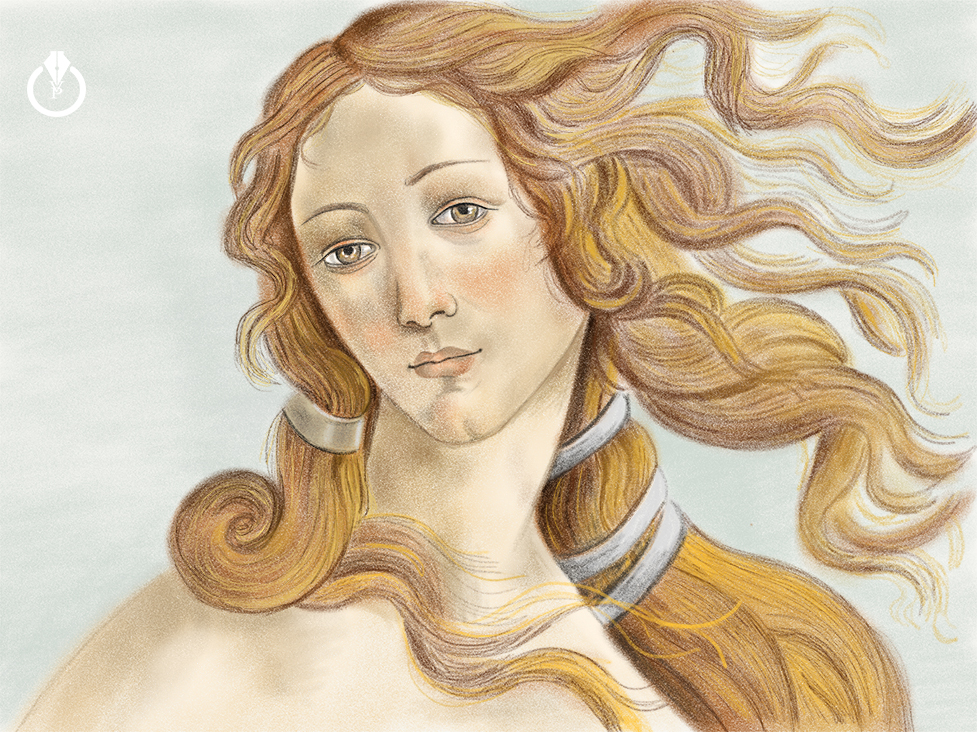
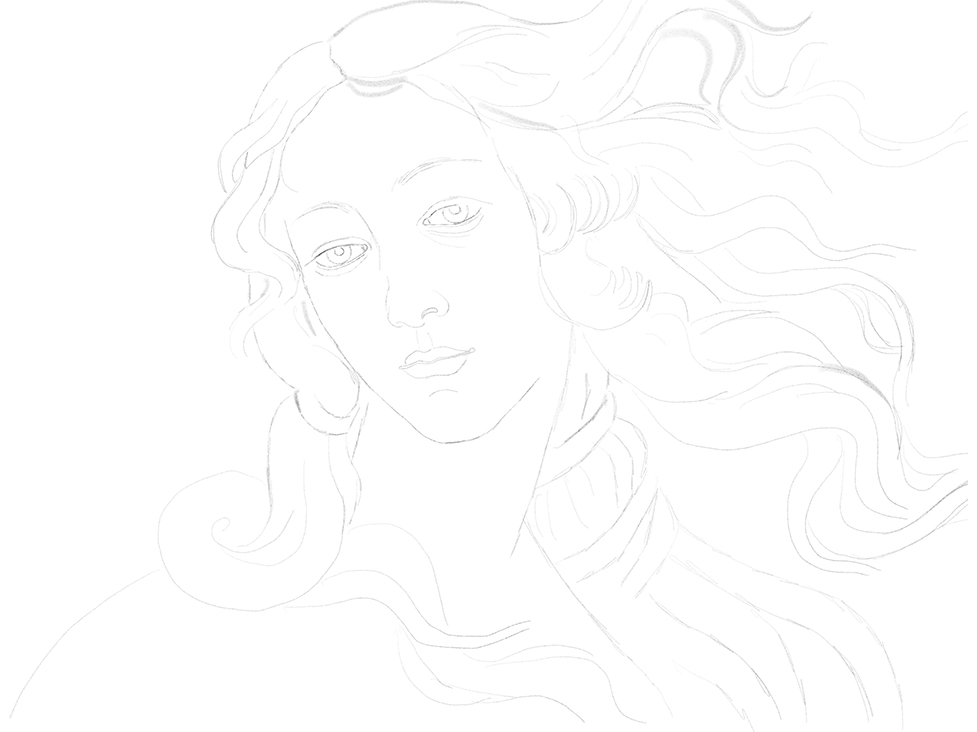
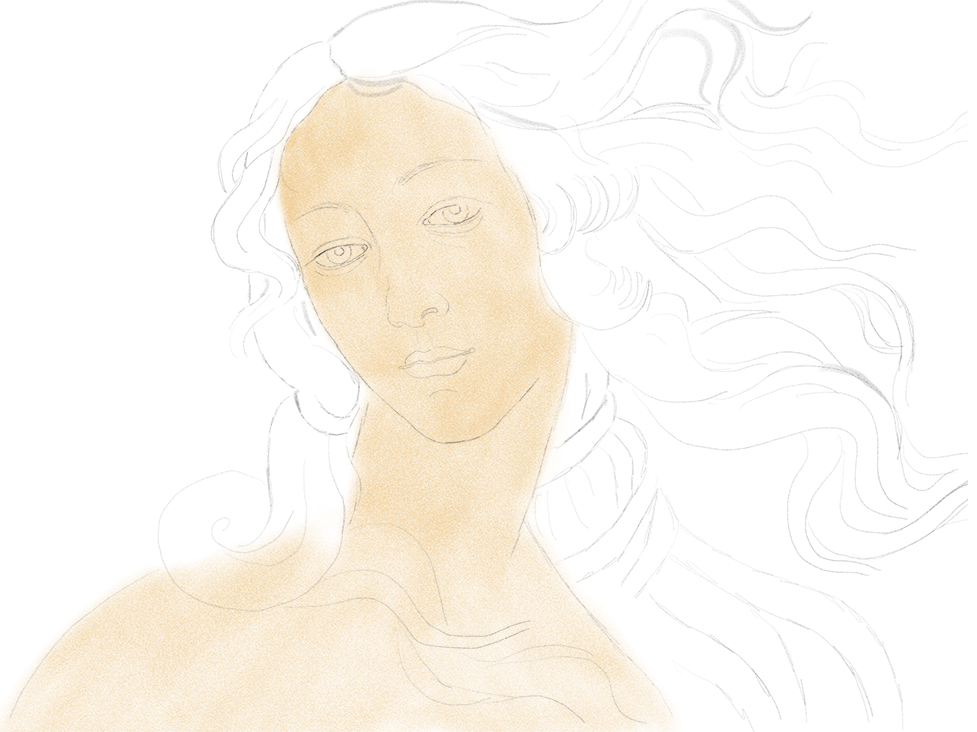
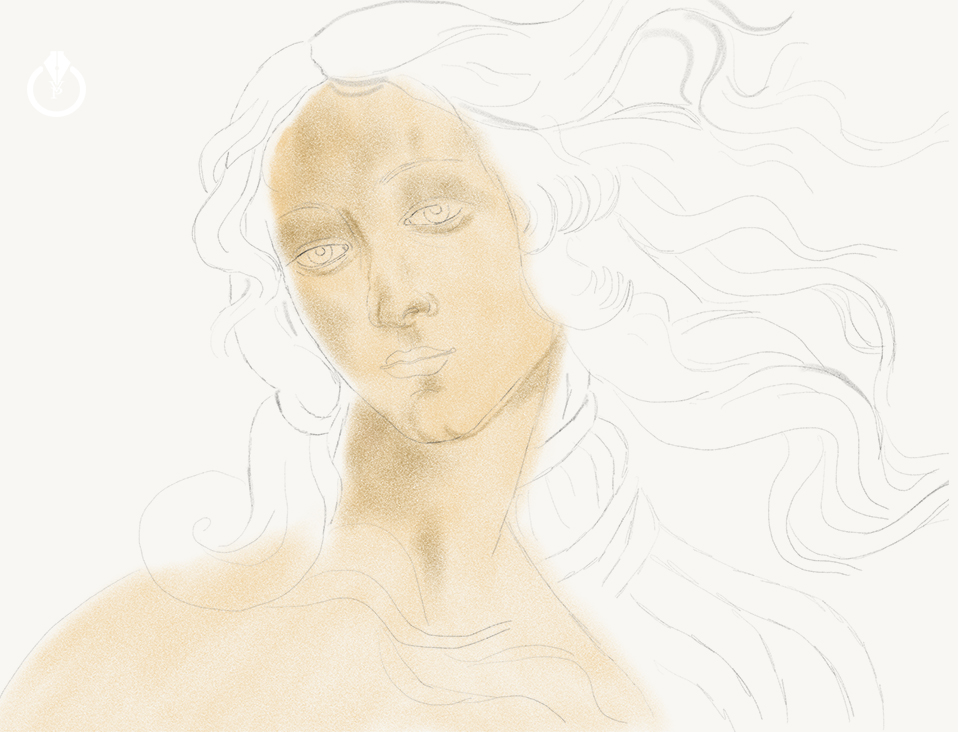
Many of you who know me know that a huge part of my digital imaging belongs to digital painting using Adobe Photoshop CC and Adobe Photoshop Sketch on iPad. I have different techniques in Adobe Photoshop and Photoshop Sketch, even a digital painting technique for photographers (and no, you don’t need to be a professional painter to be able to use this technique).
Many times I am asked what I prefer most to draw in: Adobe Photoshop CC or Adobe Photoshop Sketch. Now I will answer that question:

is my digital heart. I am using Photoshop with EVERYTHING (photo retouching after my photography sessions, photo restoration, photo manipulation, graphic/web design, painting, 3D, animation, and much more). For me nothing is impossible in Photoshop.
For digital painting in Photoshop I have three techniques:
Painting for photographers – where the primary tool is the Mixer Brush Tool and you don’t need to have any painting experience.
Painting – where you need to have painting experience or you are willing to learn.
A Combination of Oil Paint filter (yay! we got this filter back!) and the Mixer Brush Tool.
I am using a Wacom tablet for all my digital needs on the desktop and especially with my digital painting workflow
The Adobe Photoshop Sketch experience or “traditional” method of painting/sketching using an iPad is like you are using a “real” canvas of paper to sketch or draw. You don’t need to be in front of your desktop or laptop to start working on your project. You can start and finish your project using your iPad or you can start your project using your iPad and finish your project in your desktop app such as Adobe Photoshop CC or Adobe Illustrator CC.
Now the “vs” part:
Adobe Photoshop CC: I can create any image in Adobe Photoshop starting from an empty document such as photo manipulation or 3D and after that I can start my painting process in Photoshop (we can’t do that in Adobe Photoshop Sketch). Also I can start my painting process using my photo as a based layer or just a clear canvas / from scratch. I can start my painting in Adobe Photoshop and finish in Adobe Photoshop Sketch. I need to have a Wacom tablet
Adobe Photoshop Sketch: I can start my painting project from scratch or use any images as a base layer (to trace it for example). In Adobe Photoshop Sketch we have AMAZING watercolor paintbrushes (we don’t have these brushes/live effects in Adobe Photoshop ). With the combination of Adobe Photoshop Sketch and Apple Pencil you have an absolutely amazing SKETCHING ability (before Apple Pencil and iPad Pro we were able to have this ability ONLY using the “traditional” method of sketching). Using Adobe Photoshop Sketch you can draw/sketch from ANYWHERE using your iPad.
Question: which do I prefer most? BOTH. I am using Adobe Photoshop CC and Adobe Photoshop Sketch every day. I can’t choose which is most important to me (like choosing which limb is most important to me). Both applications are different and both are very important to me. See my Adobe Photoshop work on Behance.net.
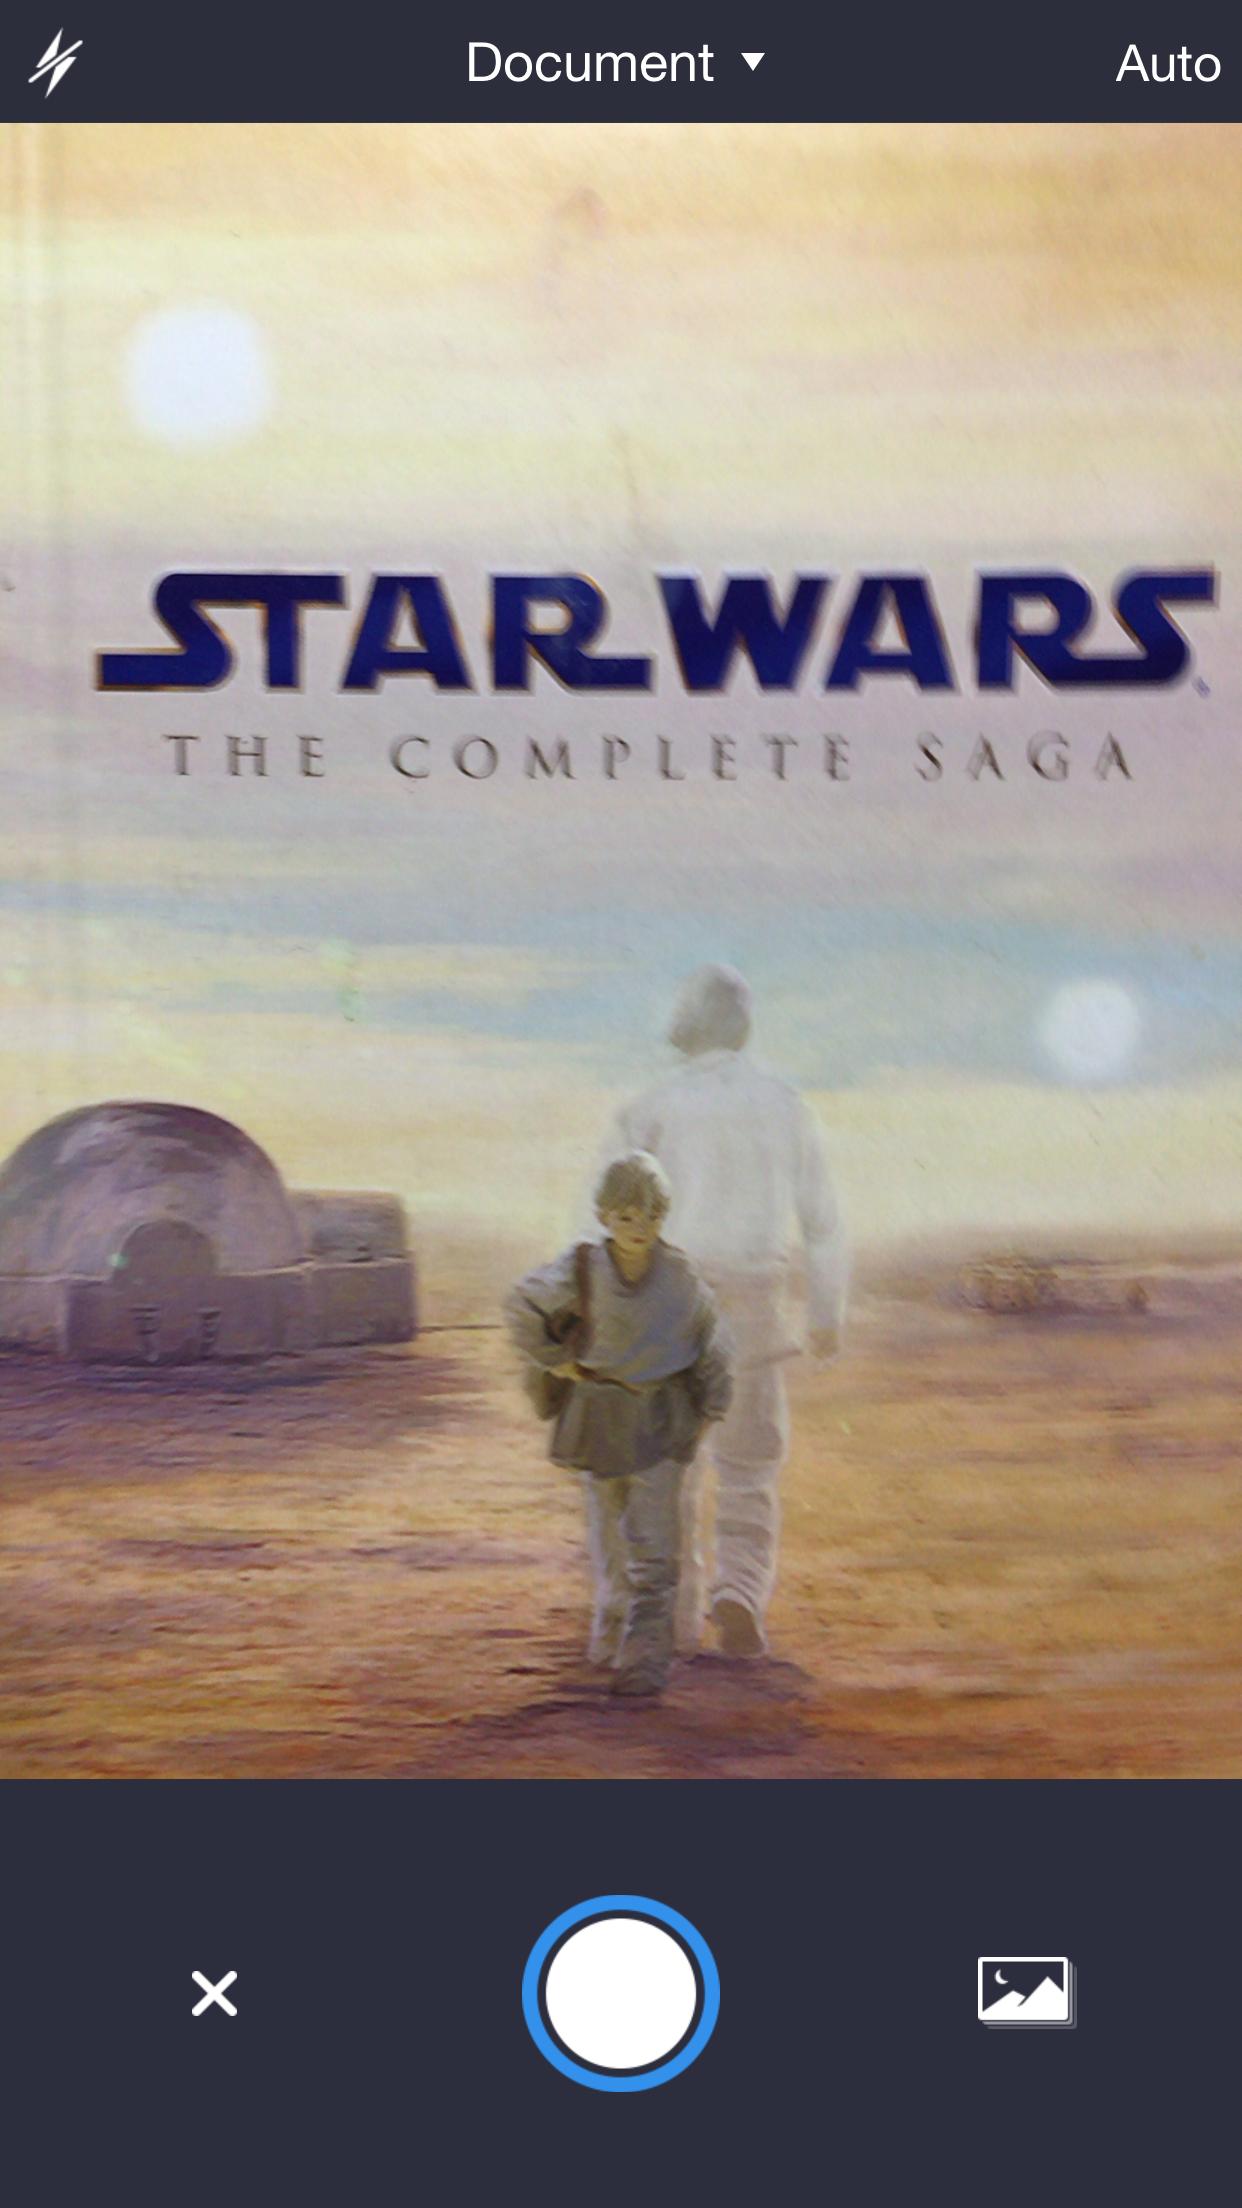
One of my favorite business apps is Scanner Pro by Readdle . With Scanner Pro I can scan any document, paper, receipts, or just an image and save or share it using my mobile device. A great app for just $2.99!!!!
When you first login to your app the welcome screen will ask you to join. Simply enter your email address and now you are ready to turn your mobile device to portable scanner.
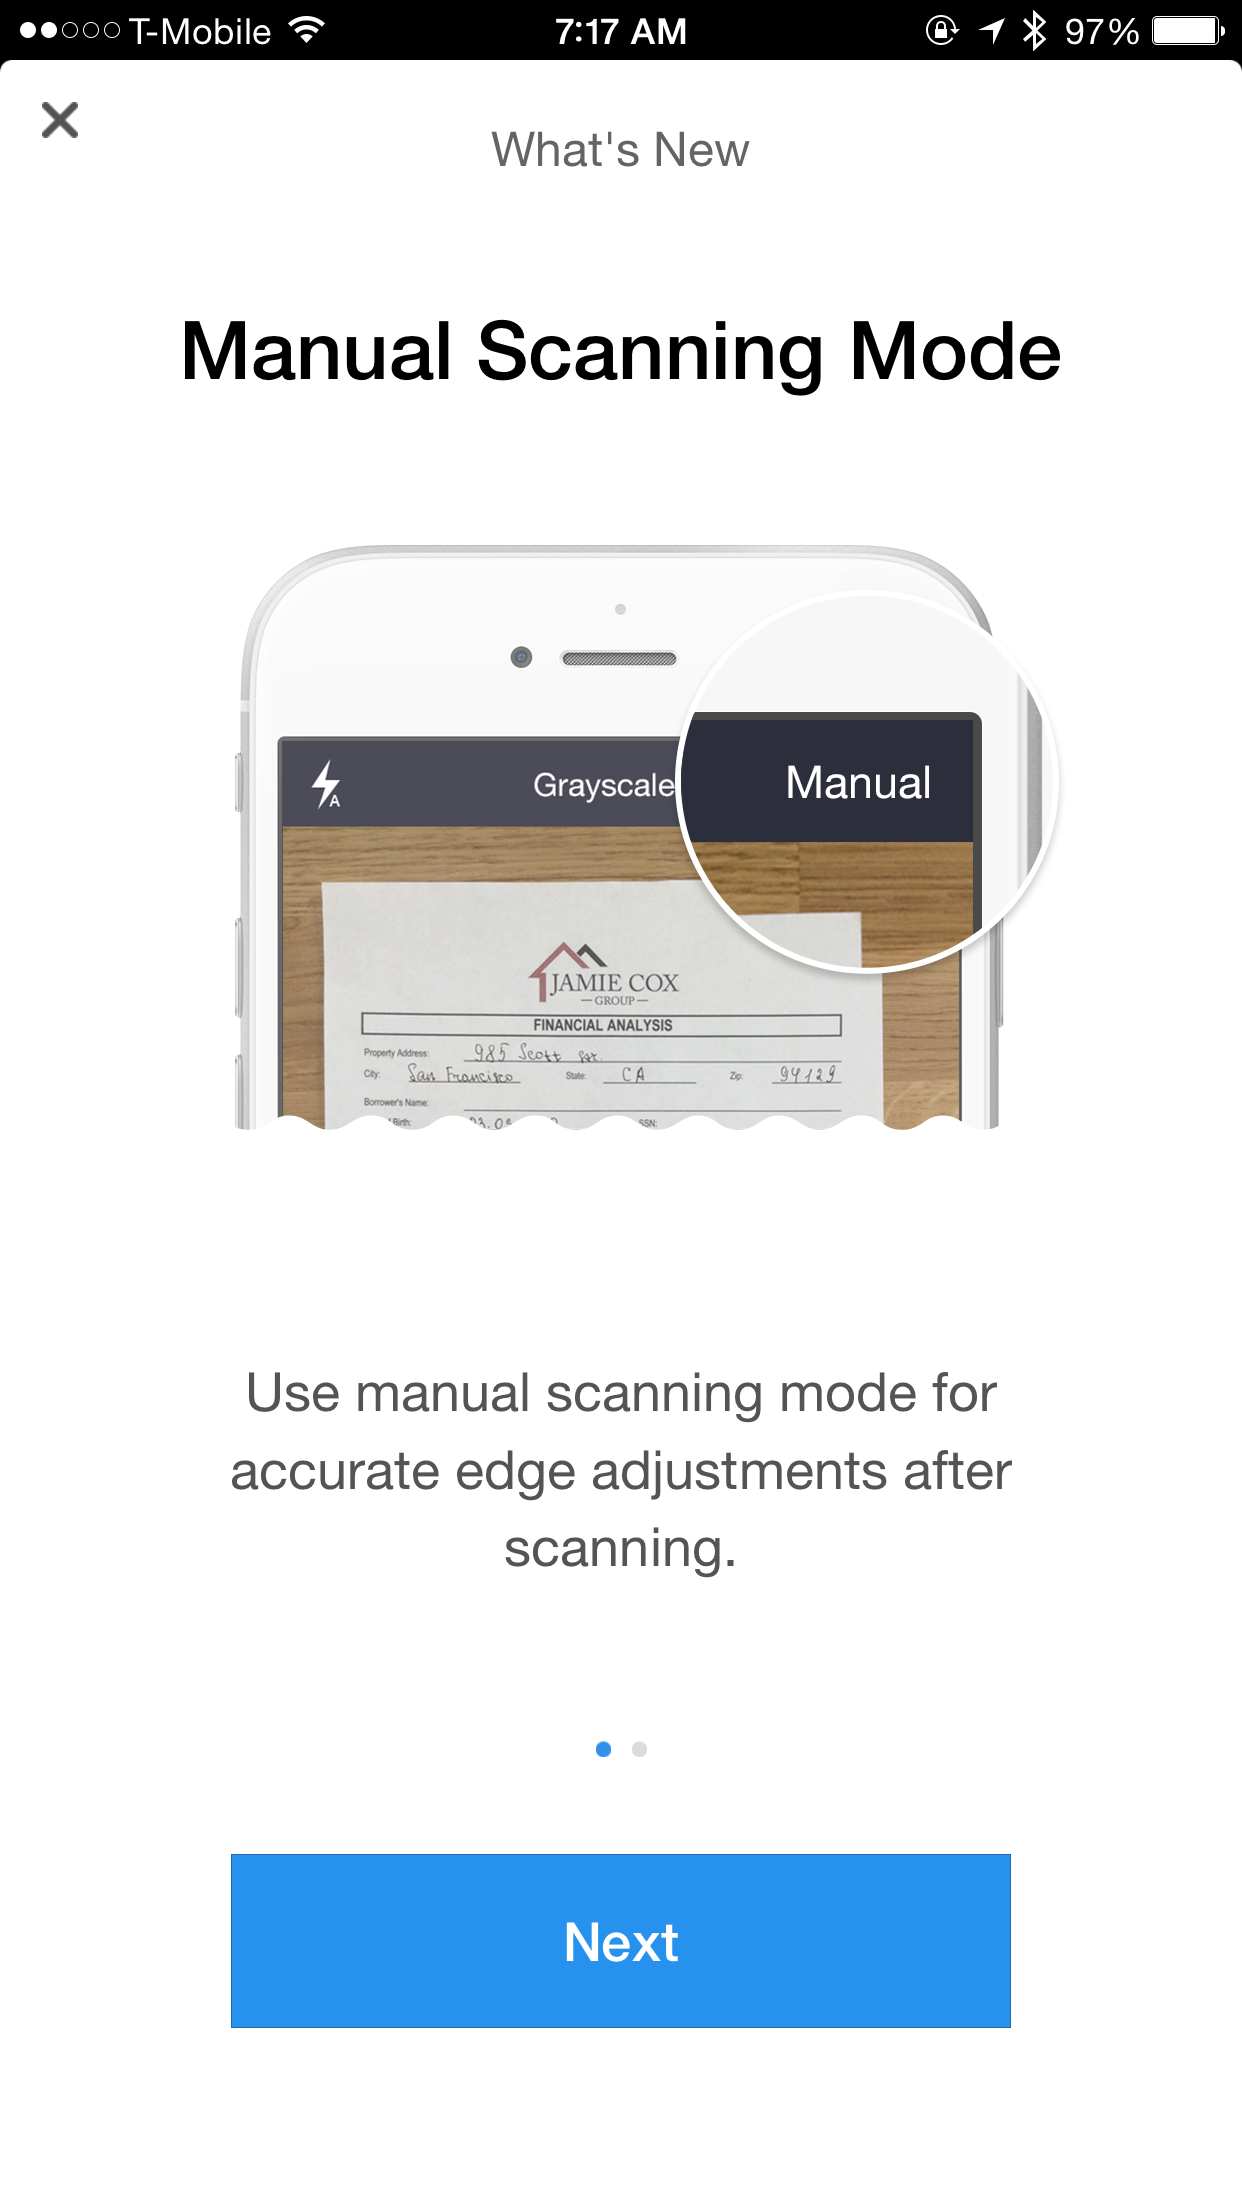
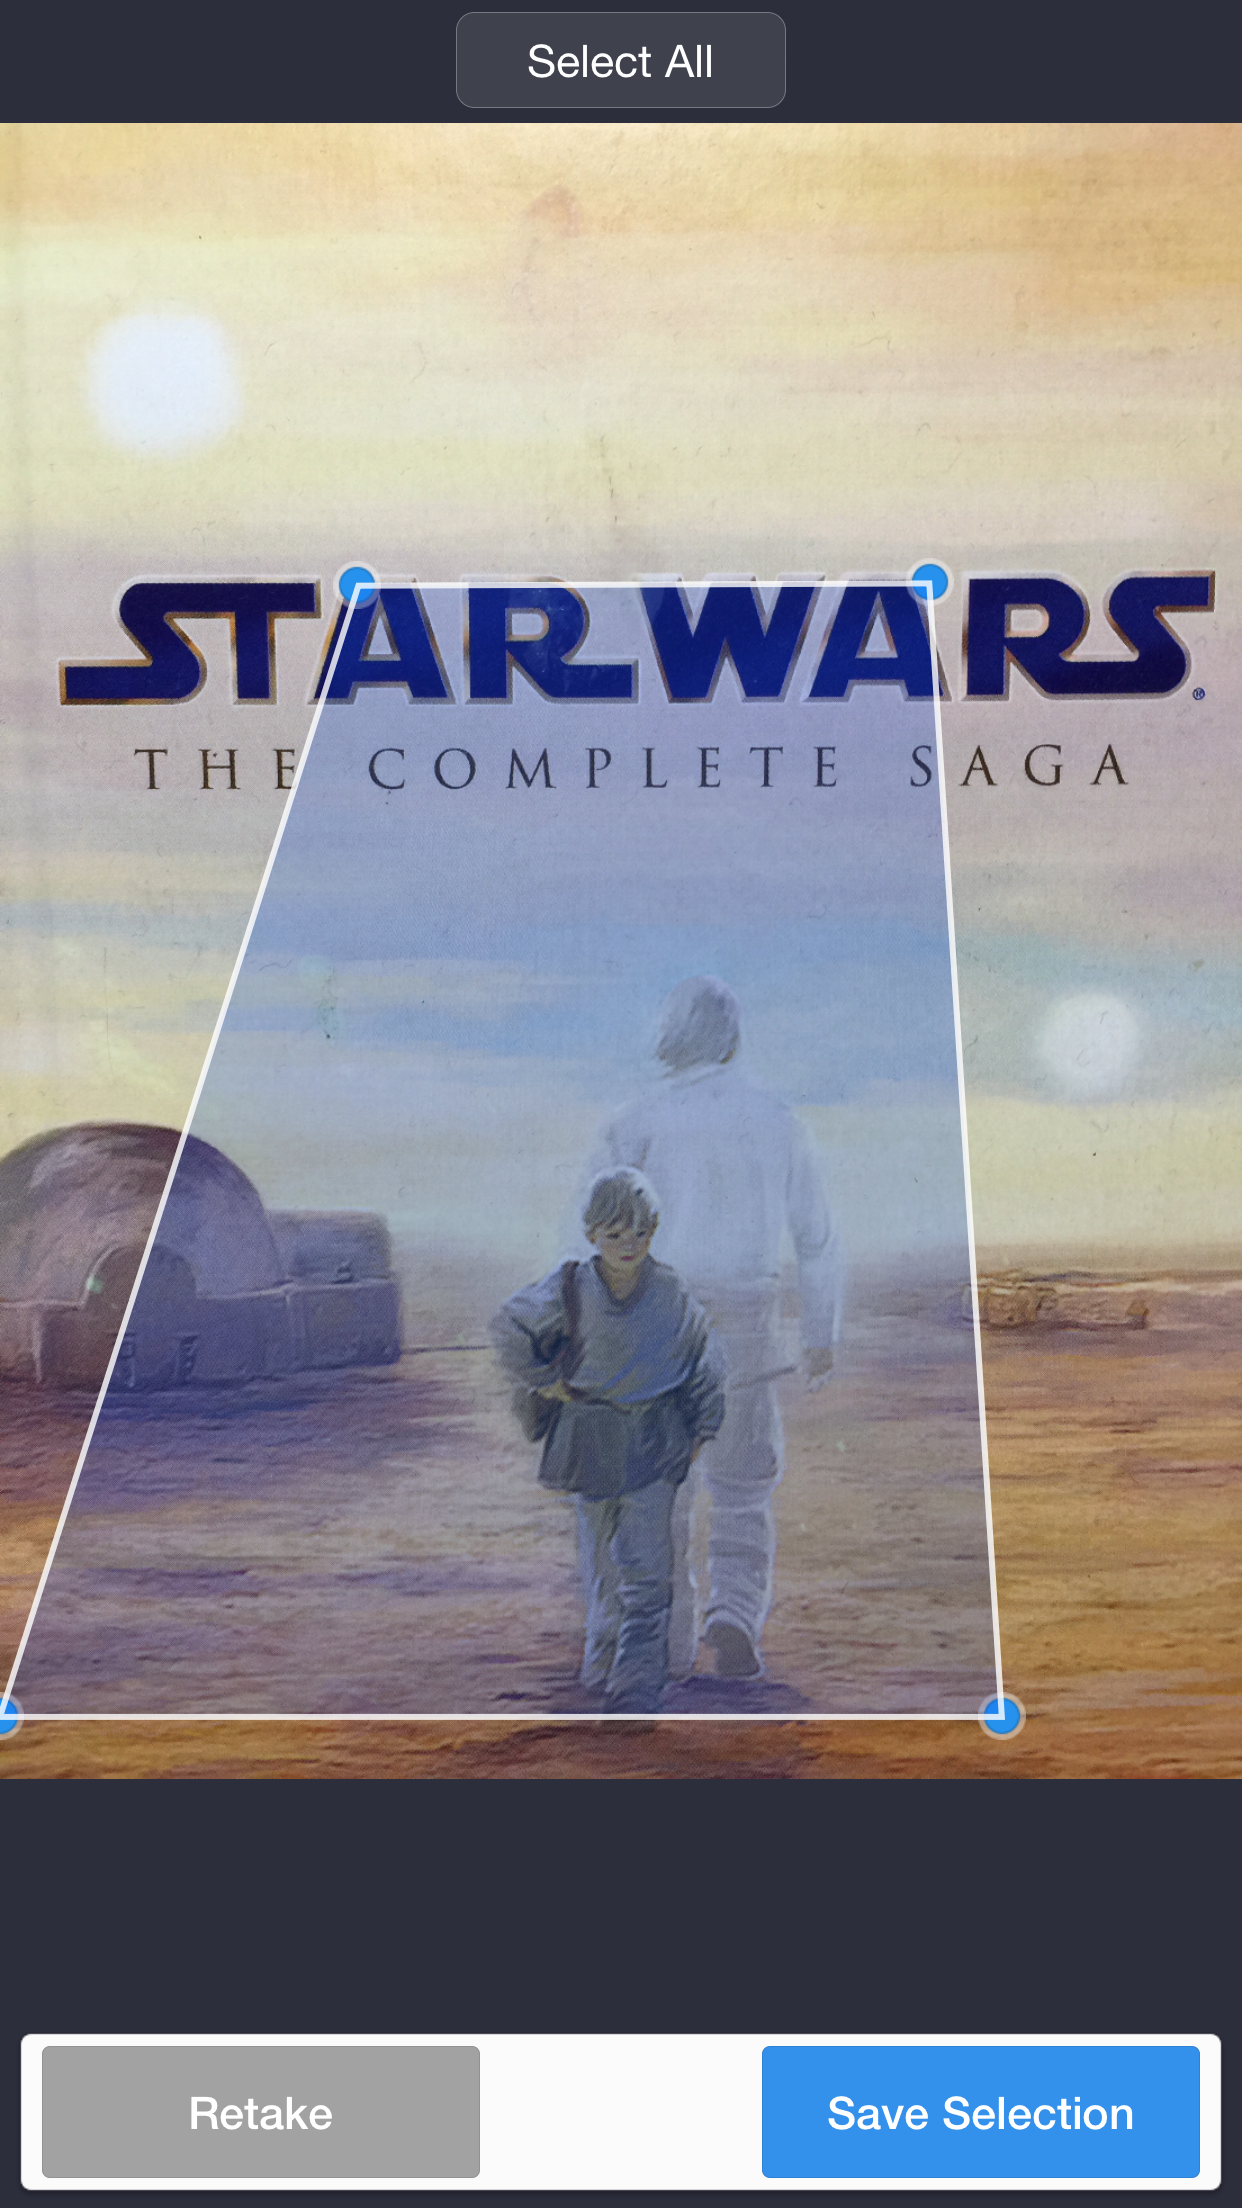
I am always using the manual scanning option for accurate edge adjustments after scanning.
Take a Picture of your paper, document, images you want to scan (also you can scan from your Camera Roll )
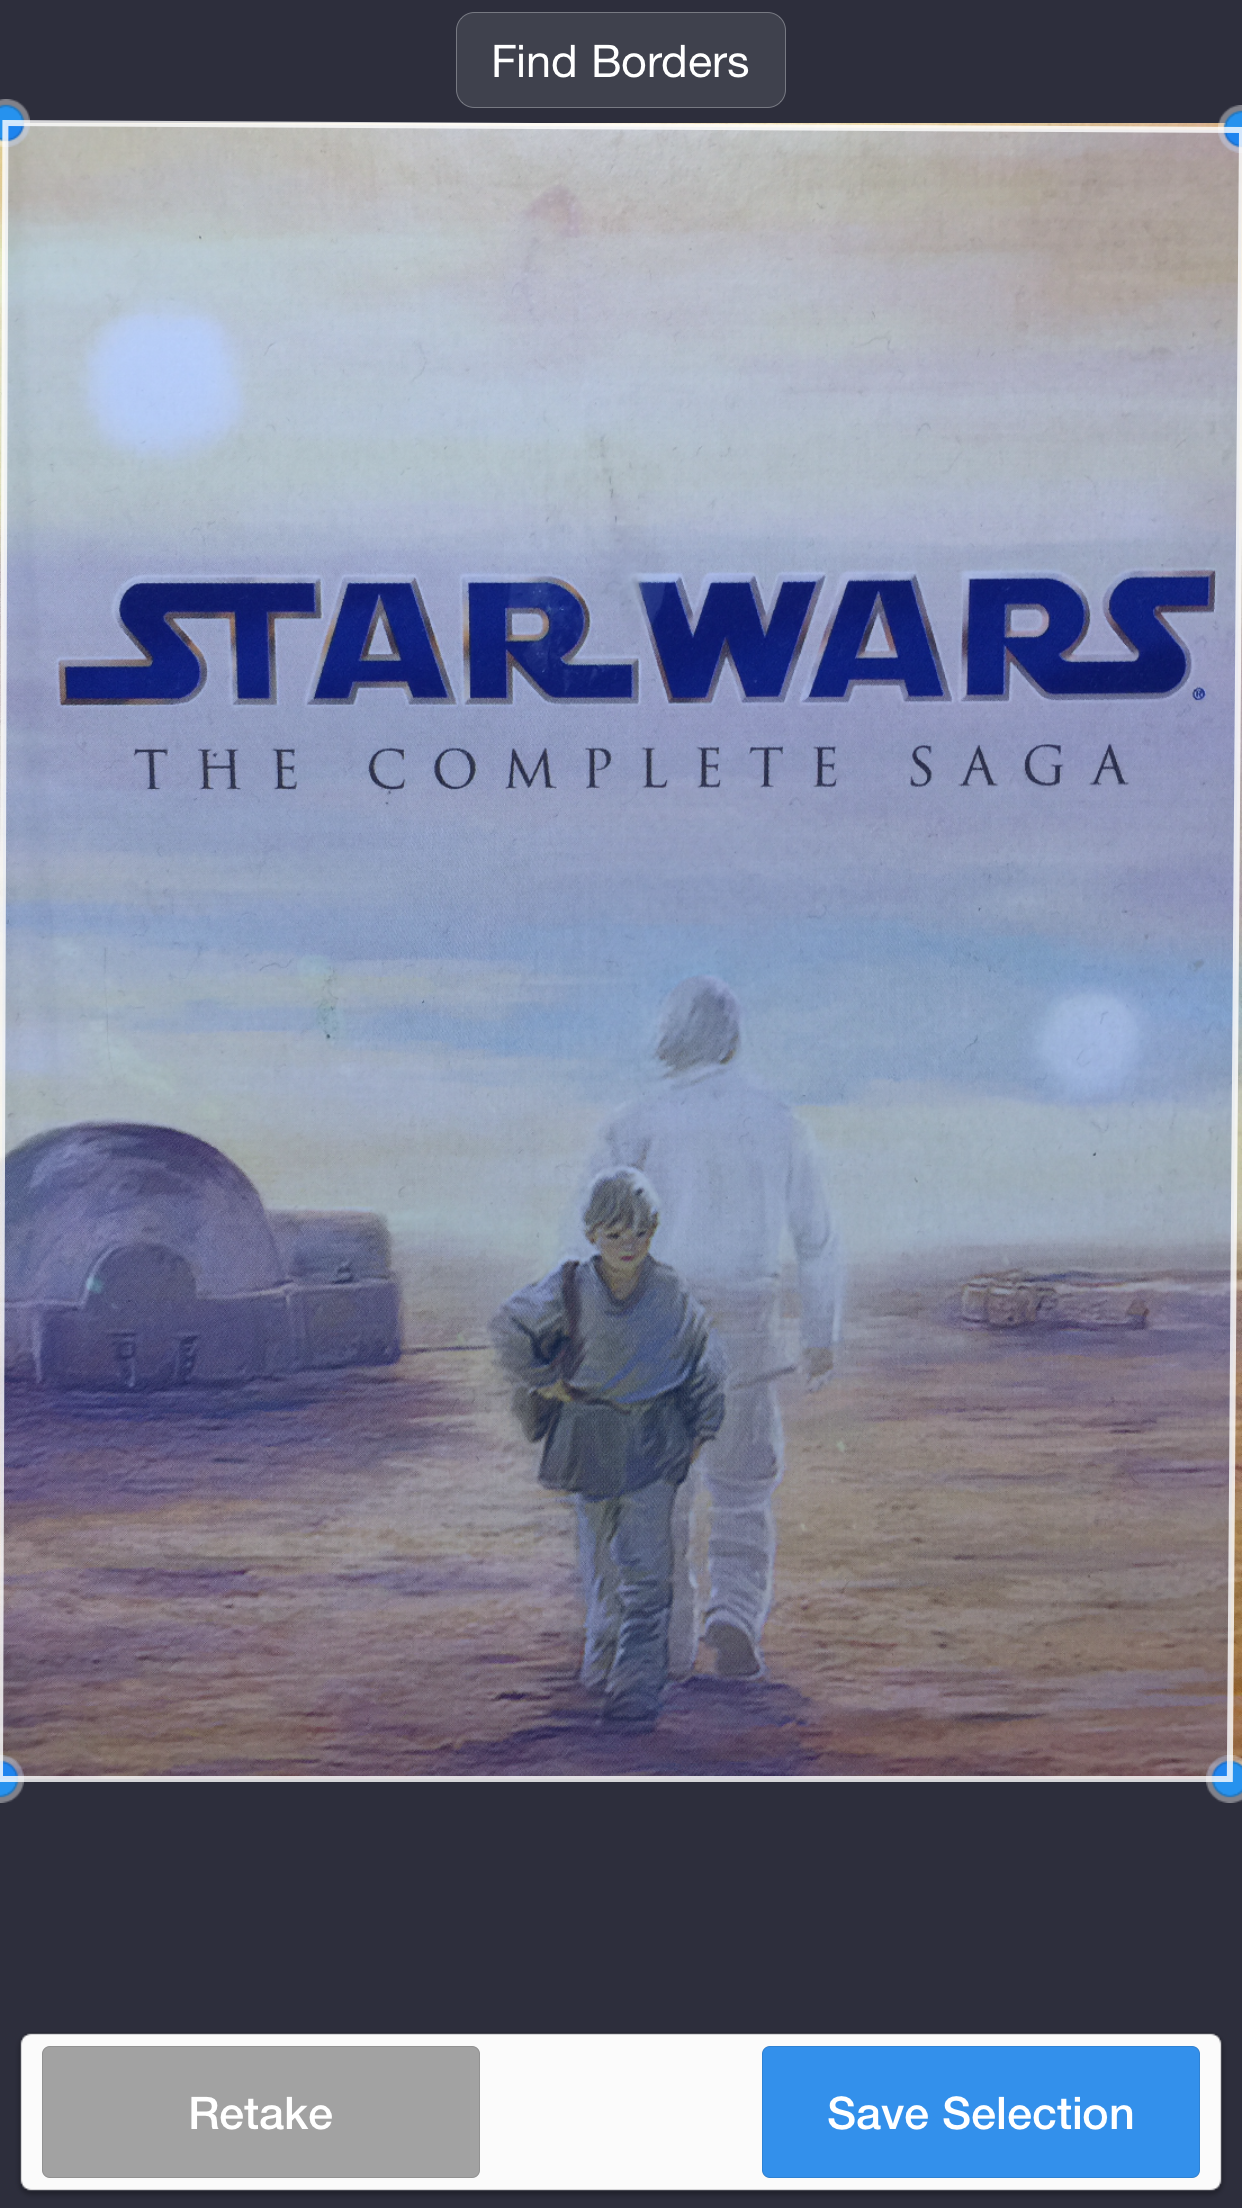
And now you can manually adjust edges of your scan to fix the persepective
Now you have MANY options to share your scanned document

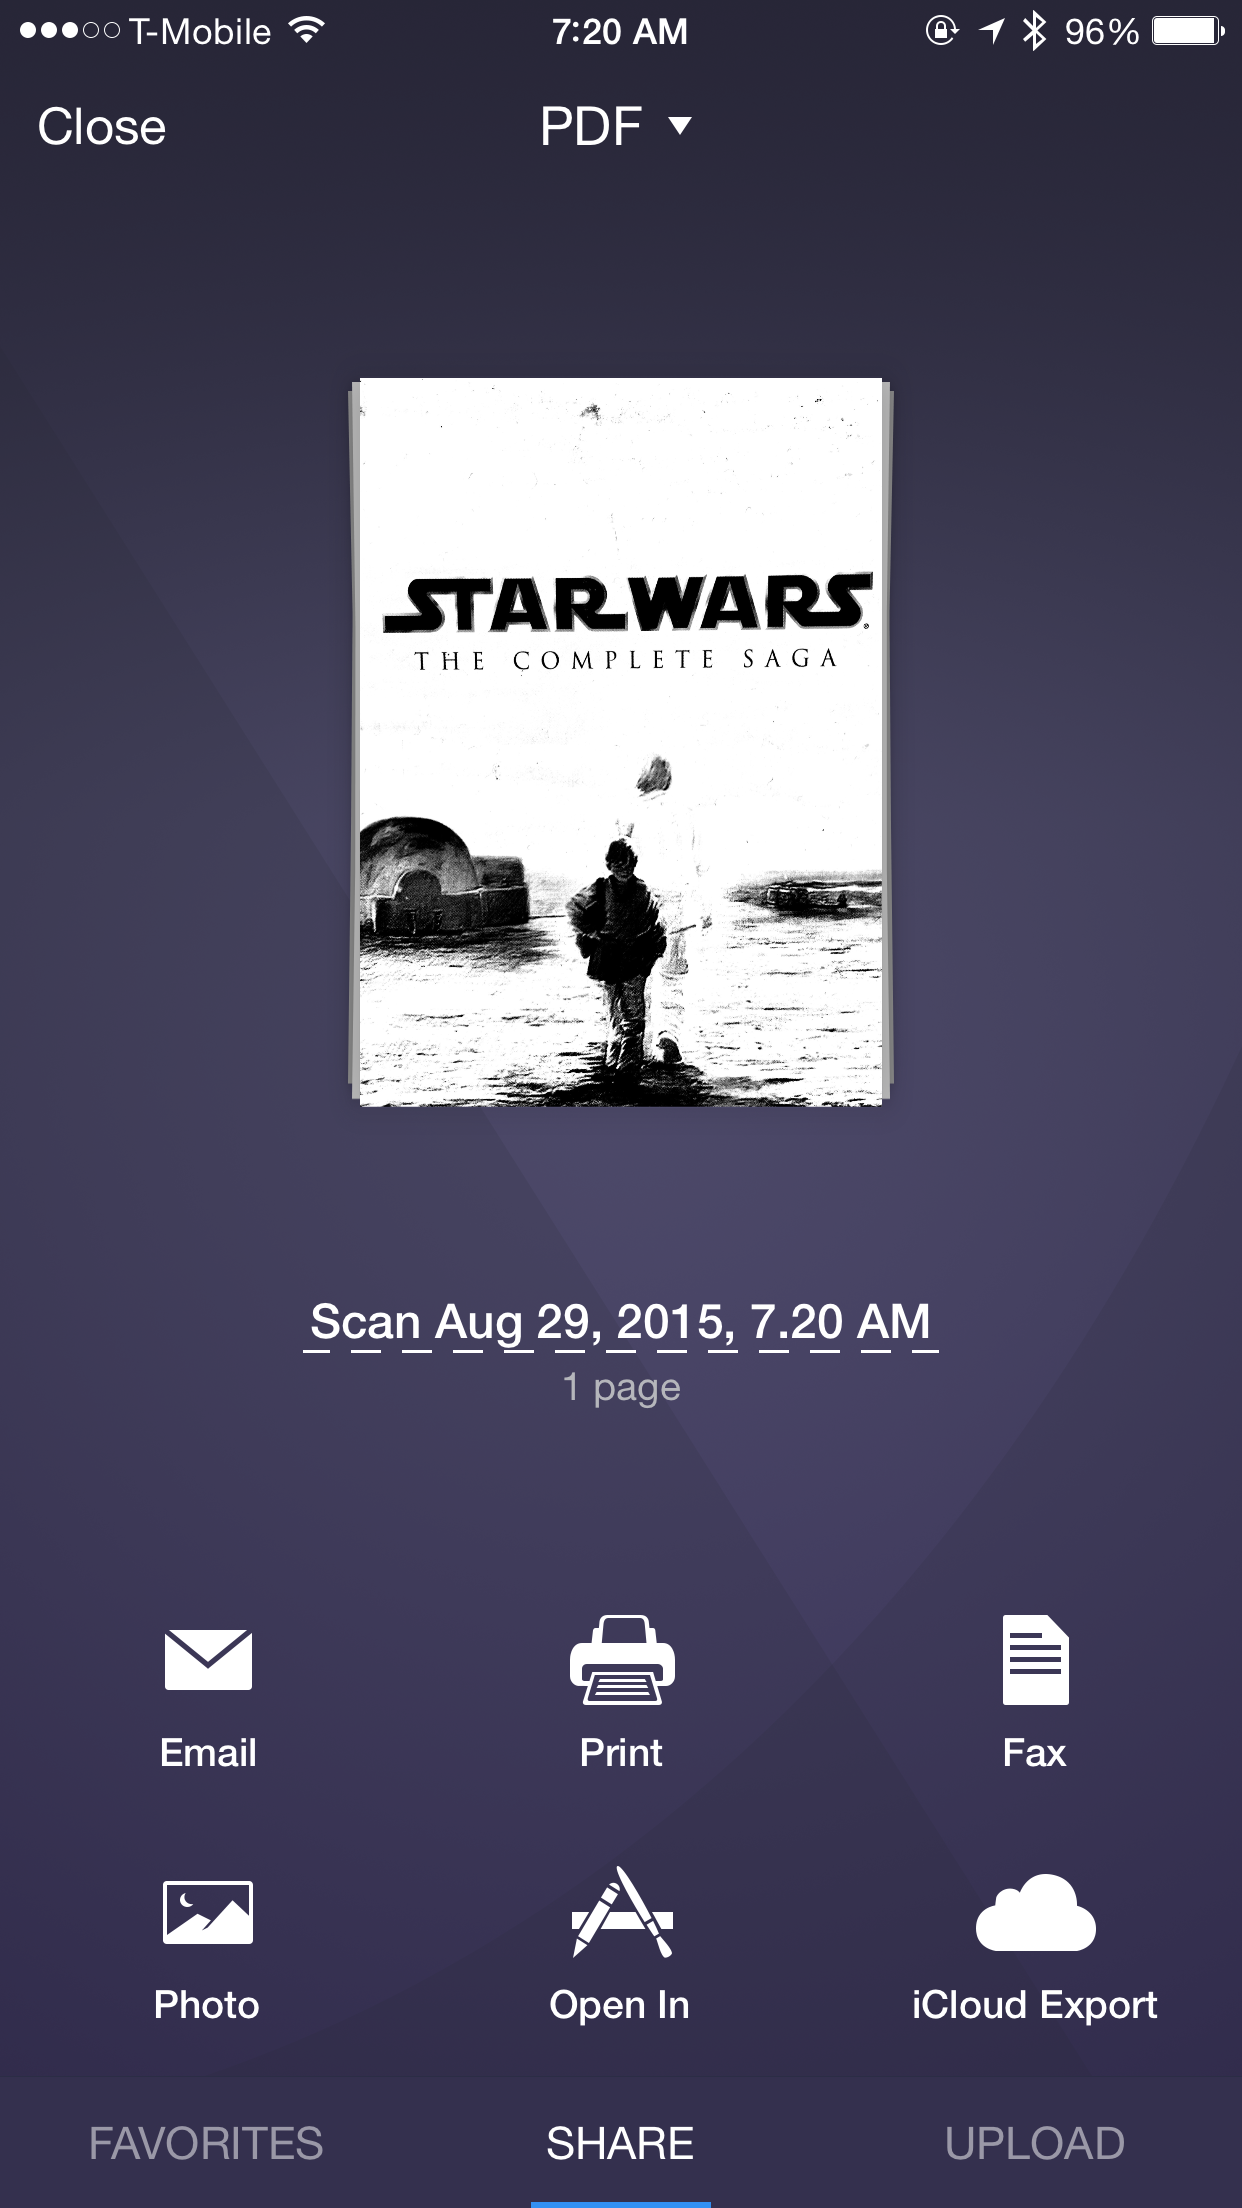
Also you have MANY different choices to upload your document to cloud services like Dropbox, Google Drive, OneDrive and more!
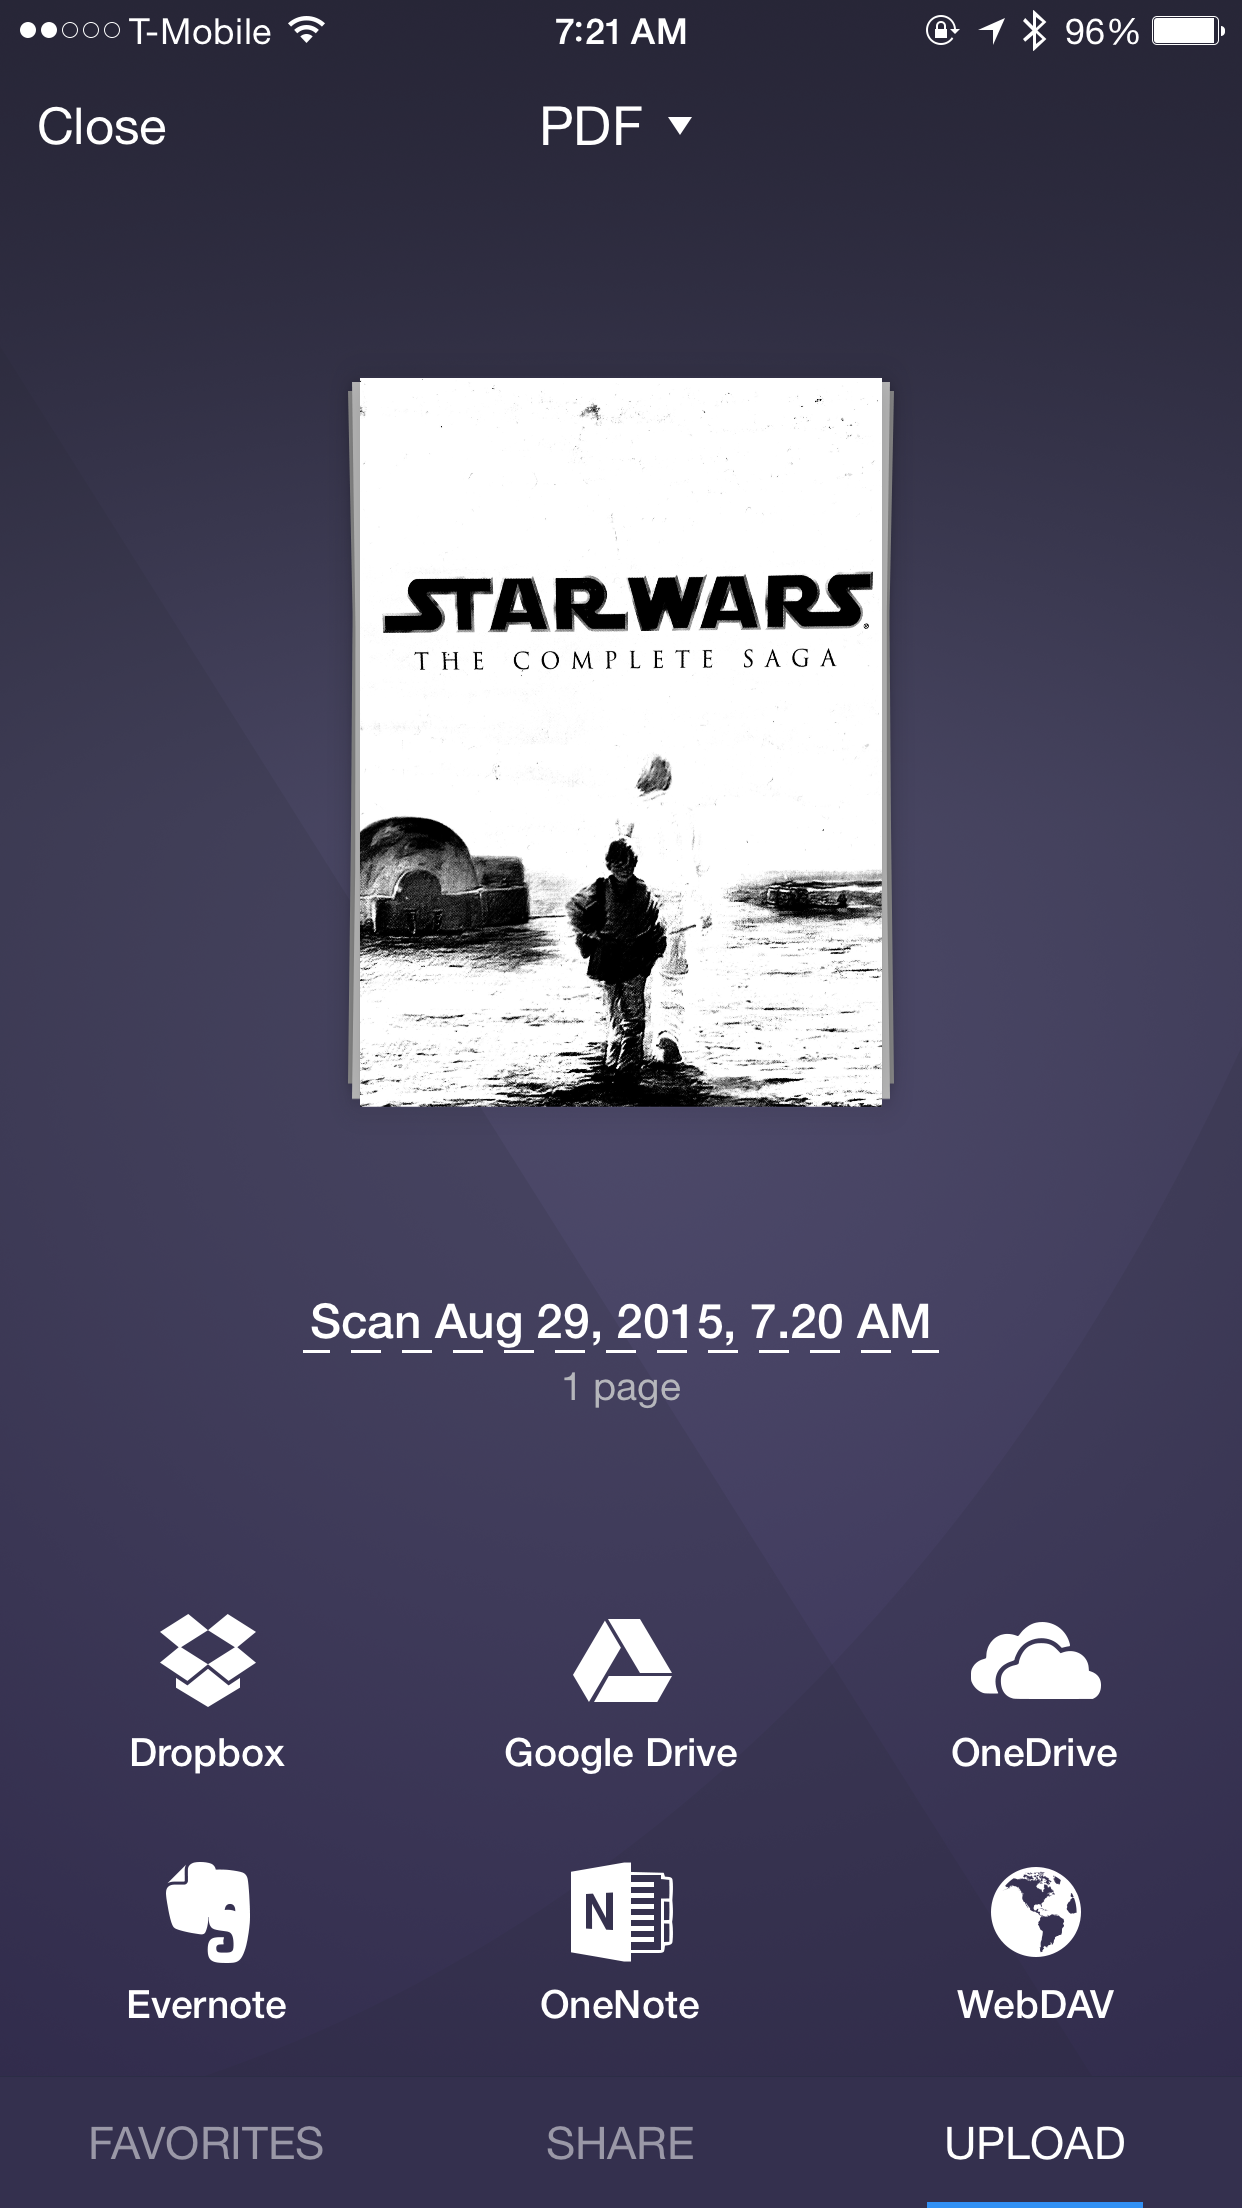

With Scanner Pro it doesn’t matter where I am. I don’t need to be at my office to scan a document. My mobile device is my pocket scanner now!

I was looking for stock images for a many years and I was not impressed with what I could see on a market until I was introduced to Adobe Stock.
I am professional photographer, digital artist, and educator. I am working and teaching Adobe Photoshop, Adobe Muse, Adobe Dreamweaver, Adobe Premiere Pro, Adobe Lightroom, and all Adobe mobile applications and I found that Adobe Stock is the BEST source for my design, photography, painting, education workflow. Why?
Reason 1:
I’ve heard many people say: ” I am a professional photographer, designer and I am not using any stock images”. Hmmmm so if you need any professional image, background, graphic image to build your clients “travel with us” website you will go around the world to take pictures of the places were your client offers services? And keep in mind that as usual our clients don’t know what image(s) they will use and they are depending on us to show them at least a few examples that they can choose from. So if you multiply all the costs of traveling around the world, and the time just to take pictures, your price for client’s website will rise up significantly and I am not talking about the extra time that you need to build the website. My question is: will your client wait at least 7 extra months and pay 99% more than he/ she should pay just to let you use your own images? The answer is NO and NEVER.
So reason #1: use Adobe Stock images to make your workflow more productive along with building great communication between you and your client.
Reason 2:
When you working on your client project and you’re not sure which image you or your client will use with your design, simply download a “preview” version of the image(s) your want to use, finish your design, project, show it to your client and if your client approves your design simply click on Adobe Stock image > License image and you will visually see that your Preview image will be replaced with high resolution, ready to use royalty free image. You don’t need to do any EXTRA steps that will increase your workflow time and your client will receive the final copy of the approved project in no time!
So reason 2: Fast and stress free workflow
Reason 3:
Quality
Adobe Stock is a worldwide library (40 million +) of the best photographers, digital artists, designers. All images are with HIGH quality ready to use right away.
Reason 4:
The price
You have many optiosn to subscribe to Adobe Stock
1: As a Creative Cloud member you are saving 40% of the monthly plan!!!!!!
10 images a month
US $29.99 / mo
Annual plan, paid monthly
2: 10 Images a month
US $49.99/mo
Monthly plan
3: 750 images a month
4: Single images are just US $9.99 without a subscription
Reason 5:
If you are a photographer, digital artist, 3D artist, graphic designer you can make money selling your work. You can sell your images, even the ones taken with your smart phone!! You can make money from your work just from your home using your computer!
My favorite HDR app for mobile photography is TrueHDR by Pictional LLC. I have been using this app more than year, and have no complains about any of its functionality.
TrueHDR app has few capture modes:
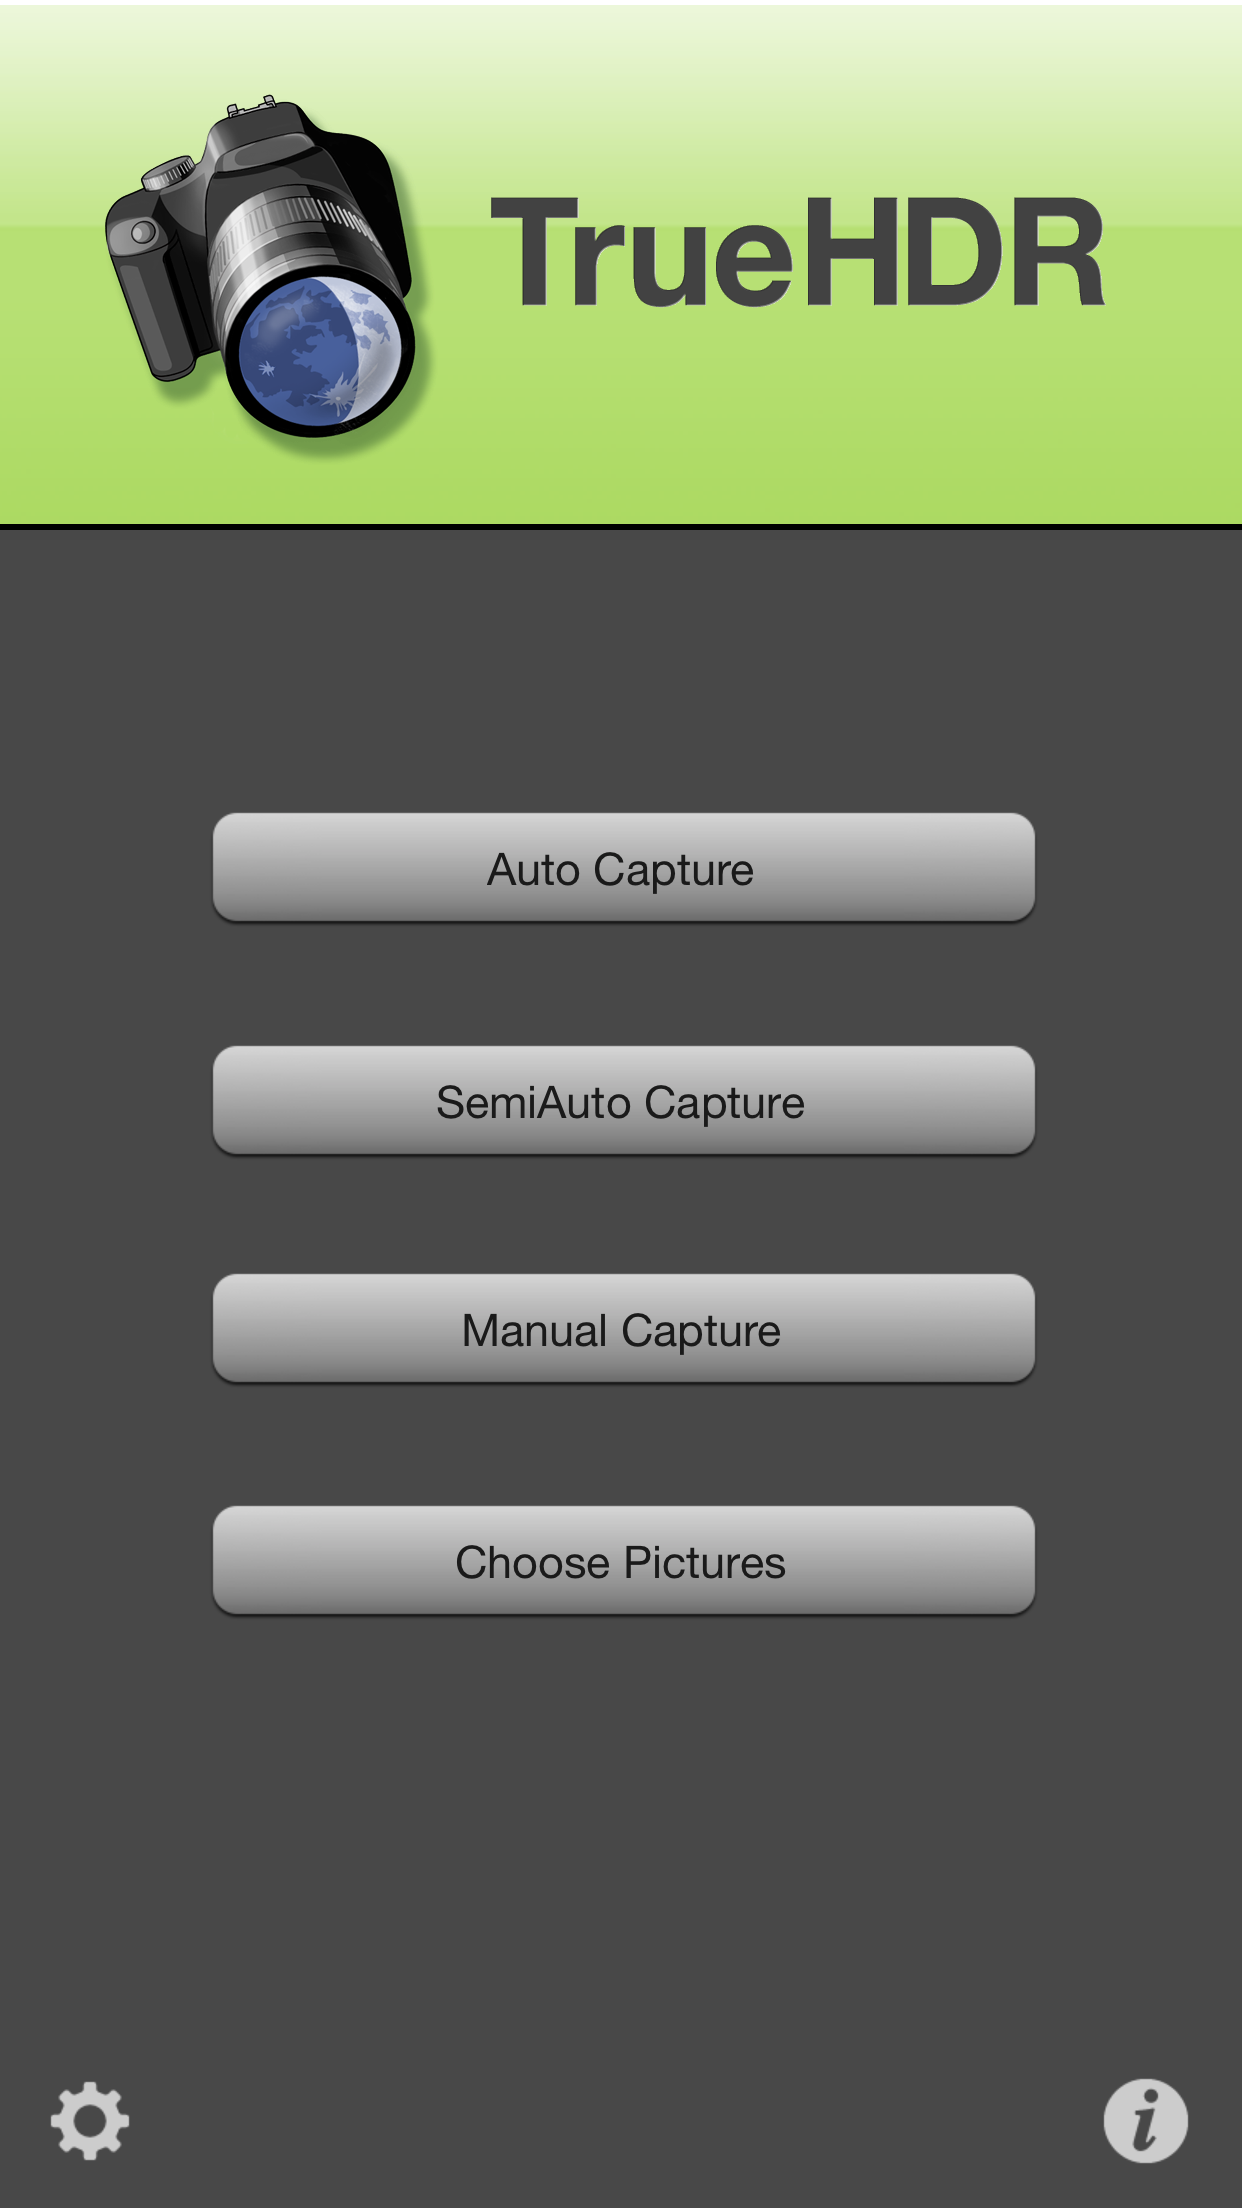
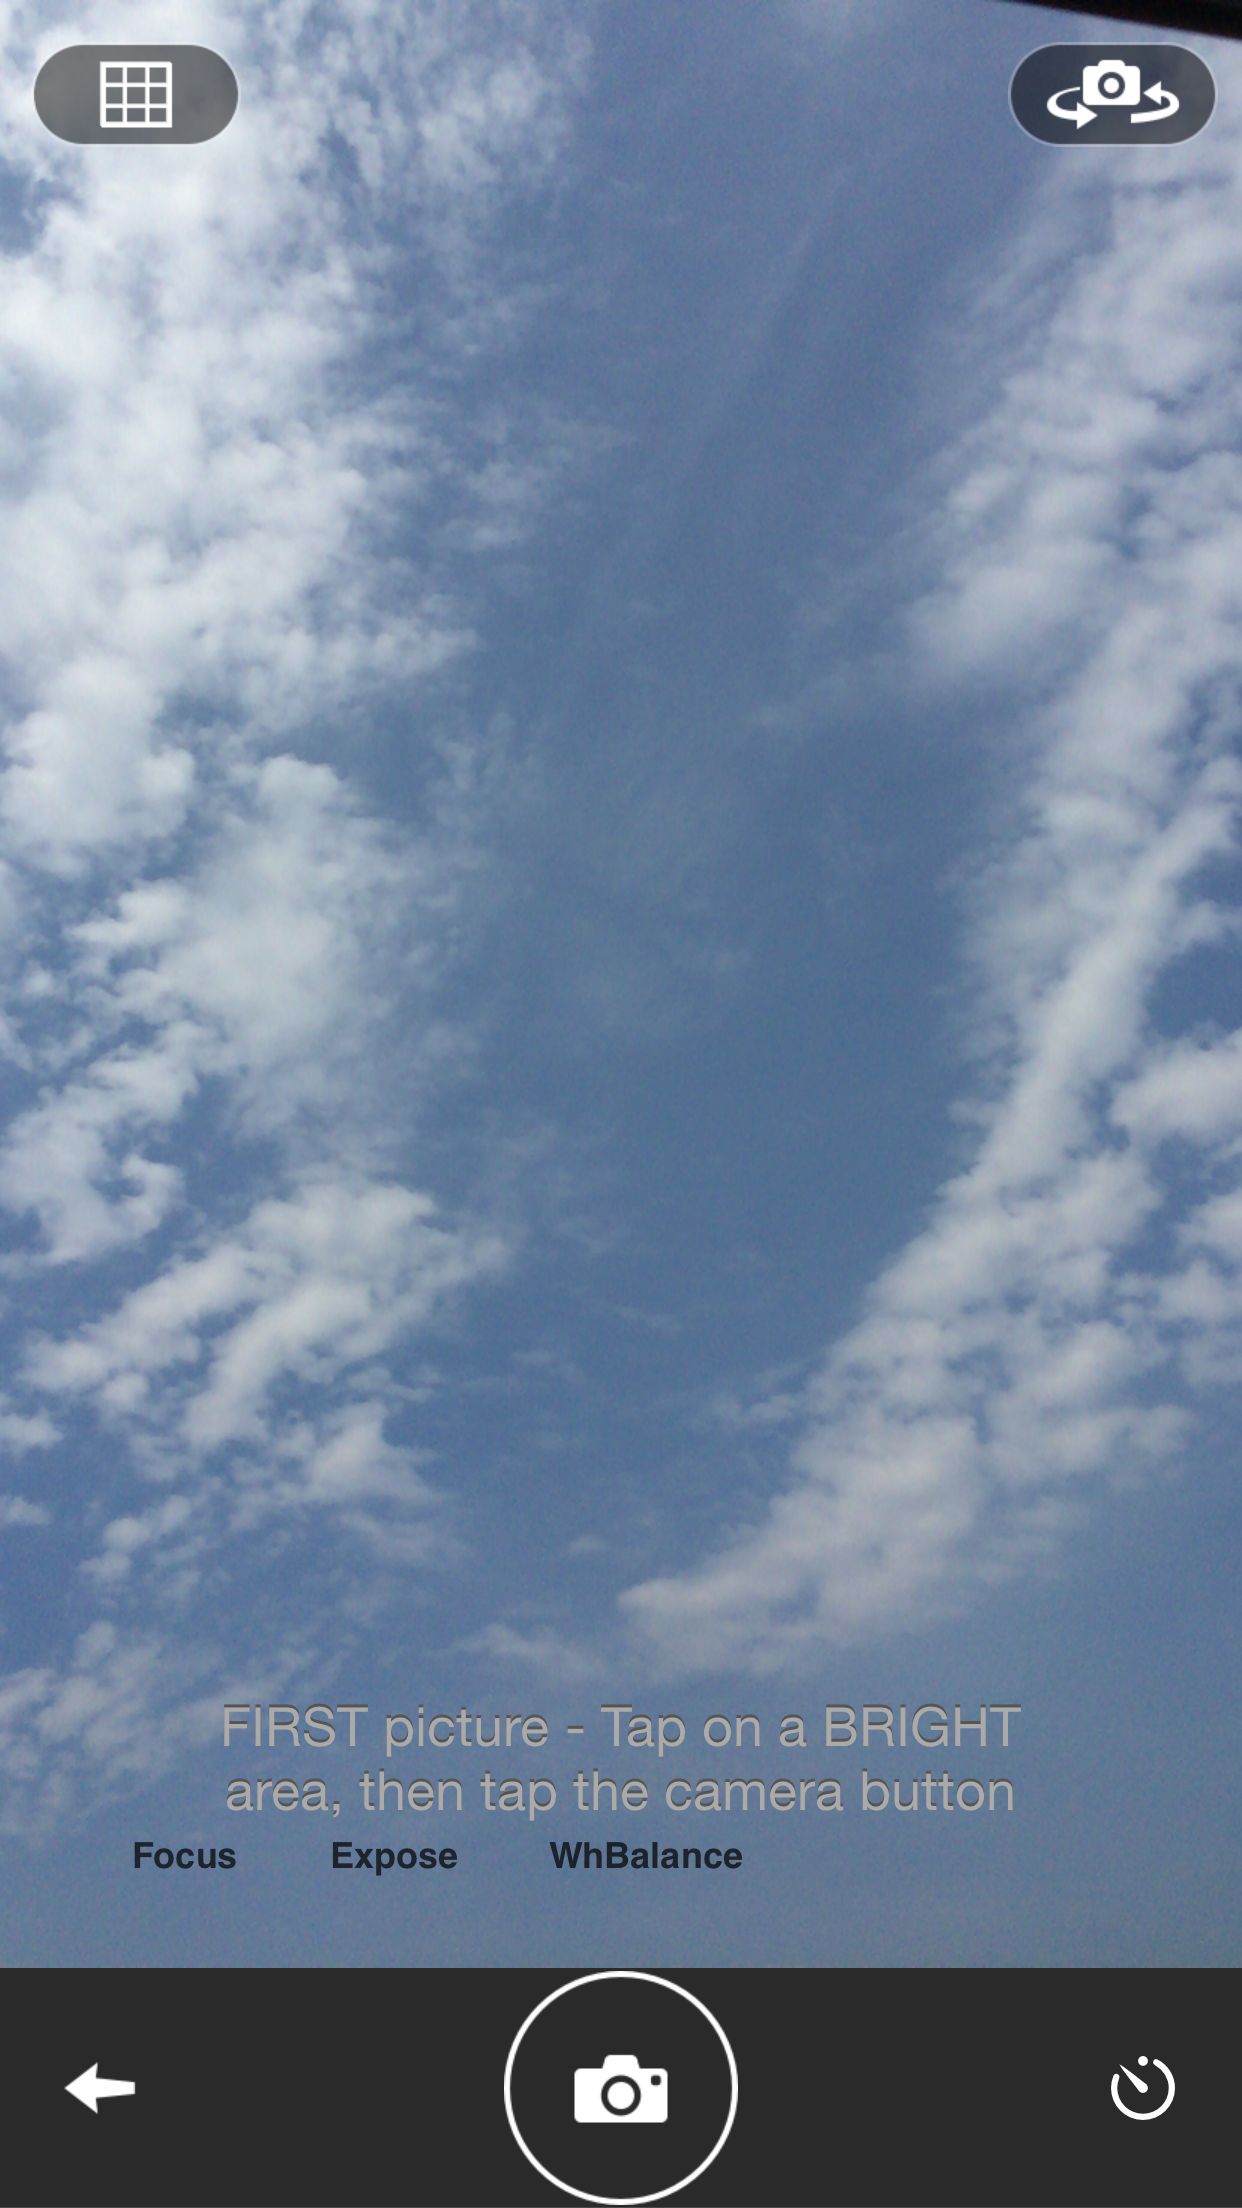
My favorite mode to use is Manual Capture. Using this mode I can manually select Bright and Dark areas to merge them into HDR image. I can select between Natural ( most realistic look) and Enhanced ( vivid colors ) modes.
Using custom slider I can control
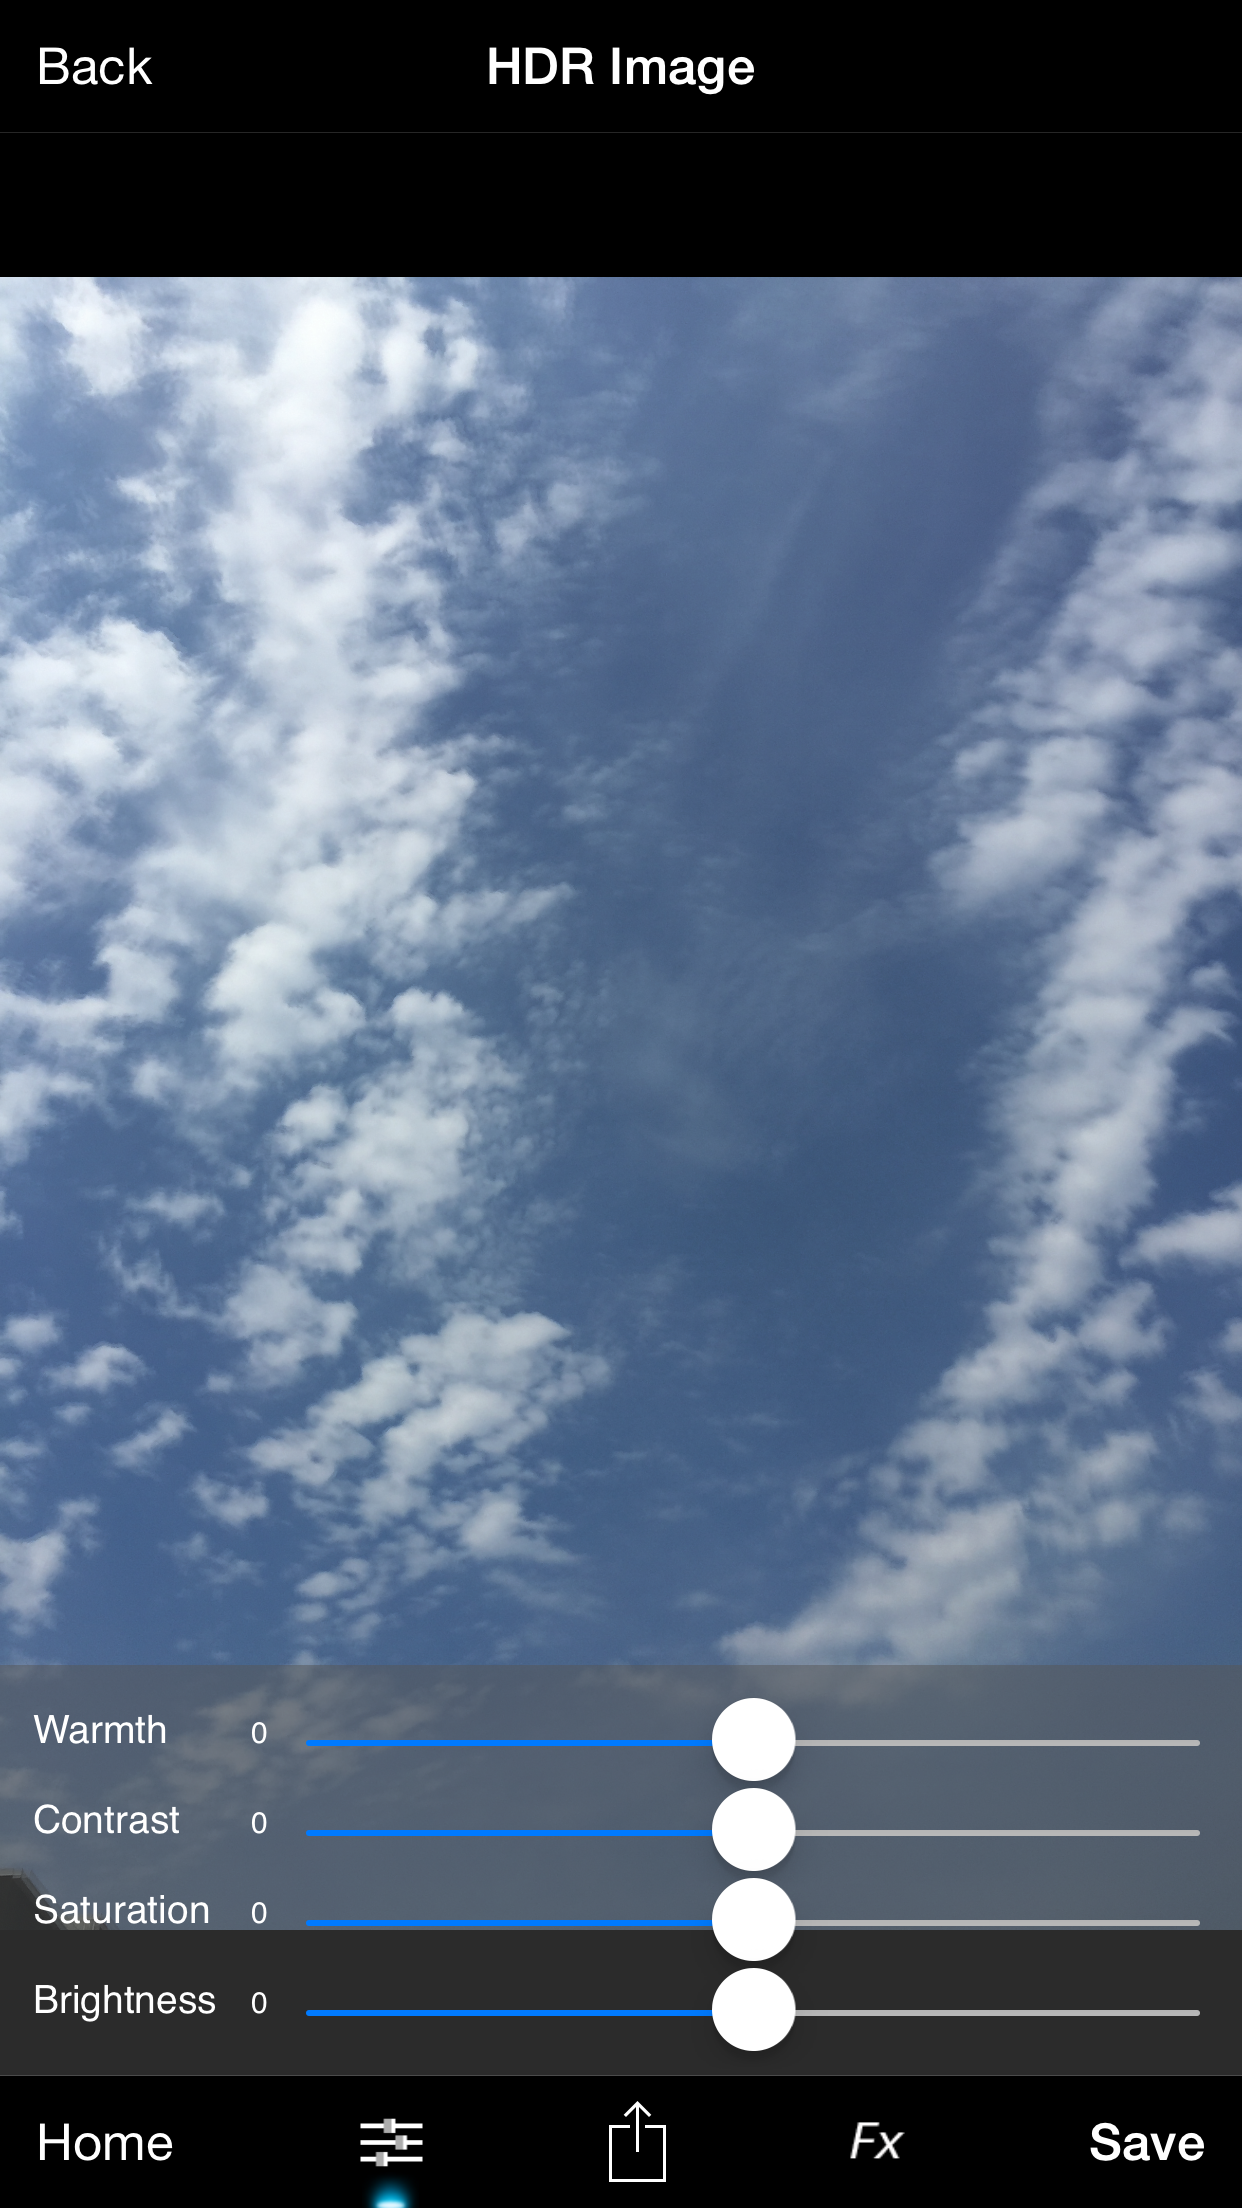
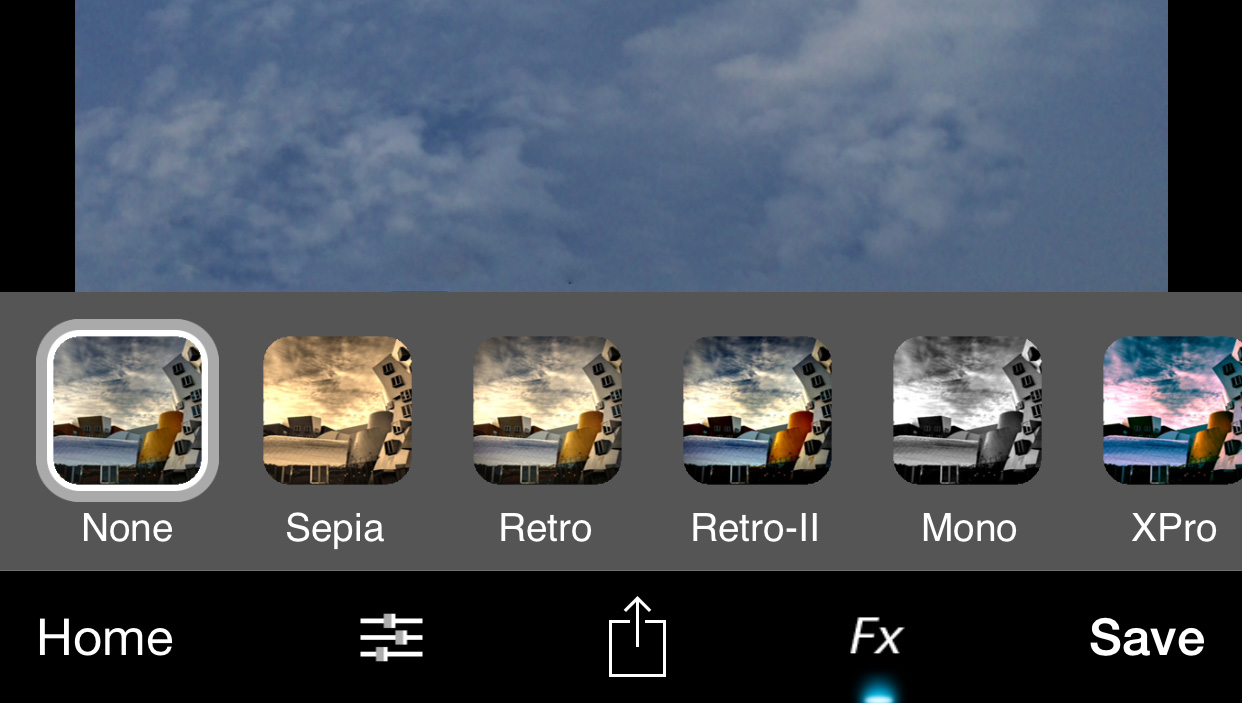
From the effect presets I can choose any effect I want to reapply to my image ( from Sepia to Vignette)
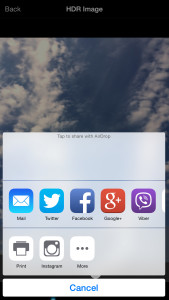
Using many convenient sharing options you can share or print your image directly from your app.
Price: $1.99 and available fro iPhone and iPad!


For iPhone:
For iPad:

 and
and