How to use the Clone Stamp Tool in Adobe Photoshop CC
My Books on Amazon
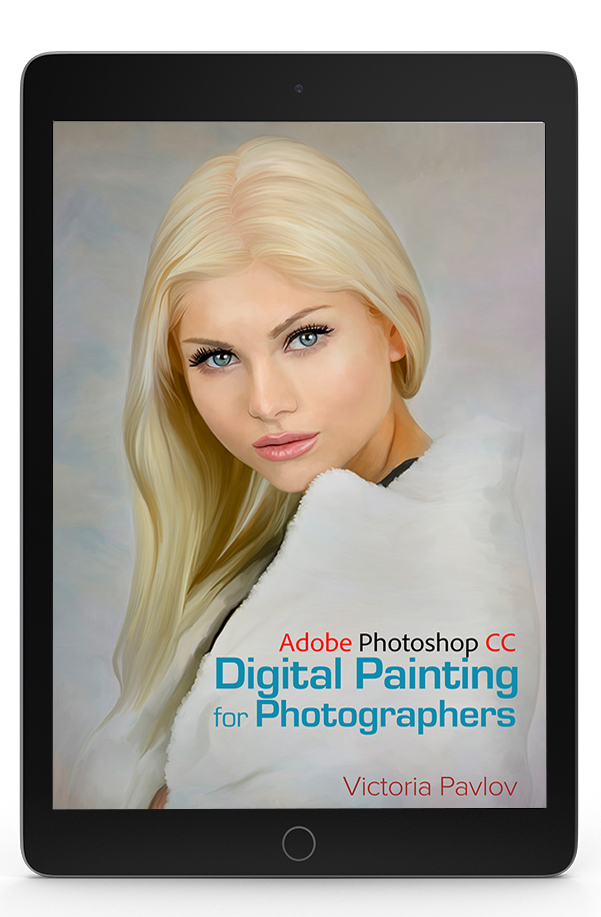
Digital Painting for Photographers in Adobe Photoshop CC
The Adobe Mobile Apps Book

How to use the Clone Stamp Tool in Adobe Photoshop CC
My Books on Amazon
Digital Painting for Photographers in Adobe Photoshop CC
The Adobe Mobile Apps Book
New Adobe Photoshop CC Tutorials
How to add a light from your lamp to a photo
How to add a light from your window to a photo

Adobe Photoshop Creative Cloud 

How to retouch eyelashes and eyebrows in Adobe Photoshop 
My Kindle Book on Amazon
Few videos have been uploaded to my YouTube channel
Face-Aware Liquify in Adobe Photoshop
Select and Mask workspace in Adobe Photoshop CC
How to create a movie poster in Adobe Photoshop CC
How to create a movie poster using Adobe Mobile
Create an art inspired by Vincent van Gogh
and MANY more!
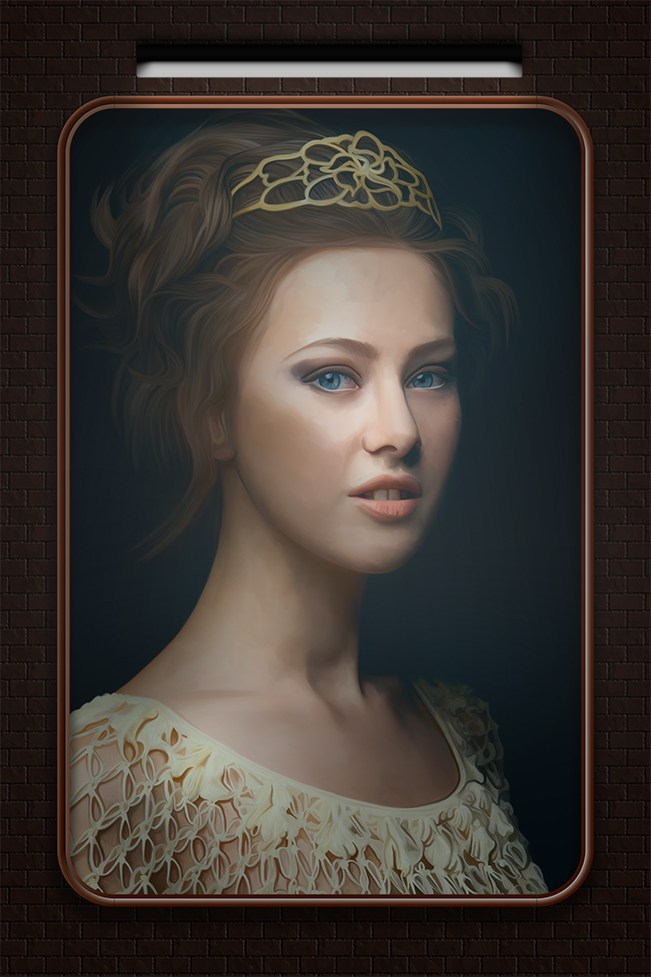
How to add a sunset effect in Adobe Photoshop
I took this picture few year ago in NYC using my iPhone

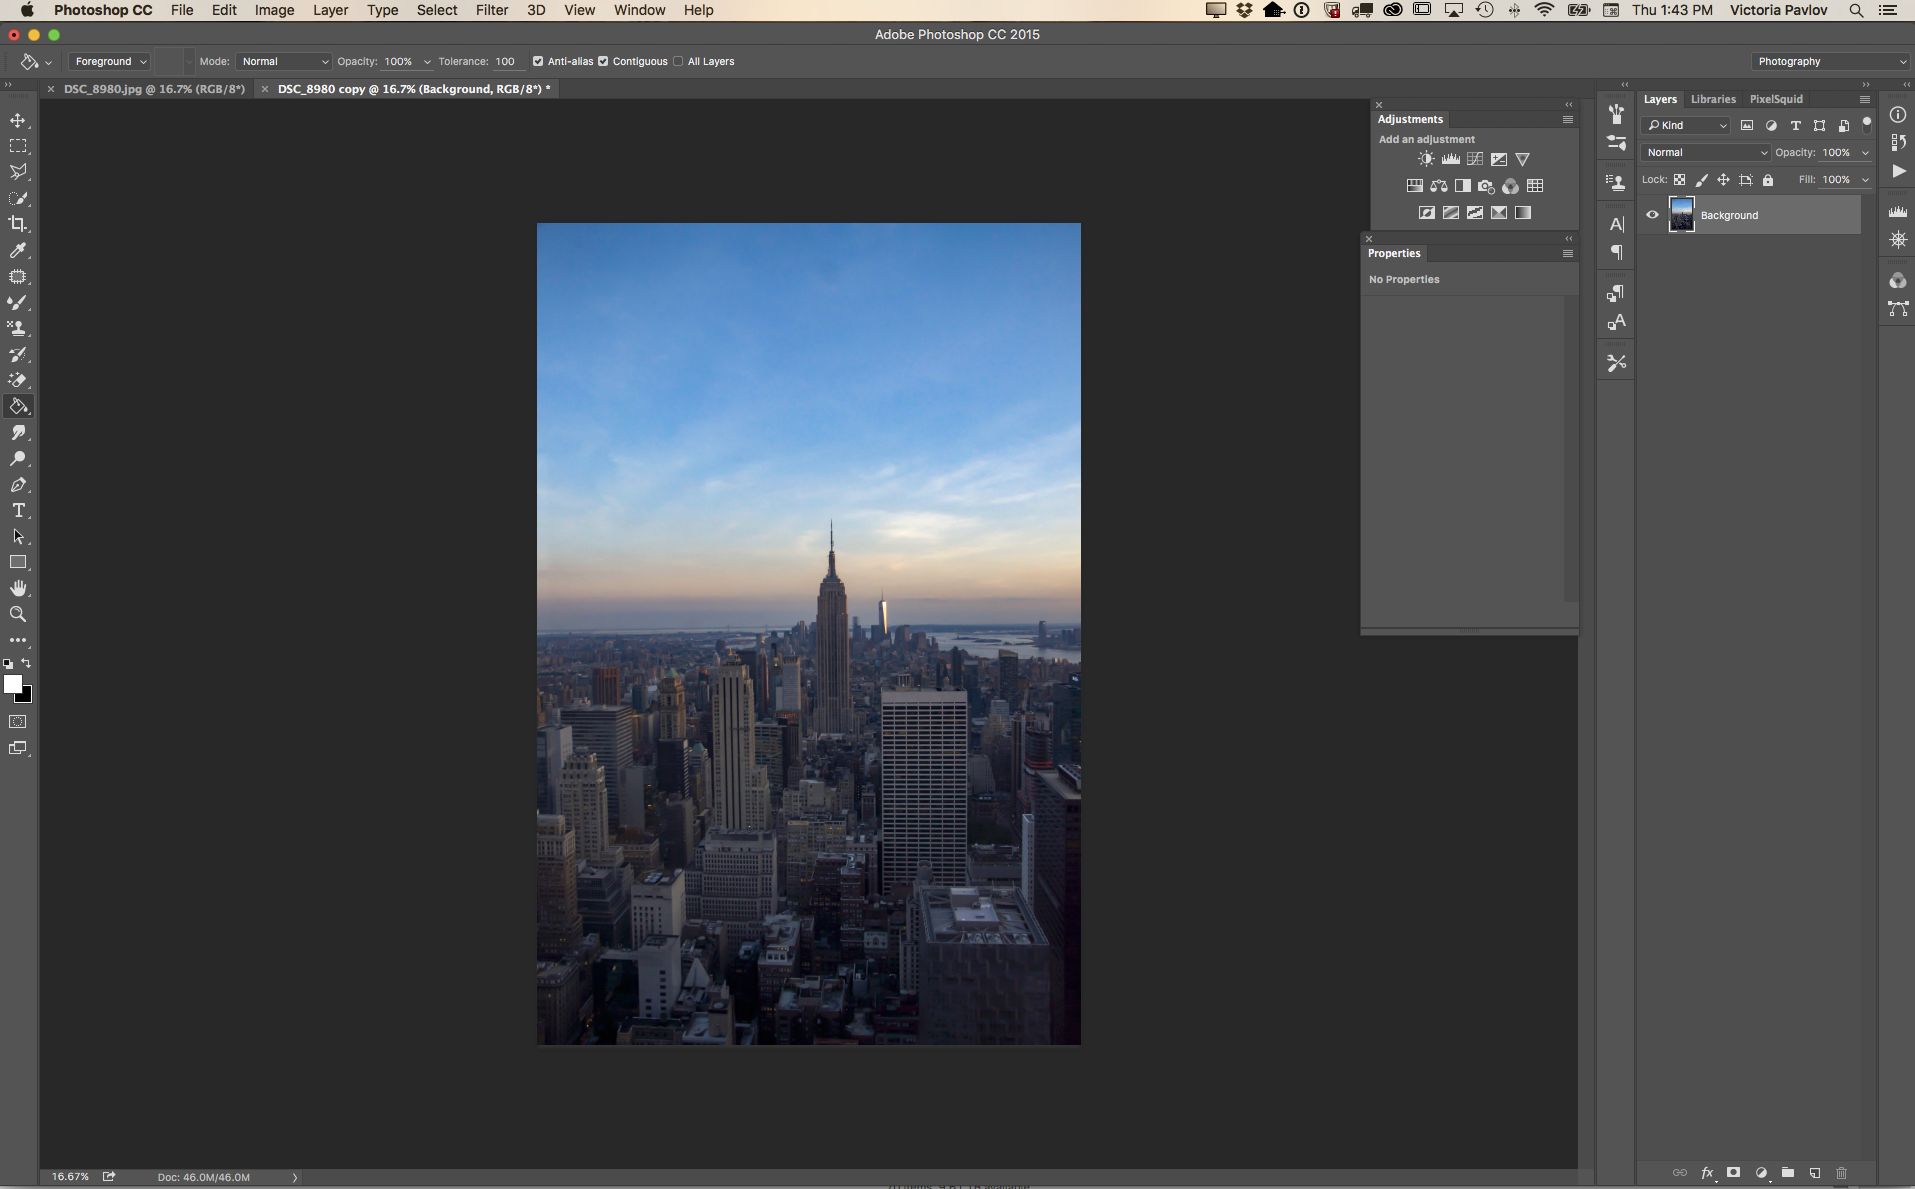
The above image was taken in the evening through a glass window with MANY PEOPLE around me so I did not have time to adjust my camera settings. Thanks to Adobe Photoshop I can improve my image (because I know how warm and beautiful the sunset looked and I want to make my photo looks as close to original condition as possible).
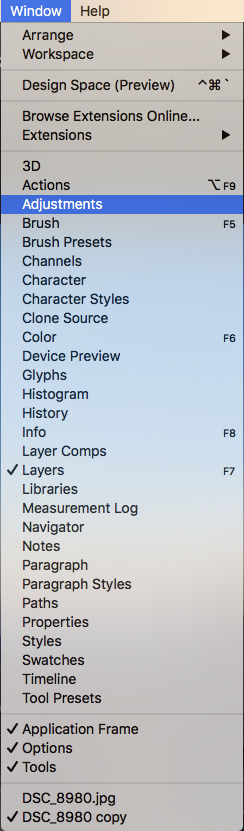
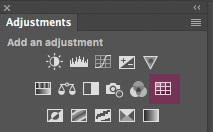
Window> Adjustments
Color Lookup > FallColors.look
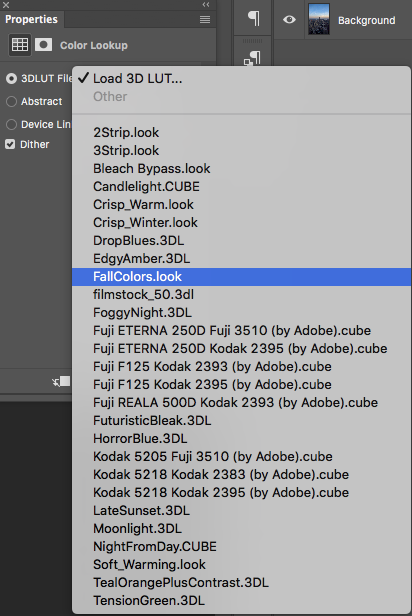

You can change the layer’s opacity (if needed)
My New Book “Digital Painting for Photographers in Adobe Photoshop CC “ on Amazon
My new book “Digital Painting for Photographers in Adobe Photoshop CC” at amazon kindle store
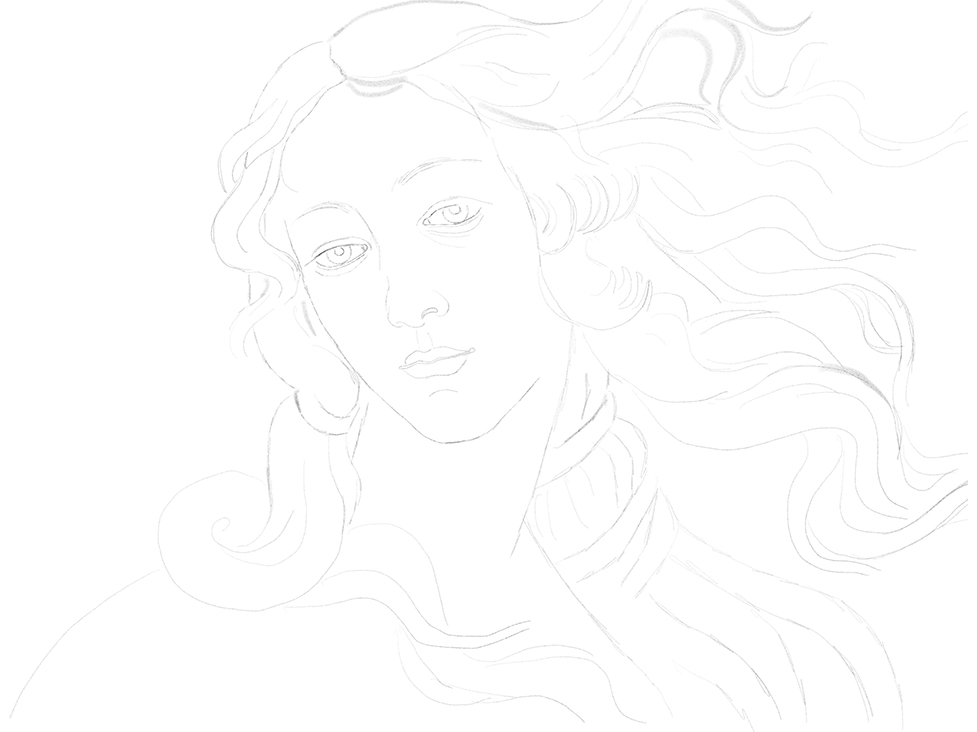
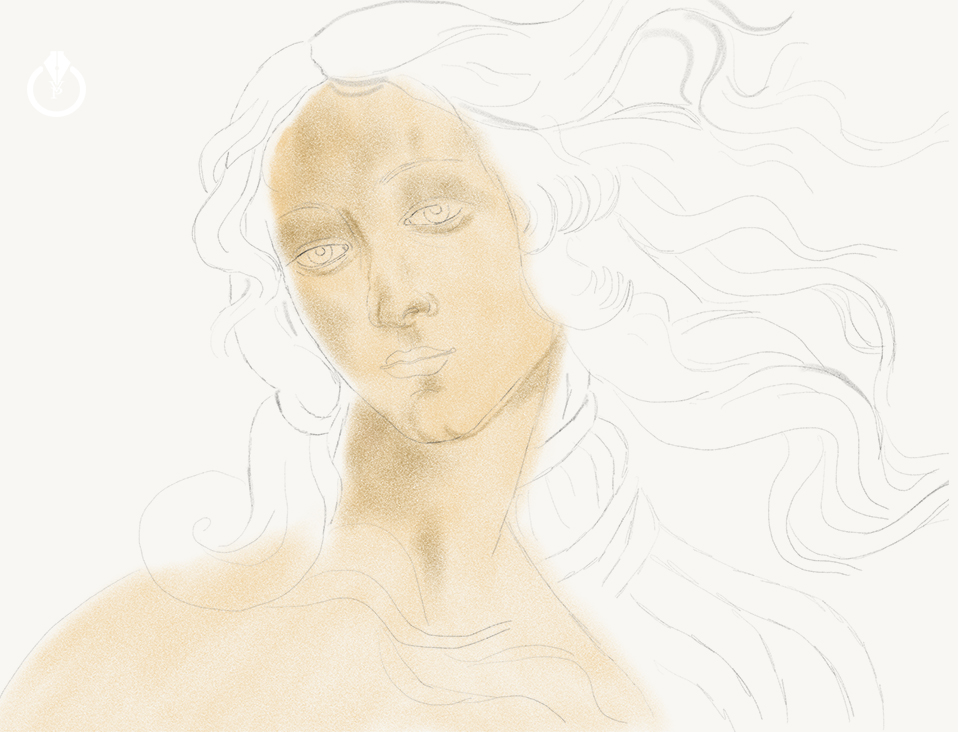
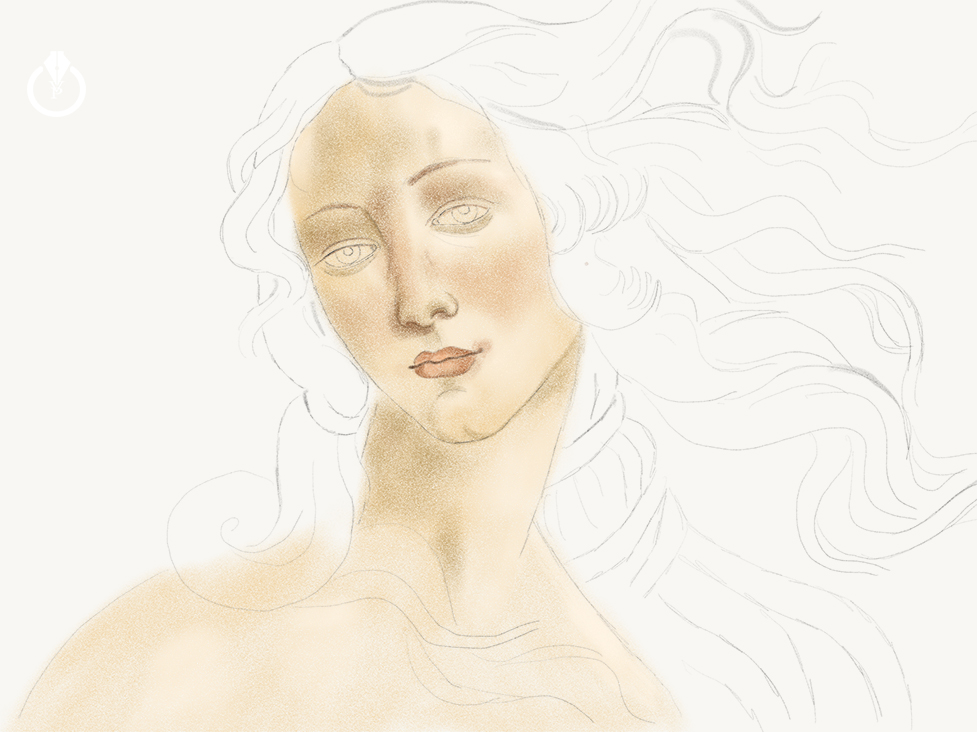
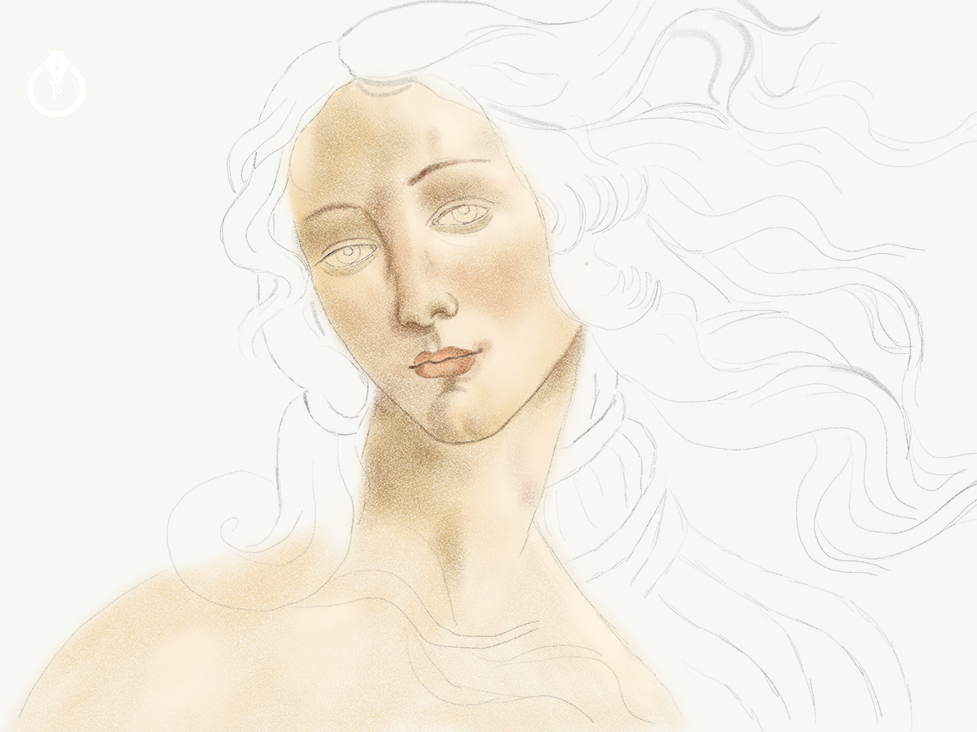
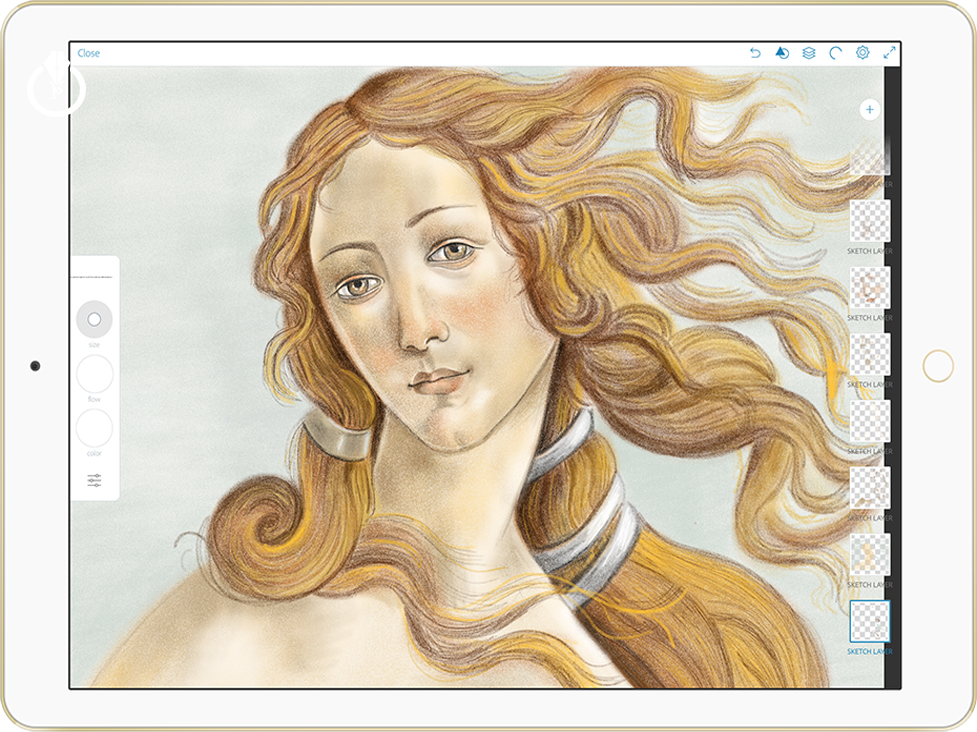
From earliest recorded time on earth people have been trying to express, capture, the moment, emotions, and their lifestyle. From century to century people developed new skills, new style bringing art to the next level…year by year, decade by decade, century by century.
We are lucky to live in the 21st century with all the available technology that gives us the possibility to combine different types or media from traditional methods of painting to photography and digital painting.
In this book we will discover beautiful the world of painting using digital technology such as Photography

Non destructive cropping in Adobe Photoshop CC
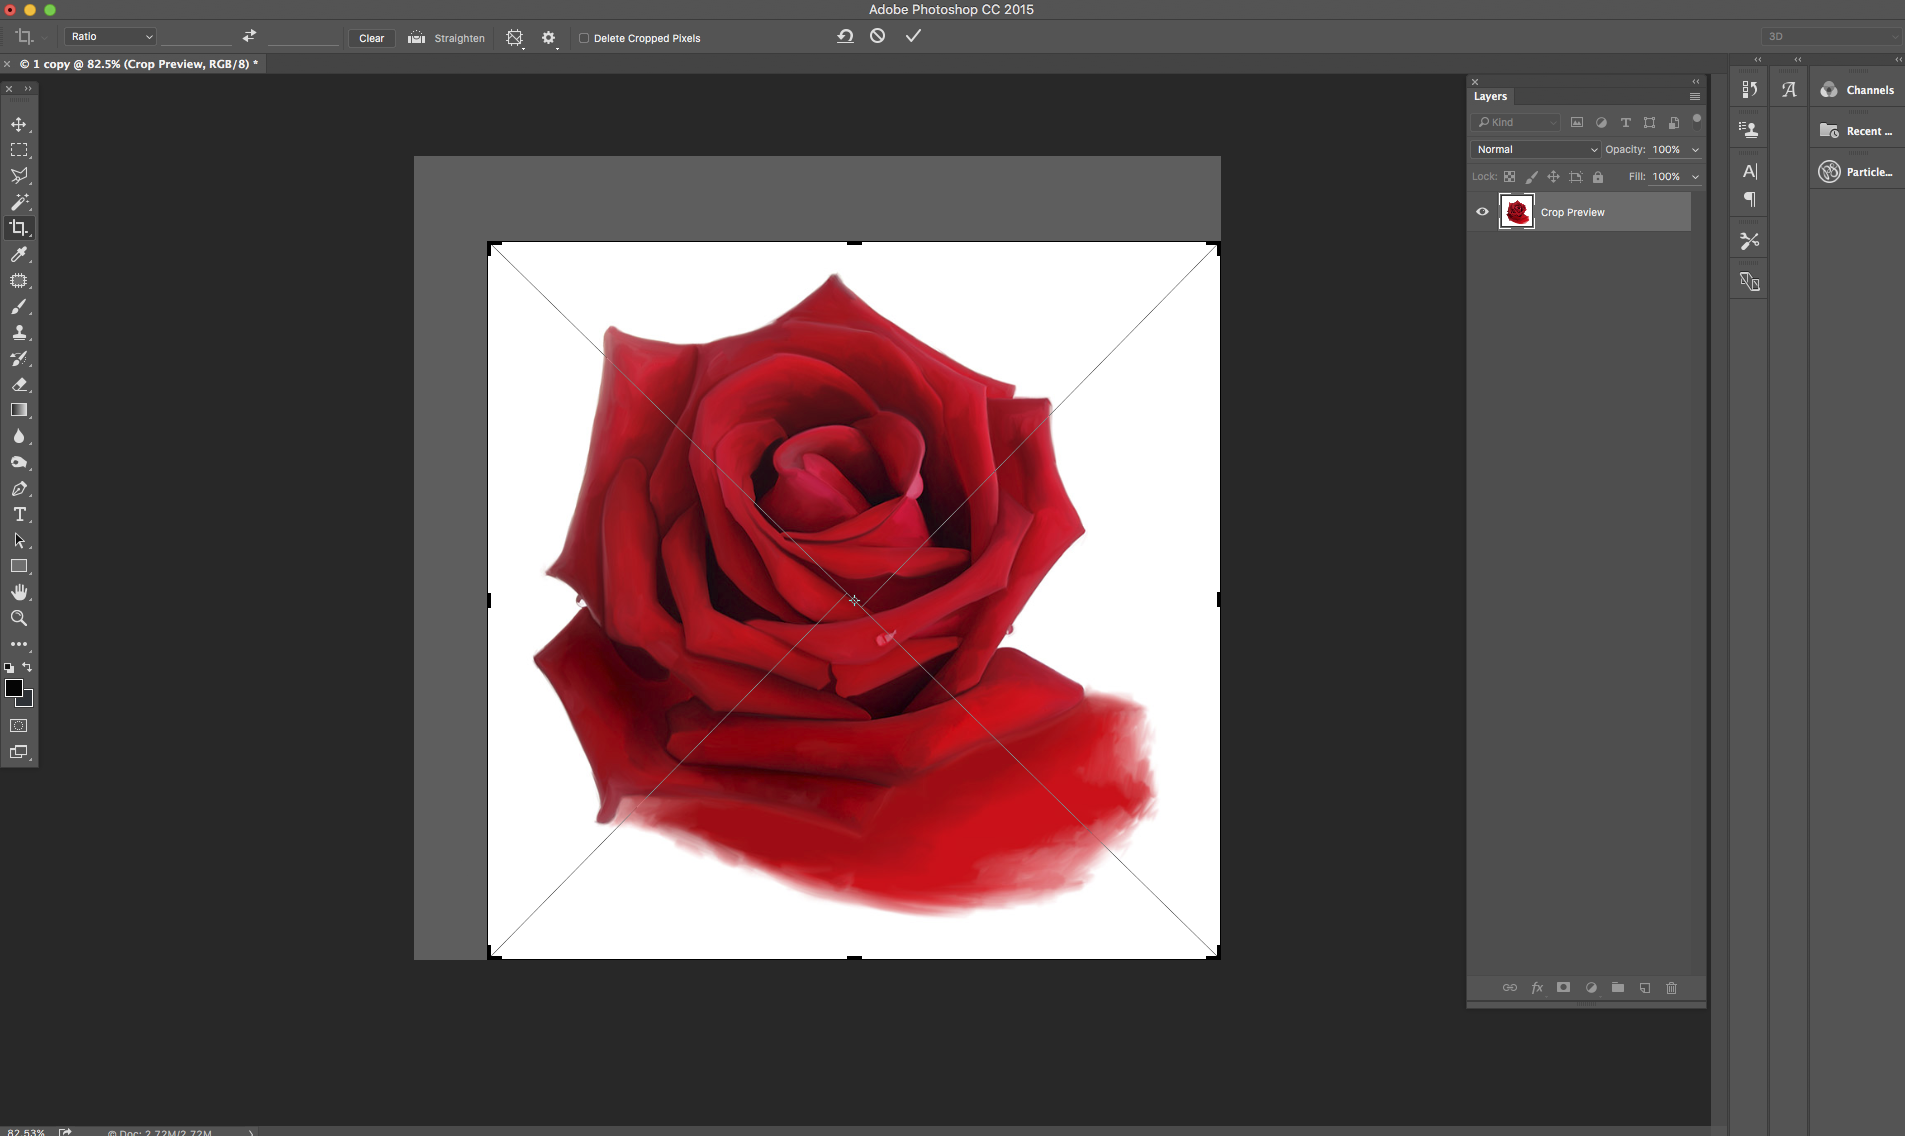
The most beautiful advantage of digital imaging is ability do apply changes in non destructive way. And we users are very appreciative and happy to see more and more non destructive options in our workflow. The Crop tool is one of them. Now I can crop any document anyway that I want to, in a NON DESTRUCTIVE way! How? it’s easy as one click.
√ Uncheck “Delete Cropped Pixels”
![]()
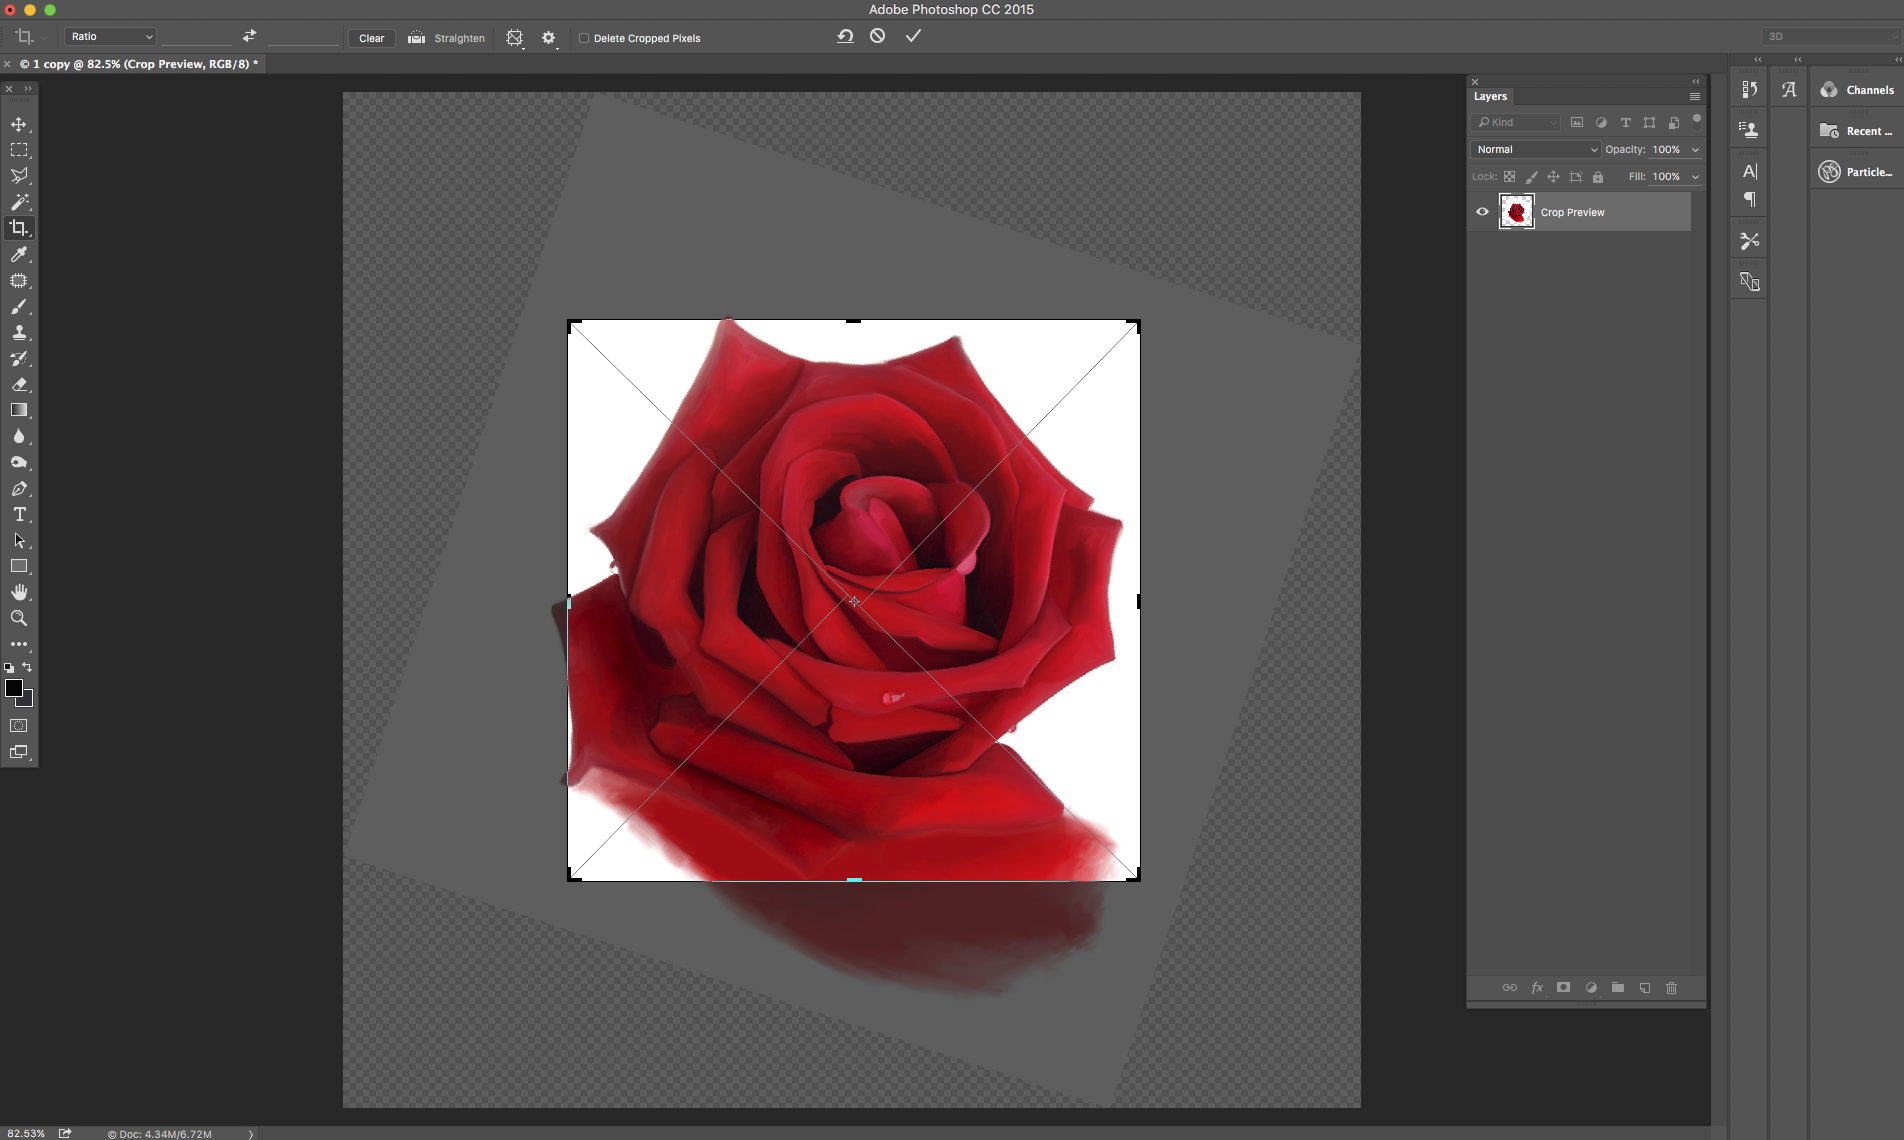
∴ Extra Tip ∴ To make sure that your image inside the cropping area is alined straight or you want to rotate this area simply click on “Straighten”
![]()
Join me LIVE on Twitch every Monday, Wednesday and Thursday at 9AM ET.
I would love to hear feedback from you.
If you would like to leave a comment or testimonial, please fill out the form in chance to win 30 minutes one-on-one online training with me.
Three of my favorite (along with many others 🙂 ) options to speed up my workflow in Adobe Photoshop CC.
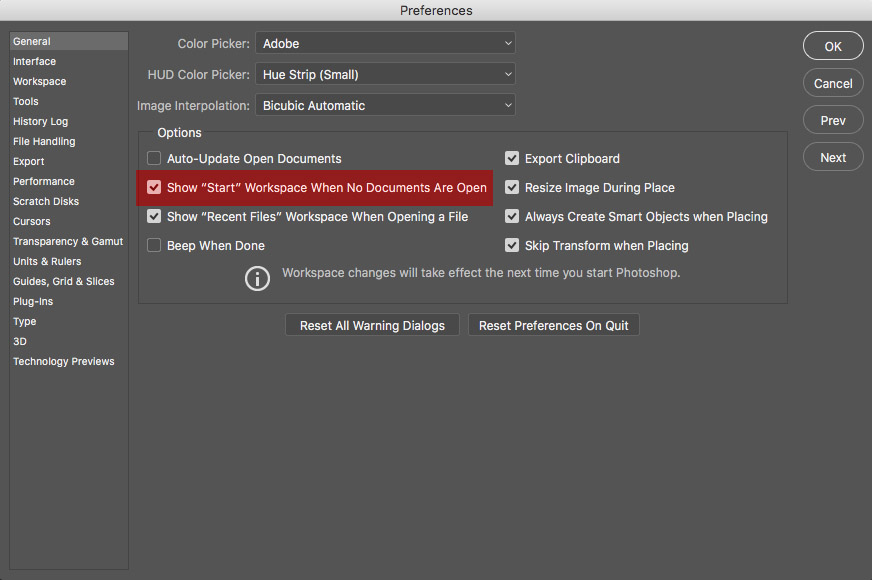
1: Show “Start” Workspace When No Documents Are Open
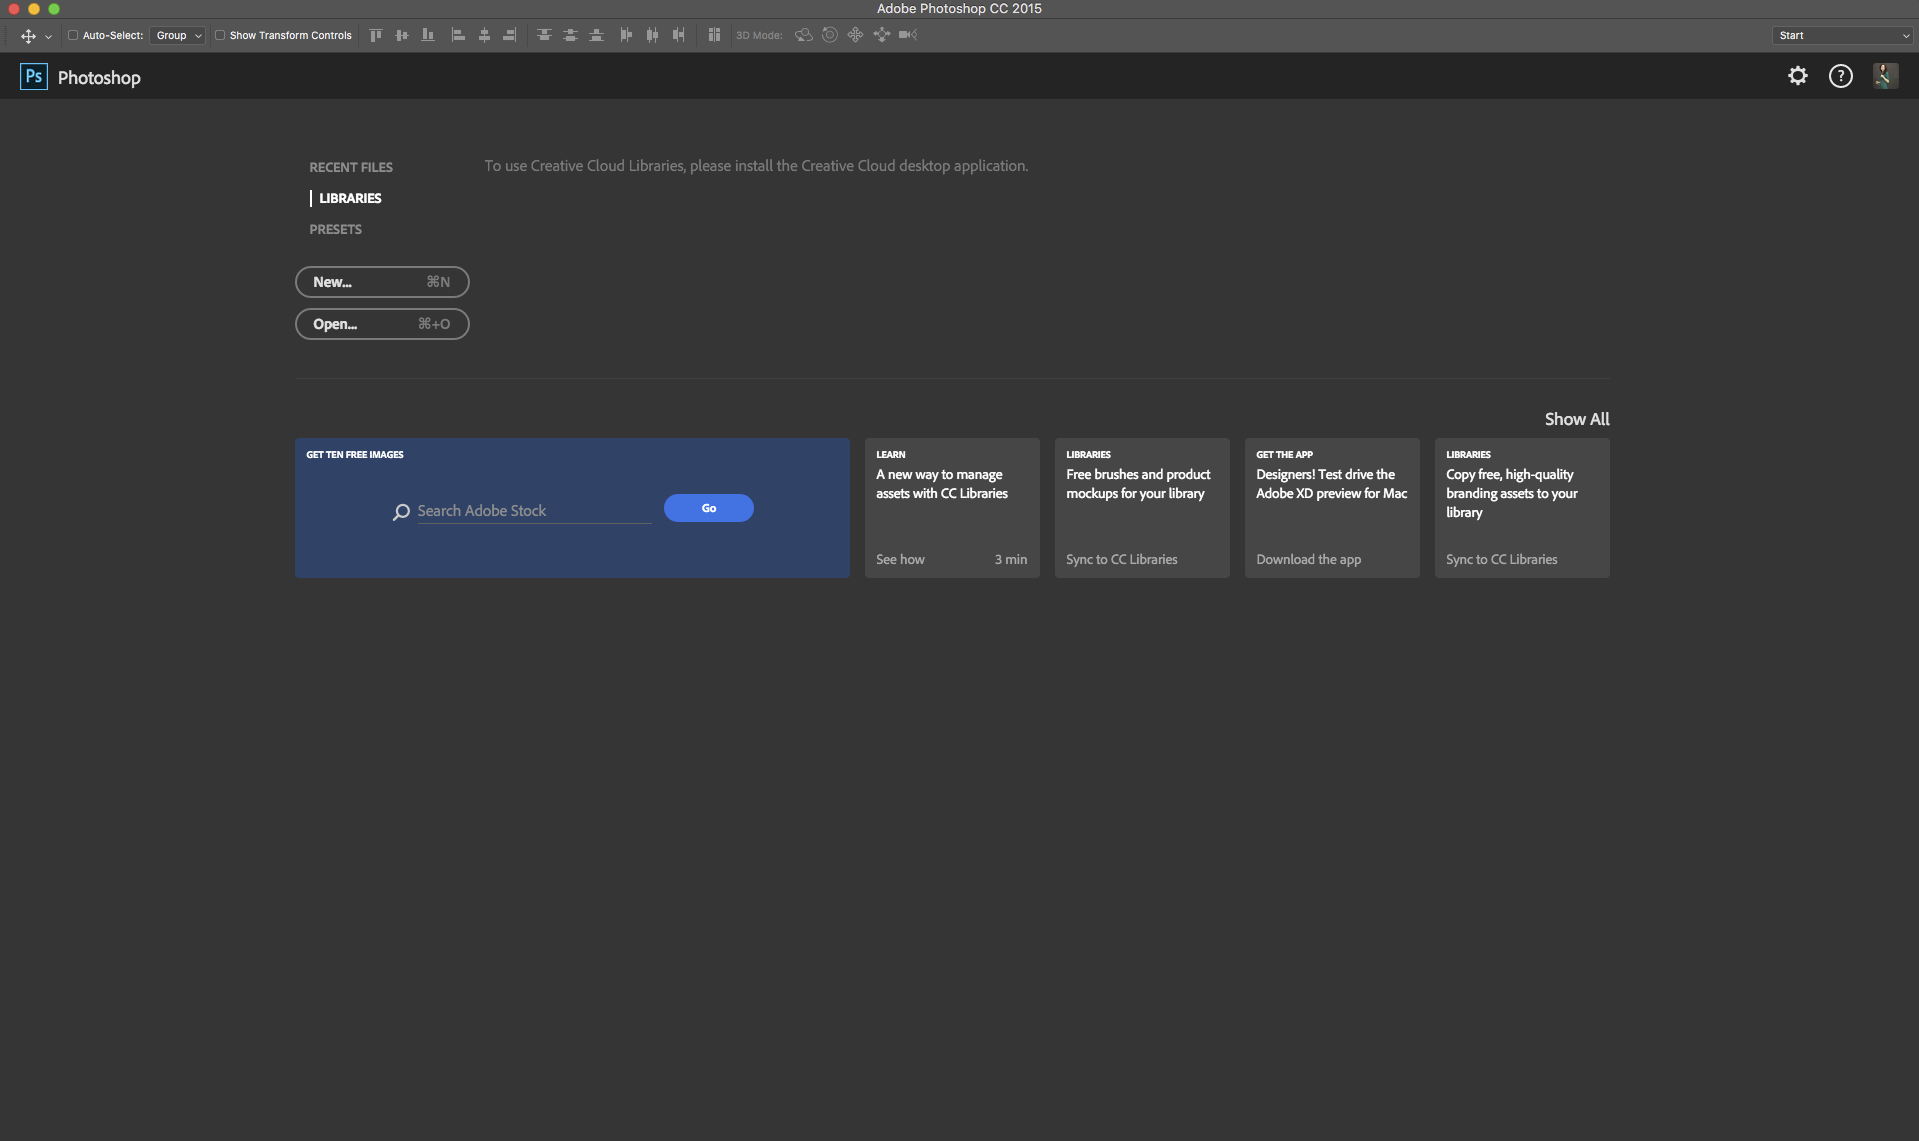
Using this option I can access my Libraries, Presets, and open my Recent Files in no time. It’s quick and easy.
If for some reason you don’t need or want to have “Start” Workspace you can uncheck ” Show “Start” Workspace When No Documents Are Open” : PREFERENCES > GENERAL
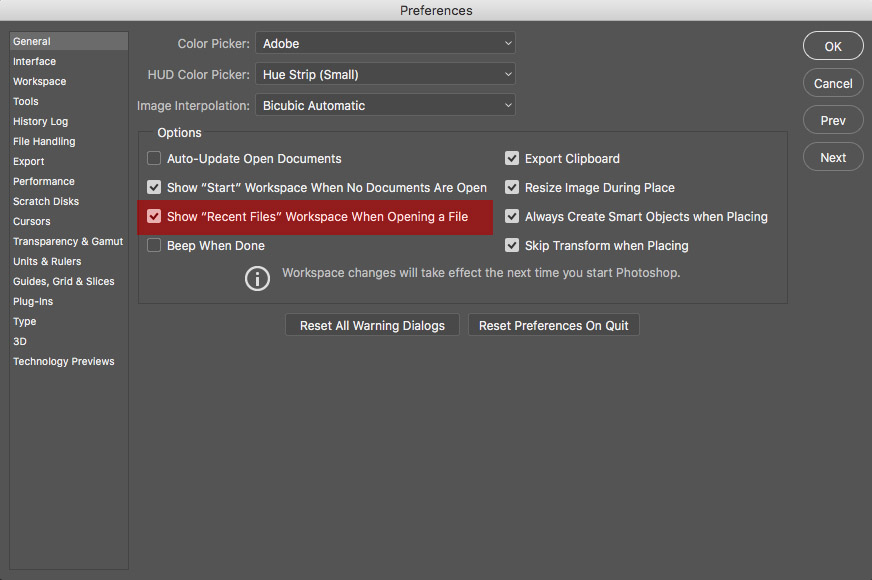
2: Recent Files in “Start” Workspace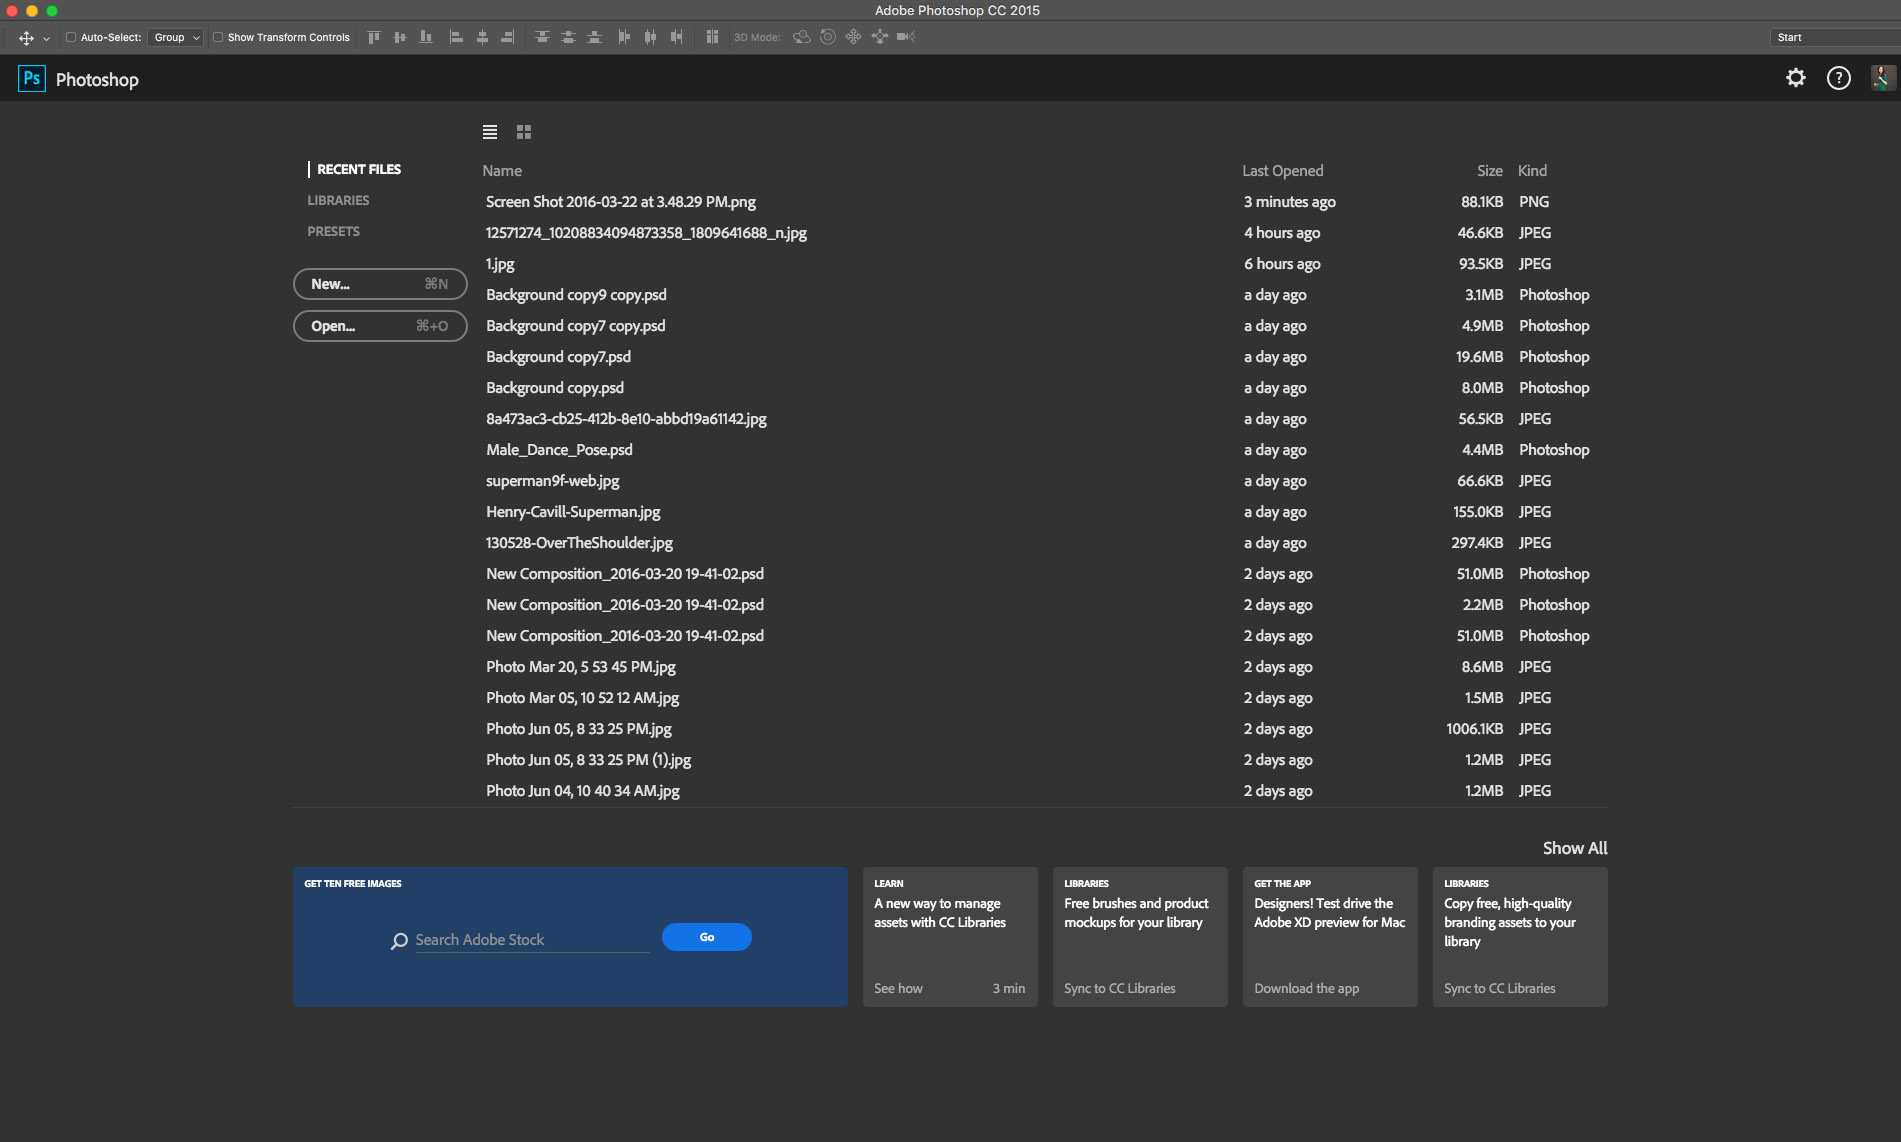
I can open my recent files with just in one click! No more asking myself ” What was the file I was working on yesterday or the day before yesterday? And what did I name it and and where did I save it?
If for some reason you don’t need or want to have “Recent Files” you can uncheck ” Show “Recent Files” Workspace When Opening a File” : PREFERENCES > GENERAL
3: Always Create Smart Objets when Placing
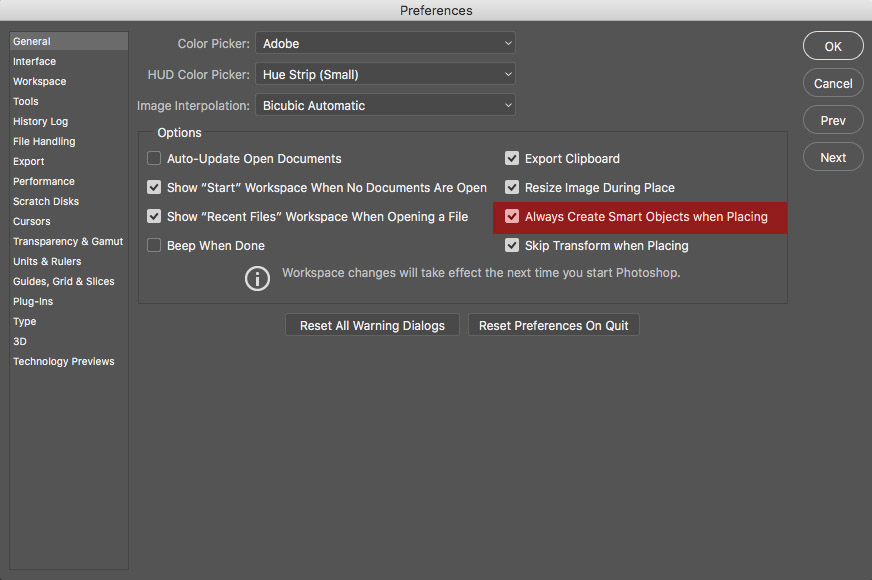
Using this option I don’t worry any more about remembering to convert my layer to a Smart Object to avoid loosing my layer’s image quality because of resizing my image size down/up.
If for some reason you don’t need or want to have this option you can uncheck “Always Create Smart Objects when Placing” : PREFERENCES > GENERAL

 and
and 


 using
using 
 and
and 

 – Adobe Photoshop CC and Wacom Cintiq