My Black Panther fan art painted in Adobe Photoshop CC with Wacom Cintiq


My Black Panther fan art painted in Adobe Photoshop CC with Wacom Cintiq
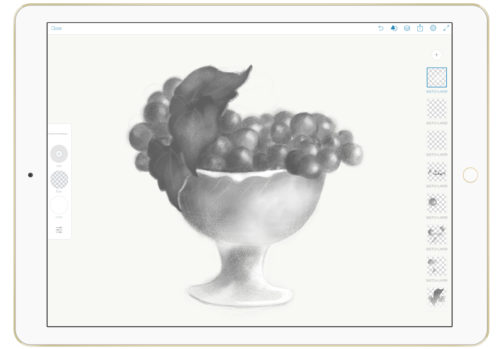
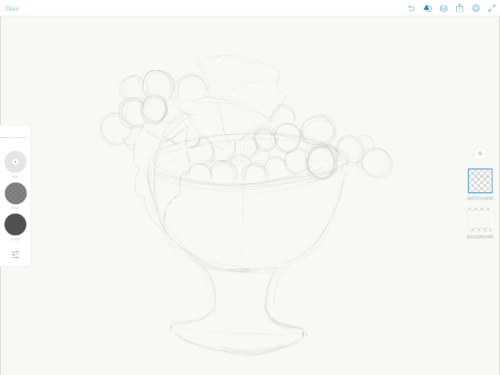
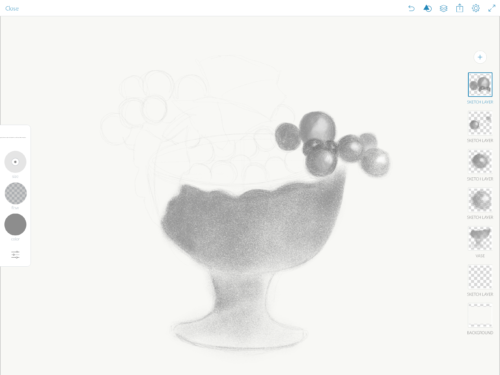
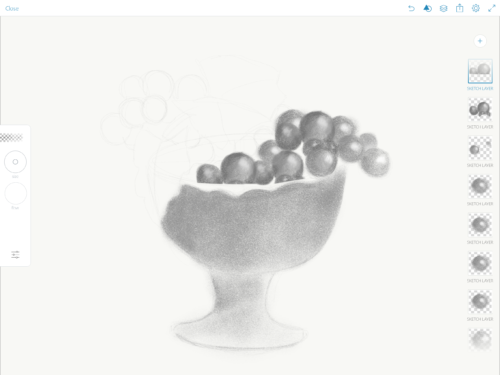
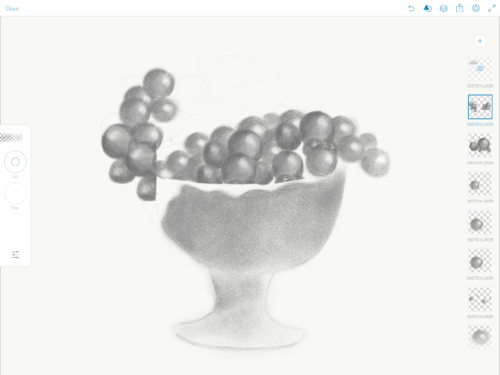
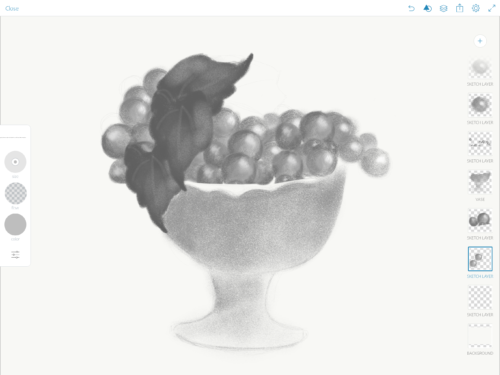
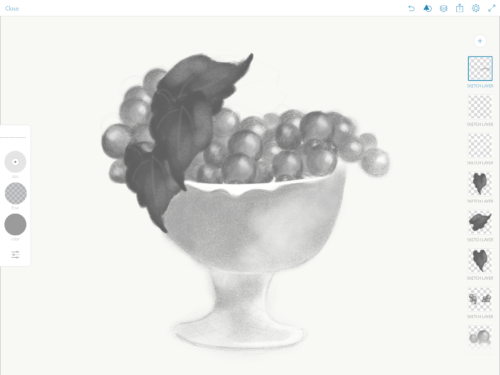
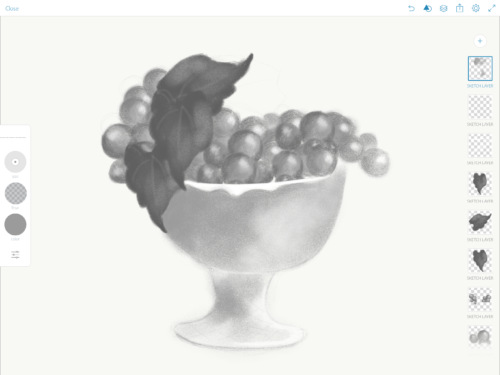
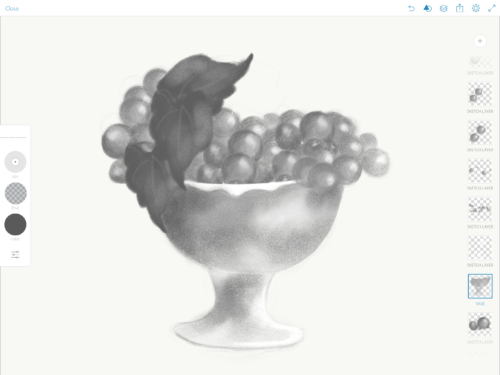
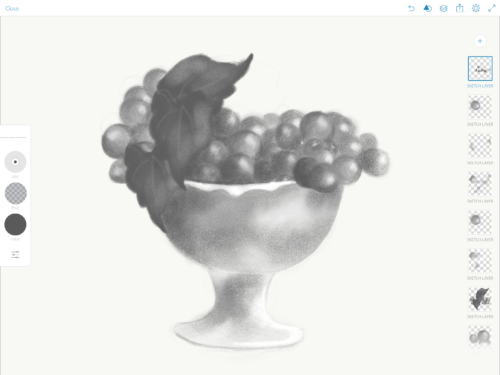
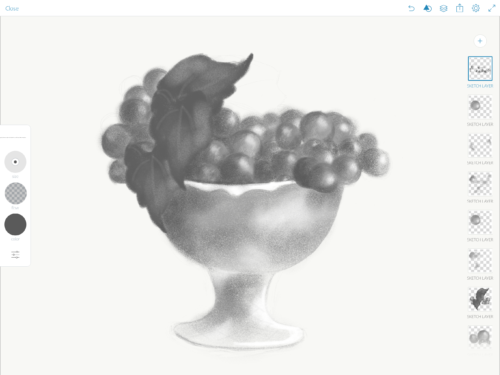
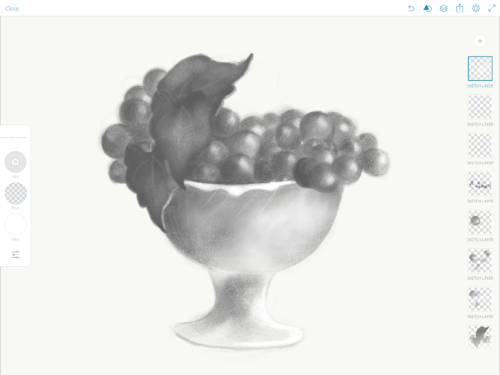
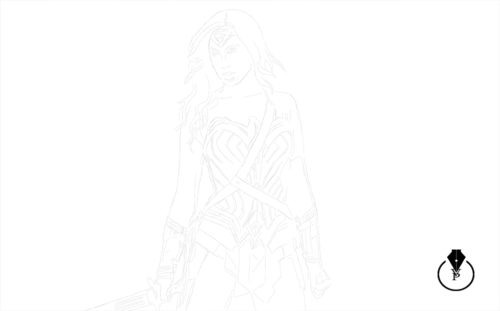
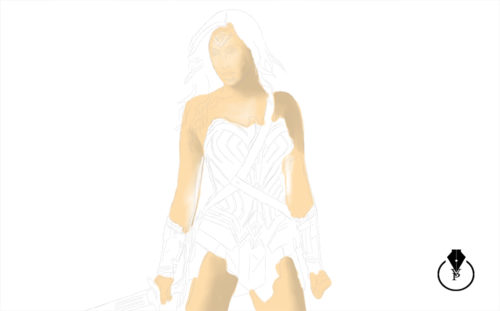
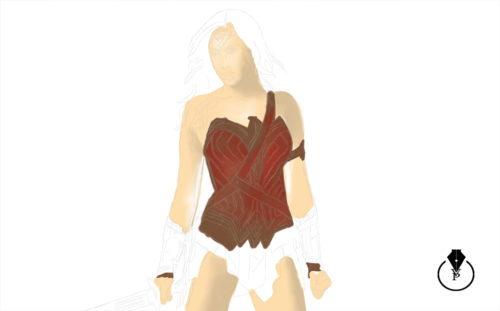
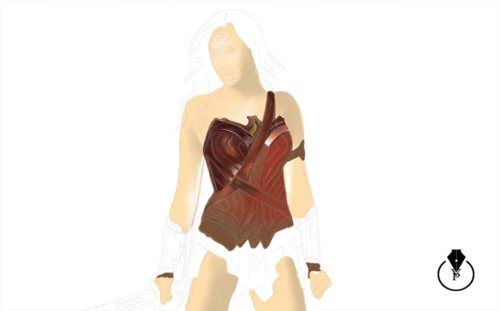
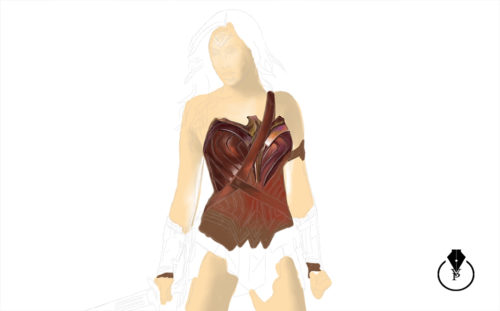
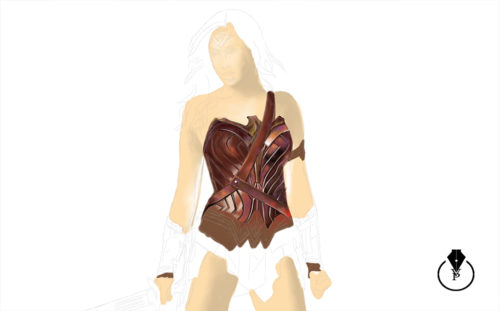
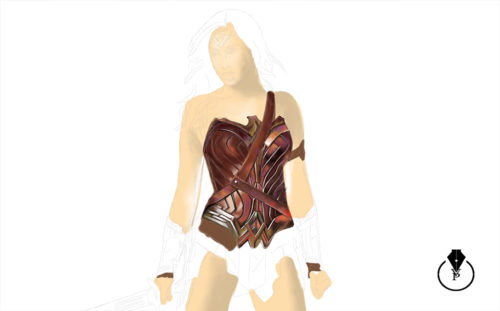
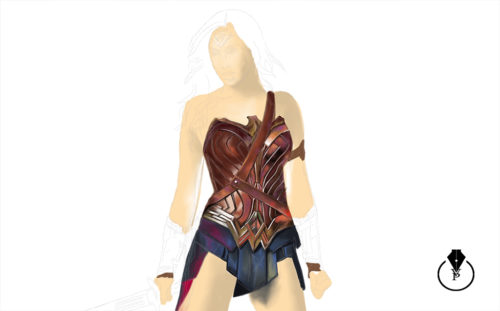
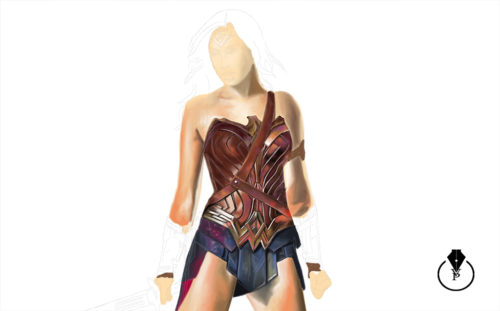
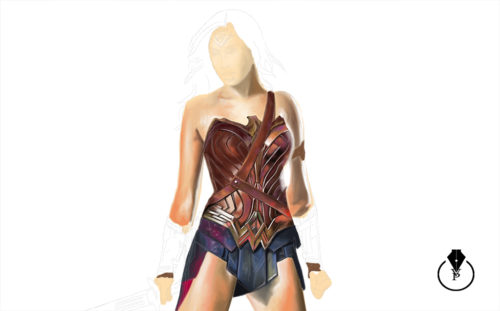
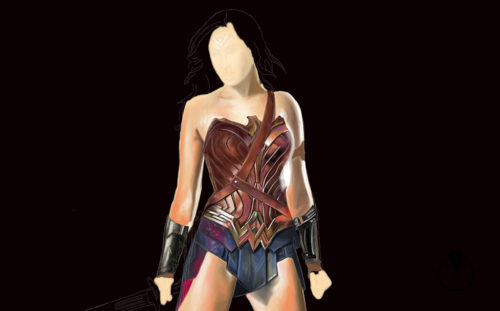
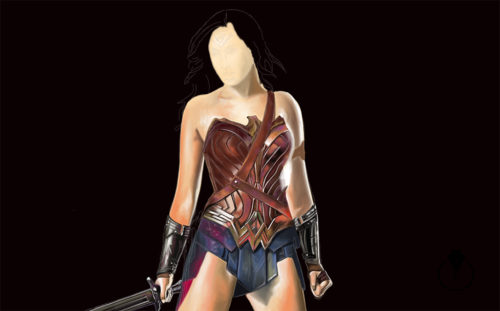
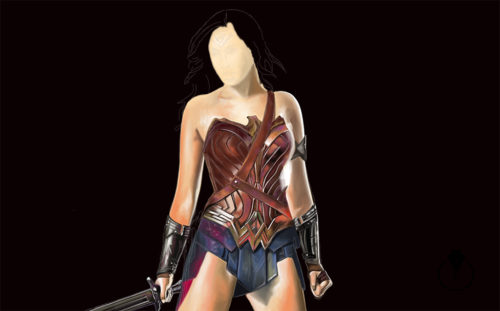
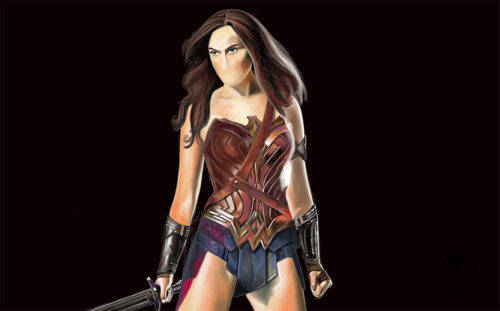
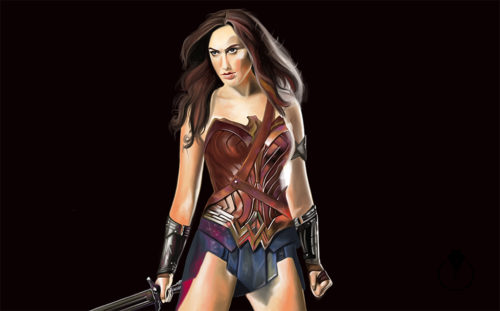
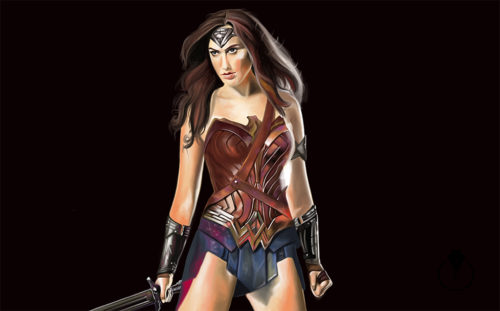
My latest painting in Adobe Photoshop CC with Wacom Cintiq
step-by-step

My Books:
Digital Painting for Photographers in Adobe Photoshop CC
The Adobe Mobile Apps Book
101 Photoshop Hidden Gems and Tips & Tricks
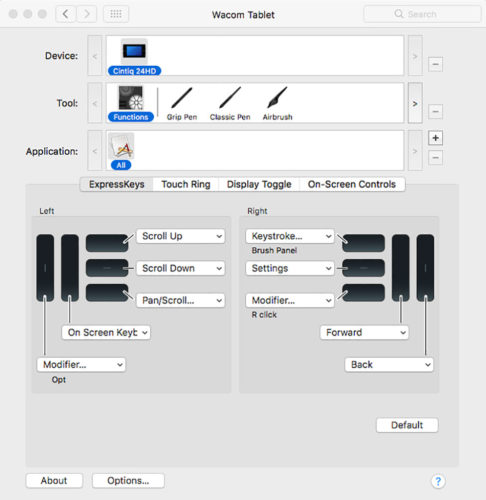
My Wacom Cintiq Tablet Preferences.
Many of you have asked me to share my Wacom tablet preferences. In this blog I will share my preferences for my main Wacom, Cintiq 24HD.
Wacom Cintiq.
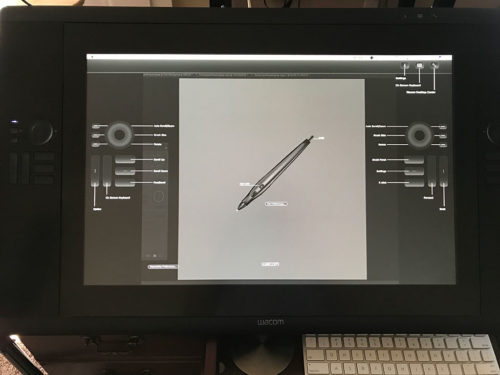
I am using a Wacom Cintiq 24HD
I set up my preferences for easy access to the tools I use the most. These preferences help me to be more productive and speed up my workflow.
The Left Wheel:
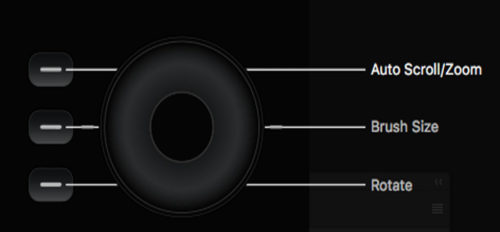
I use the left wheel to Zoom In/Out my canvas. This option is very helpful in my painting and retouching workflow. With any selected/active tool I easily can zoom in/out my canvas without changing the active tool.
The Right Wheel:
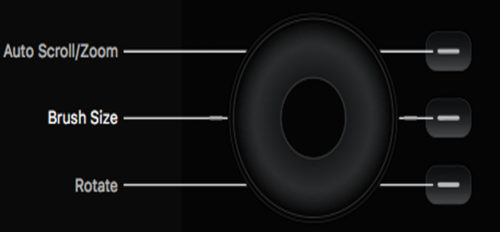
I use the right wheel to increase/decrease the brush size. This method of brush size adjusting just perfect to my painting and masking workflow.
The Left ExpressKeys:
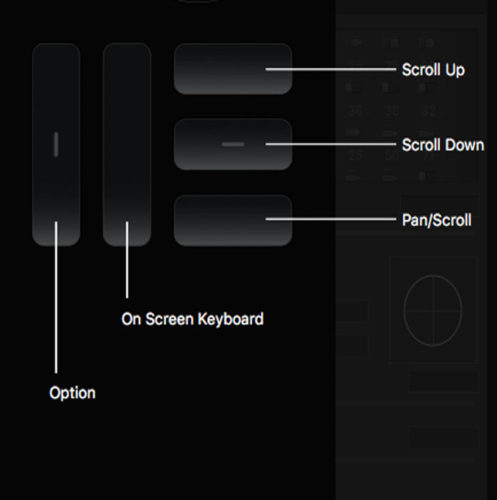
From the left to the right:
Modifier: Opt key
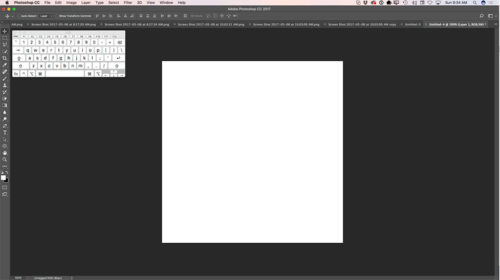
On Screen Keyboard (I use this option during my live stream or presentation to show my audience which key(s) I am currently pressing.
Scroll Up: Scroll the document up without changing the currently active tool
Scroll Down: Scroll the document down without changing currently active tool
Pan/Scroll: Scroll the document using Hand Tool without changing currently active tool (super helpful in my painting and masking workflow)
The Right ExpressKeys:
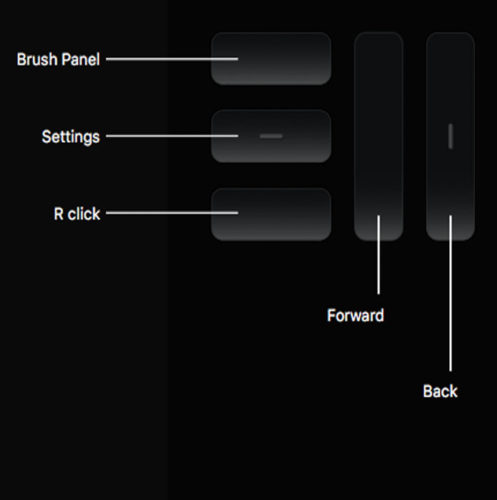
From the right to the left:
Back: Move the active layer down without changing currently active tool
Forward: Move the active layer up without changing currently active tool
Brush Panel: Activating the brush panel
Setting: Opening the current Wacom Cintiq Settings
Right Click: Activating Right Click
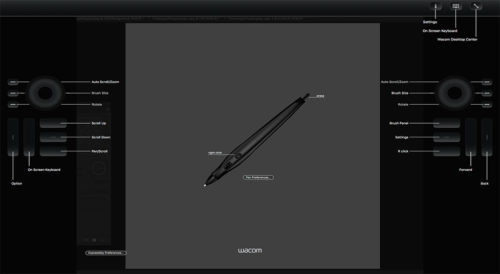
Wacom Pen Setting:
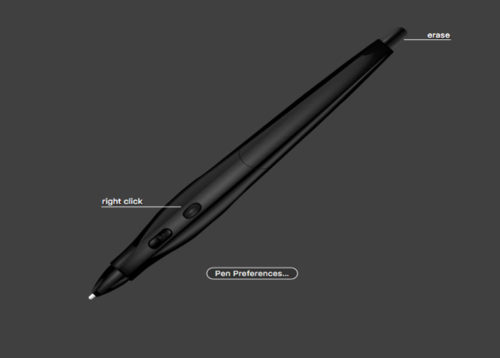
I am using a Wacom Airbrush Pen with the setting I’ve attached below

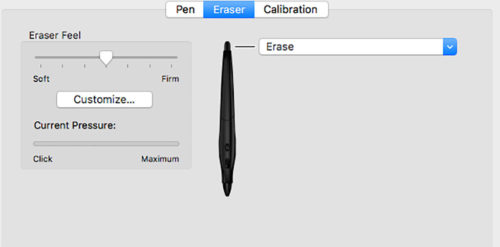
P.S. With the Wacom Airbrush Pen workflow make sure that you have checked the “Transfer” box and switched to “Stylus Wheel” Control from Control Drop Down menus. It will help you to use in maximum power of Airbrush Pen.
My Books
My Online Training
My YouTube
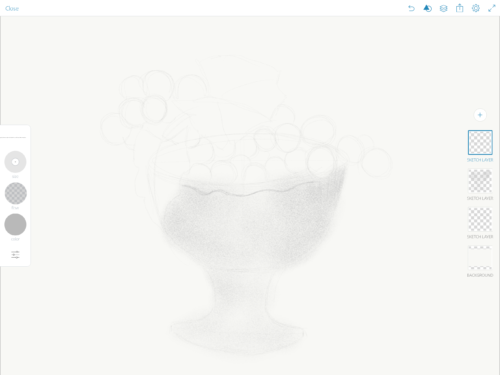
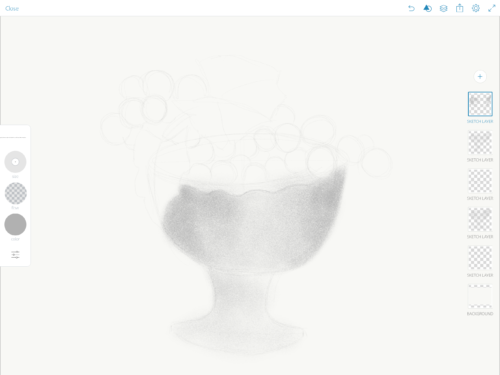
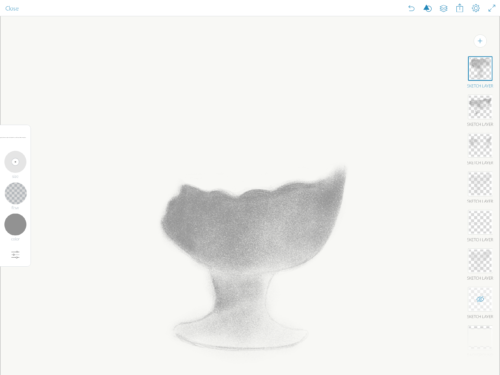
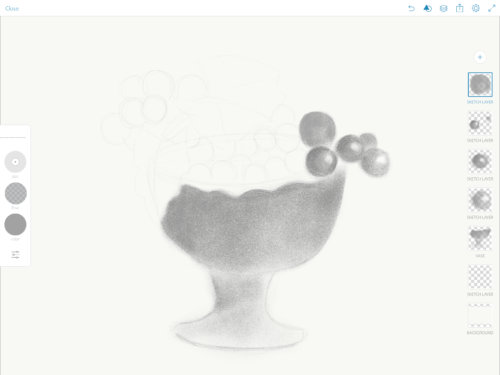
Digital Painting in Adobe Photoshop Sketch with iPad Pro
Apple Pencil

Digital Painting in Adobe Photoshop CC
My ebook on Amazon
Digital Painting for Photographers in Adobe Photoshop CC
The Adobe Mobile Apps
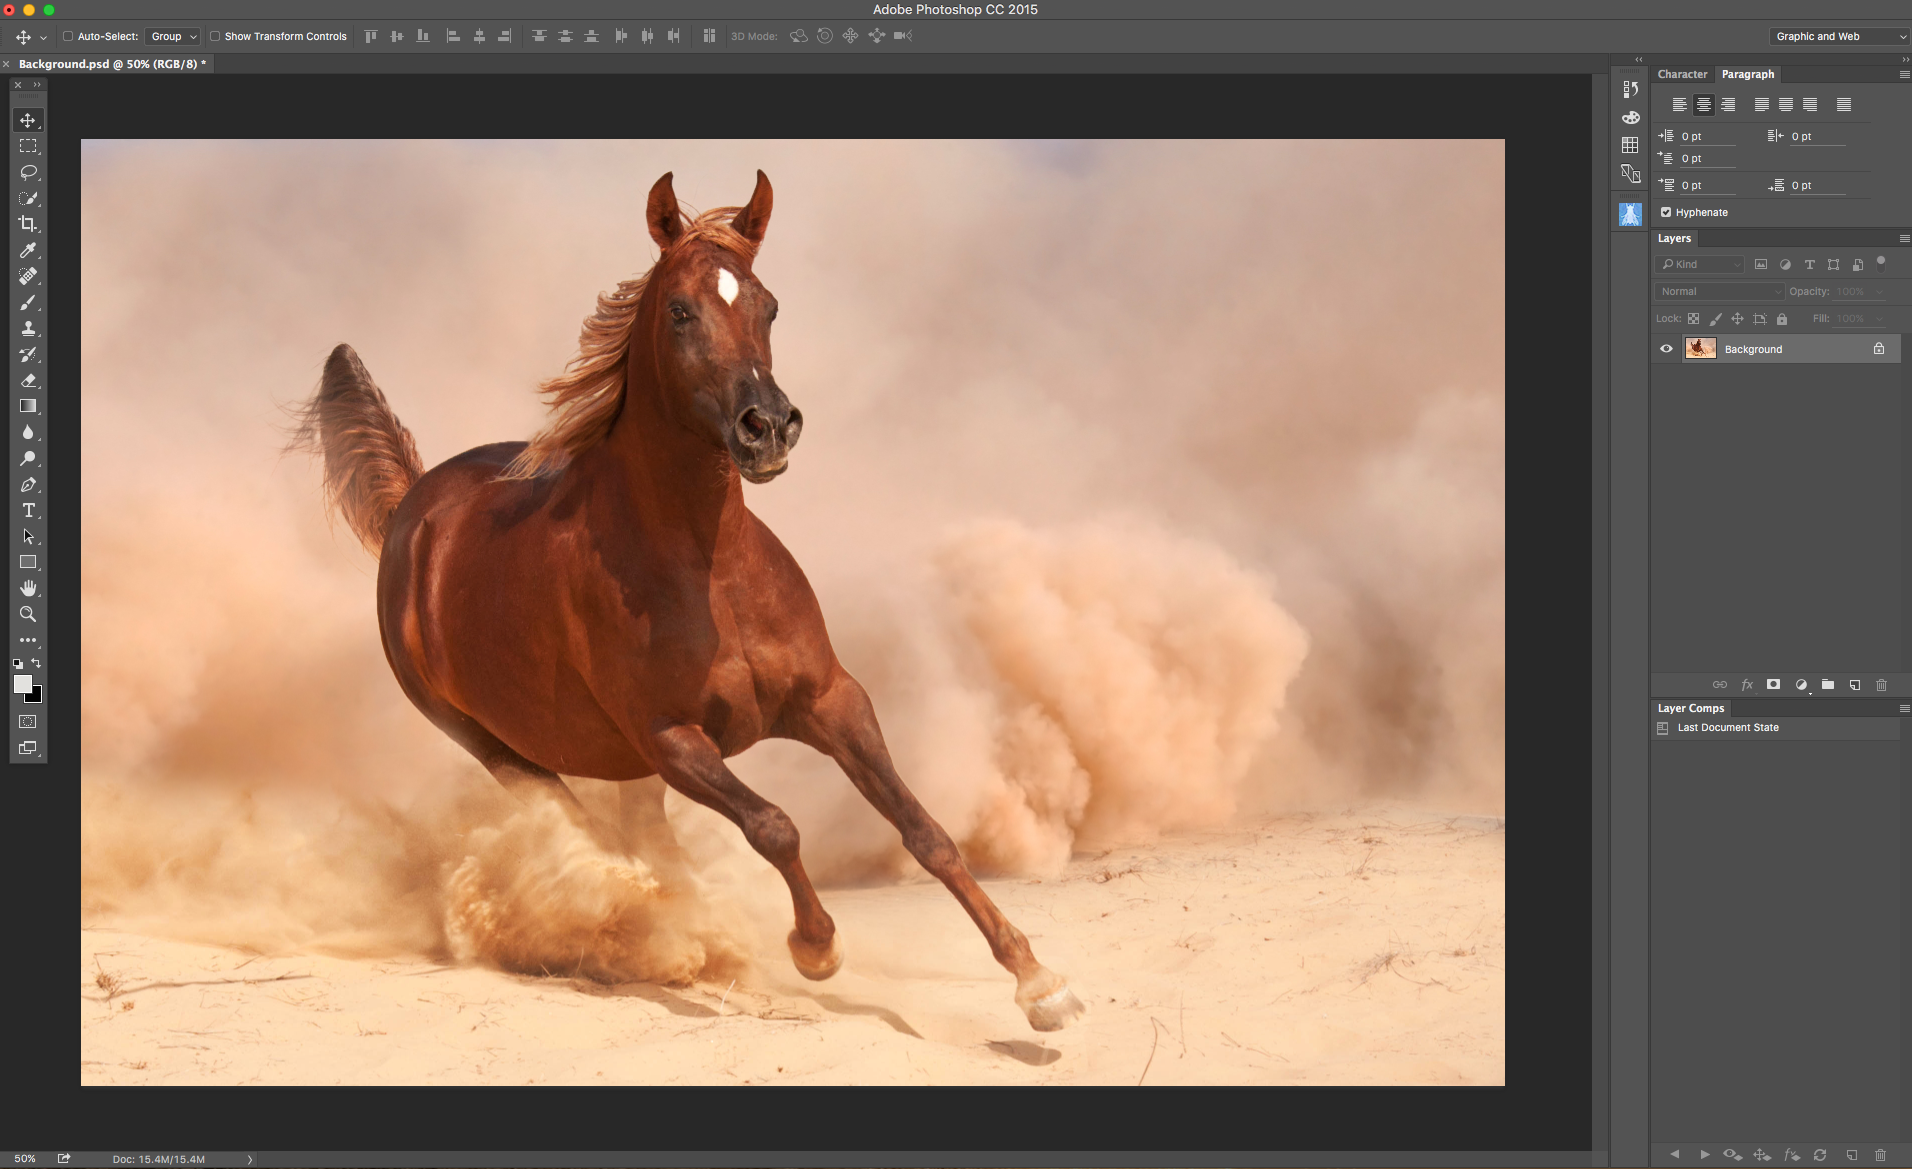
How to composite images using layers, Adobe Stock images, and Wacom

Here’s how to convert your photo into a black and white in one very effective step:
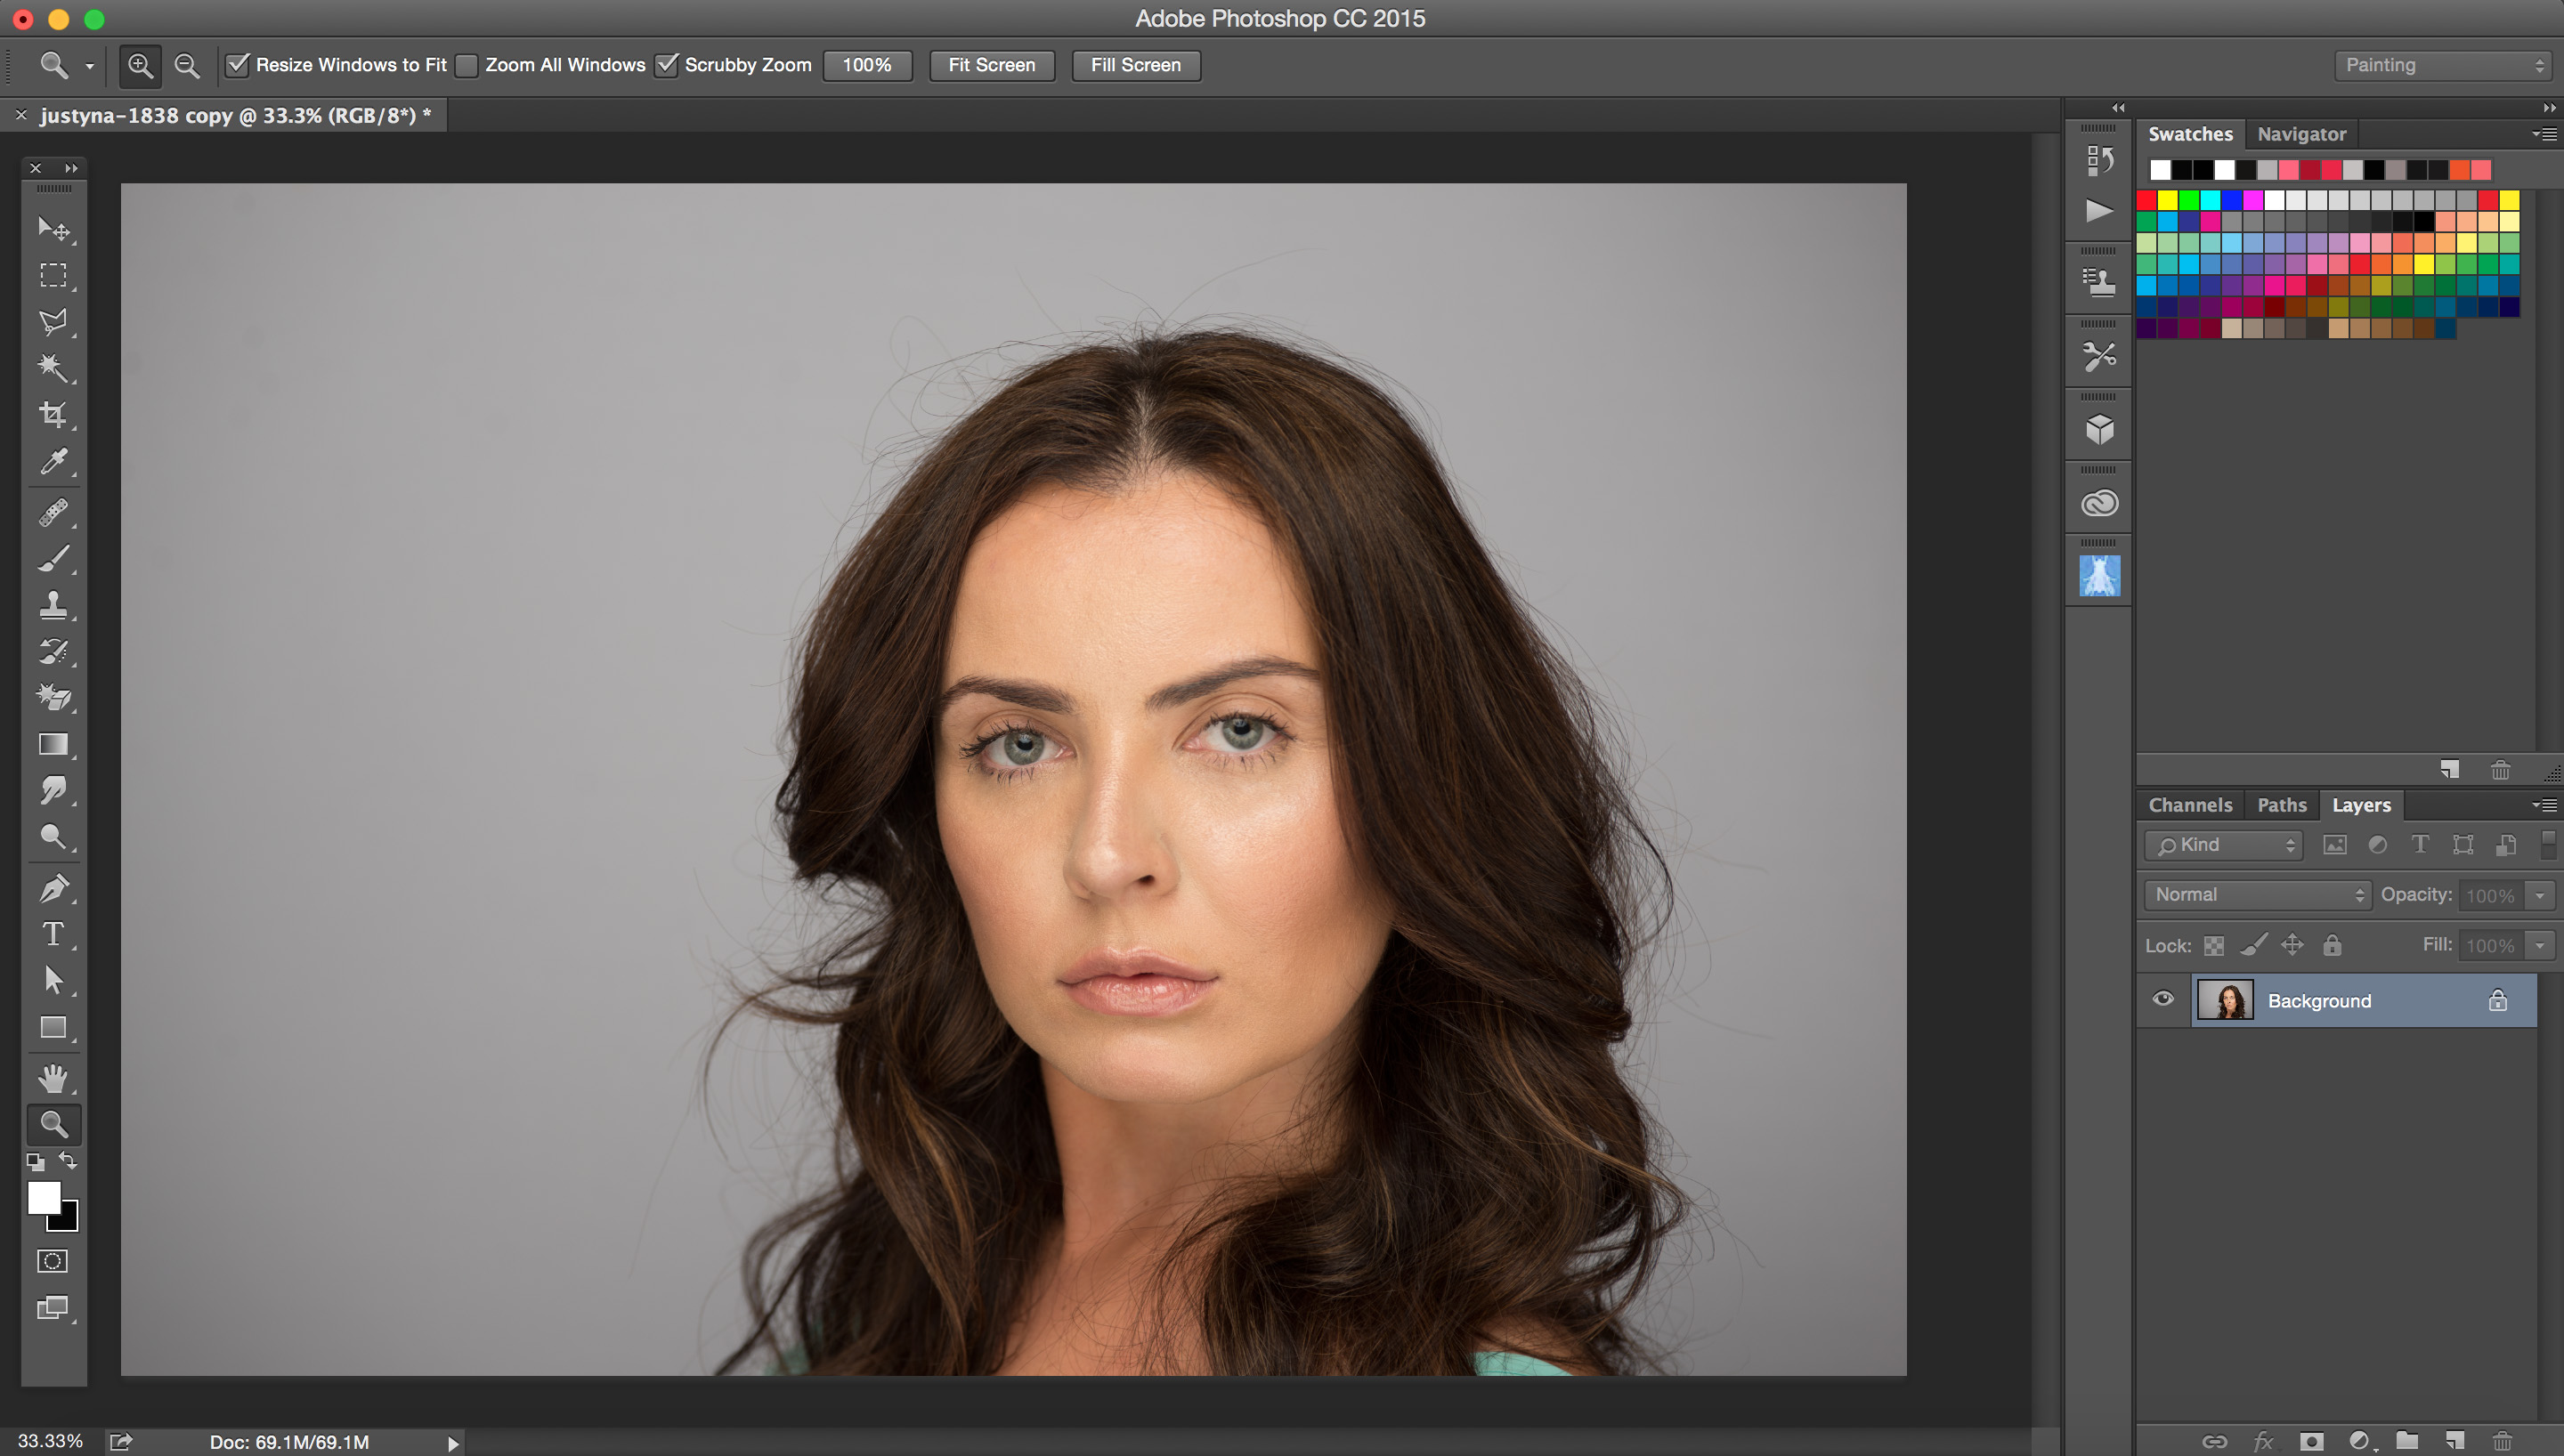
1: Open the image you want to work with in Photoshop.
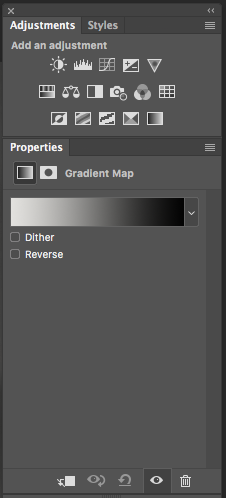
2: Choose Window > Adjustments > Gradient Map
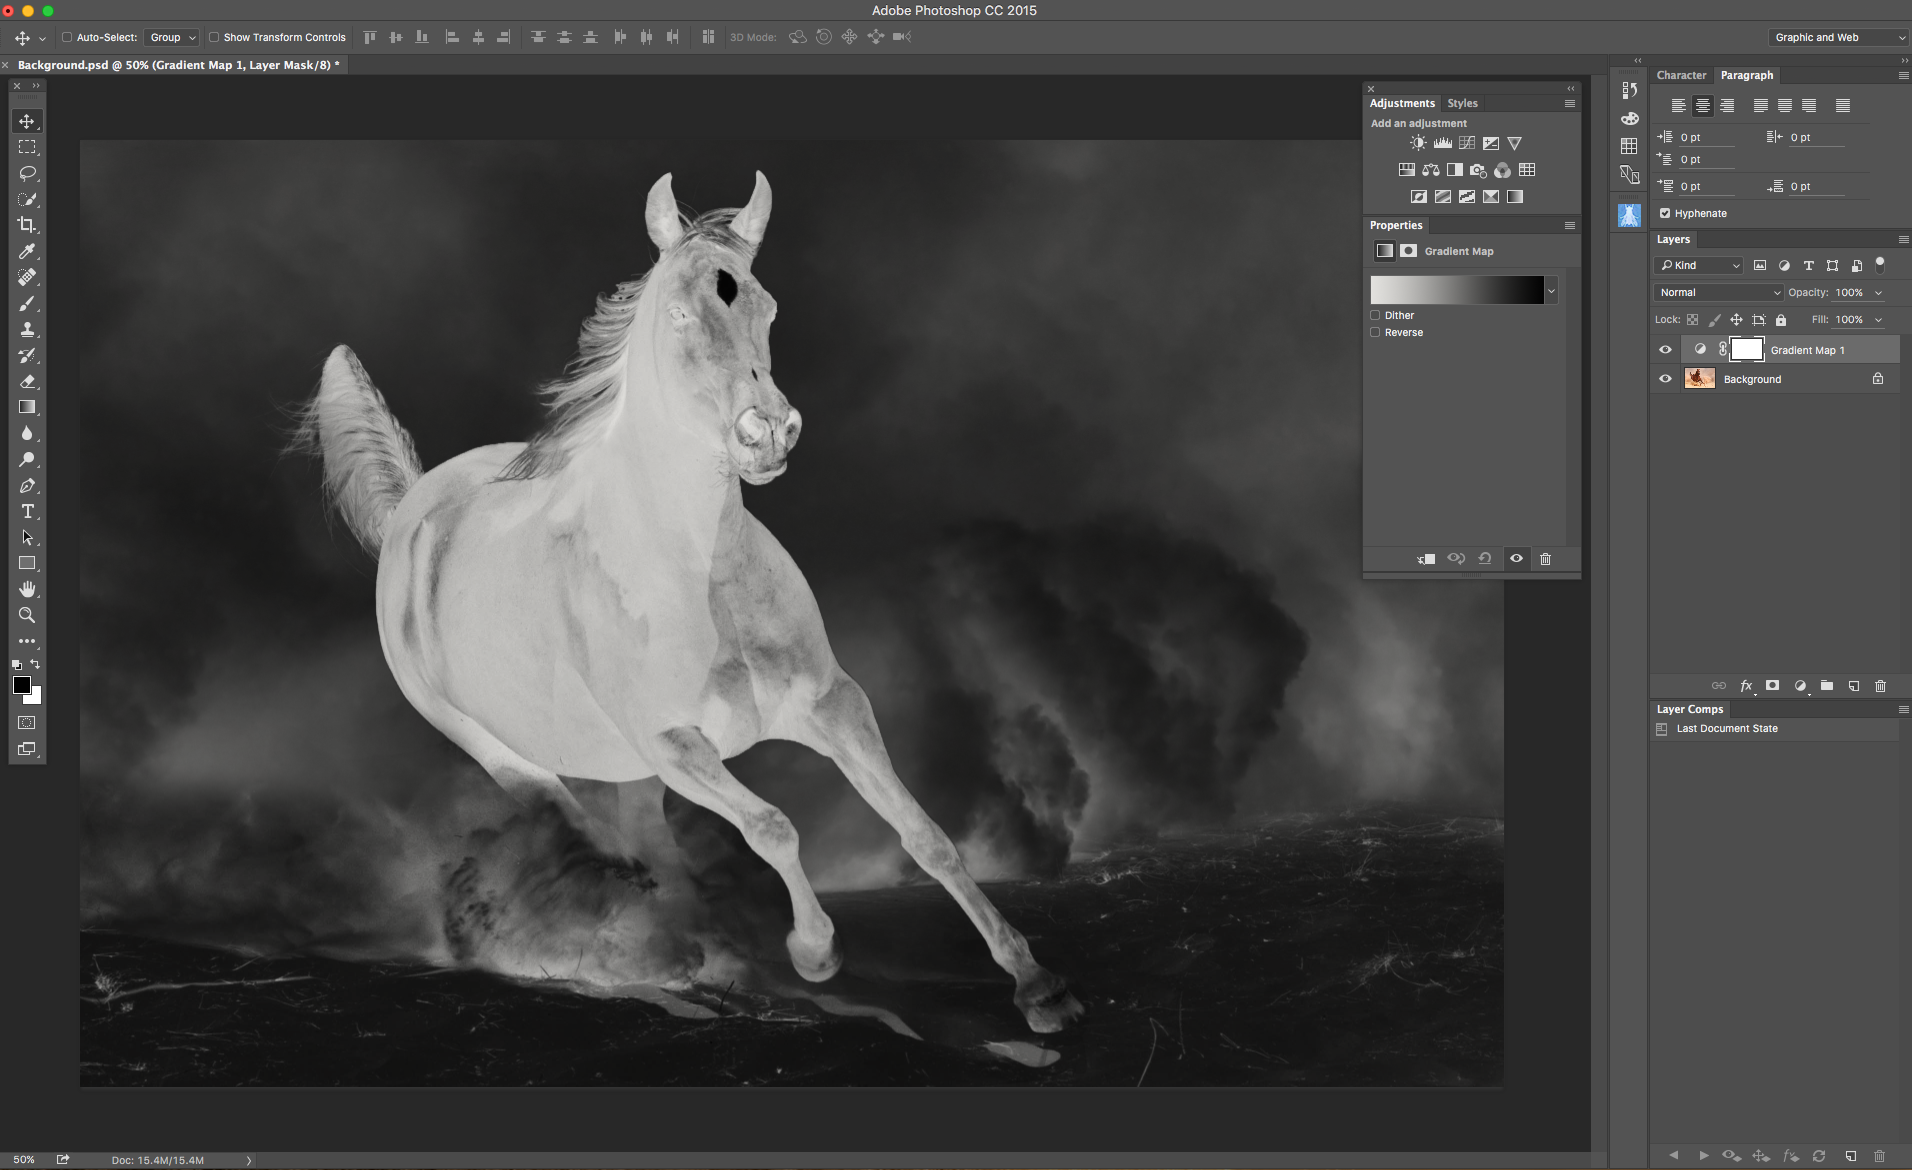
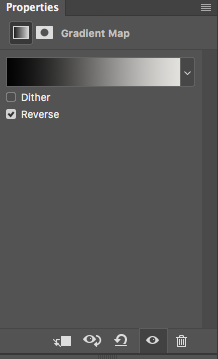
3: Click Reverse
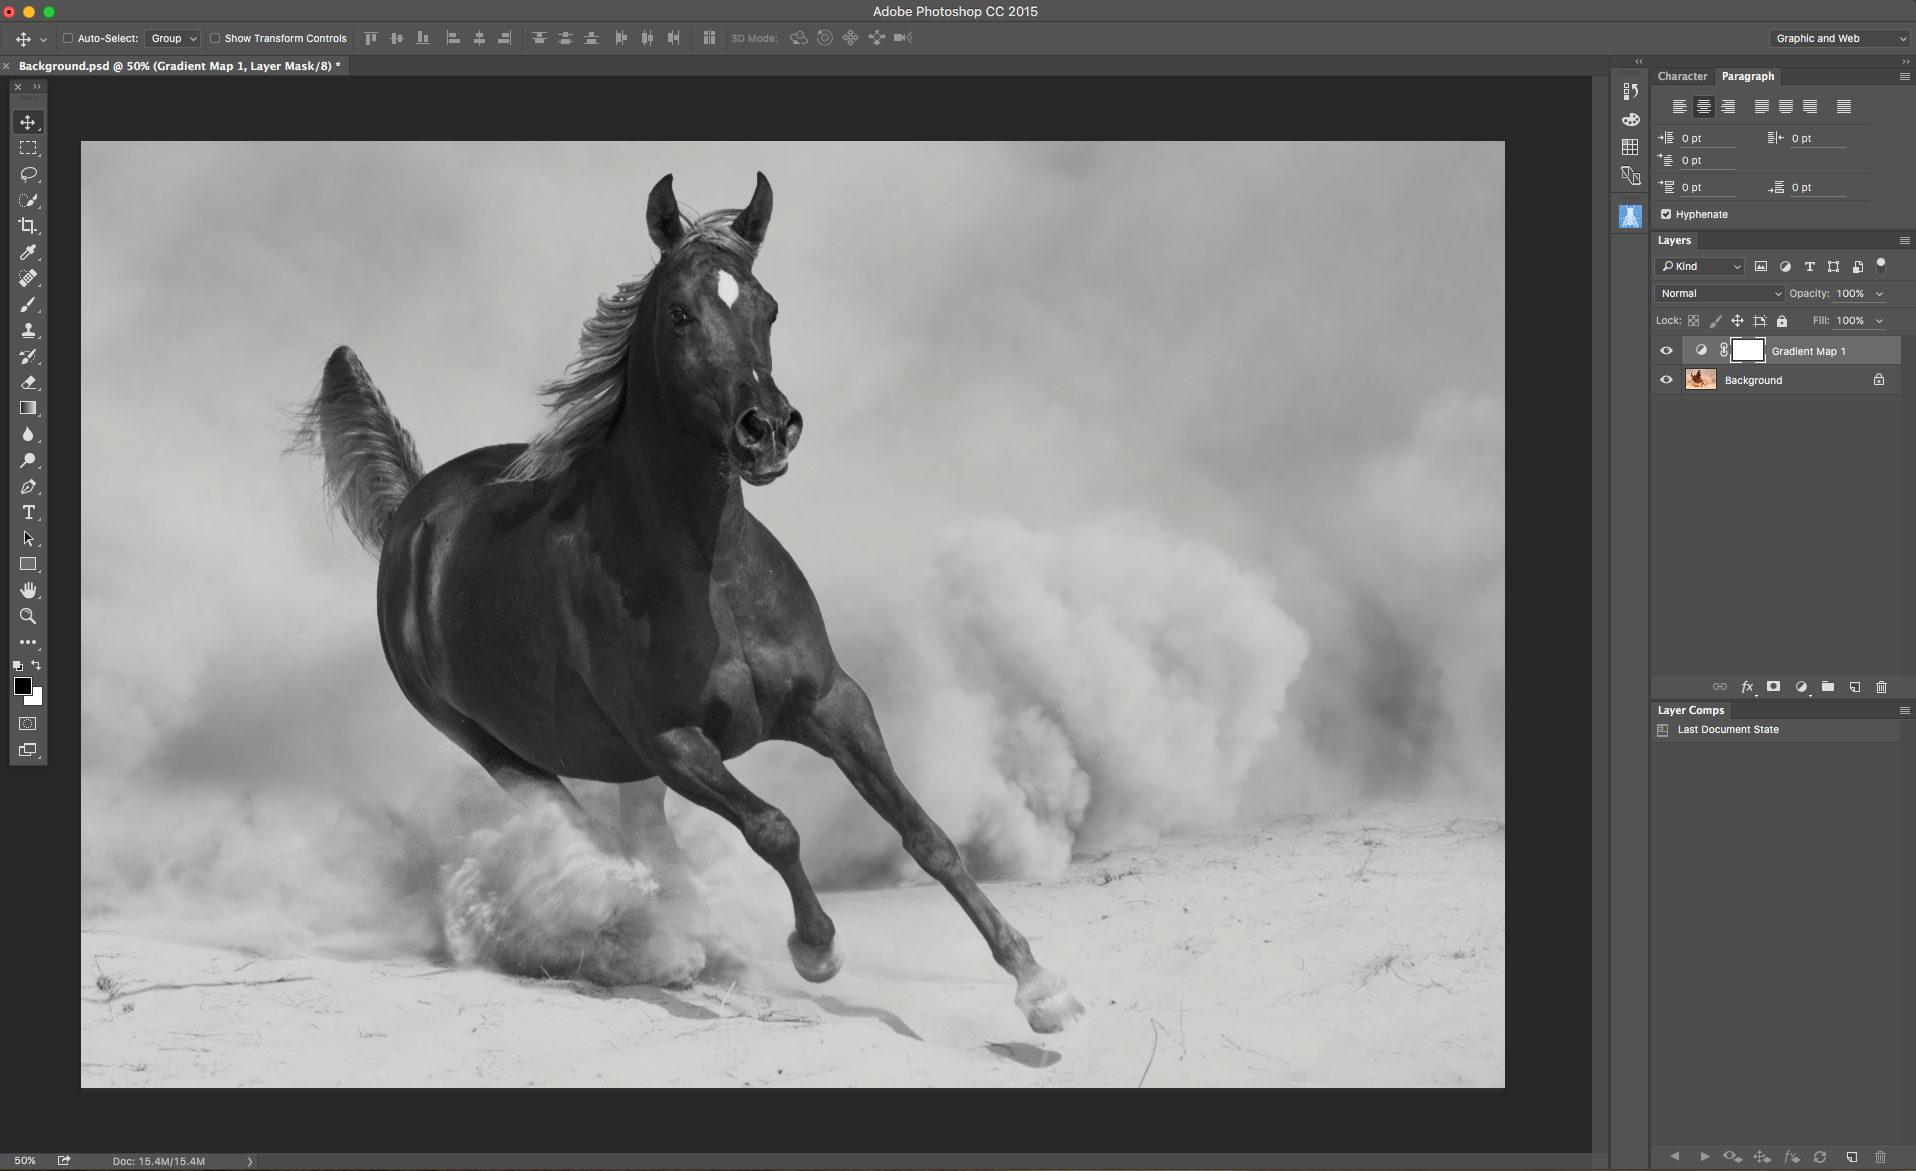
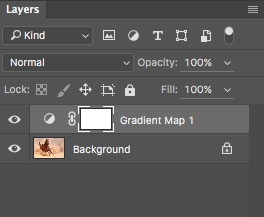
That’s it!
I used Adobe Photoshop CC
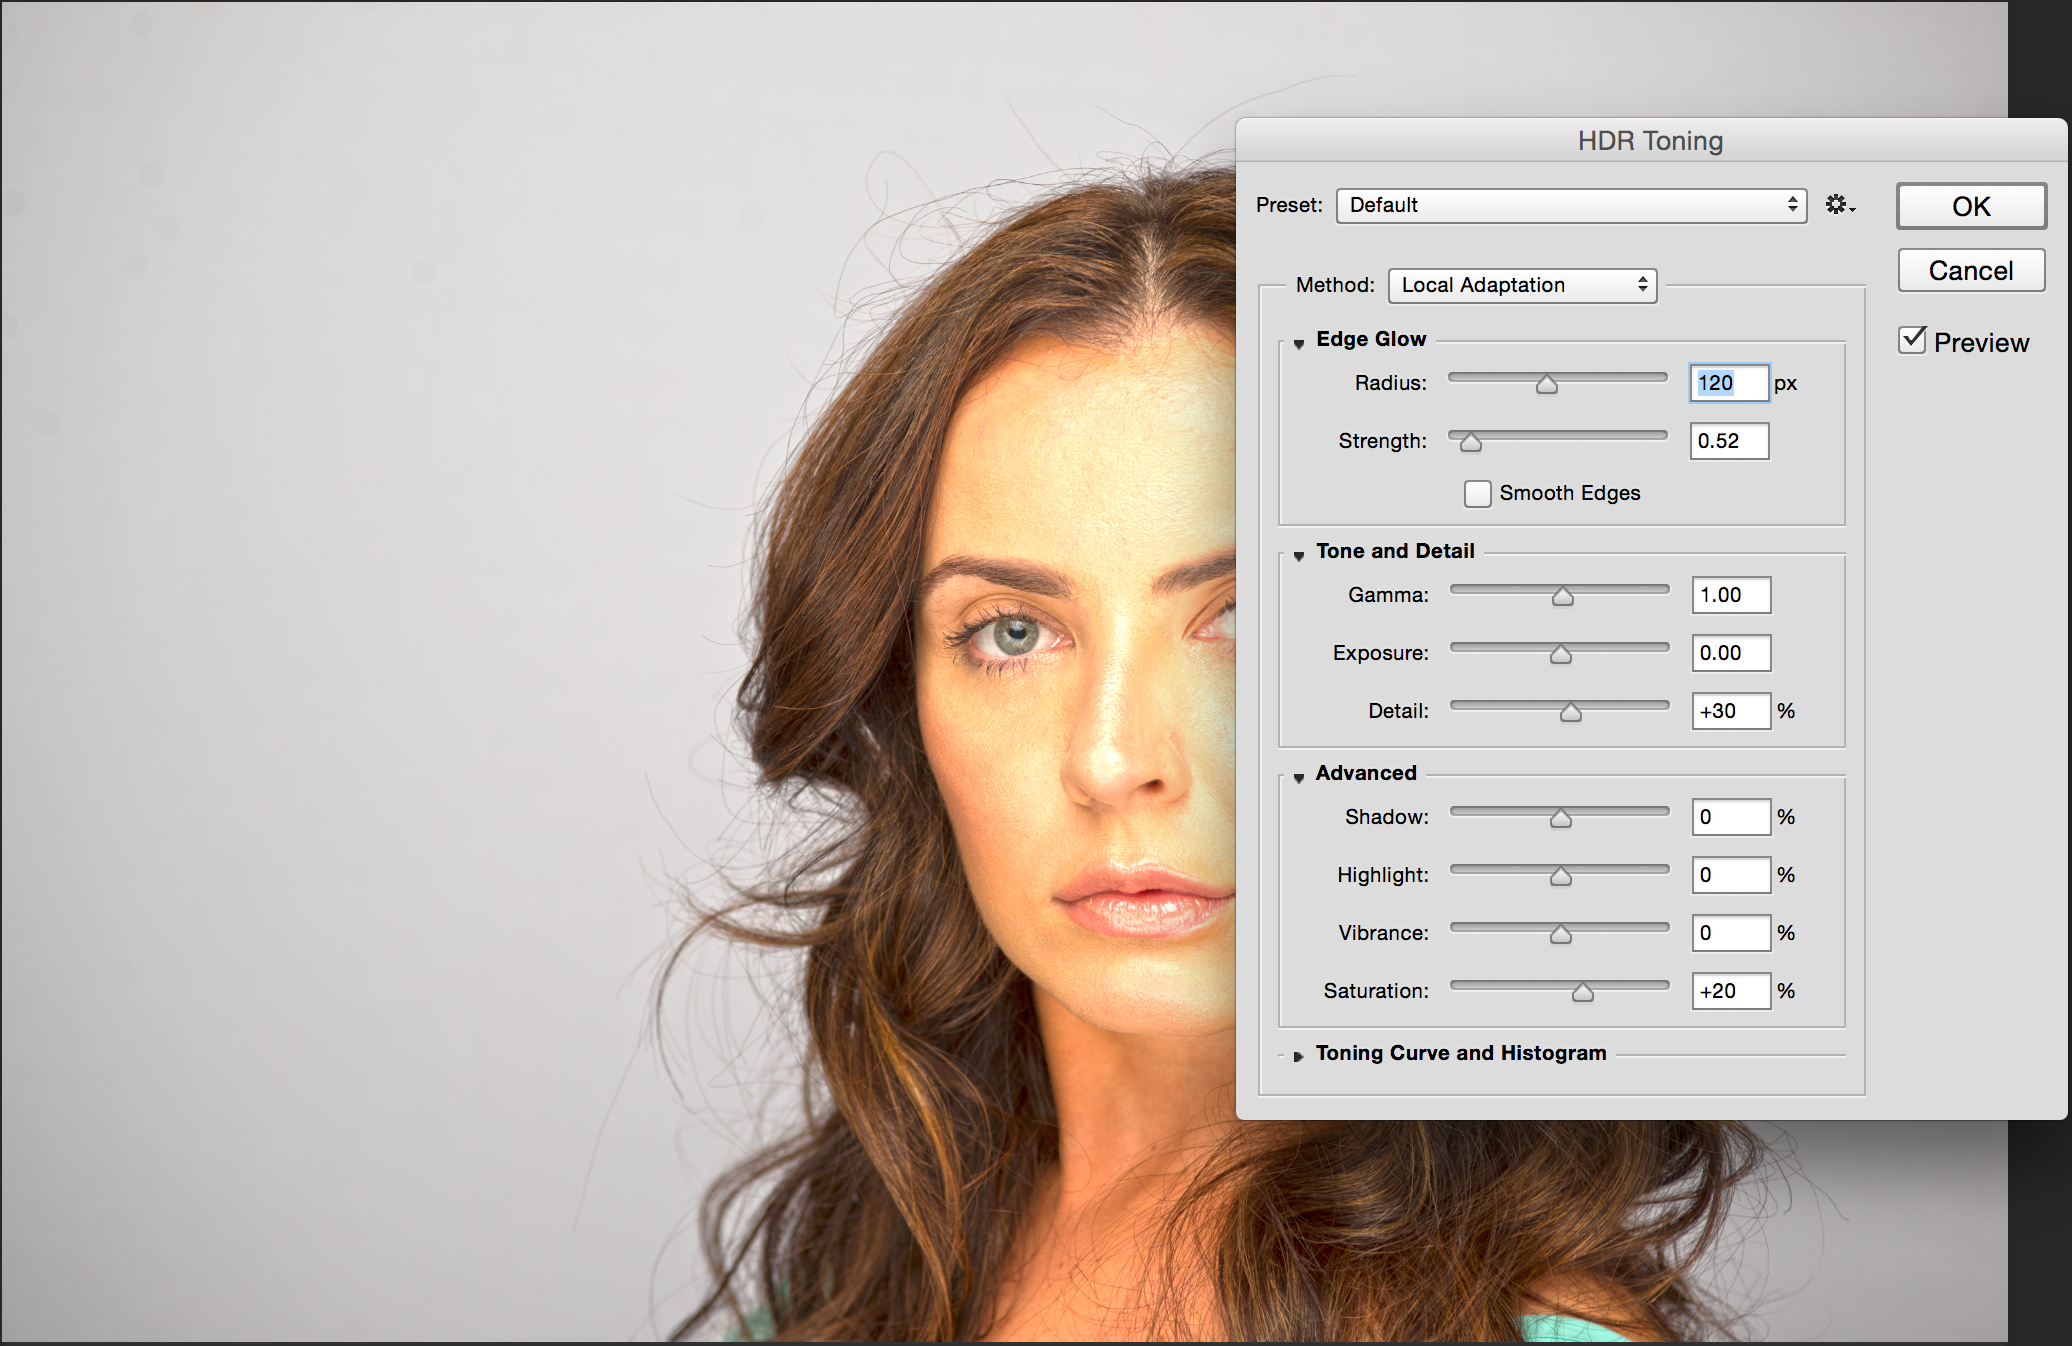
How to convert your photo into a drawing using Adobe Photoshop CC.
Open your image you want to work with
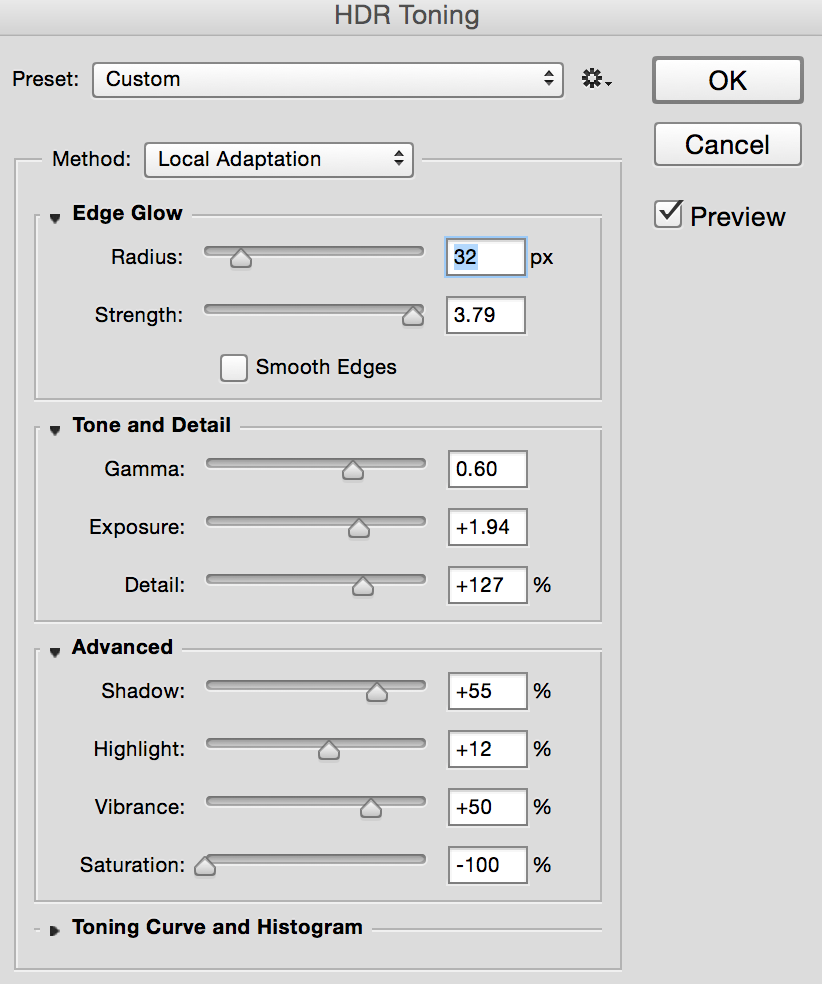
1: Image > Adjustments > HDR Toning

2: Filter > Camera Raw Filter
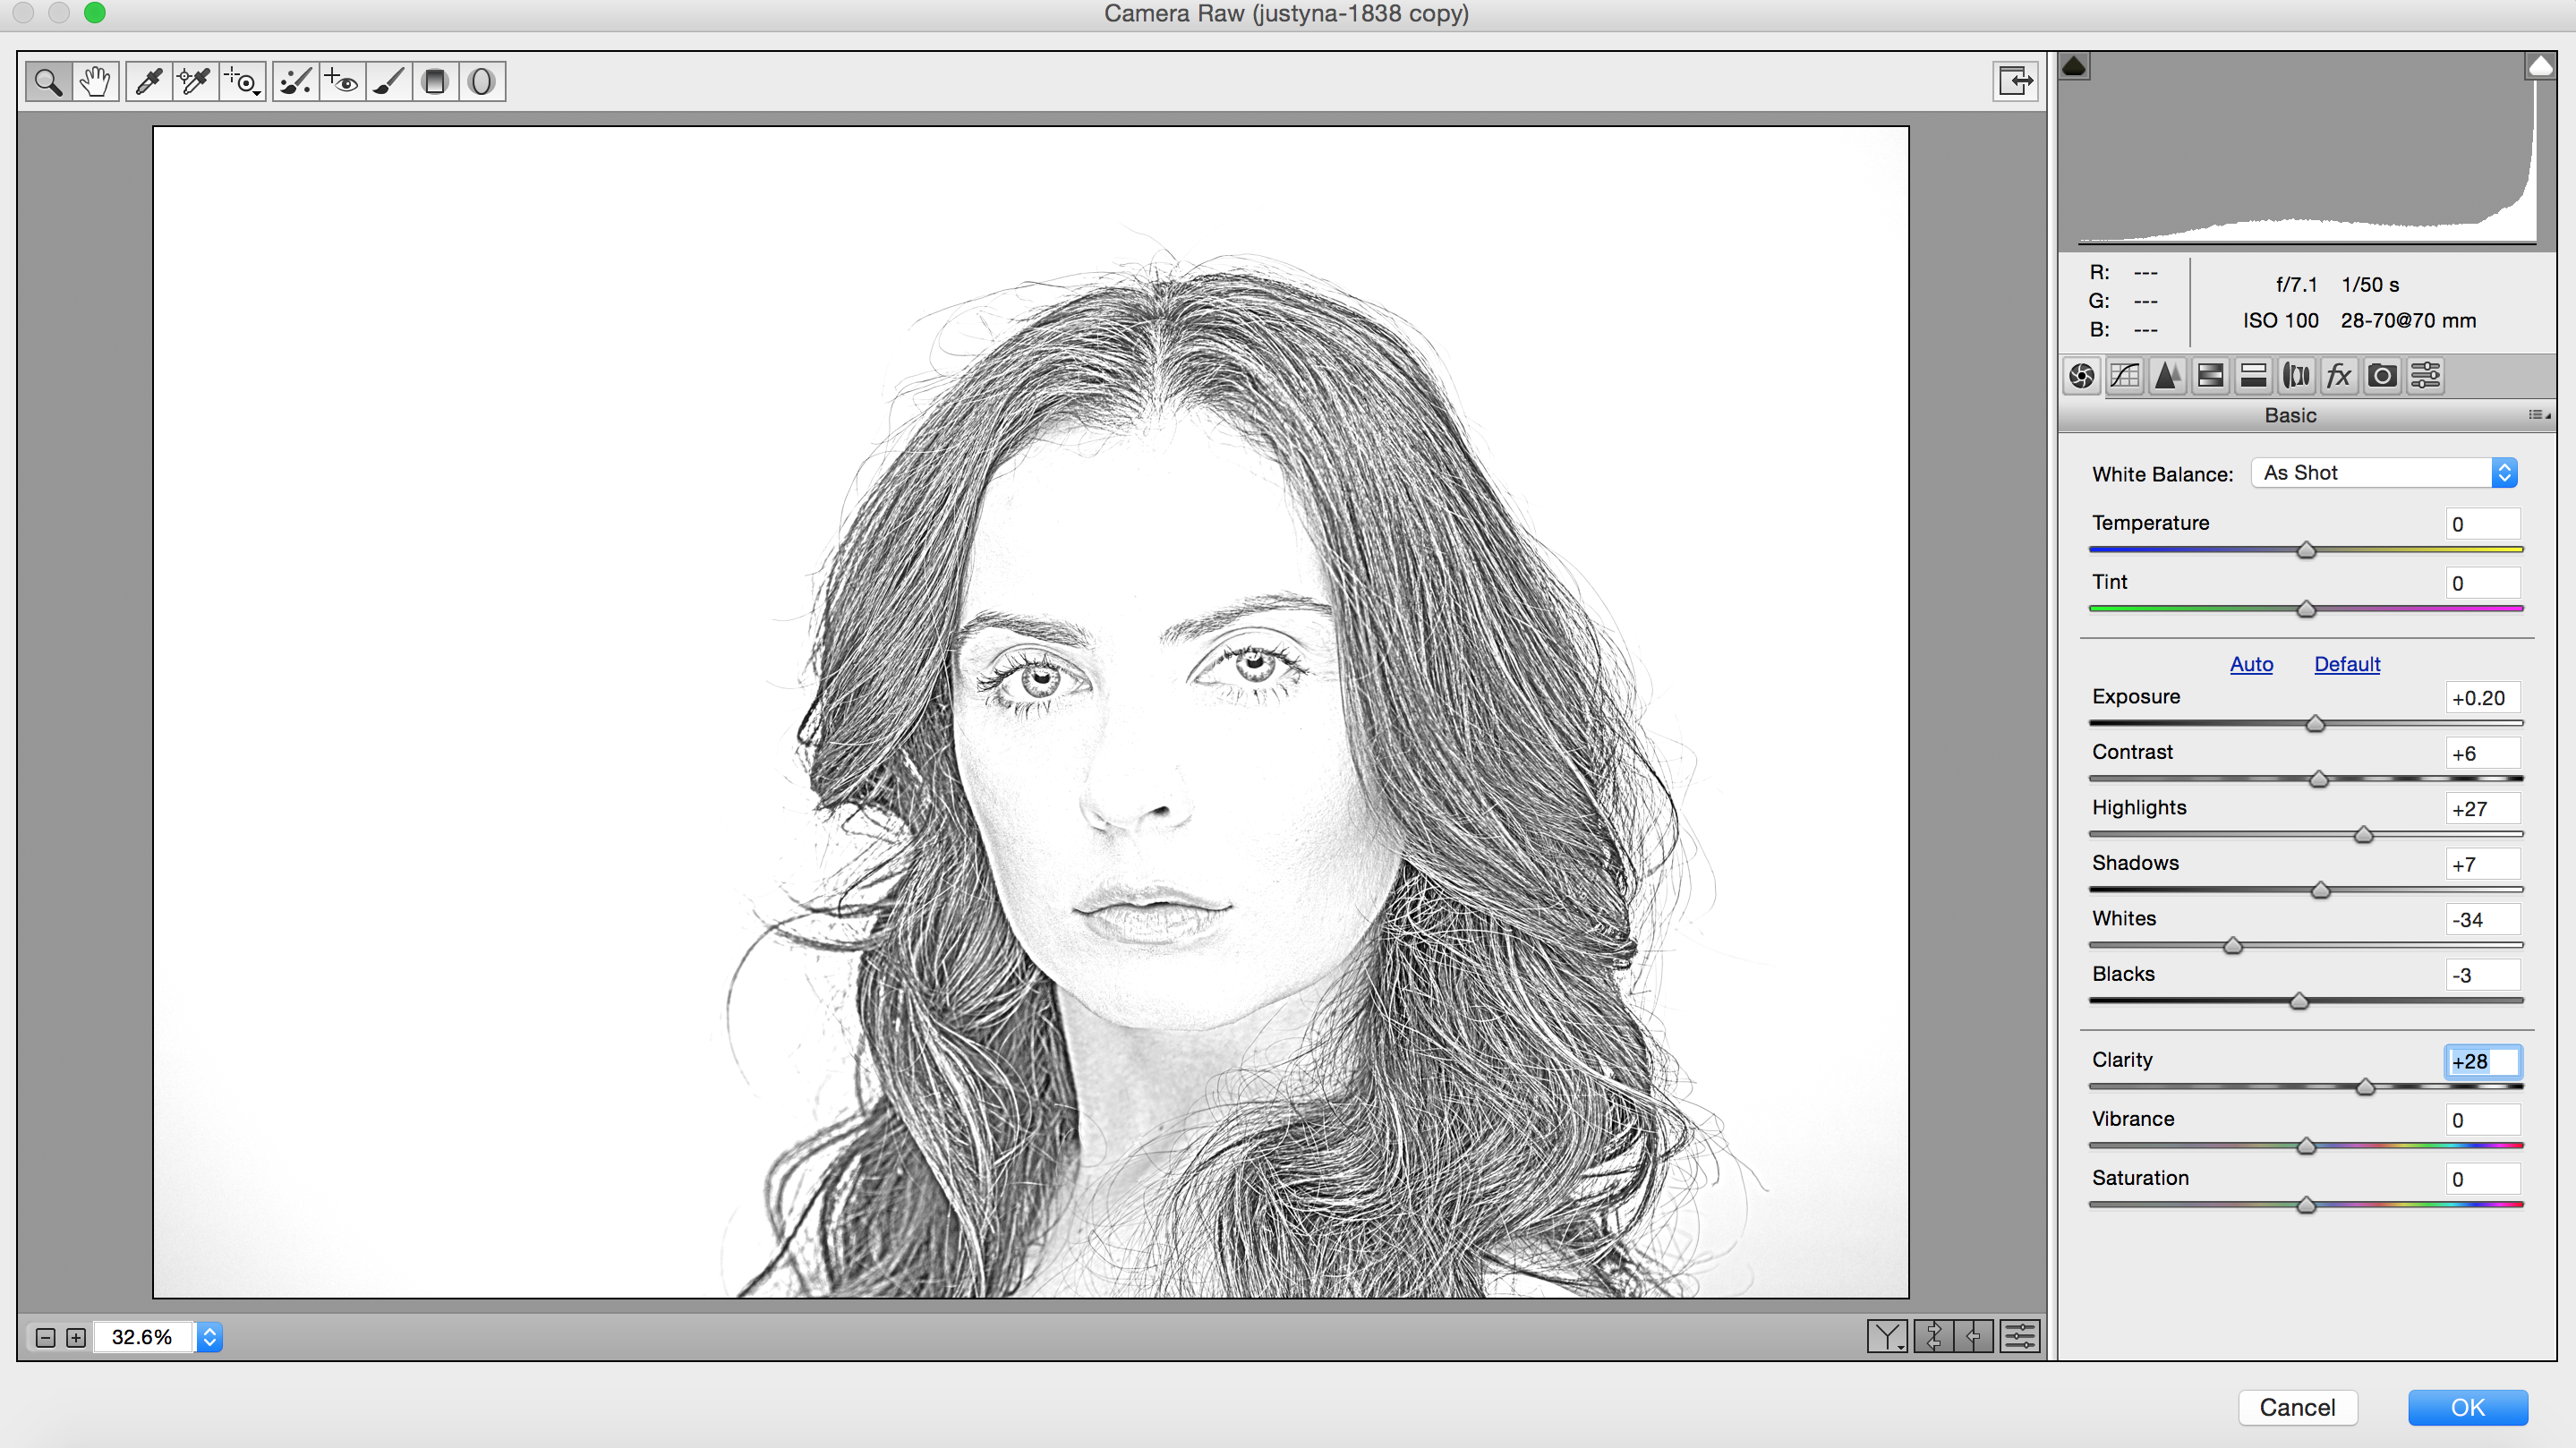
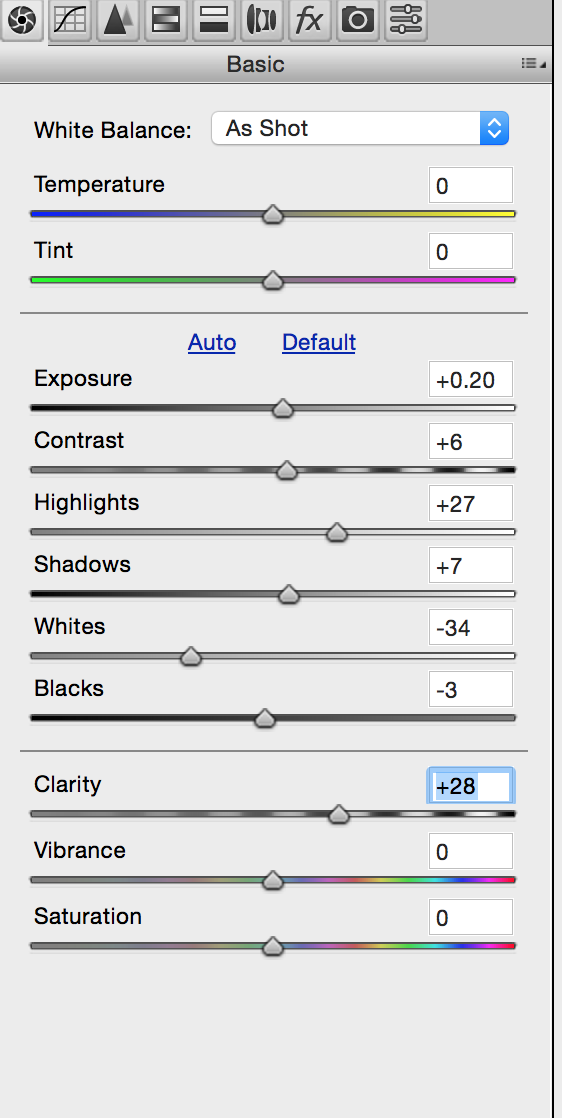

! Move Dehaze slider to the left. Moving Dehaze slider to the left or to the right you will control how light or dark your pencil stoke is

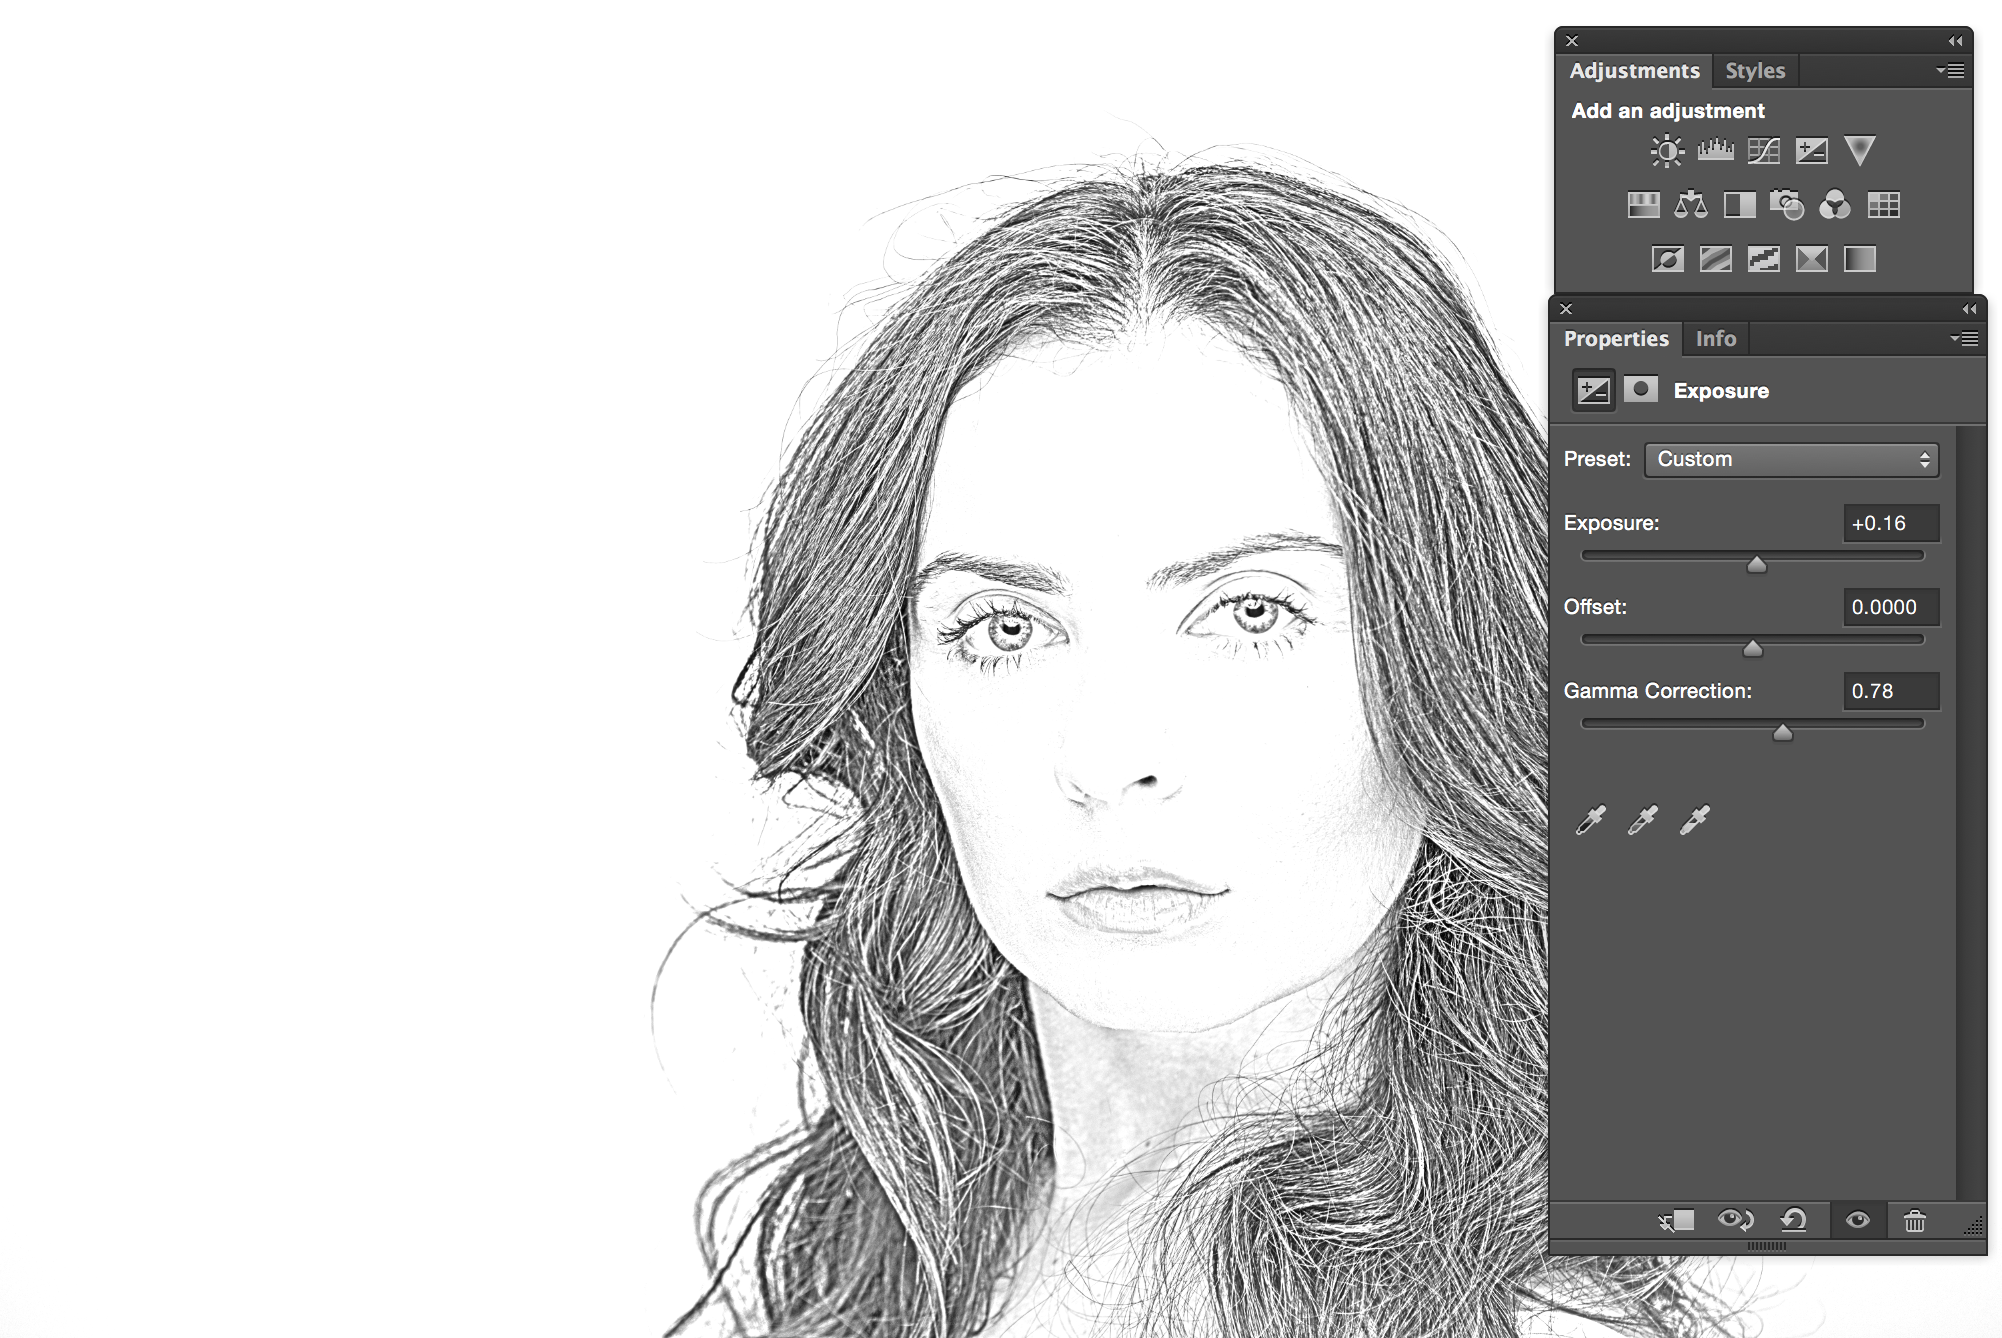
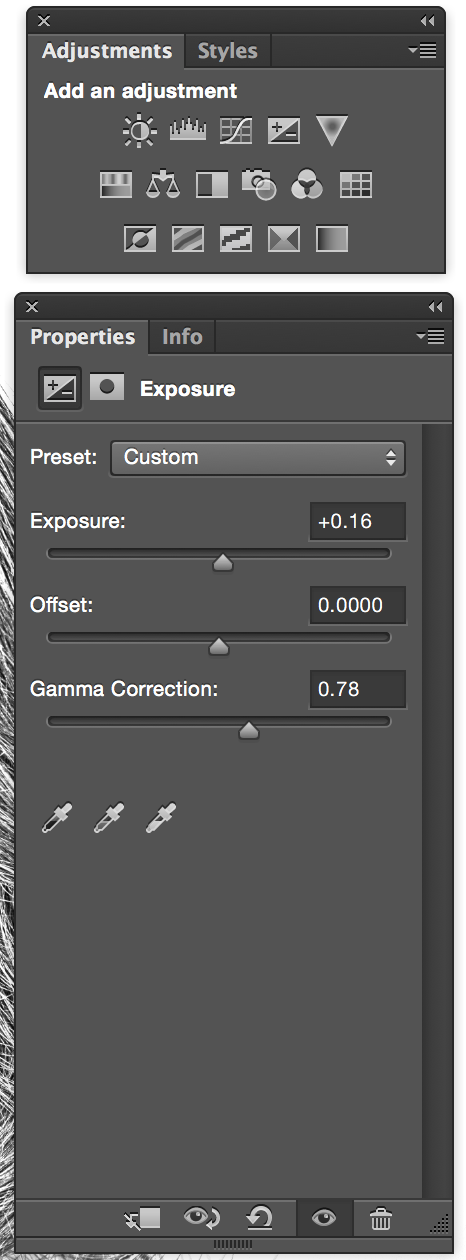
3: Window > Adjustments > Exposure


 using
using 
 and
and 

 – Adobe Photoshop CC and Wacom Cintiq