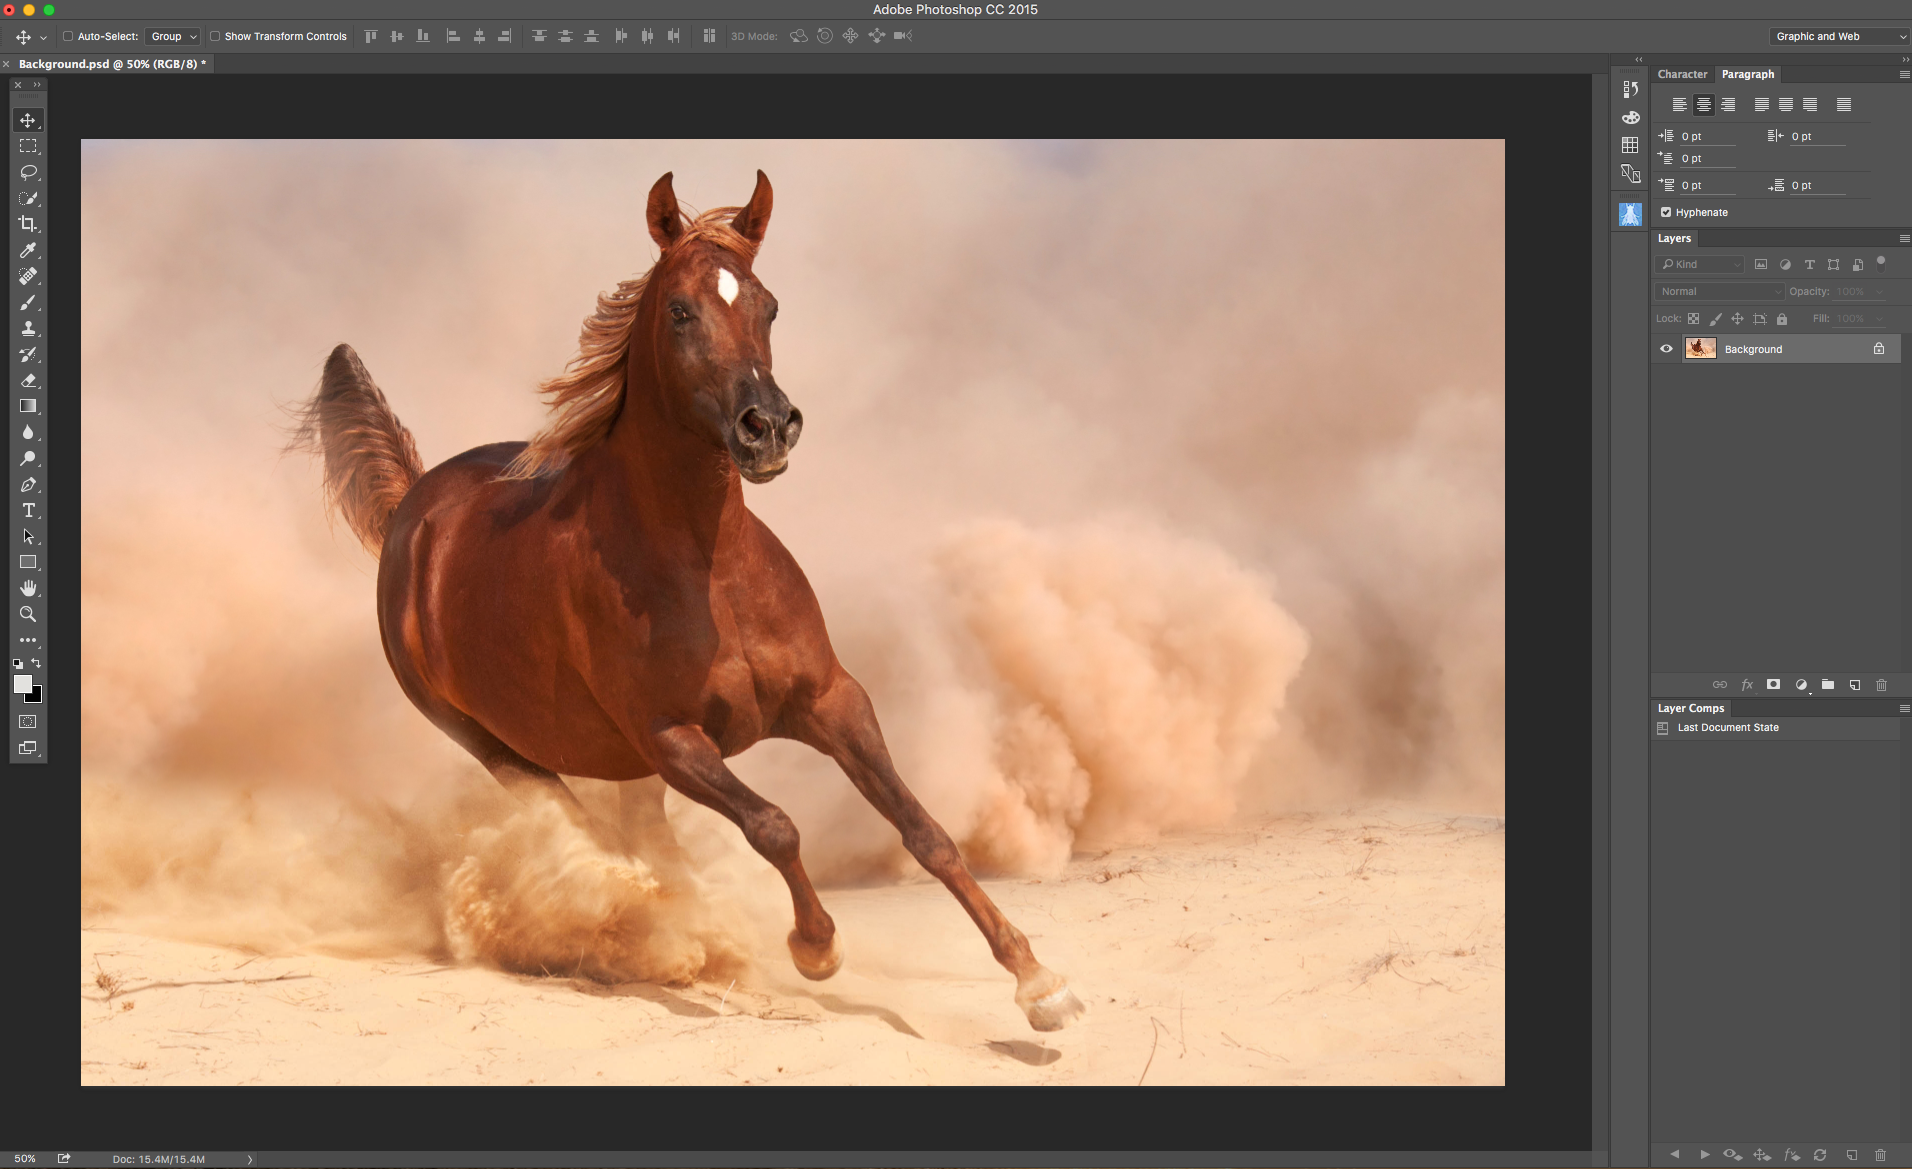
Here’s how to convert your photo into a black and white in one very effective step:
1: Open the image you want to work with in Photoshop.
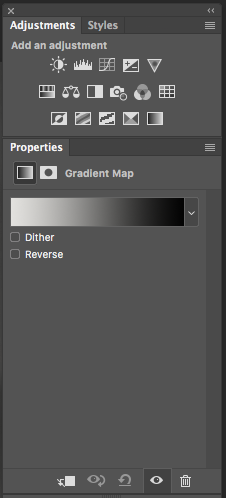
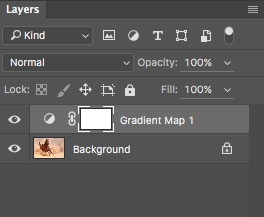
2: Choose Window > Adjustments > Gradient Map
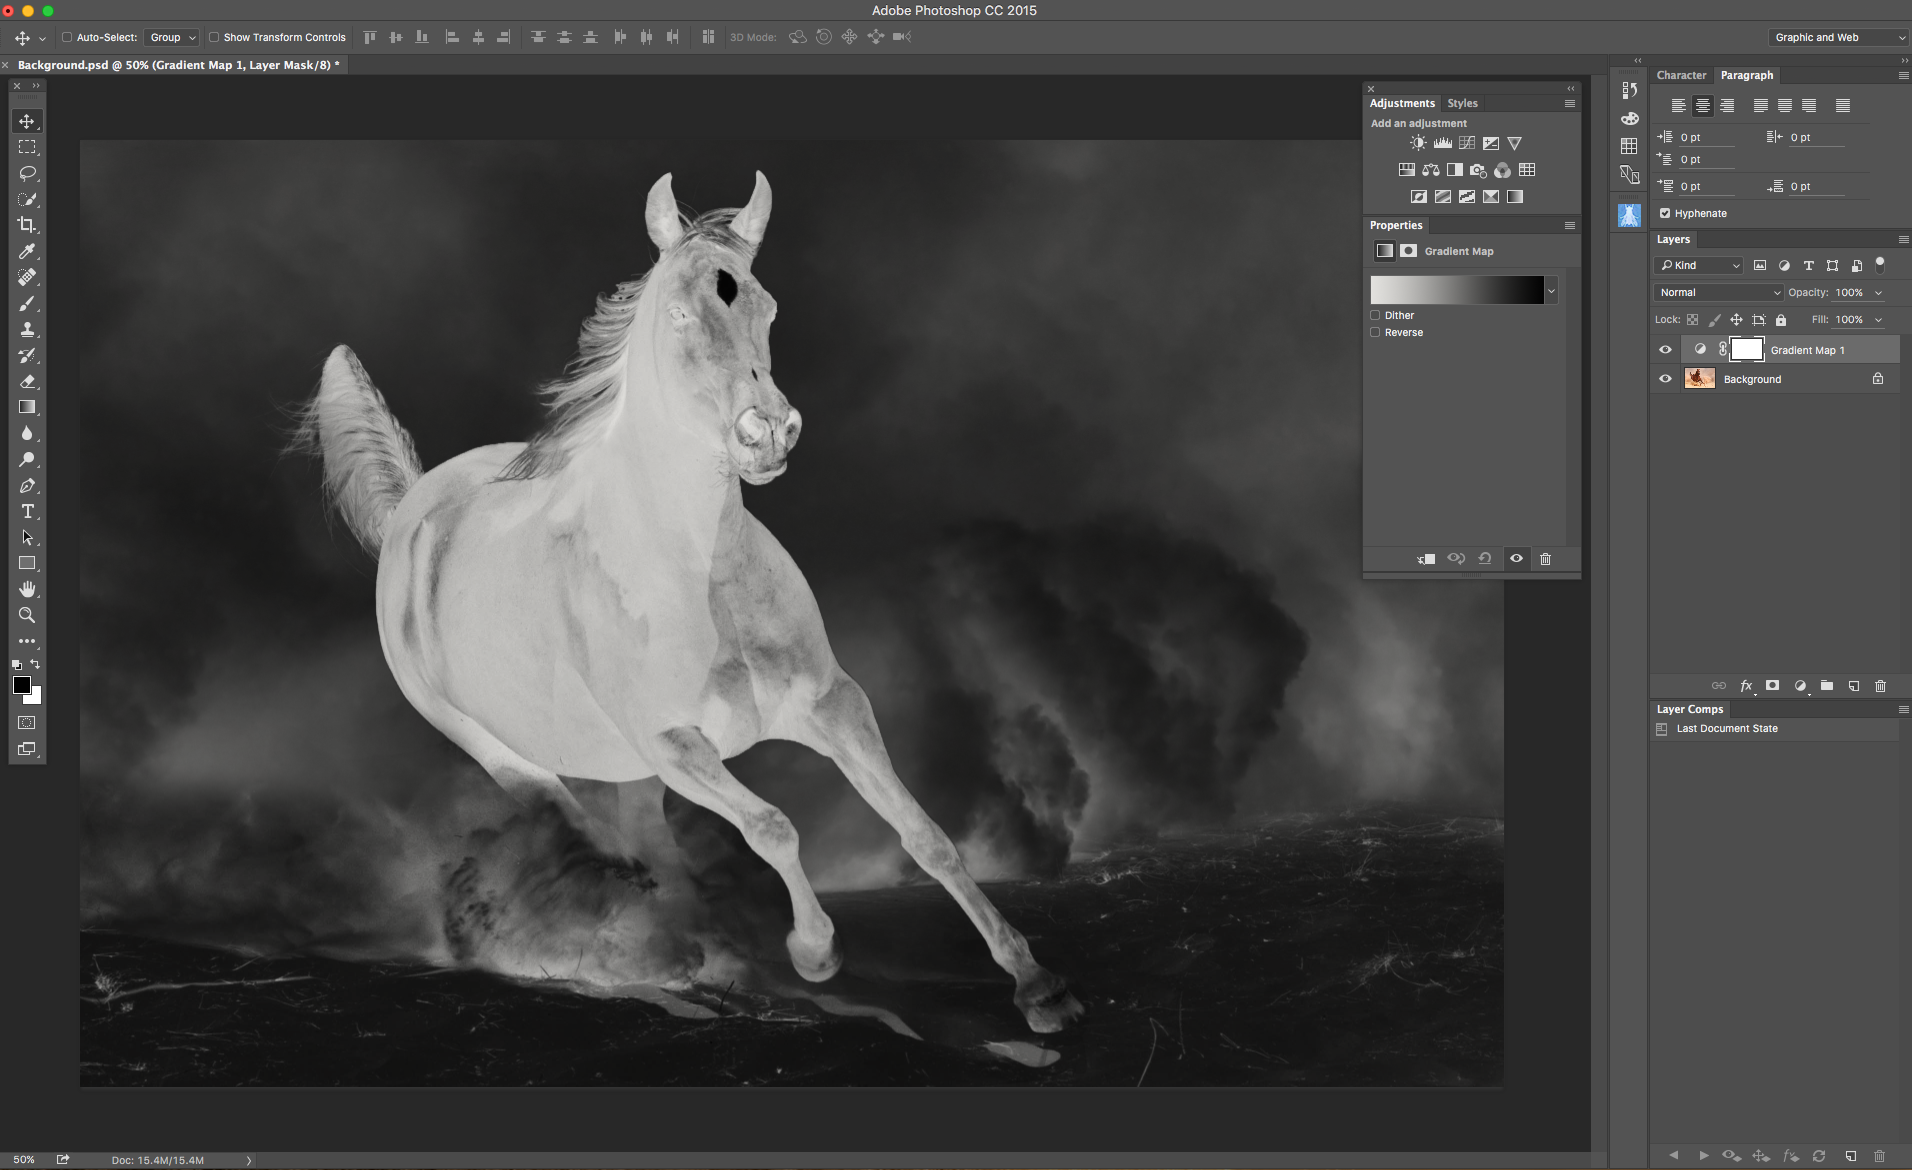
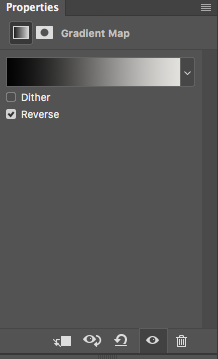
3: Click Reverse
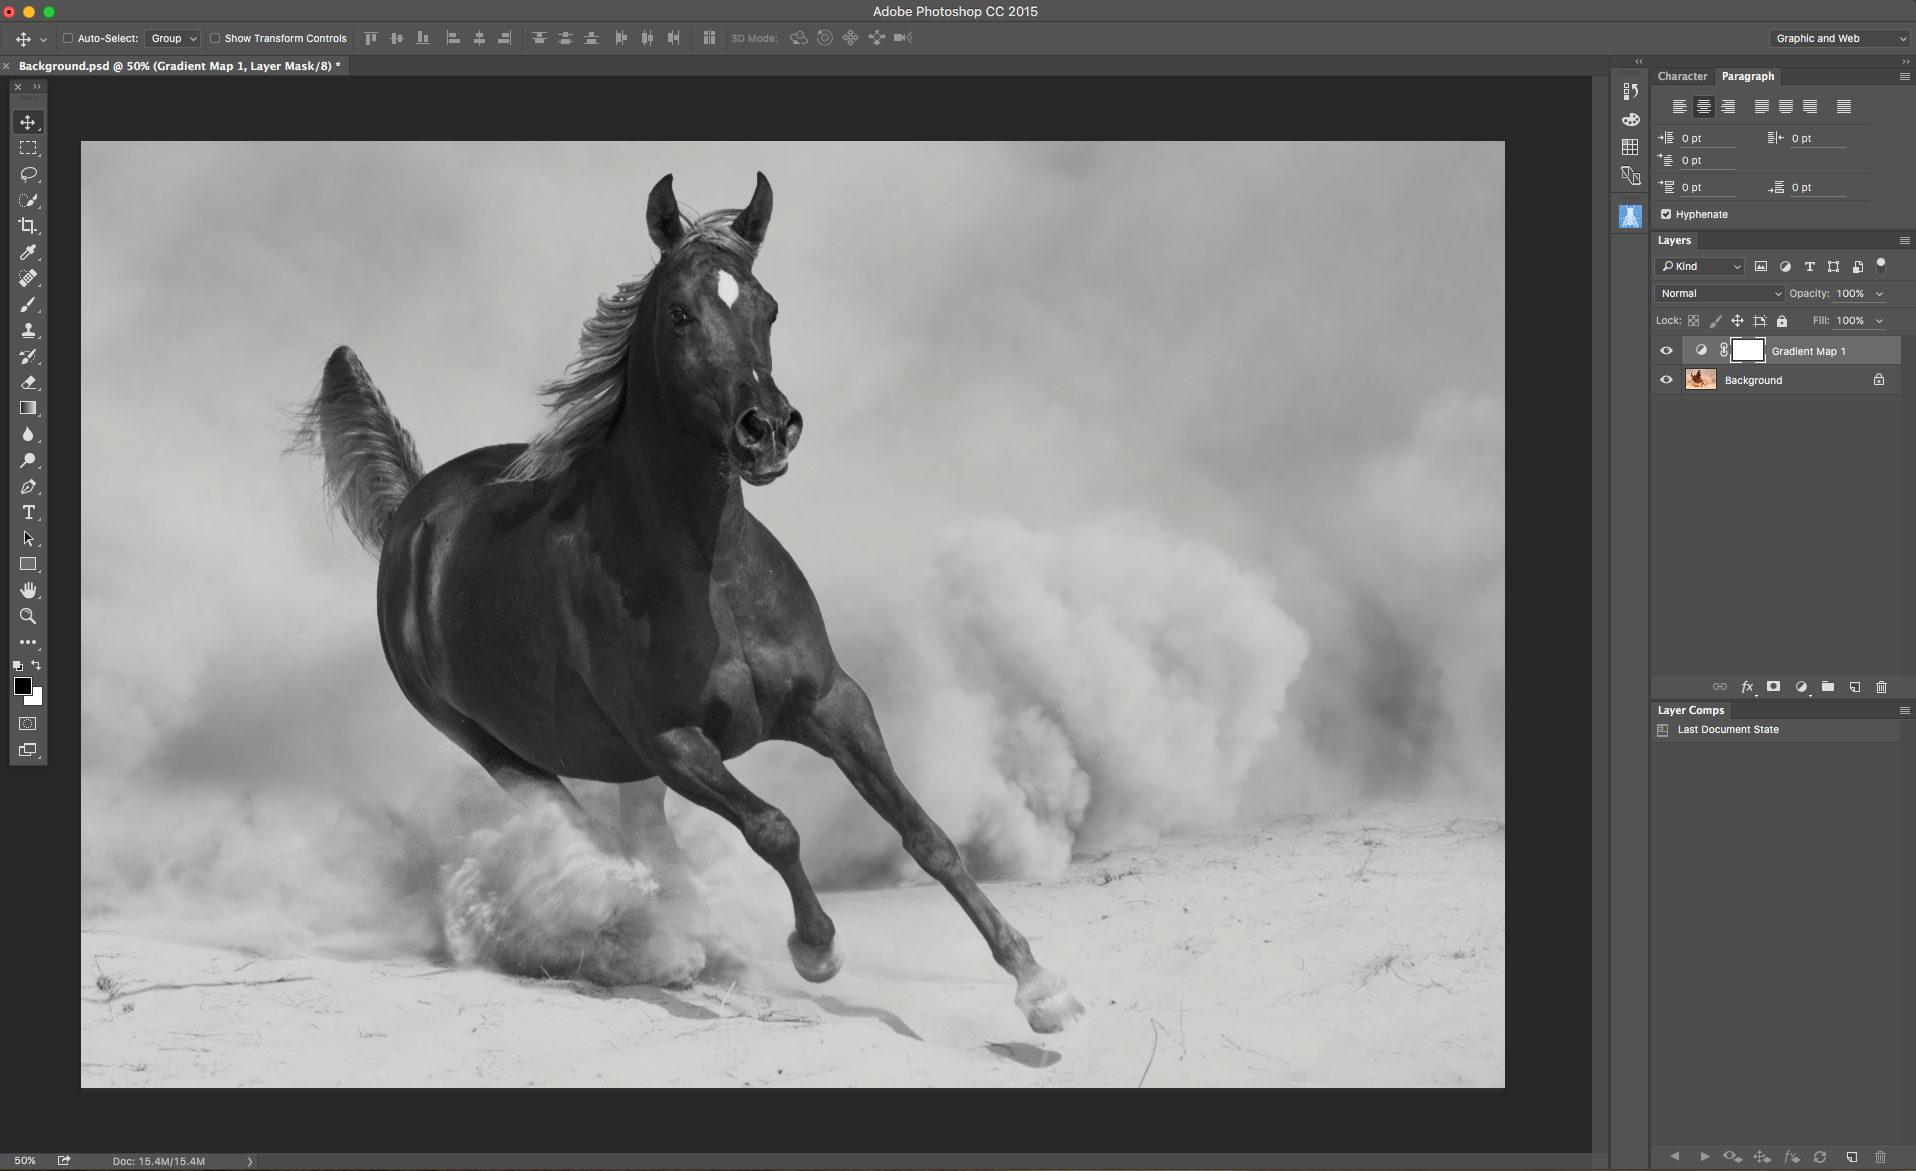
That’s it!
I used Adobe Photoshop CC

Here’s how to convert your photo into a black and white in one very effective step:
1: Open the image you want to work with in Photoshop.
2: Choose Window > Adjustments > Gradient Map
3: Click Reverse
That’s it!
I used Adobe Photoshop CC
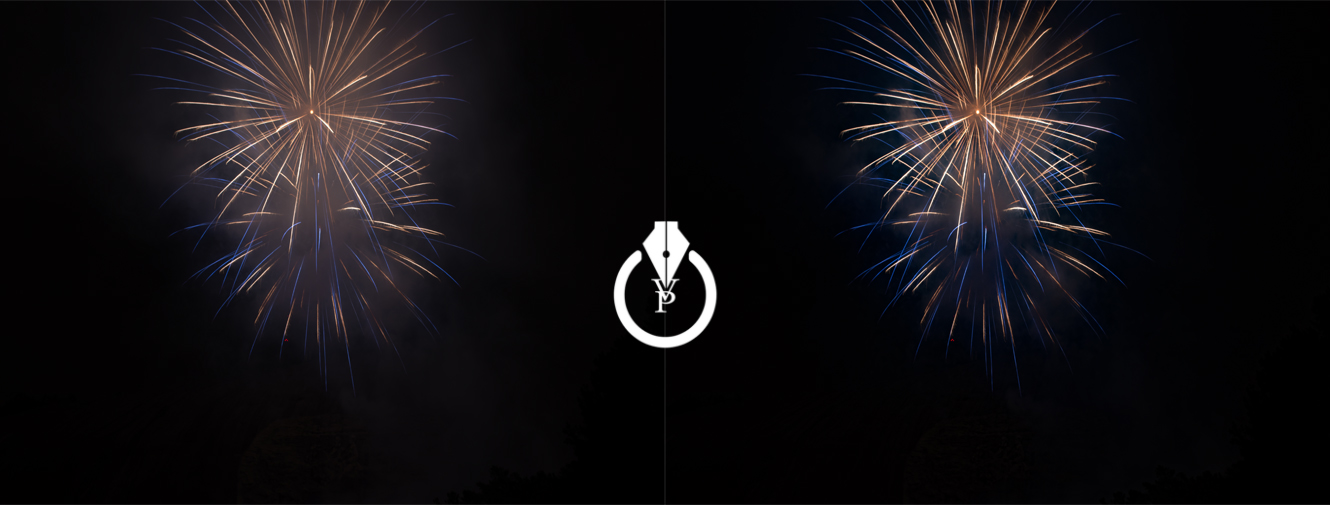
This year I went to a local park for a 4th of July fireworks display. I pretty much got some nice images using my Nikon and Terry White’s firework shooting settings. But it doesn’t matter how good your settings are we still cant avoid the smoke in our fireworks pictures. Thanks to the Dehaze effect in Adobe Lightroom CC I can remove the smoke from my pictures in a second simply moving Dehaze effect slider to the right. Moving Dehaze slider to the right from 0 to +100 you are removing haze/smoke from your pictures. Moving the Dehaze effect slider from 0 to -100 you can add a haze effect to your pictures.
![]()
See it in action here:
How to share, view, comment on a photo collection via web

 using
using  objets from