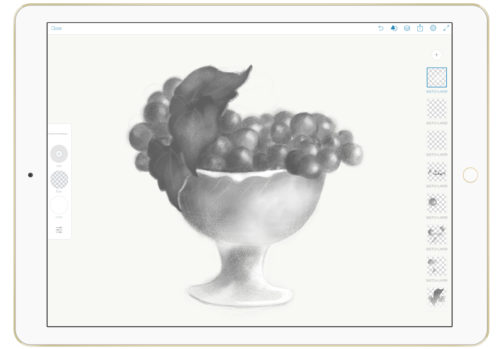
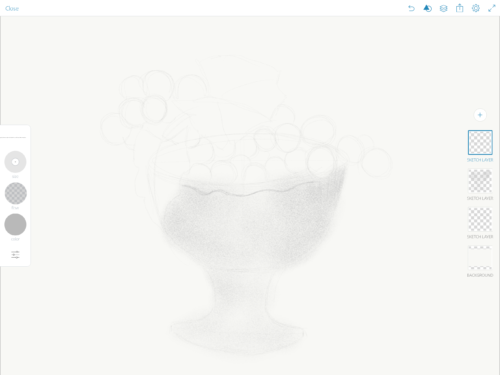
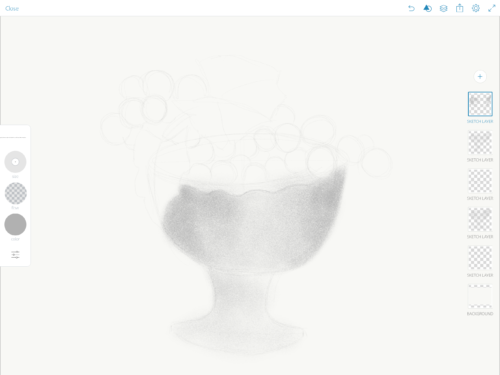
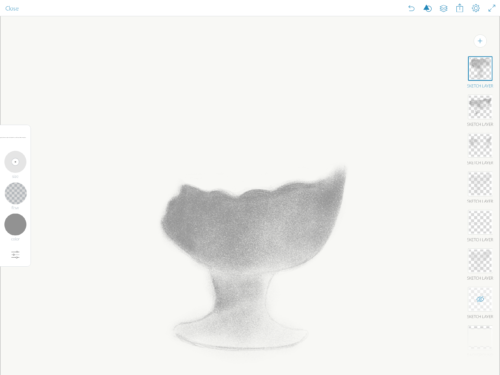
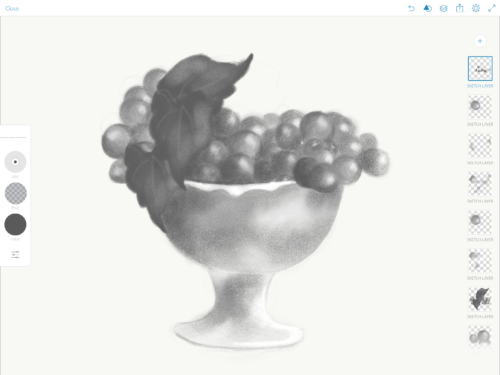
Digital Painting in Adobe Photoshop Sketch with iPad Pro
Apple Pencil


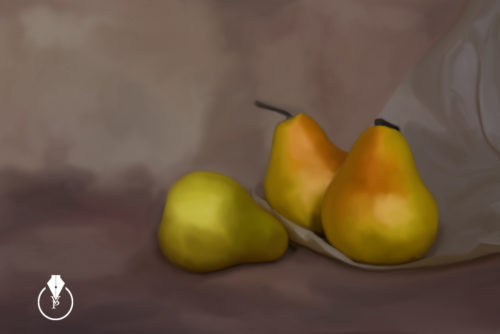
Digital Painting in Adobe Photoshop CC

My ebook on Amazon
Digital Painting for Photographers in Adobe Photoshop CC
The Adobe Mobile Apps

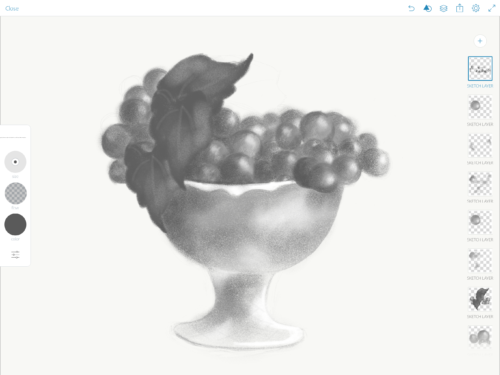
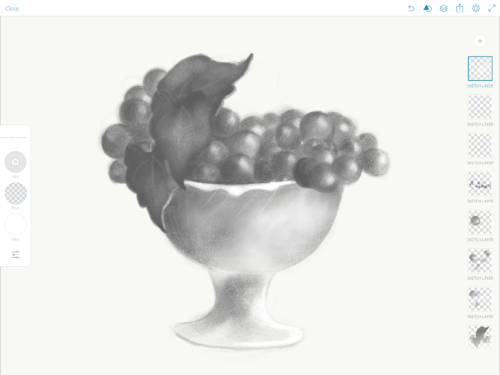
Digital Painting in Adobe Photoshop Sketch with iPad Pro
Apple Pencil
Digital Painting in Adobe Photoshop CC
My ebook on Amazon
Digital Painting for Photographers in Adobe Photoshop CC
The Adobe Mobile Apps
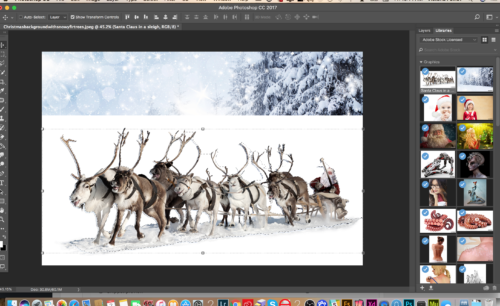
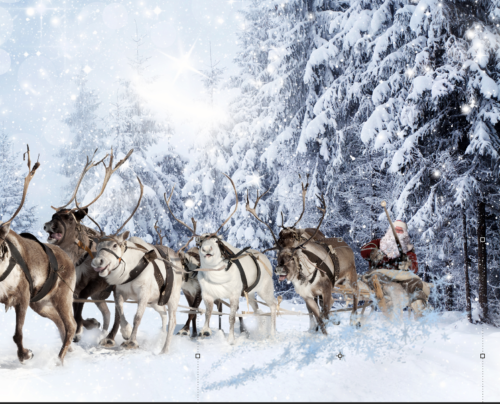
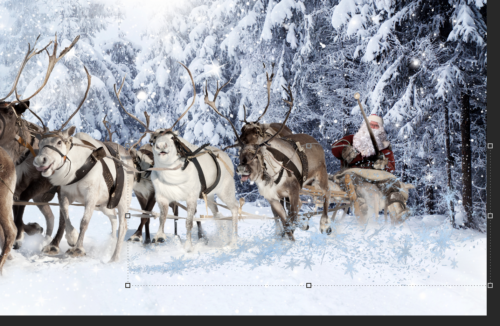
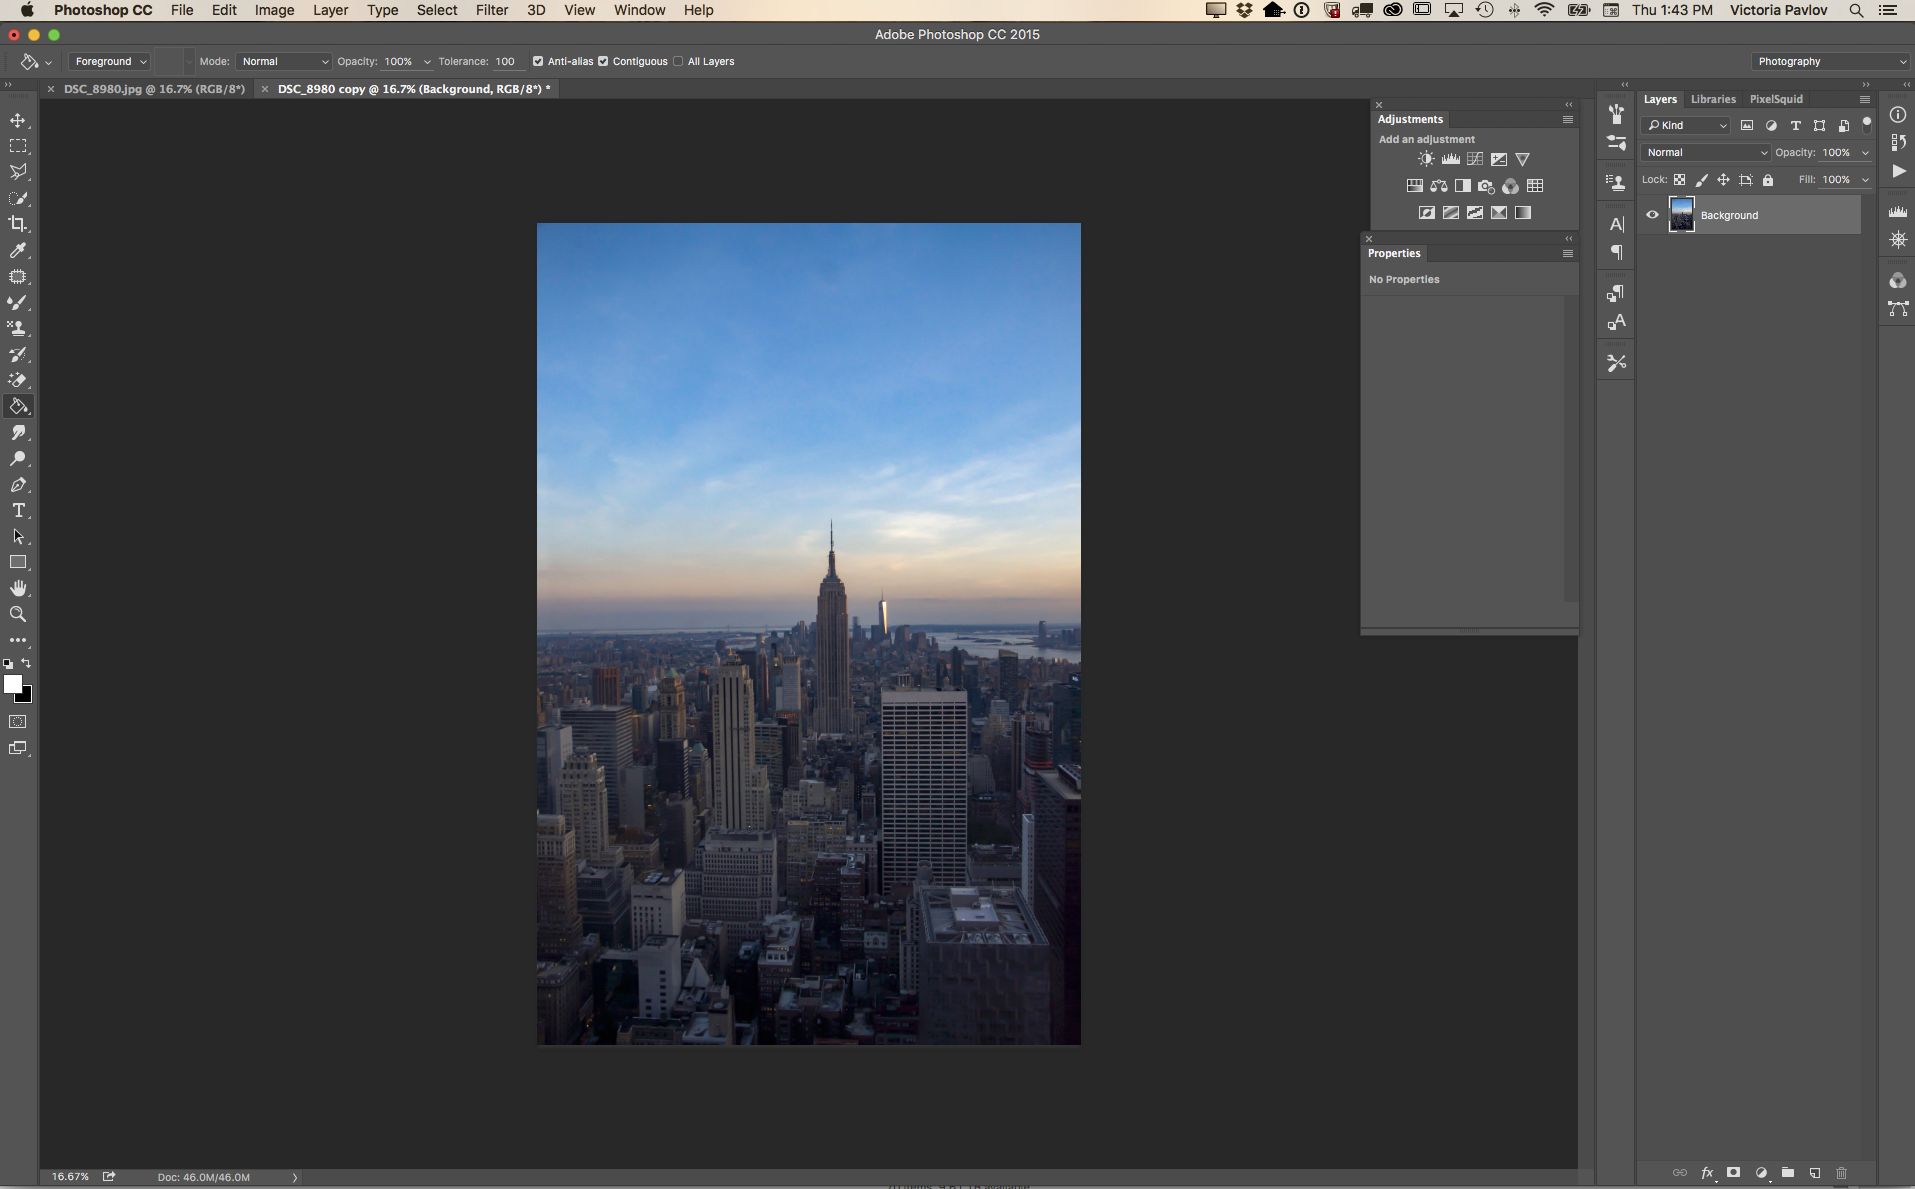
How to create a winter scene in Adobe Photoshop CC using Adobe Stock images and a 3D object from PixelSquid.com
 In this tutorial I will show you how you can create a winter scene in Adobe Photoshop
Adobe Stock images I downloaded for this tutorial:
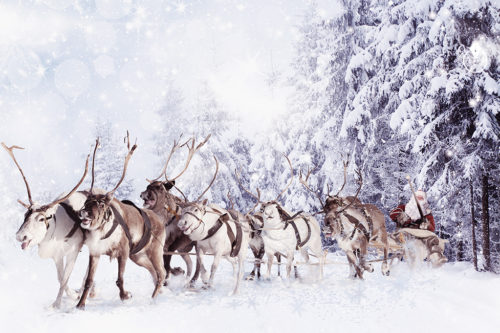
FILE #: 45012599
FILE #: 94046505
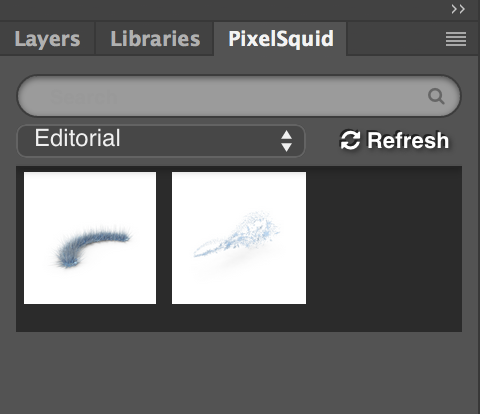
3D object I downloaded from PixelSquid
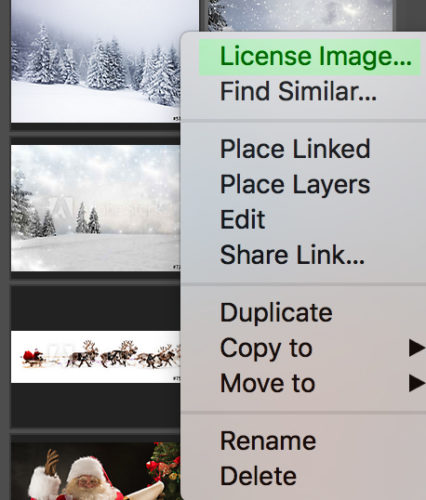
First of all I downloaded two images from Adobe Stock website. I downloaded those files as preview files and after I tried them out I licensed them directly within Adobe Photoshop CC
Right Click on a image in your library panel you want to license > License Image
Double click on your licensed image (in the library panel)
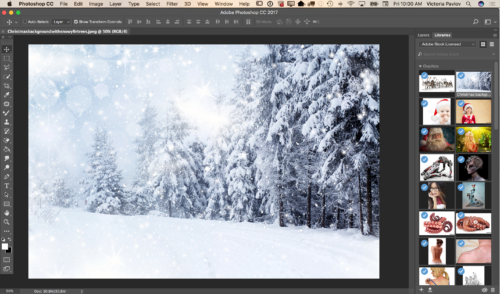
To bring another file into your document from your library panel > Click on the image > Drag into your document
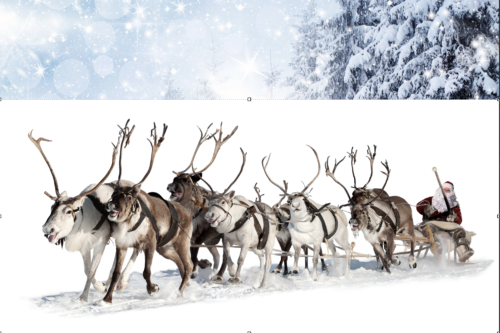
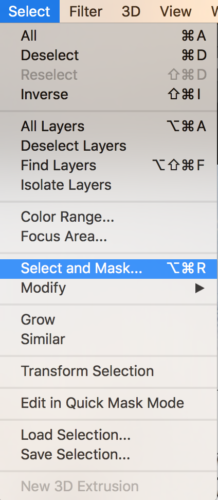
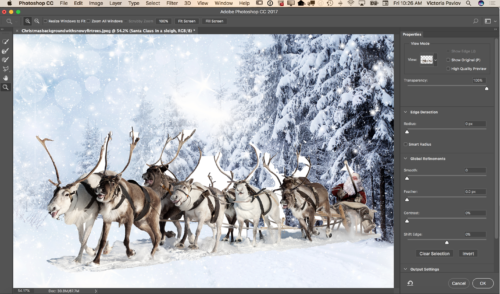
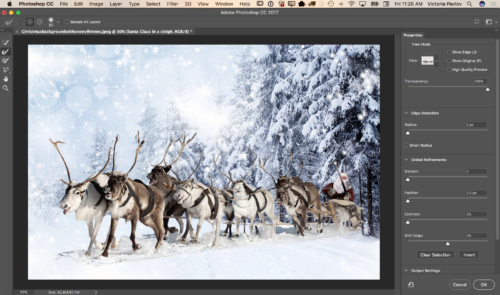
Using the Quick Selection Tool select Santa Claus and the reindeer? (don’t worry if your selection is not perfect. You will be able to fix it later on)
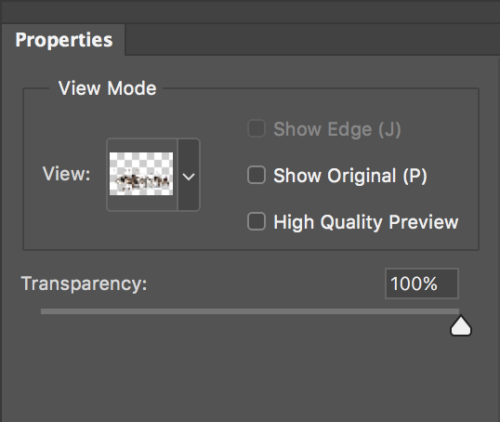
Select > Select and Mask
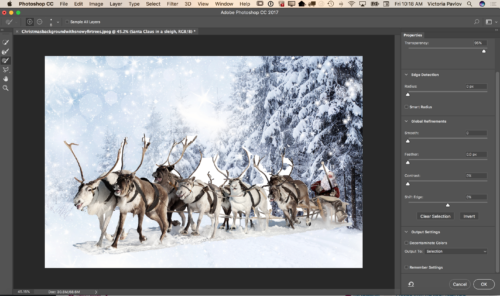
Change the View Mode to Onion Skin and Moon Transparency Slider all way to the right 100%. This way you will be able to see the background layer and make all the necessary corrections toyour initial selection right away.
Zoom In your document
Using the Brush Tool correct your selection (switch between “+” and “-” if needed to correct the selection)


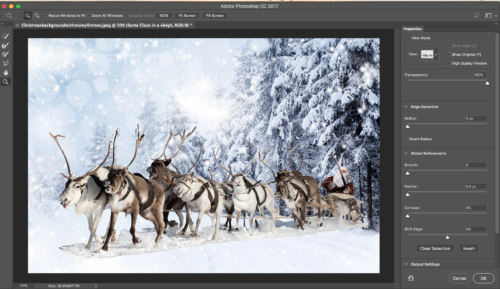
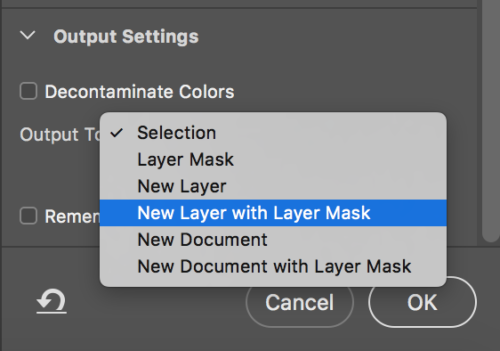
After you are happy with your selection switch to the Refine Edge Brush Tool

Switch View Mode to Black and White

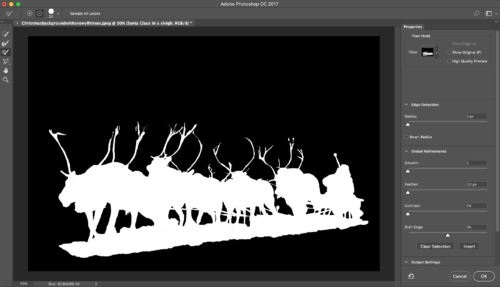
Using the Refine Edge Brush Tool clean up the edges of your selection.

After you are happy with your final selection change the Output Setting to New Layer with Layer Mask
Click OK

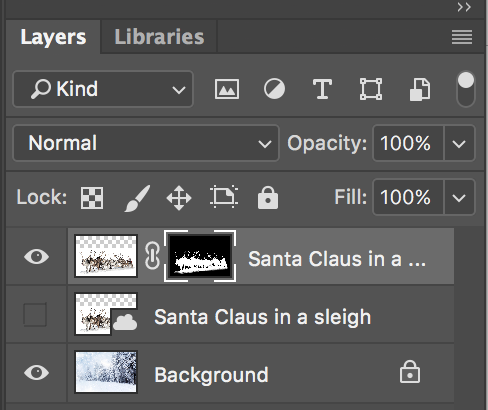
Click on the Mask Icon (Santa Layer) > Gradient Tool with Black color


![]()
Correct the part between snow under the reindeer and background snow line (simply paint it out using gradient tool)
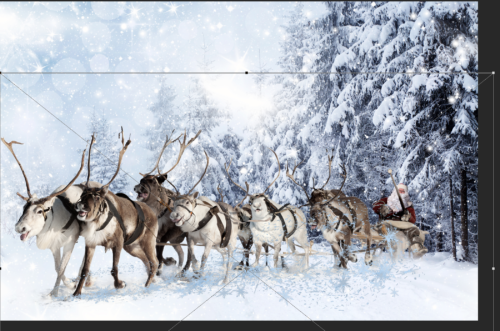
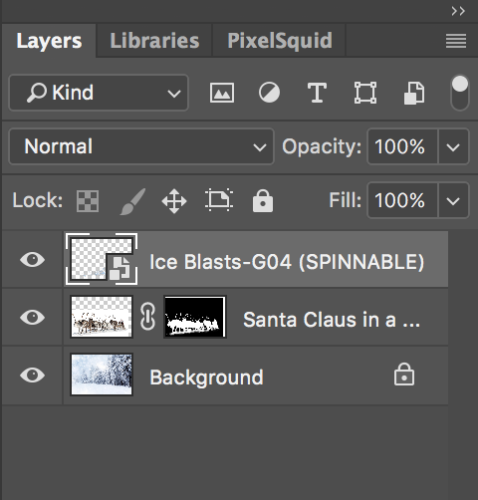
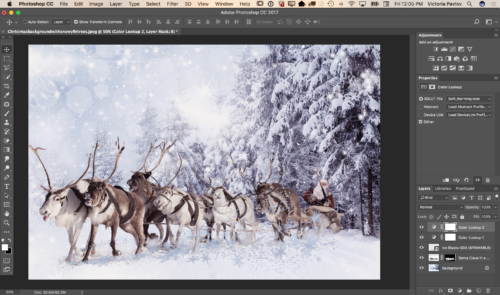
Previously I downloaded a 3D object from PixelSquid.com and now I will simply click on this object (snow) and object will be added to my document
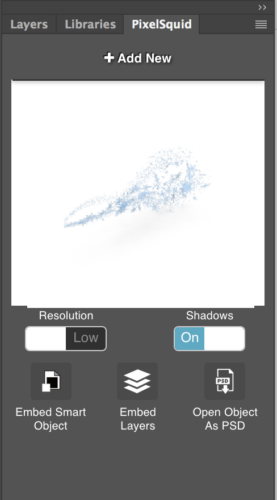
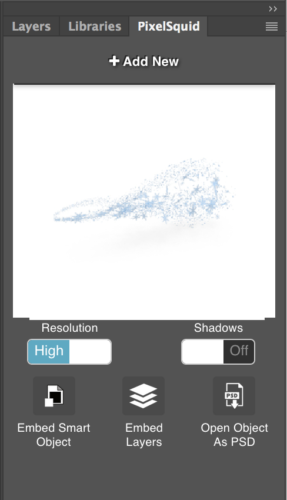
Now I will rotate my 3D object, also will Switch to High Resolution and remove the Shadow
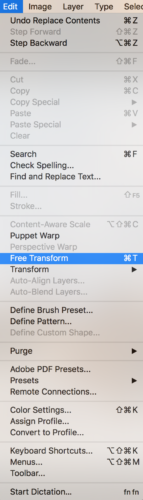
Resize your 3D object using the Free Transform tool
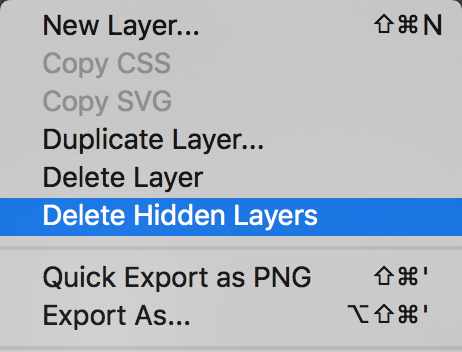
Delete the Hidden Layer from Layer Panel

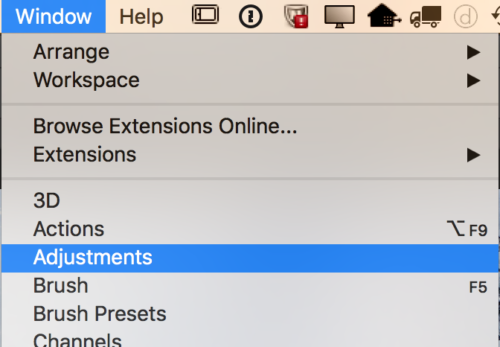
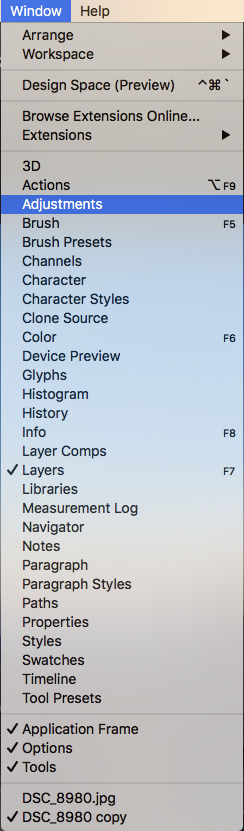
Window > Adjustments
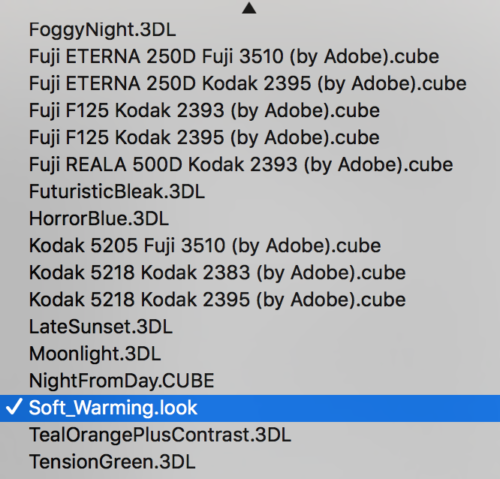
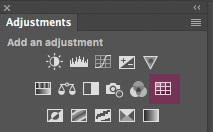
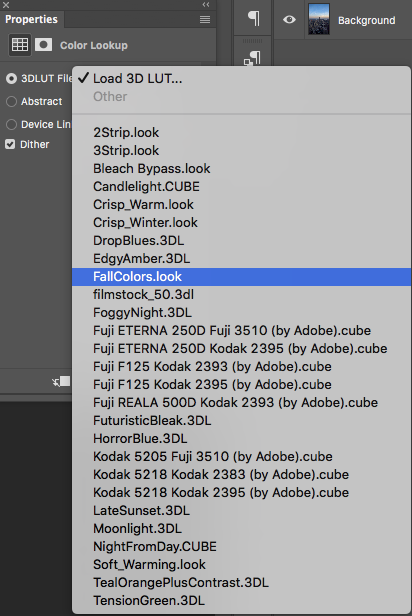
Color Lookup Adjustment
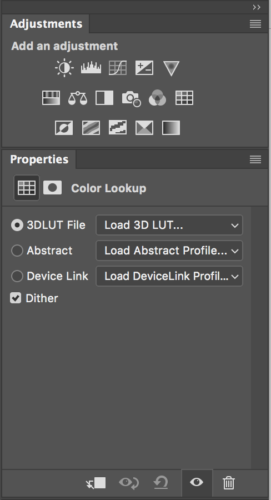
Choose Soft_Warming.look

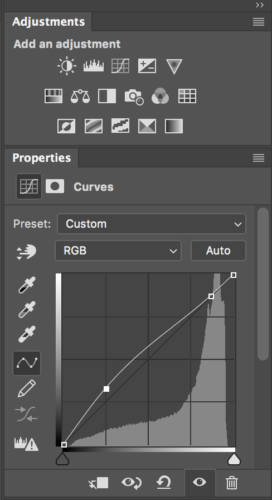
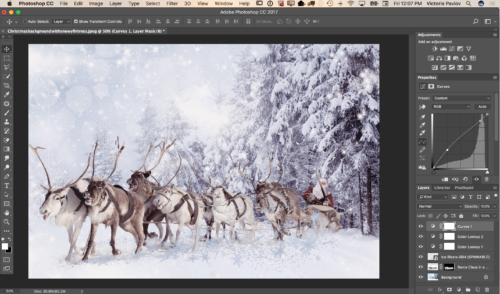
Adjustments > Curves
Adjustments > Brightness / Contrast
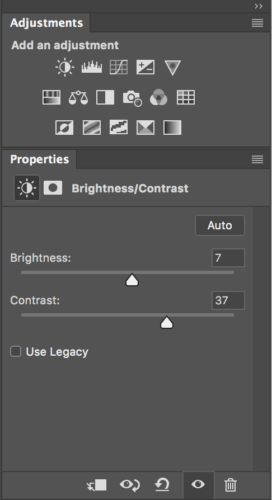
Make 3D object layer’s opacity = 67%
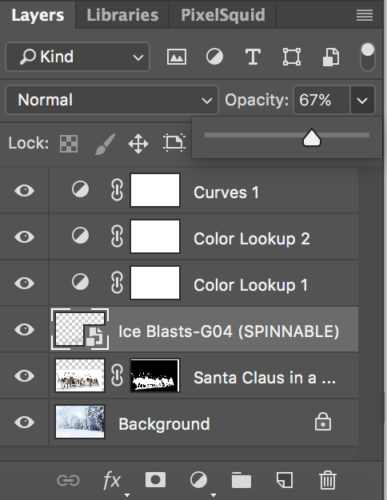
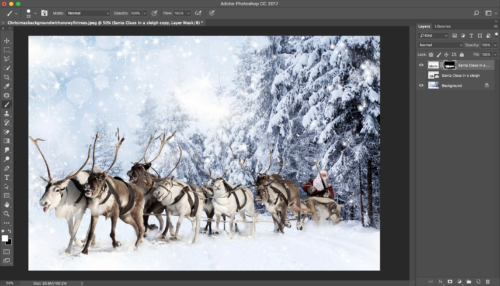
Now your image is ready

My Books on Amazon
Speed Painting in Adobe Photoshop CC
The Oil Paint in Adobe Photoshop for Photographers
How to Retouch your image in Adobe Photoshop Fix
My Books on Amazon:
Digital Painting for Photographers in Adobe Photoshop
Follow me on Twitter
How to remove reflection in Adobe Photoshop CC
My Books on Amazon
The Adobe Mobile Apps
Digital Painting in Adobe Photoshop CC for Photographers
How to use the Clone Stamp Tool in Adobe Photoshop CC
My Books on Amazon
Digital Painting for Photographers in Adobe Photoshop CC
The Adobe Mobile Apps Book
New Adobe Photoshop CC Tutorials
How to add a light from your lamp to a photo
How to add a light from your window to a photo

Adobe Photoshop Creative Cloud 

How to add a sunset effect in Adobe Photoshop
I took this picture few year ago in NYC using my iPhone

The above image was taken in the evening through a glass window with MANY PEOPLE around me so I did not have time to adjust my camera settings. Thanks to Adobe Photoshop I can improve my image (because I know how warm and beautiful the sunset looked and I want to make my photo looks as close to original condition as possible).
Window> Adjustments
Color Lookup > FallColors.look

You can change the layer’s opacity (if needed)
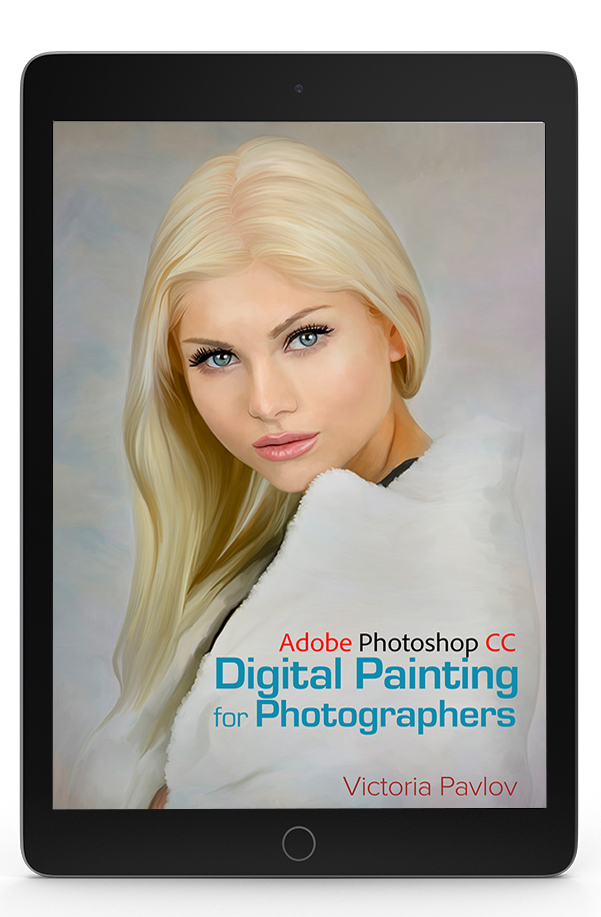
My New Book “Digital Painting for Photographers in Adobe Photoshop CC “ on Amazon
My new book “Digital Painting for Photographers in Adobe Photoshop CC” at amazon kindle store
From earliest recorded time on earth people have been trying to express, capture, the moment, emotions, and their lifestyle. From century to century people developed new skills, new style bringing art to the next level…year by year, decade by decade, century by century.
We are lucky to live in the 21st century with all the available technology that gives us the possibility to combine different types or media from traditional methods of painting to photography and digital painting.
In this book we will discover beautiful the world of painting using digital technology such as Photography

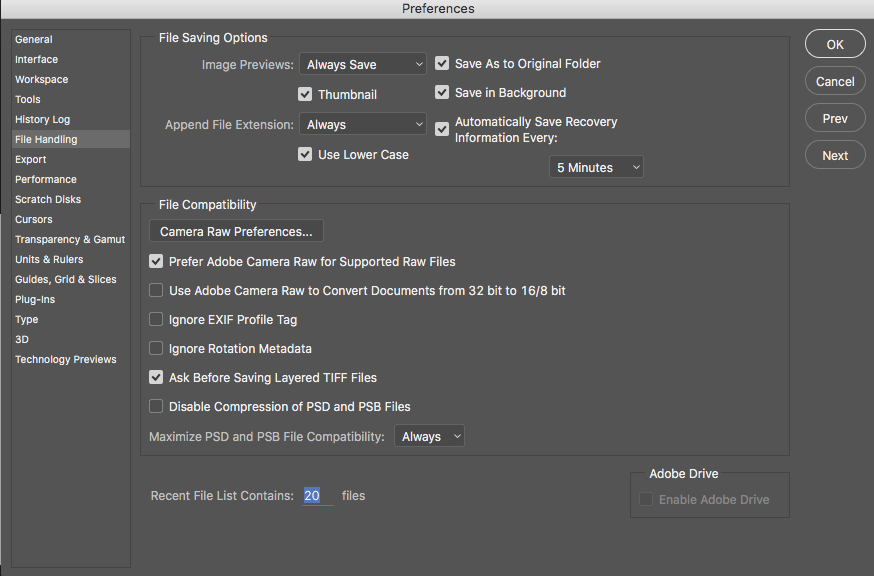
File Saving Options in Adobe Photoshop CC
One of the basic “intelligent” rules in Adobe Photoshop
Here is my preference in File Saving Options in Adobe Photoshop CC.
Image Previews:
We have three options
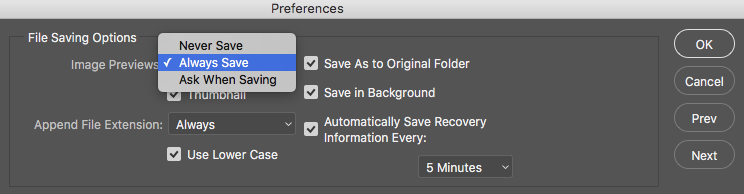
Never Save (If I go with this option I am at risk of losing my work)
Always Save » This is my preference (In this case my files will be saved all the time so I am protected against losing my file/work)
Ask When Saving (if I go with this option it will slow down my workflow. Could you imagine clicking every single time on Save/Don’t save?)
√ Save As to Original Folder
√ Save in Background
√ Thumbnail
Append File Extension
We have three options
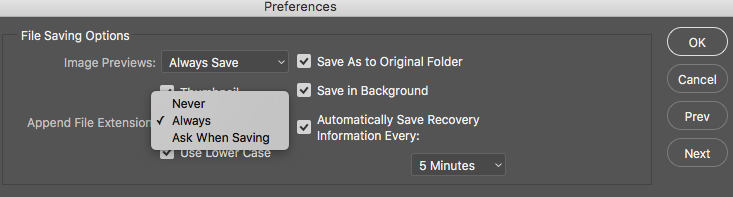
Never Save
Always Save » My option
Ask When Saving
√ Use Lower Case
The last option in File Saving Options is VERY important: Automatically Save Recovery Information Every 5, 10,15,30, 1 Hour.
With this option if your computer crashes when you are working on your file, the next time you open your Photoshop your latest autosaved version of your file will be opened as well.
I setup this option to Automatically Save Recovery Information Every 5 minutes.
How we can use Content – Aware Move Tool in Adobe Photoshop
