Category Archives: Uncategorized

What you would like to see

I am planning to record new series of tutorials:

  • Adobe Creative Cloud
  • Adobe Photoshop CC
  • Adobe Fuse CC
  • Adobe Lightroom CC
  • Adobe Muse CC
  • Adobe Photoshop Sketch
  • Adobe Illustrator Draw
  • Adobe Comp CC
  • Adobe Capture CC
  • Adobe Lightroom Mobile
  • Adobe Photoshop Mix
  • Adobe Photoshop Fix
  • Adobe Stock


Any specific tutorials you would like to see? If so please, let me know using Post Comment option below or send me a tweet @Victoria_Pavlov

Astropad with iPad Pro and Apple Pencil


Digital Painting

Astropad with iPad Pro and Apple Pencil

I have been using the full version of Adobe Photoshop CC  on my iPad Pro using Apple Pencil via the Astropad App for the past few days. The application that helps me to operate Adobe Photoshop CC on my iPad Pro is Astropad. Astropad costs $19.99 and for this very LOW price I am able to work on ANY project using my Adobe Photoshop CC full version on my iPad Pro from ANYWHERE at my home or studio.

Today I tried digital painting in Adobe Photoshop CC on my iPad Pro using the Mixer Brush Tool and Apple Pencil (a pressure sensitive stylus). I am extremely pleased with how Astropad performs. No lag! My brush strokes remans same (real-time), I don’t need to change anything in my technique. I want to point out that all the colors displayed on in Adobe Photoshop CC using Astropad are absolutely the same to my eyes.

Another BIG plus with Astropad is that I don’t need to look at my monitor during my painting. So the digital painting experience using iPad Pro and Apple Pencil in combination with the full version of Adobe Photoshop CC is ABSOLUTELY identical to traditional painting using canvas, paper and your favorite brush or pencil (My iPad Pro and Apple Pencil review is posted here) .


Now when I travel I will not take with me my medium Wacom Intuos tablet because I always travel with my iPad Pro. My iPad Pro  has all my favorite mobile applications like Adobe Photoshop Sketch, Adobe Photoshop Fix, Adobe Photoshop Mix and many more Adobe mobile apps. So why would I need to carry my Wacom tablet with me anymore? I don’t.


My in Studio Gear List and On the Go Kit


Victoria Pavlov Studio


I’ve been asked many time which apps and equipment I use in my studio or when i am travel.  So I decided to put together my studio equipment list and on the go kit.

Studio kit:

Adobe Creative Cloud Full plan 
iMac
Wacom Intuos
iPad
Adobe ink
Nikon D600
Westcott Rapid Box
Wescott Eyelighter
Tripod
iPhone 6 Plus
Microphone
Easel
Arkon_Mount TWBroadcaster


On to go kit:

Adobe Creative Cloud Full plan
MacBook Pro
Wacom Intuos
iPad
iPhone
Adobe Ink & Slide
Nikon D600
Westcott LED
Tripod
Arkon_Mount RM179

Help To Go

panic button isolated on white

My Help To Go service

My Help To Go service offers help with any of your design and photography projects. If you want a second opinion, or you’re just not sure if you are in a rough patch I can help you. This is a one-on-one online consultation. You can choose between half hour and one hour consultation.

I support follow applications:

  • Adobe Photoshop
  • Adobe Lightroom
  • Adobe Muse
  • Adobe Comp
  • Adobe Sketch
  • Adobe Brush
  • Adobe Shape
  • Adobe Lightroom Mobile
  • Adobe Color
  • Adobe Premiere Clip
  • Adobe Photoshop Mix
  • Adobe Creative Cloud
  • Digital Painting

Create a Zombie image in Adobe Photoshop

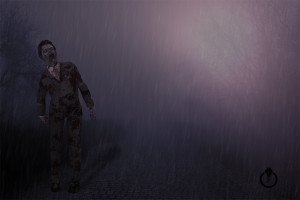
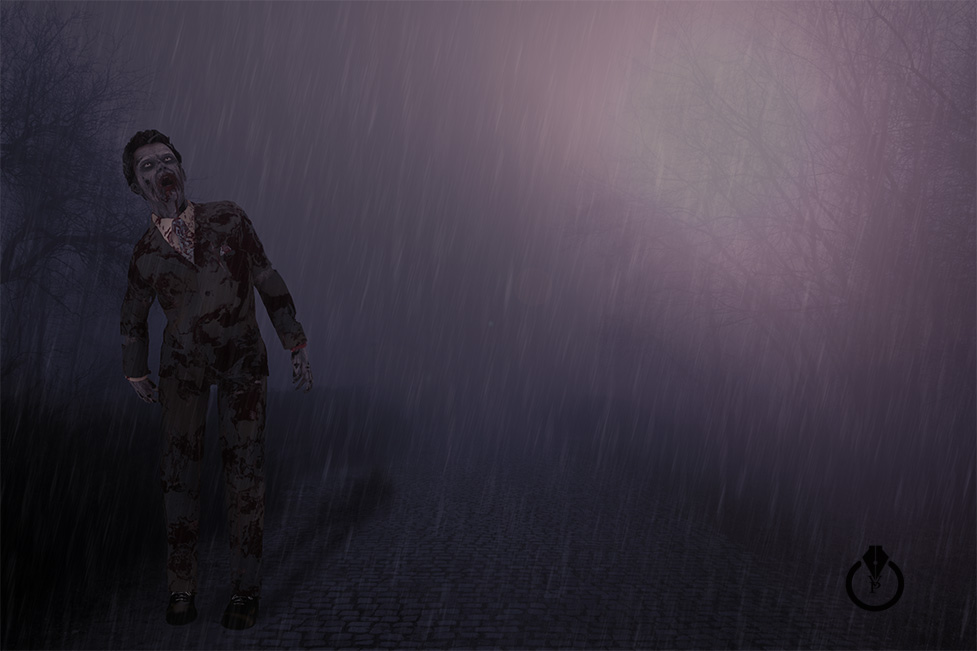
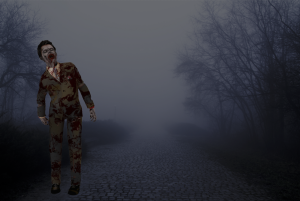
In this tutorial I will show you how to create a Zombie image in Adobe Photoshop

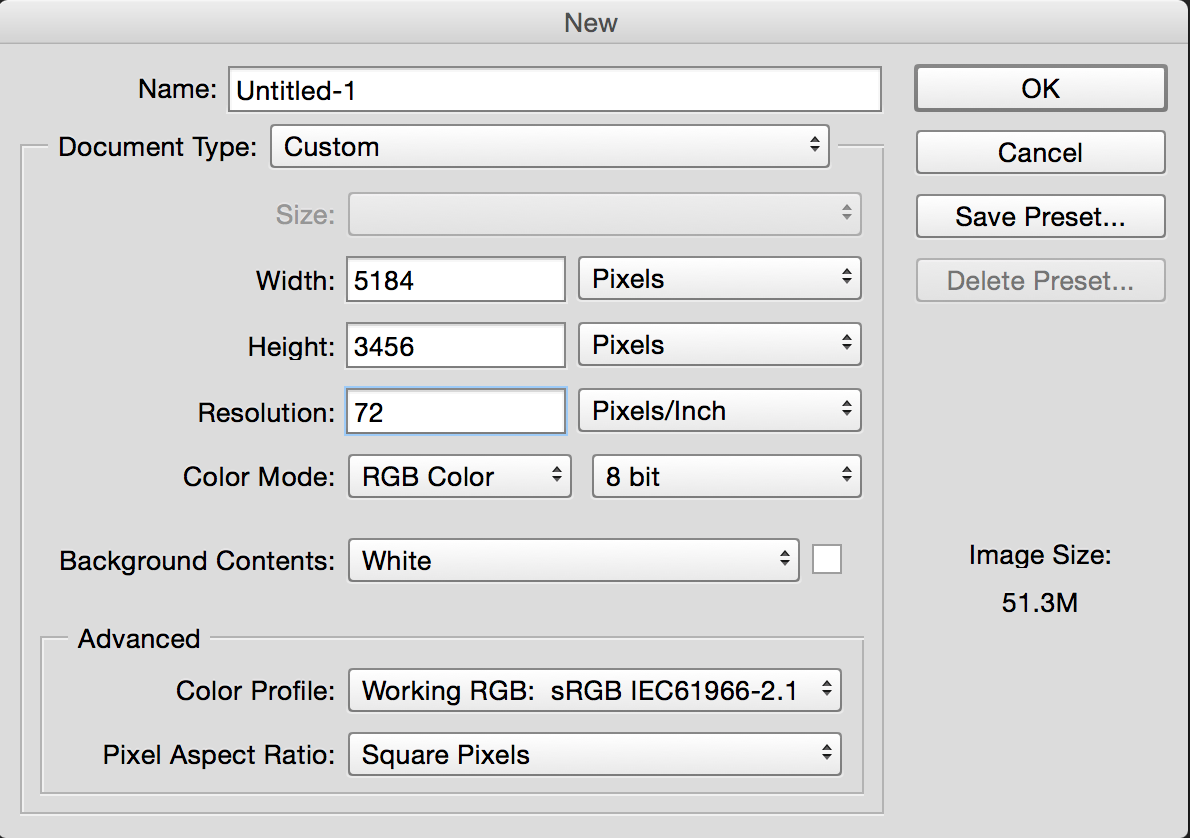
1: Create a new document
Screen Shot 2015-07-15 at 9.45.53 PM

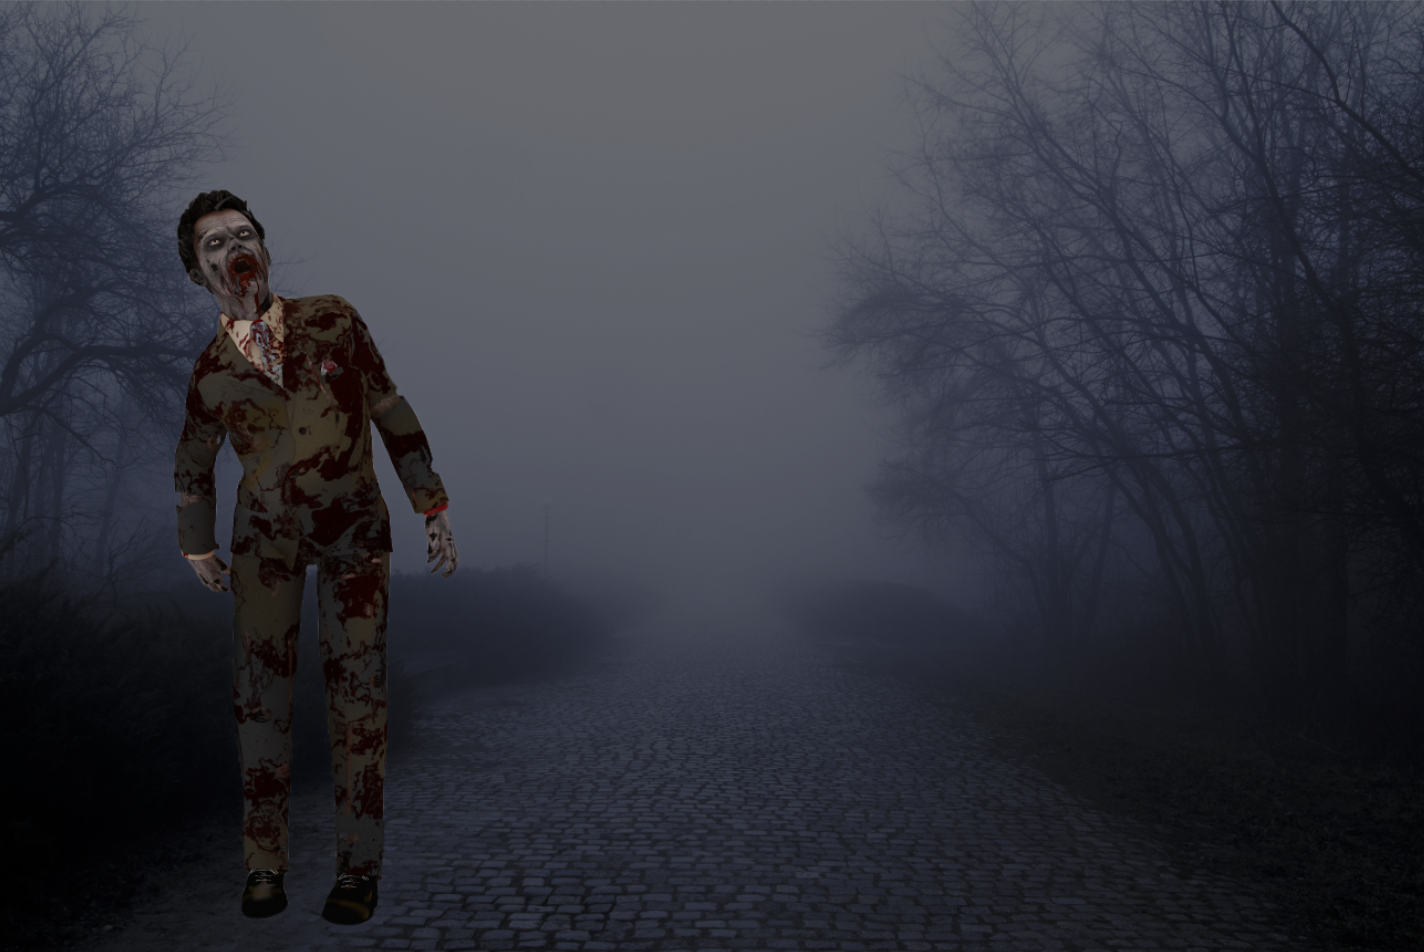
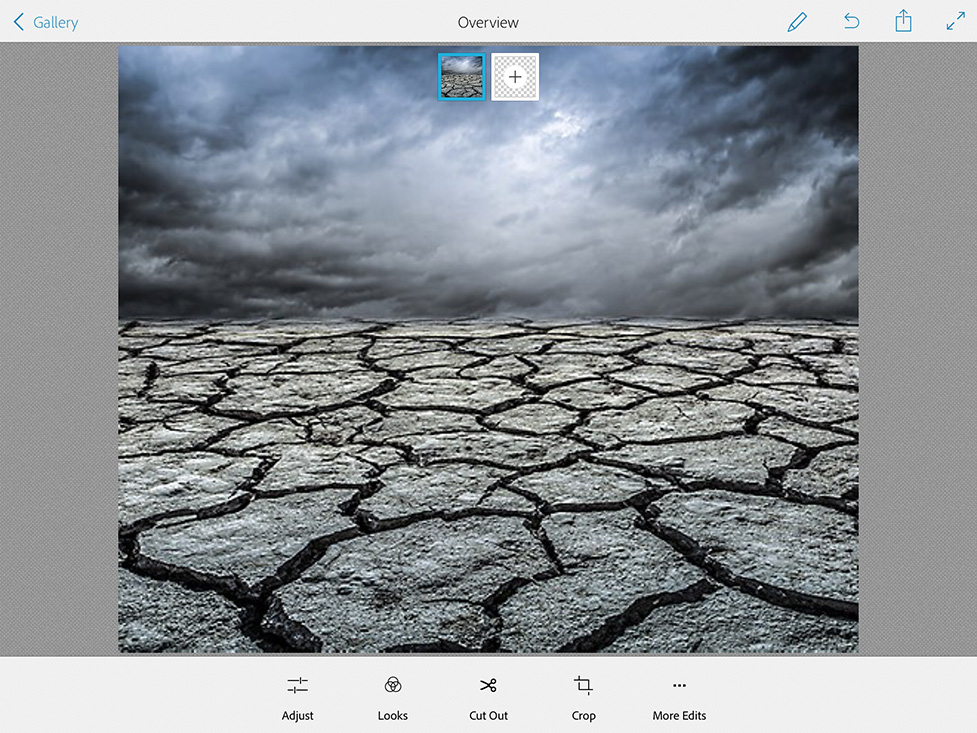
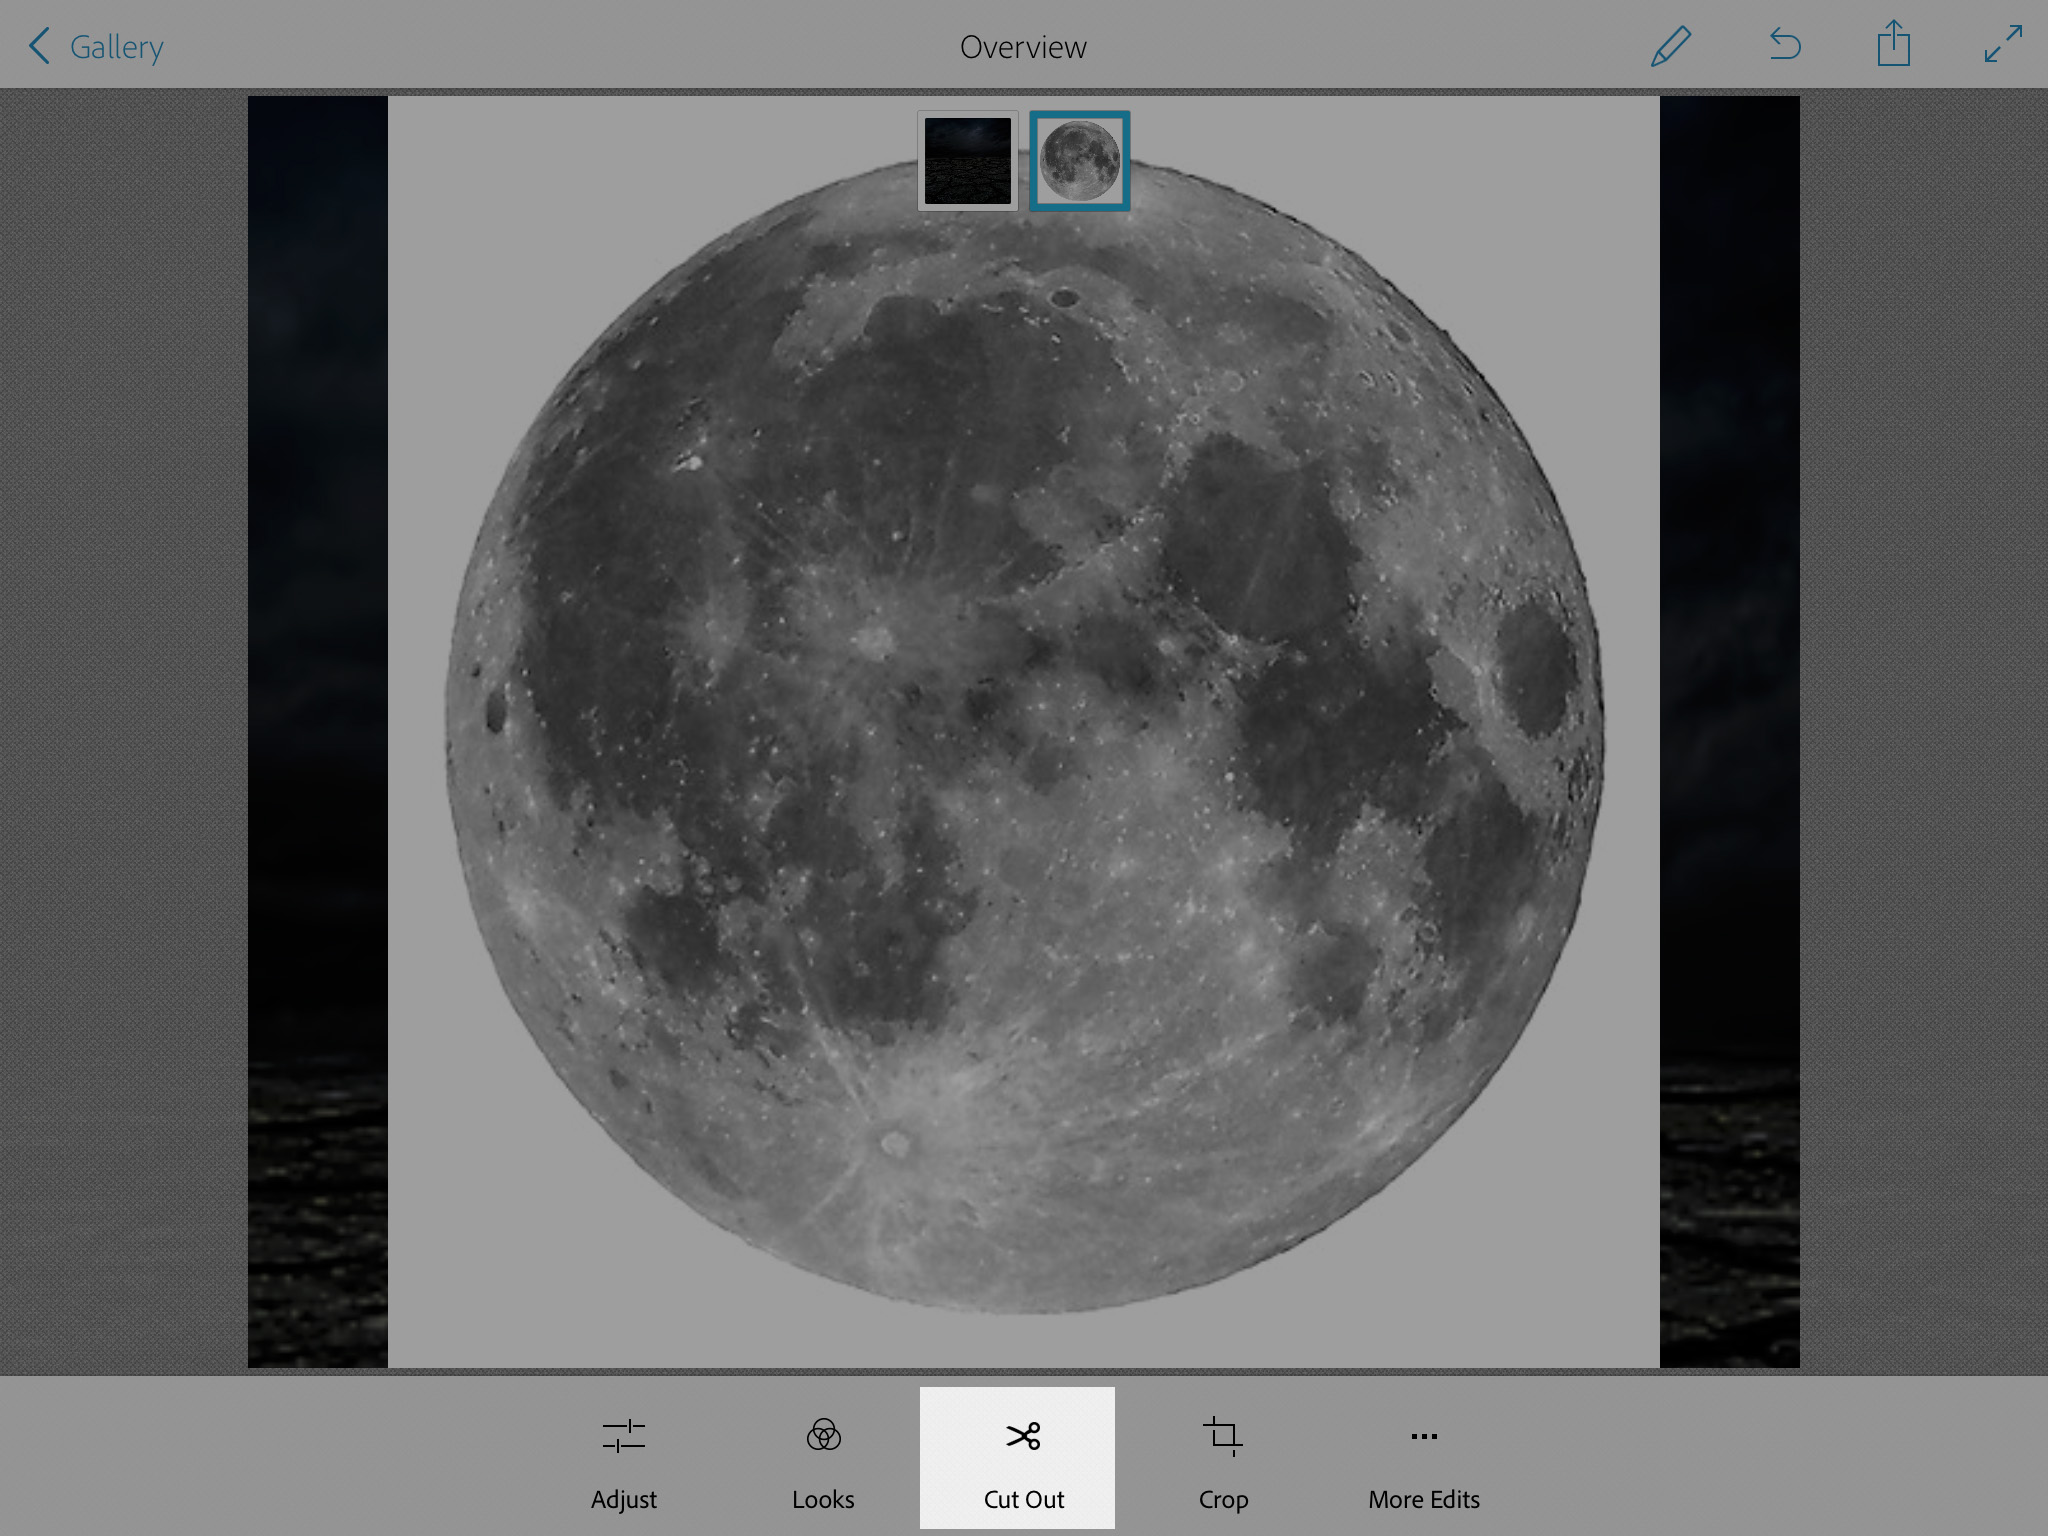
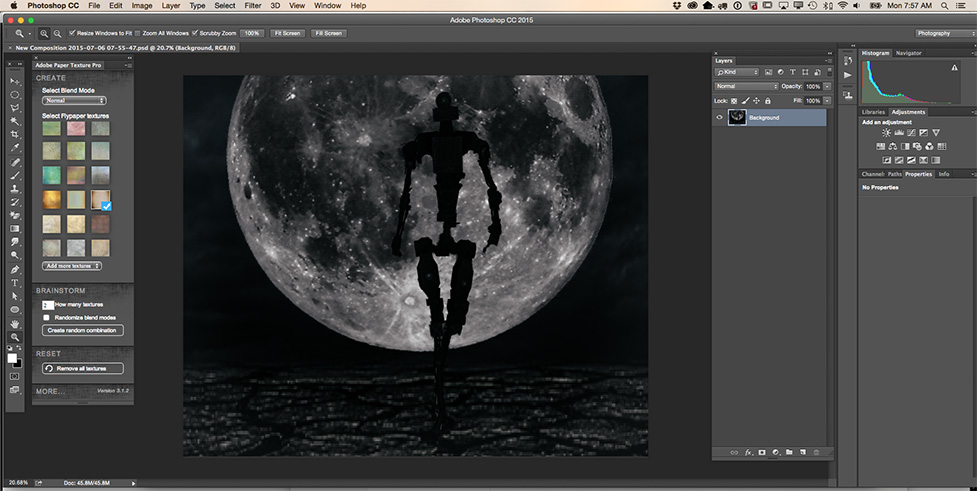
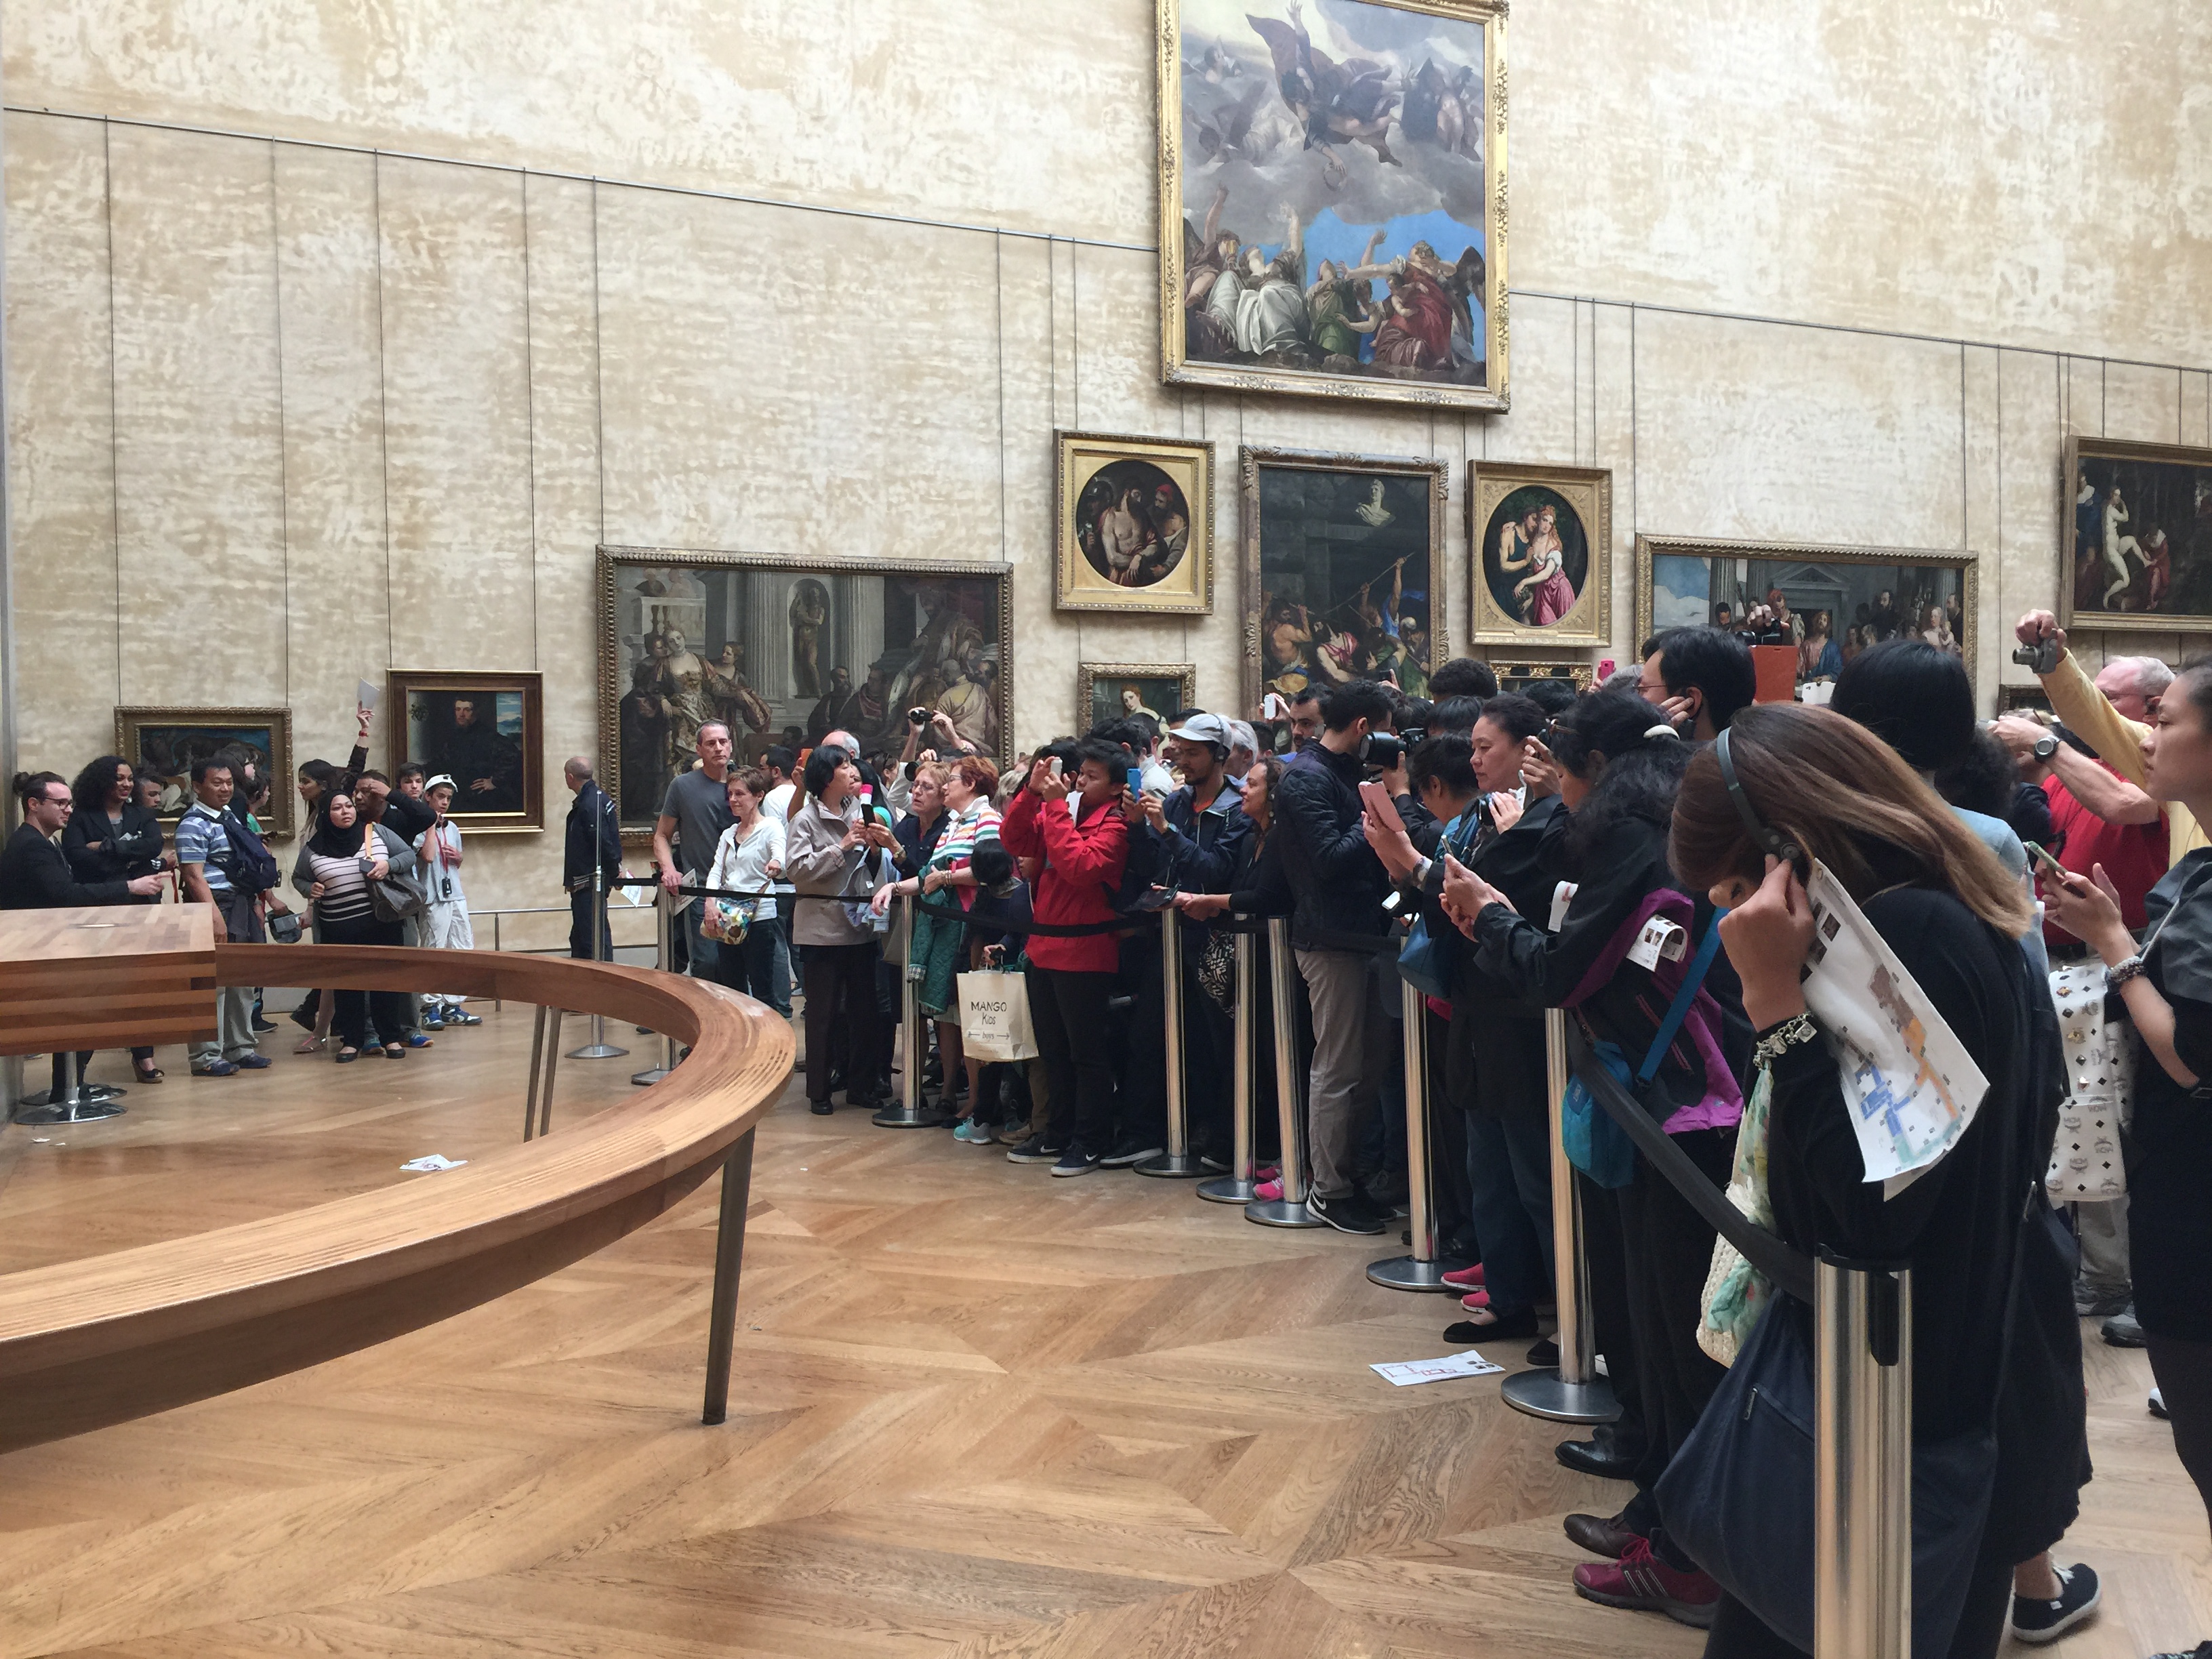
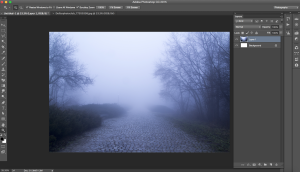
2: Open the image you would like to use as a background image. I am using image I downloaded from Dollar Photo Club.
Select > All > Edit > Copy > Highlight your new document > Edit > Paste
Screen Shot 2015-07-15 at 9.50.19 PM

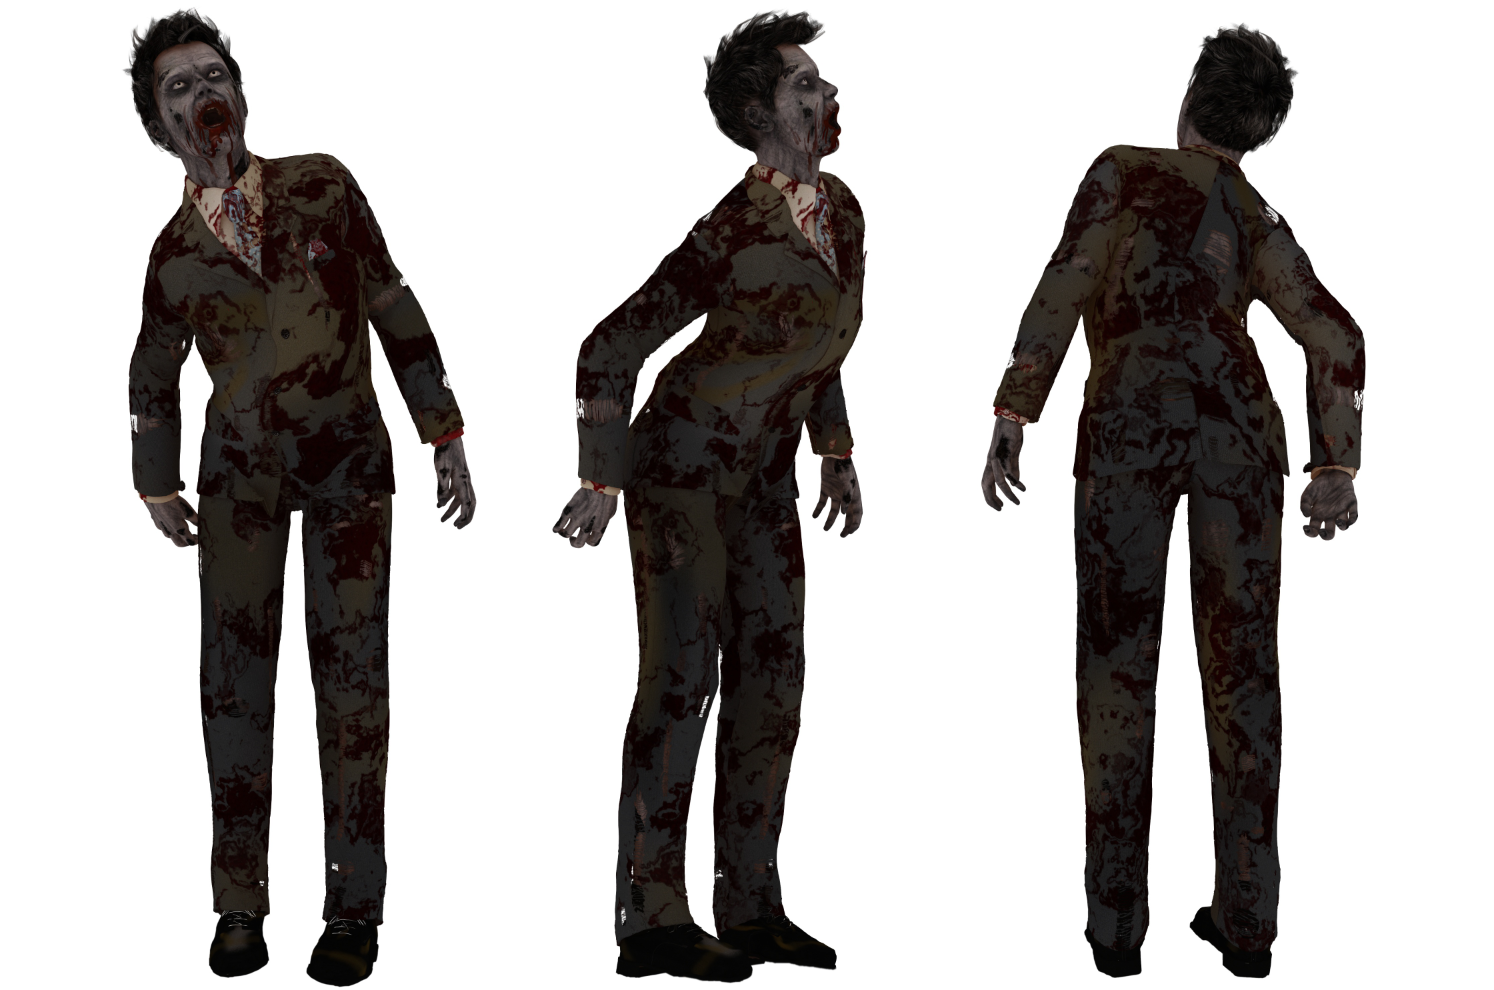
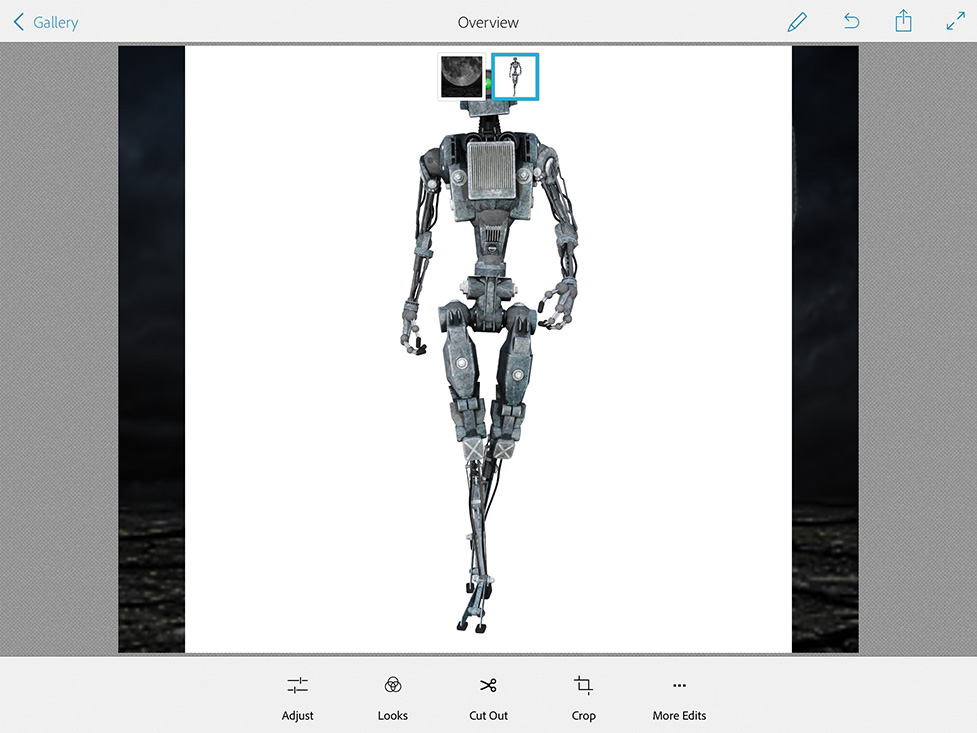
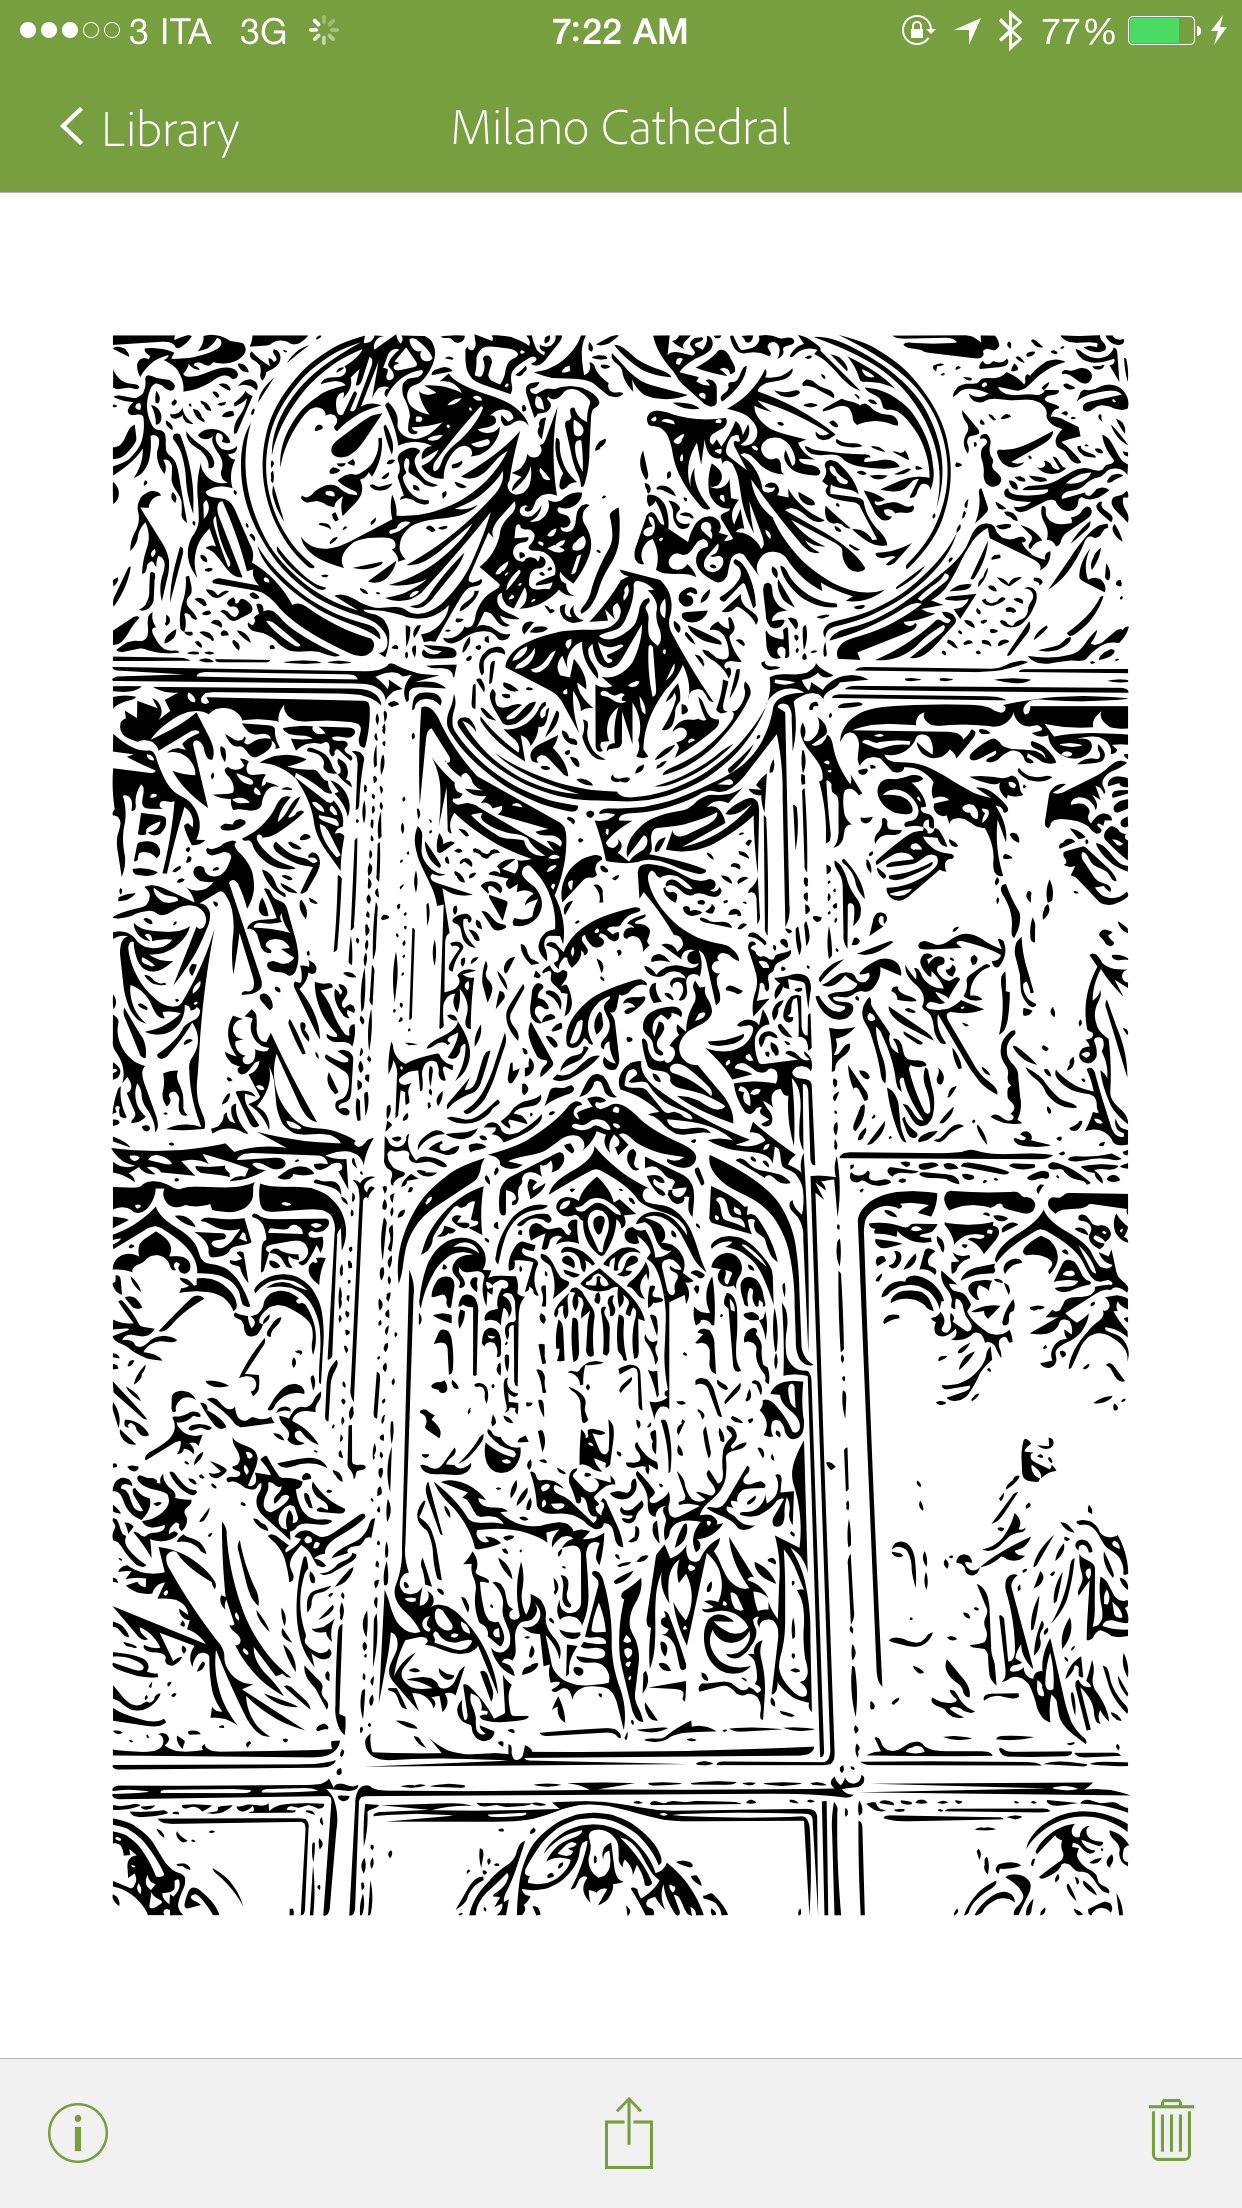
3: Open your Zombie image. I am using image I downloaded from Dollar Photo Club.
Screen Shot 2015-07-15 at 9.52.59 PM

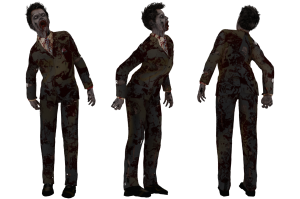
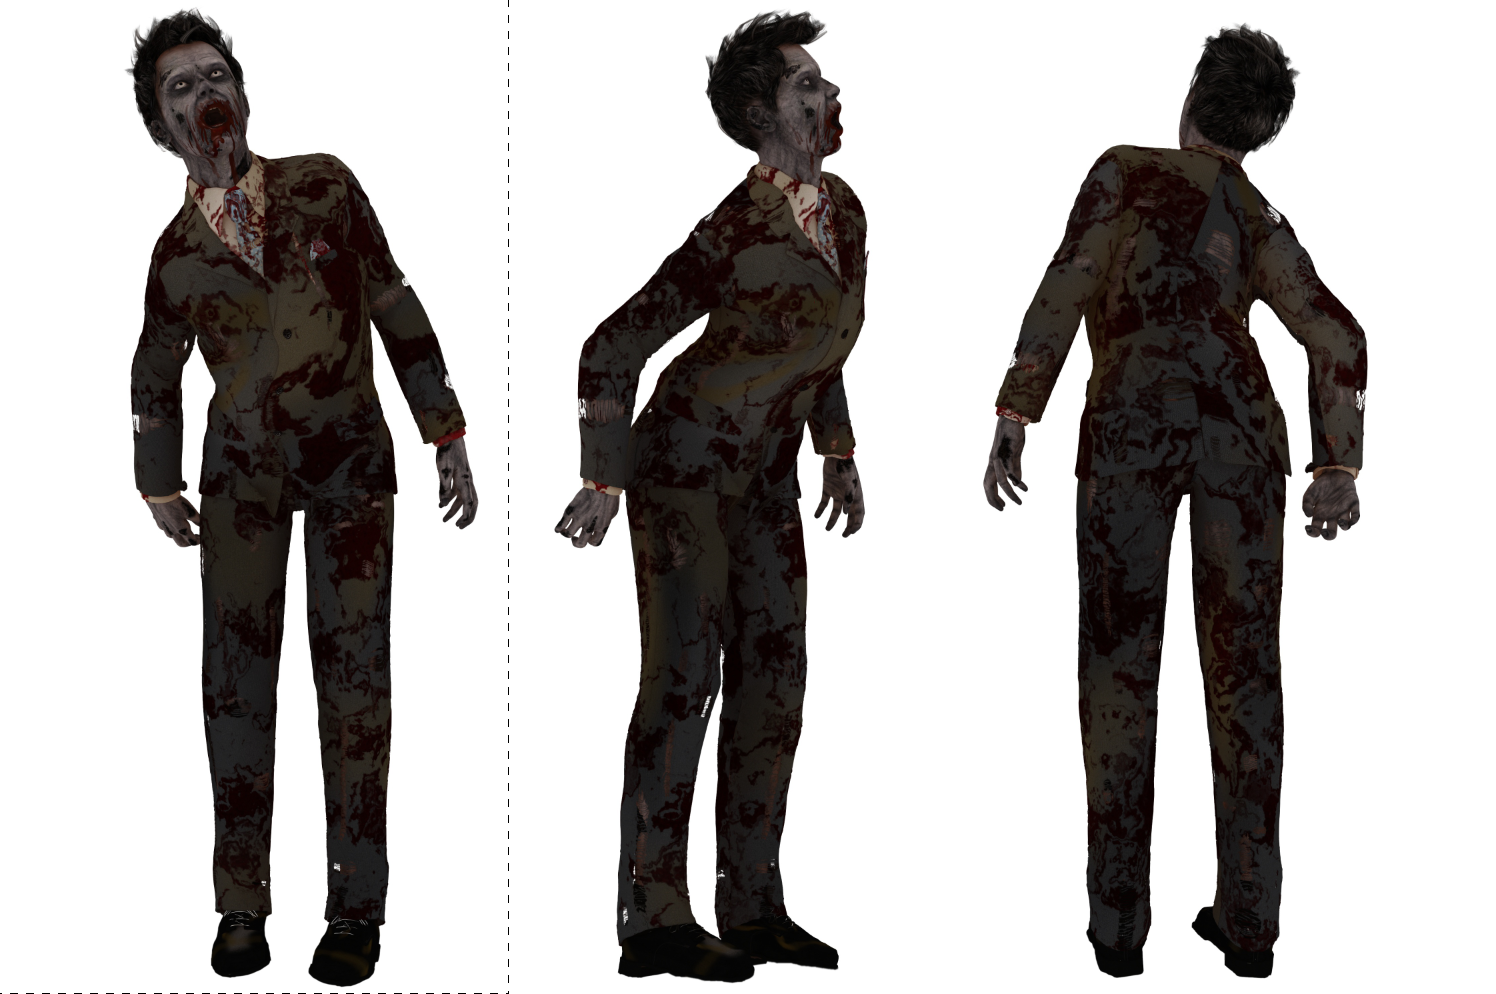
4: Using Rectangular Marquee Tool select your Zombie
Screen Shot 2015-07-15 at 9.55.15 PM

5:  Edit > Copy > Highlight  your document > Edit > Paste
Screen Shot 2015-07-15 at 9.57.57 PM

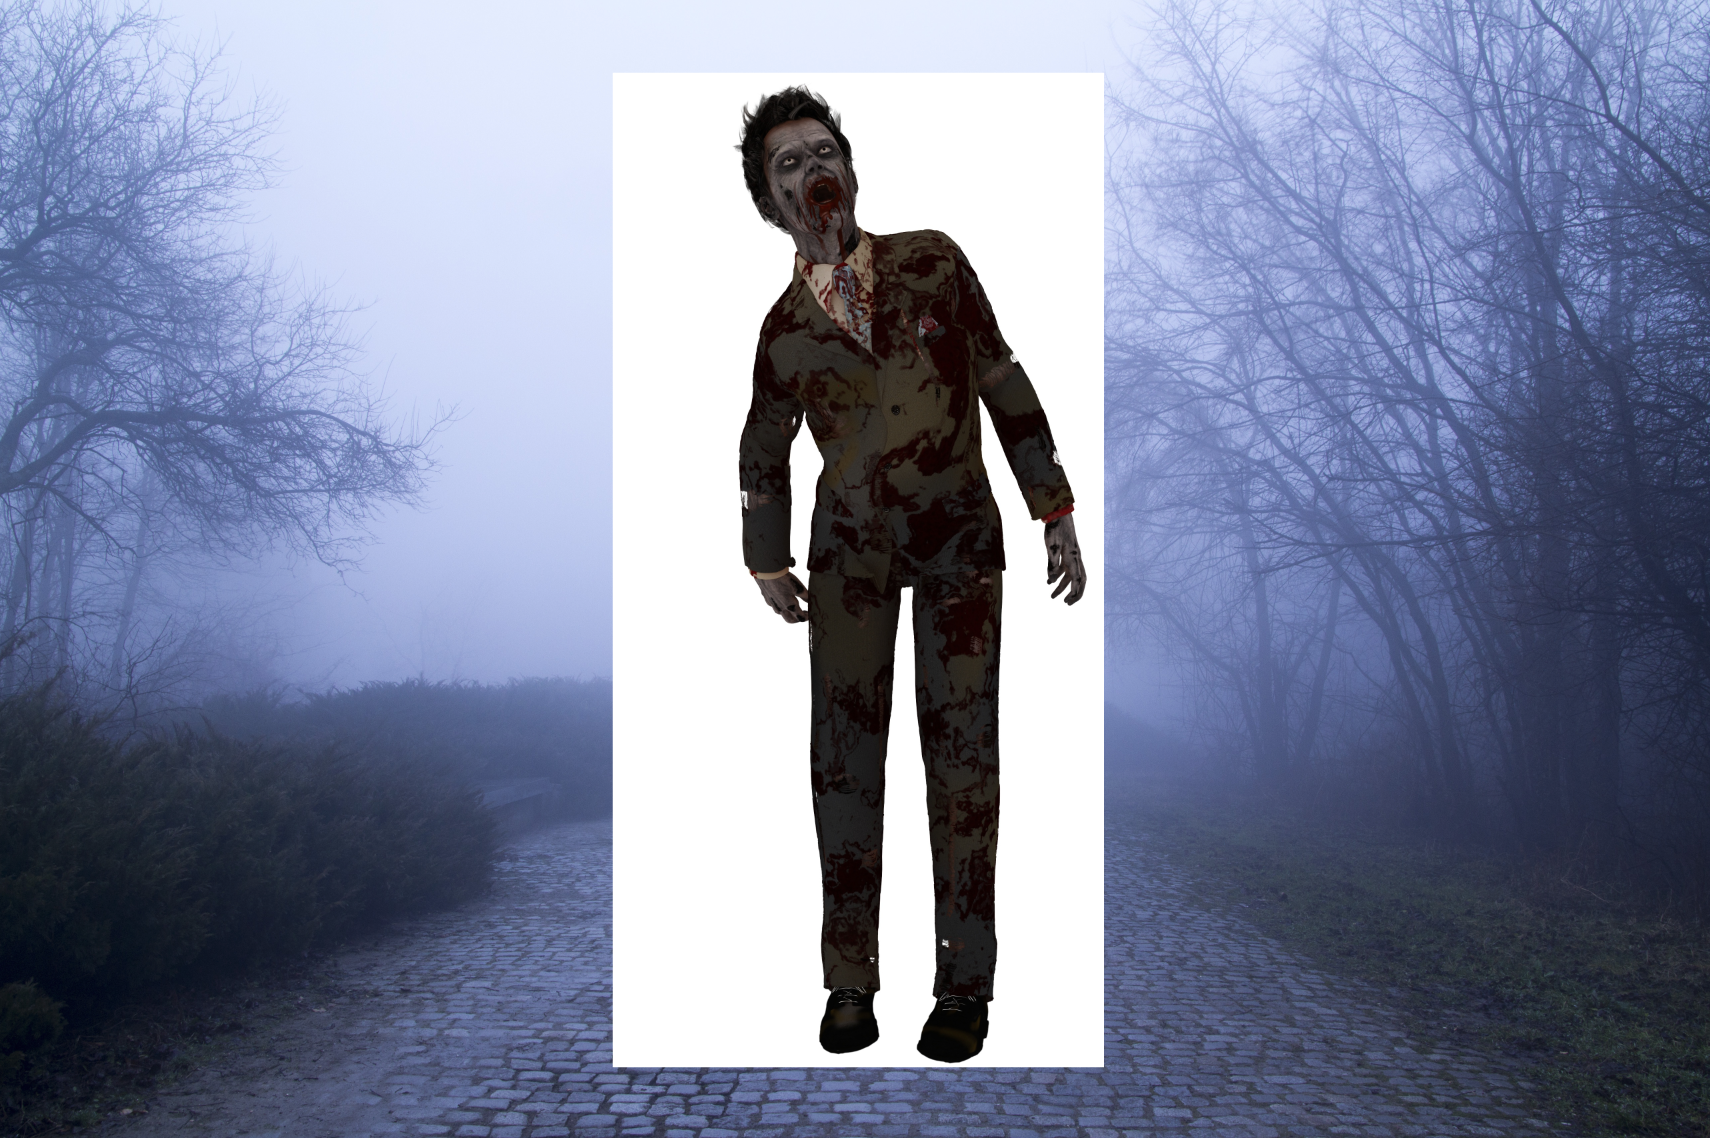
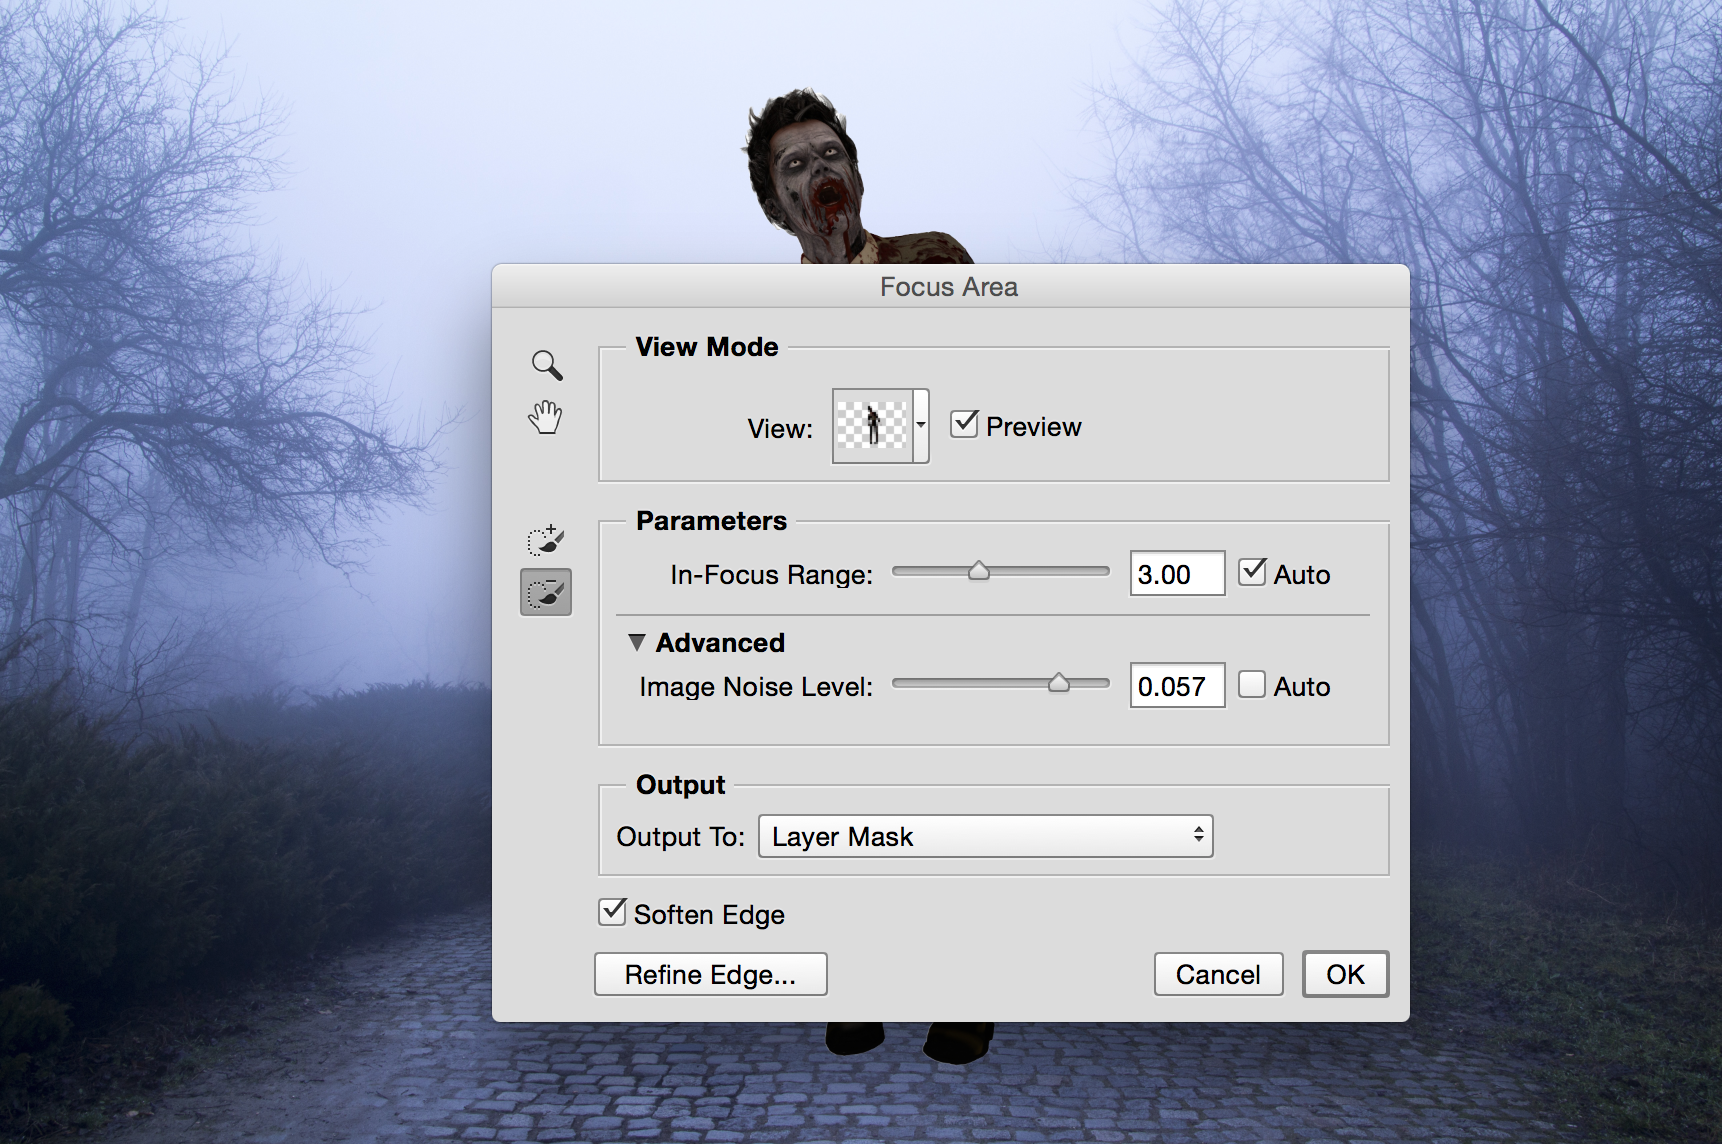
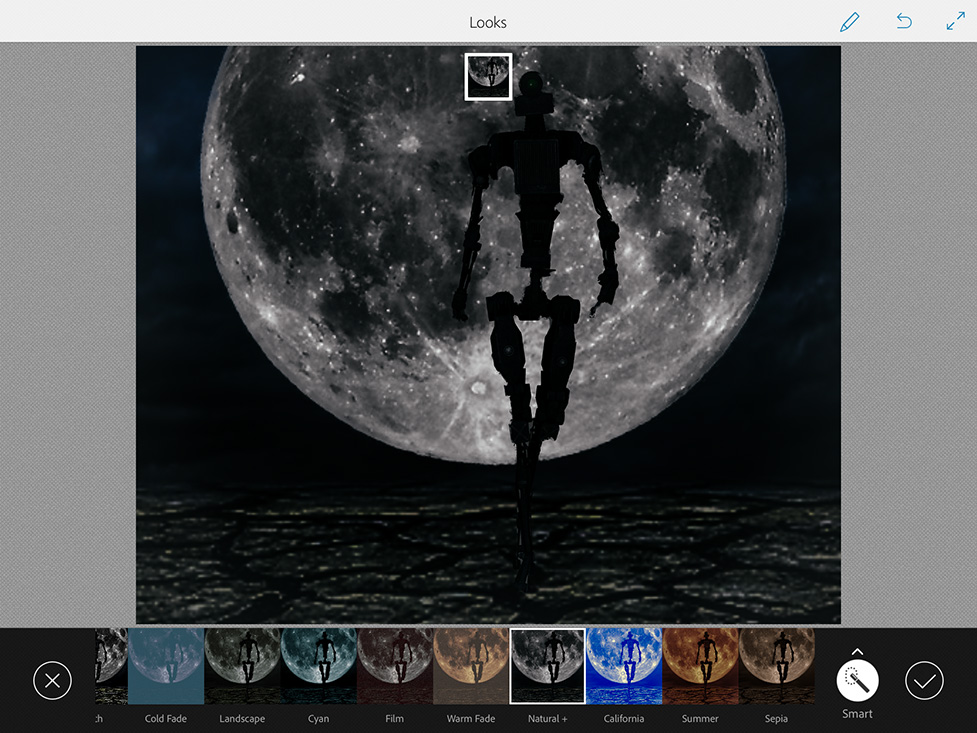
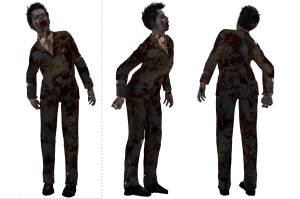
6: Select > Focus Area > Remove the white background around your Zombie
Screen Shot 2015-07-15 at 10.04.42 PM

Screen Shot 2015-07-15 at 10.05.38 PM

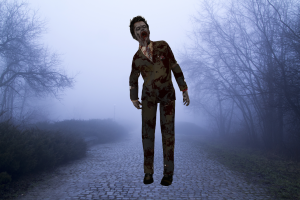
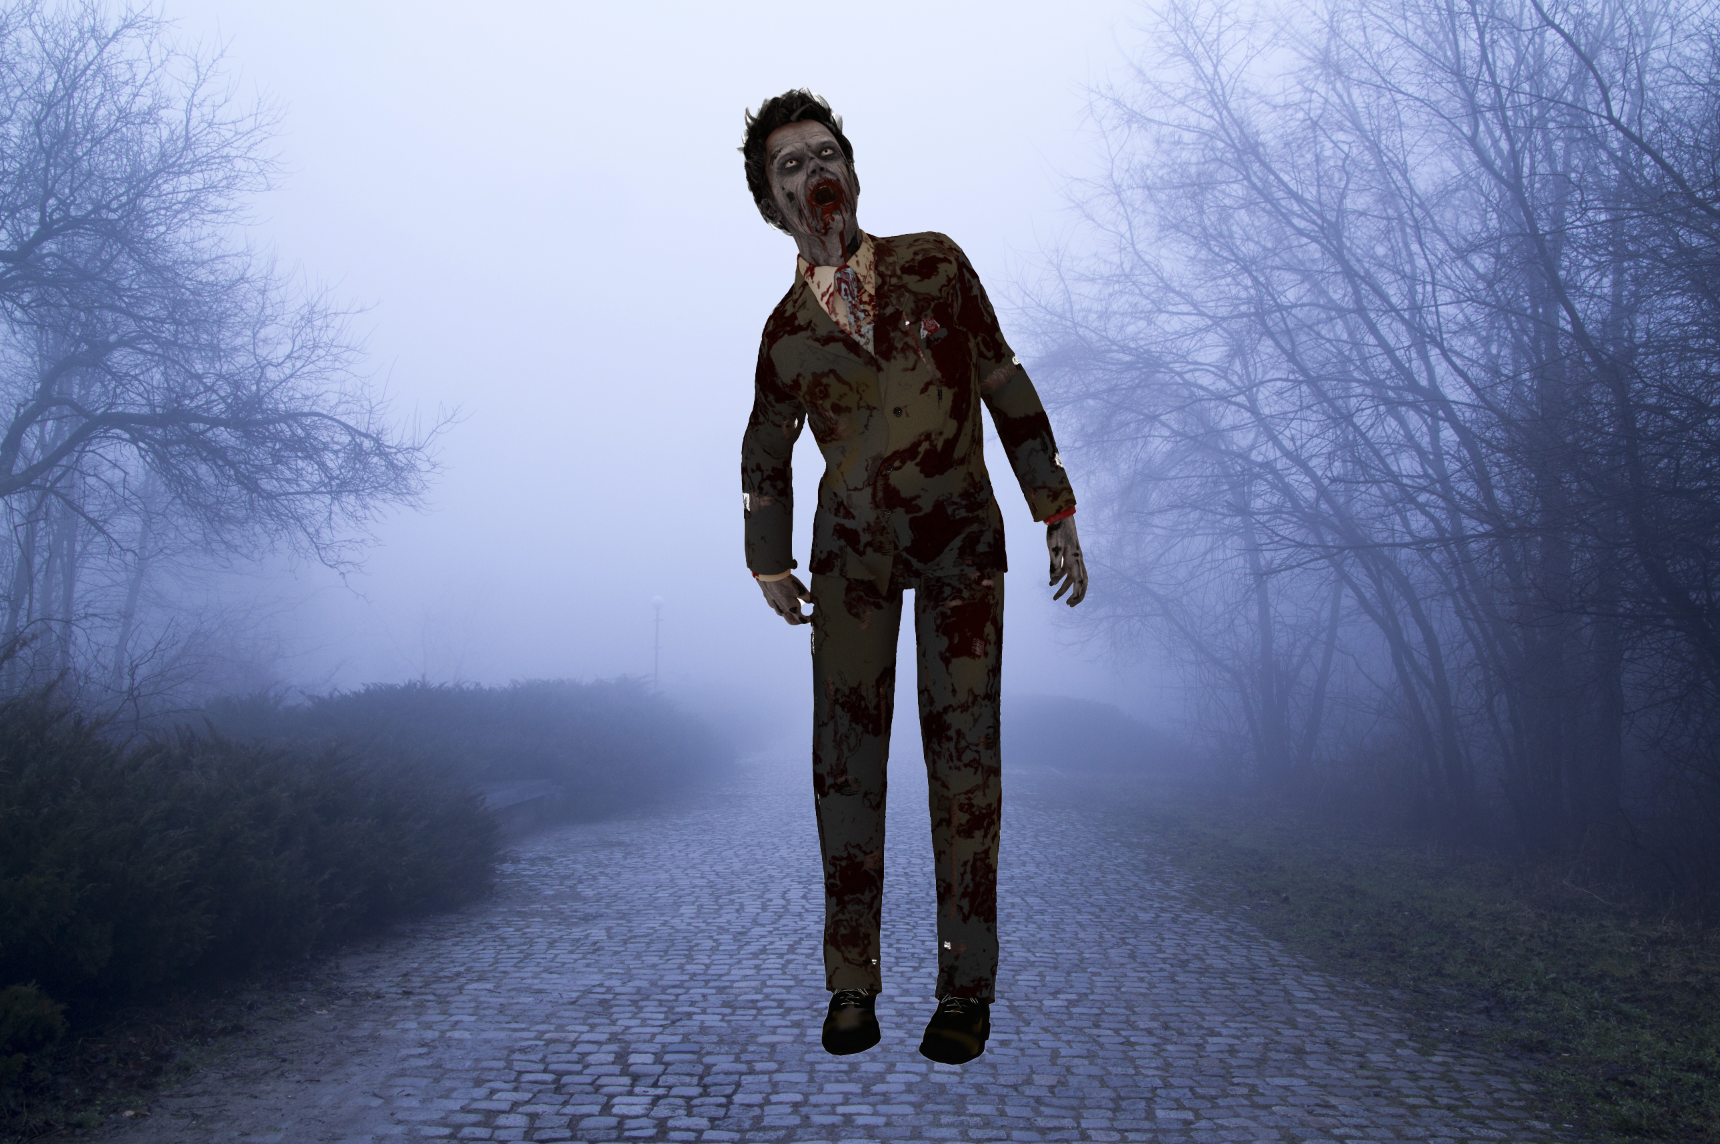
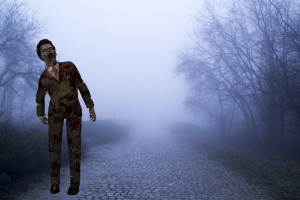
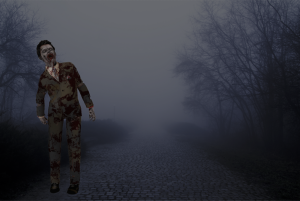
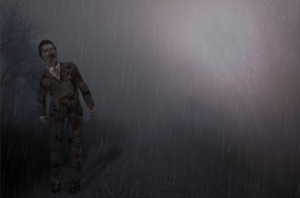
7 : Resize and move your Zombie
Screen Shot 2015-07-15 at 10.15.37 PM

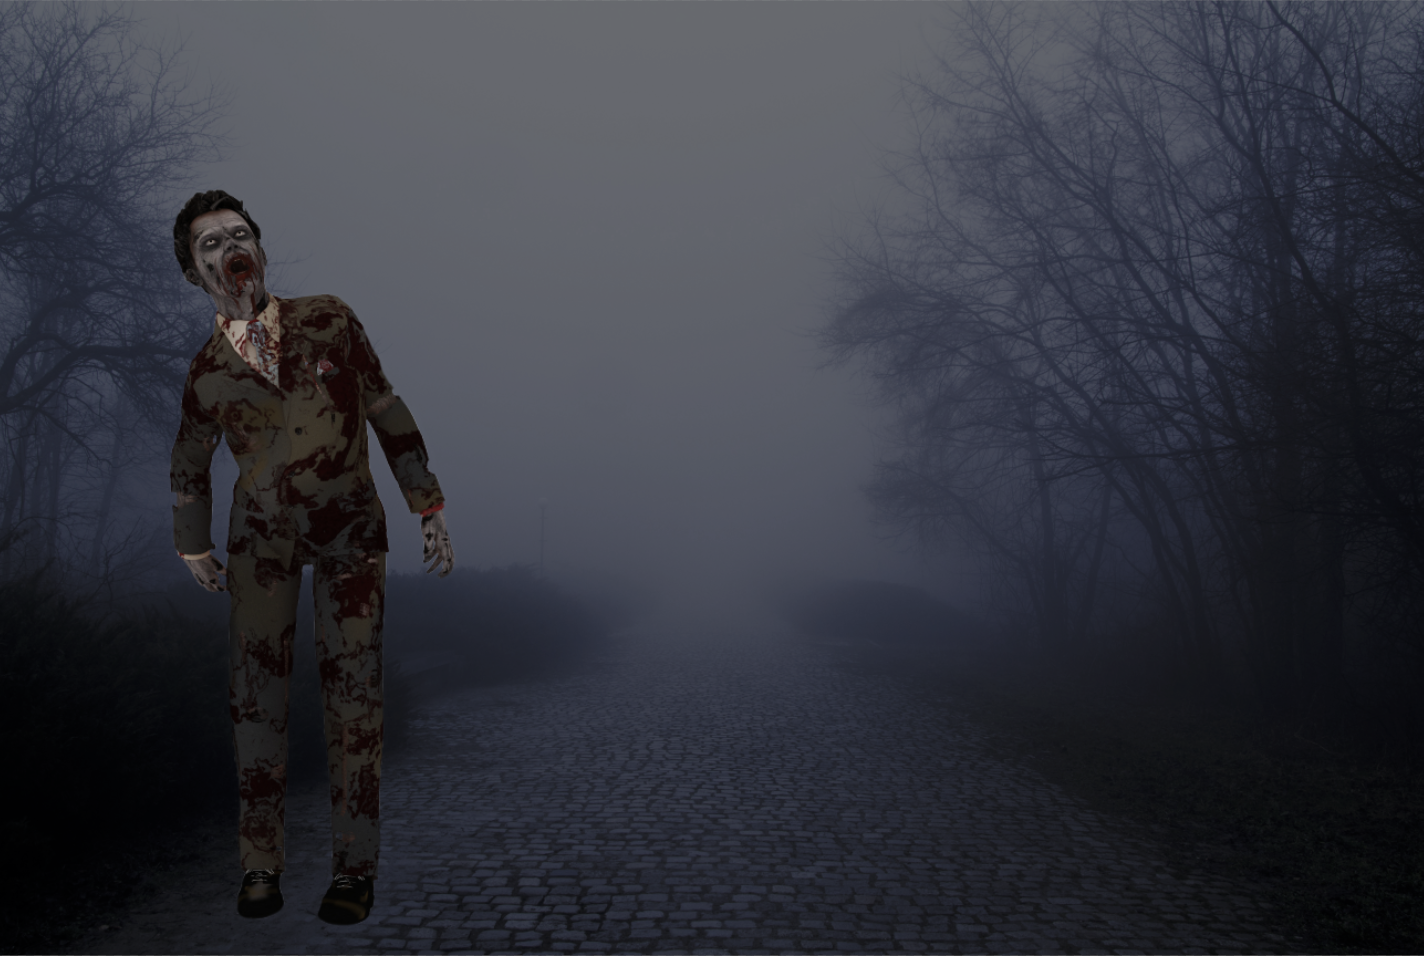
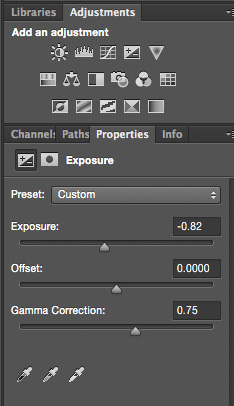
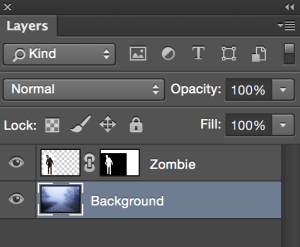
8: Highlight the background layer
Screen Shot 2015-07-15 at 10.17.10 PM

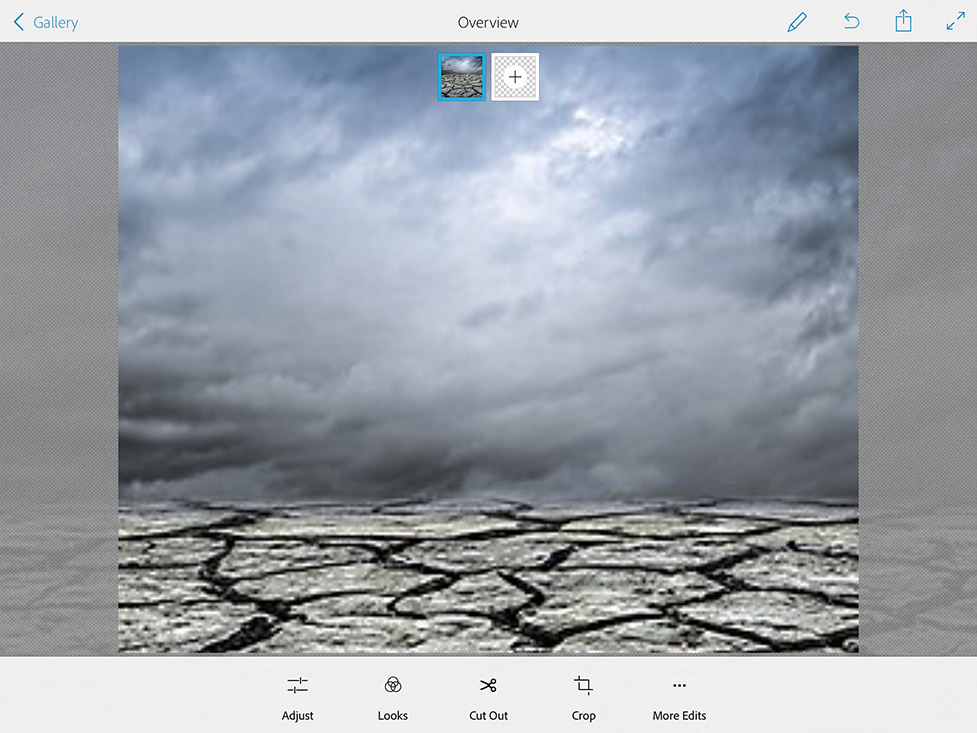
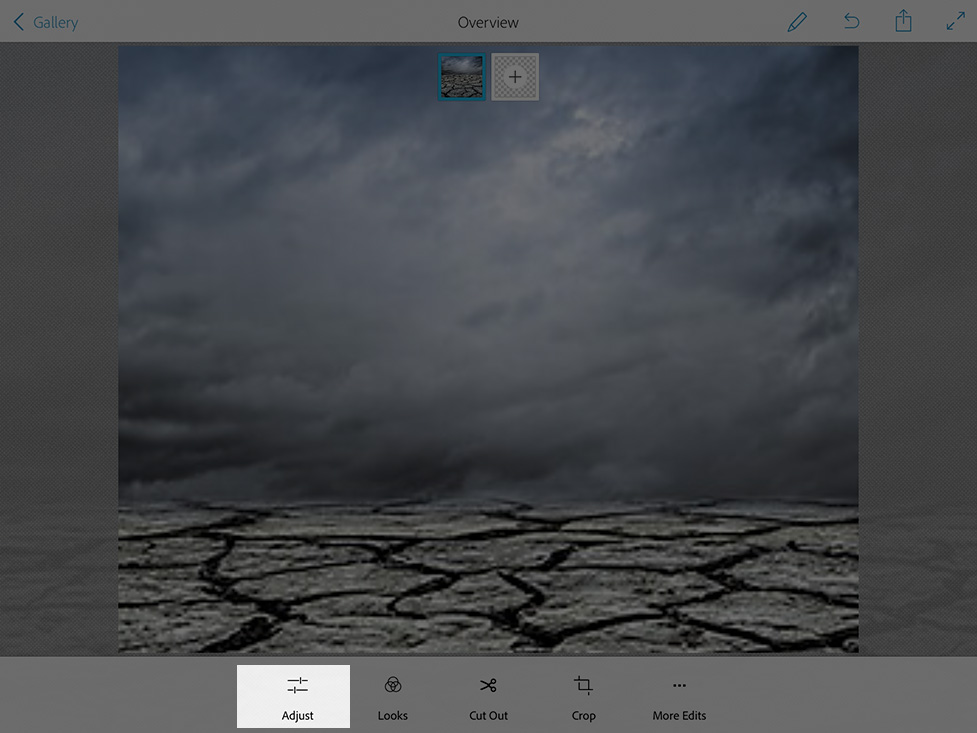
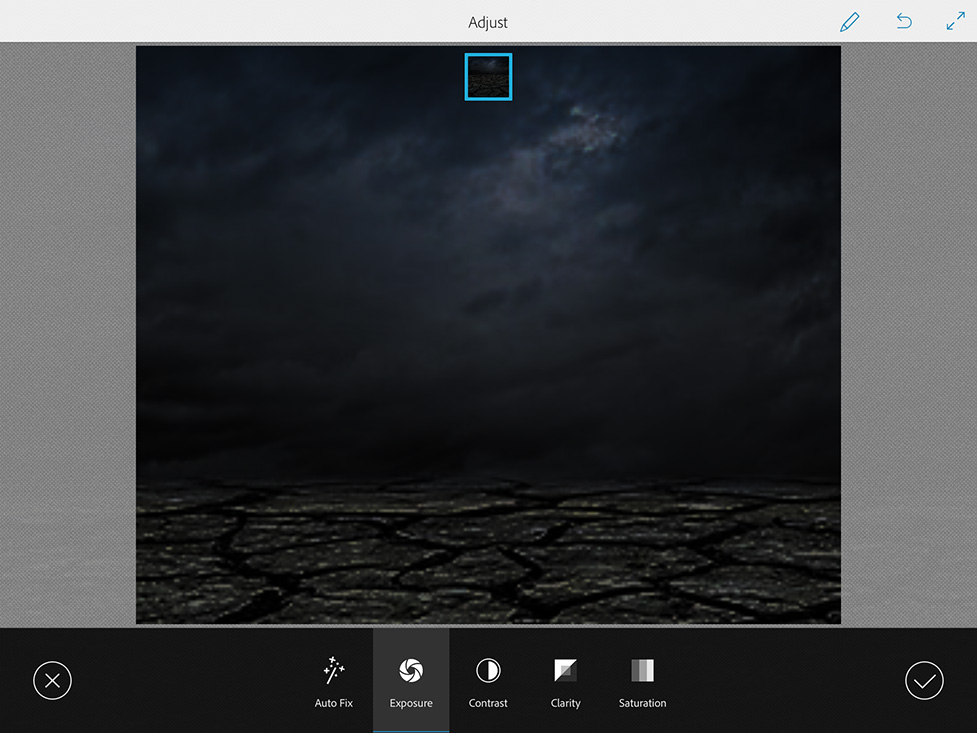
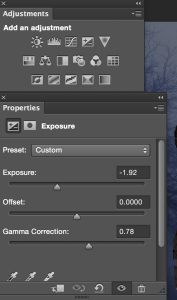
9: Adjustments Layer > Exposure
Screen Shot 2015-07-15 at 10.33.44 PM

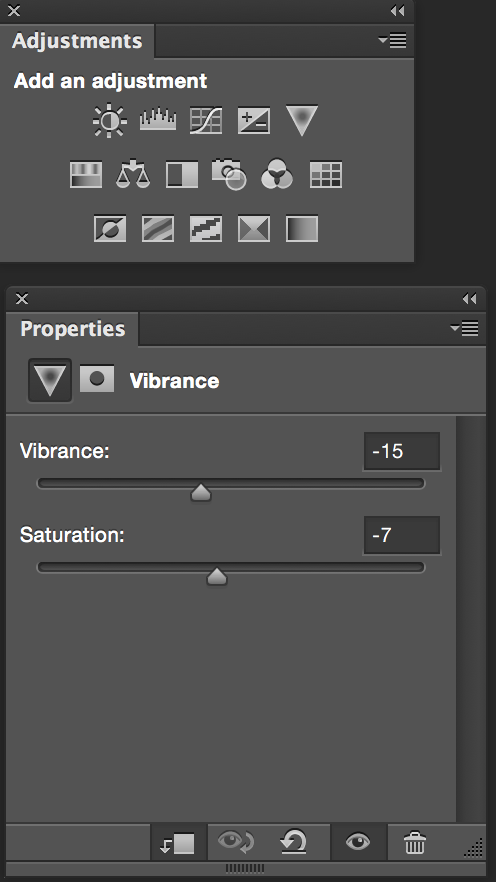
10: Adjustments Layer > Vibrance
Screen Shot 2015-07-15 at 10.35.49 PM

Screen Shot 2015-07-15 at 10.36.22 PM

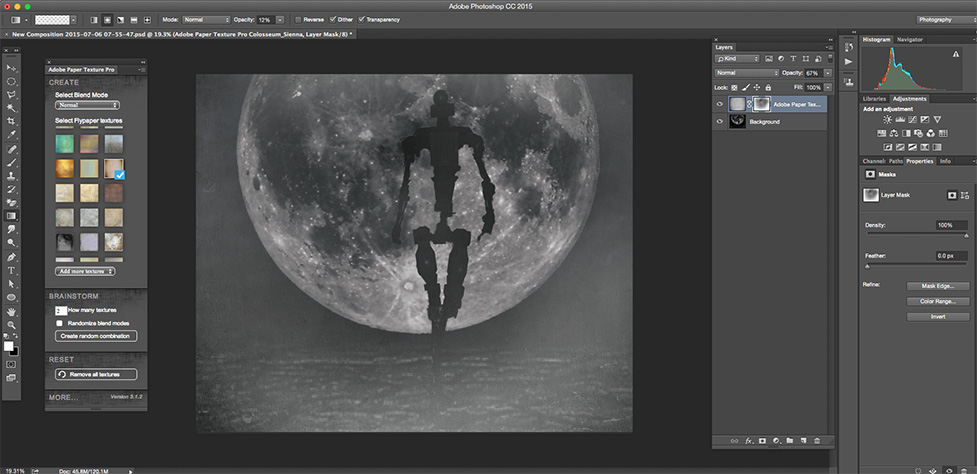
11:Highlight your Zombie layer
Screen Shot 2015-07-15 at 10.37.38 PM

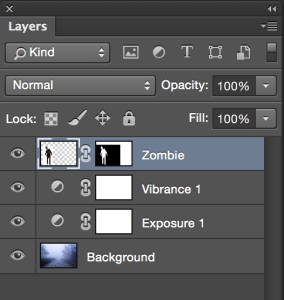
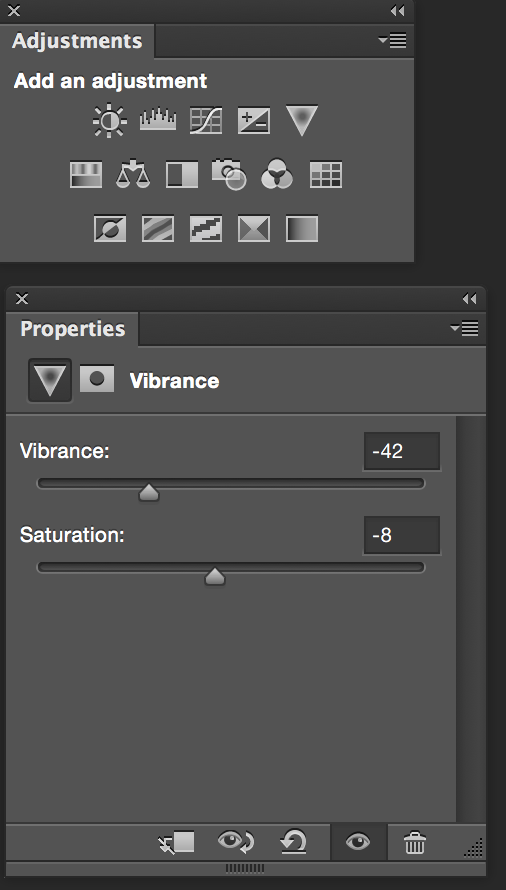
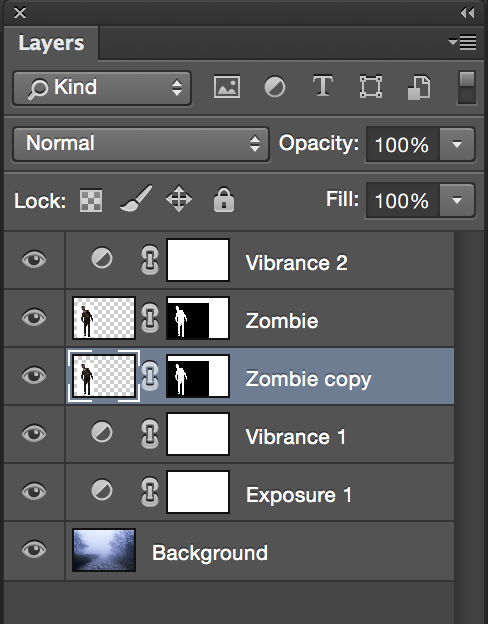
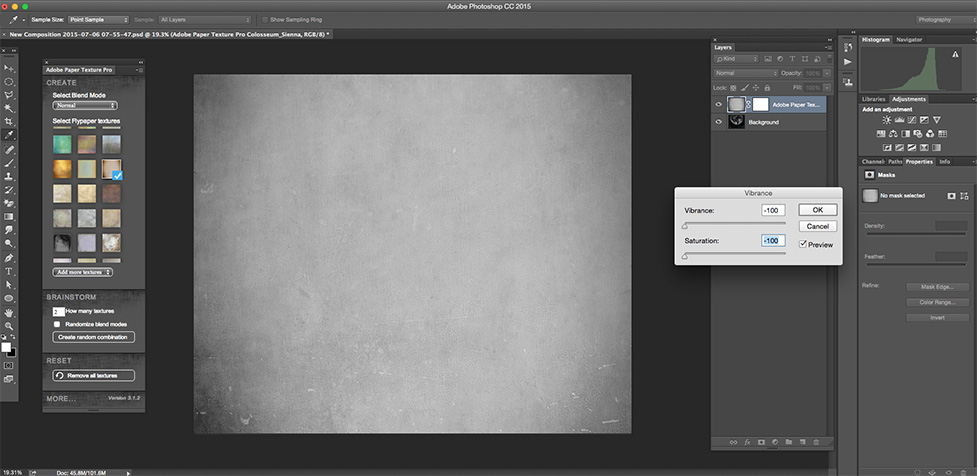
12: Adjustments Layer > Vibrance

Screen Shot 2015-07-15 at 10.44.55 PM

Screen Shot 2015-07-15 at 10.45.03 PM

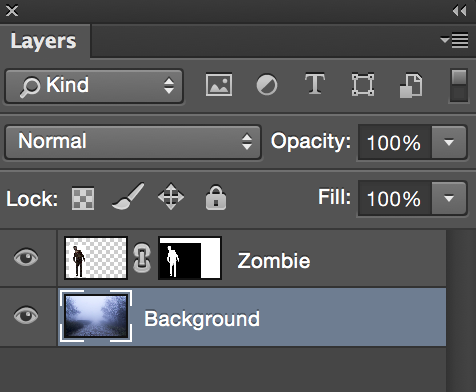
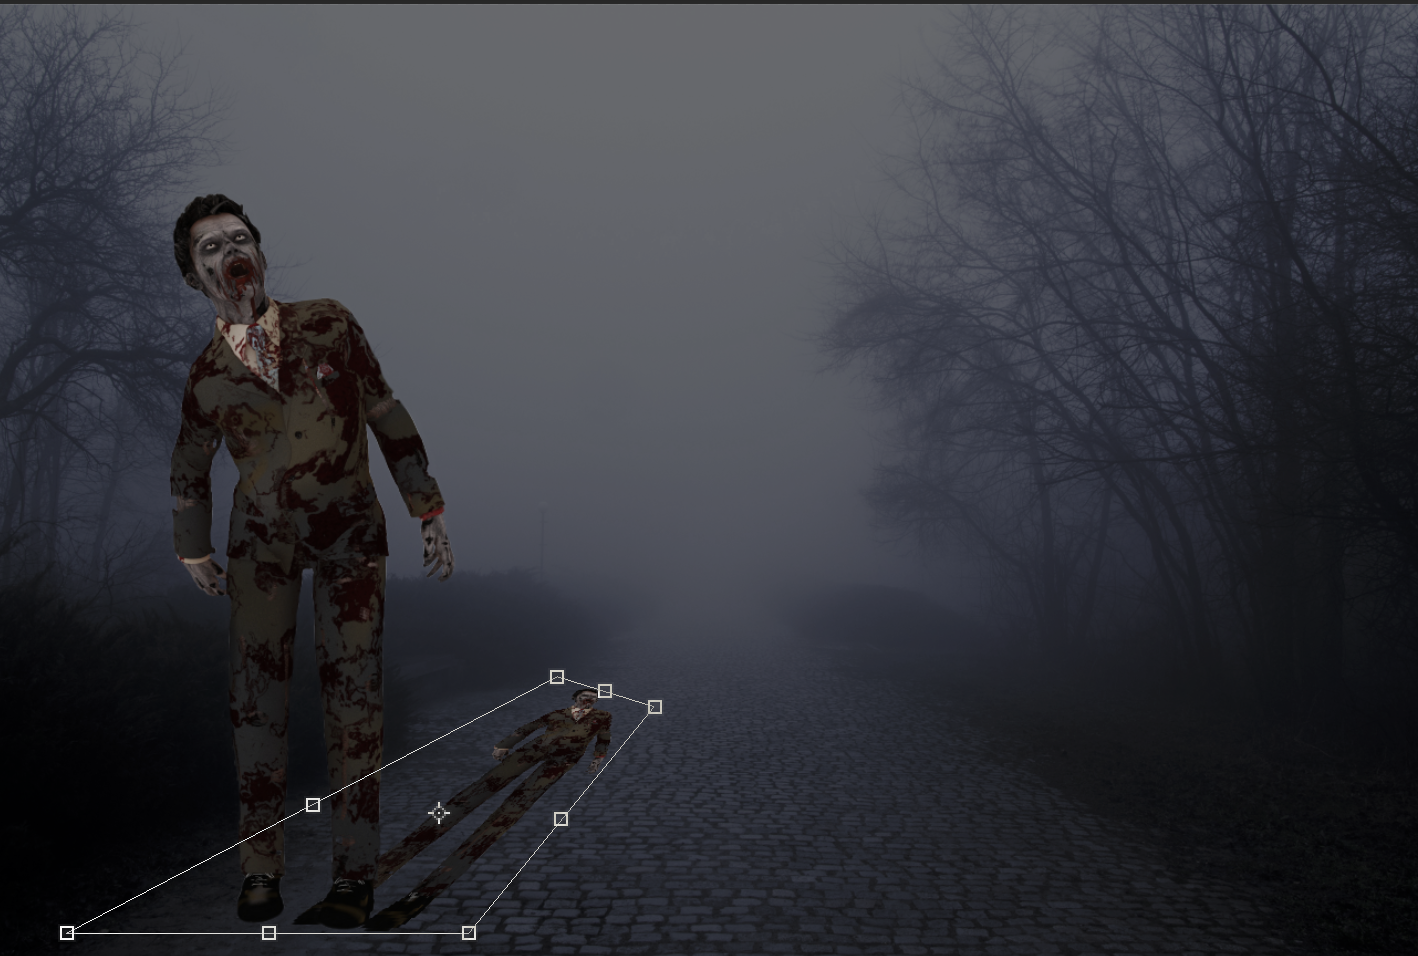
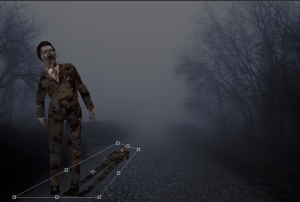
13: Duplicate Zombie layer ( “Zombie copy” layer) and move this layer under your  Zombie layer
Screen Shot 2015-07-15 at 10.52.14 PM

14: Edit > Transform > Distort
Screen Shot 2015-07-15 at 10.53.43 PM

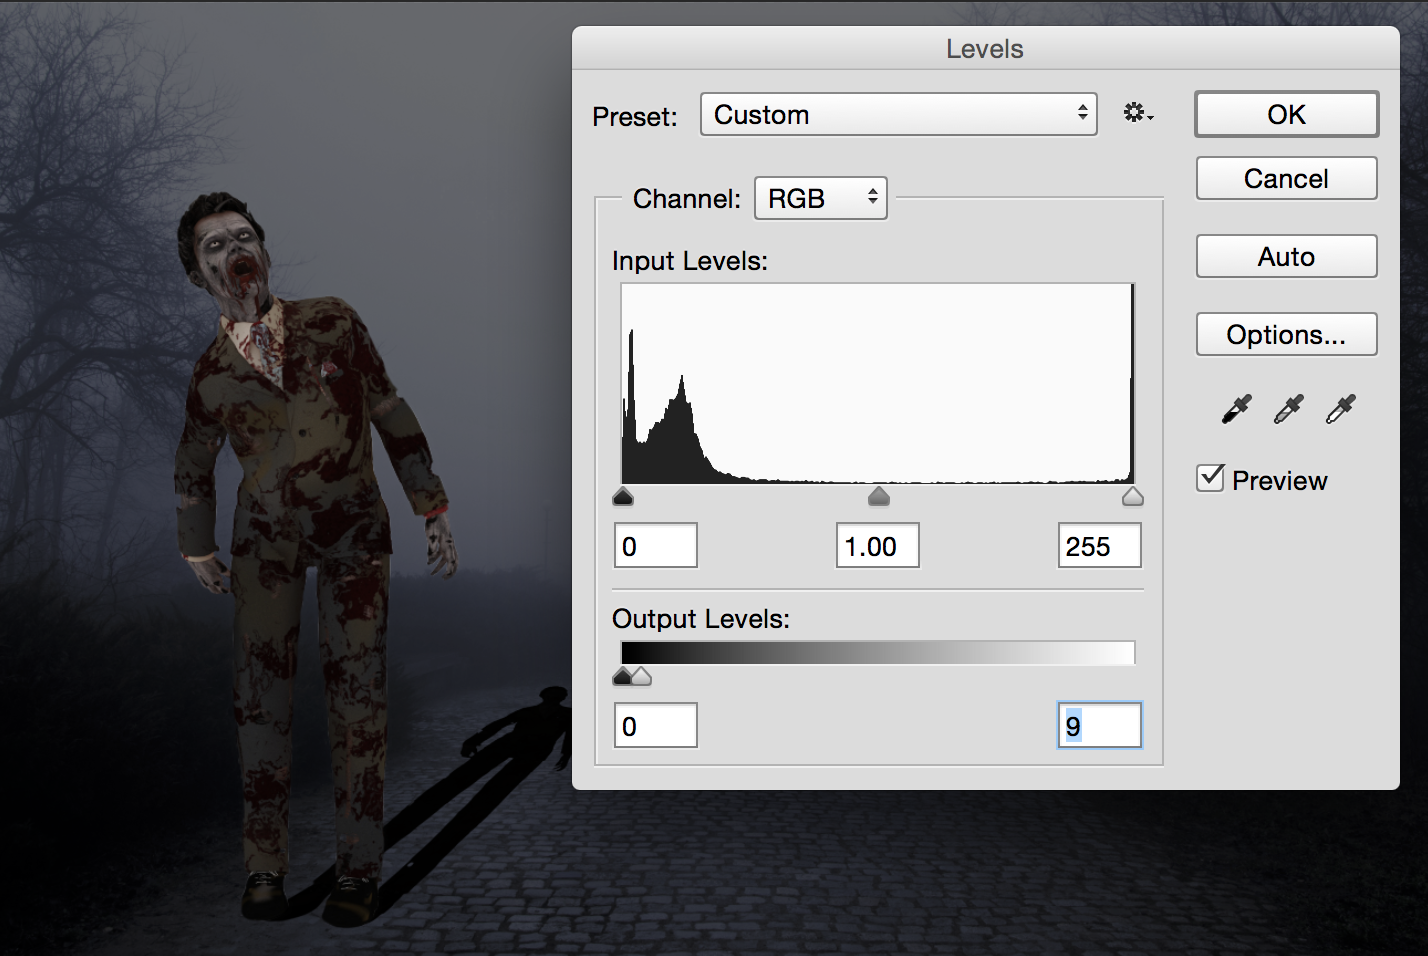
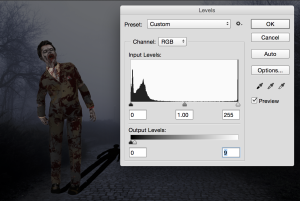
15: Image > Adjustments > Levels
Screen Shot 2015-07-15 at 10.55.57 PM

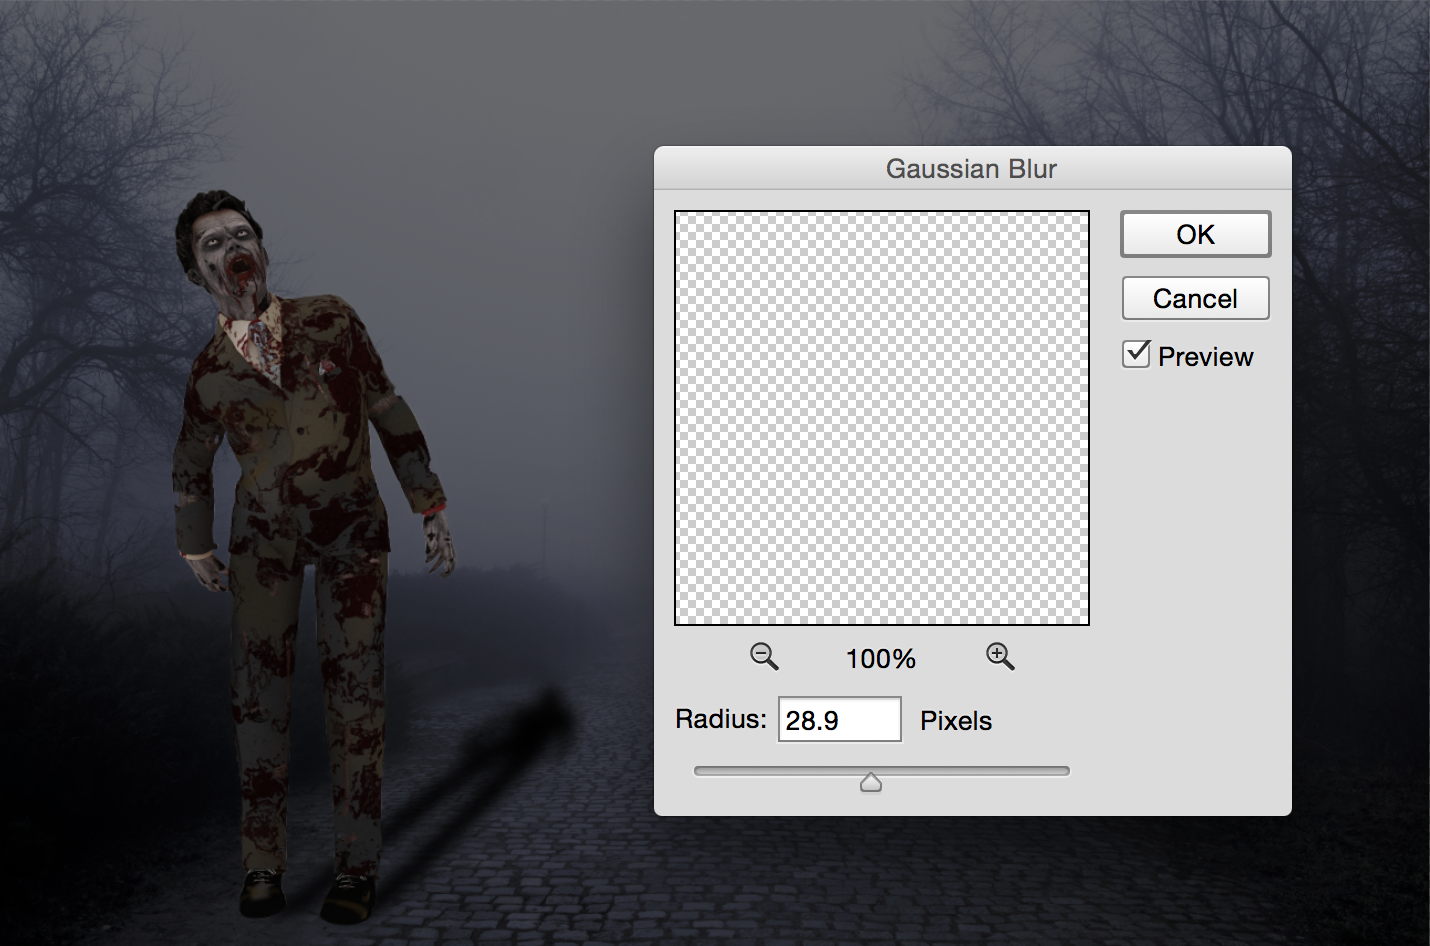
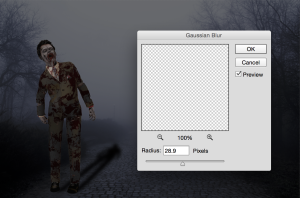
16: Filter > Gaussian Blur  Radius = 28.9 Pixels
Screen Shot 2015-07-15 at 10.59.47 PM

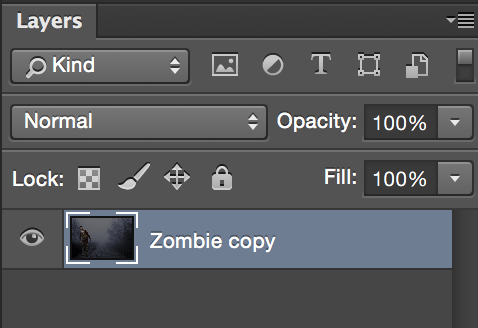
17: Make Zombie copy Layer opacity = 54%

18: Merge all visible layers
Screen Shot 2015-07-15 at 11.07.16 PM

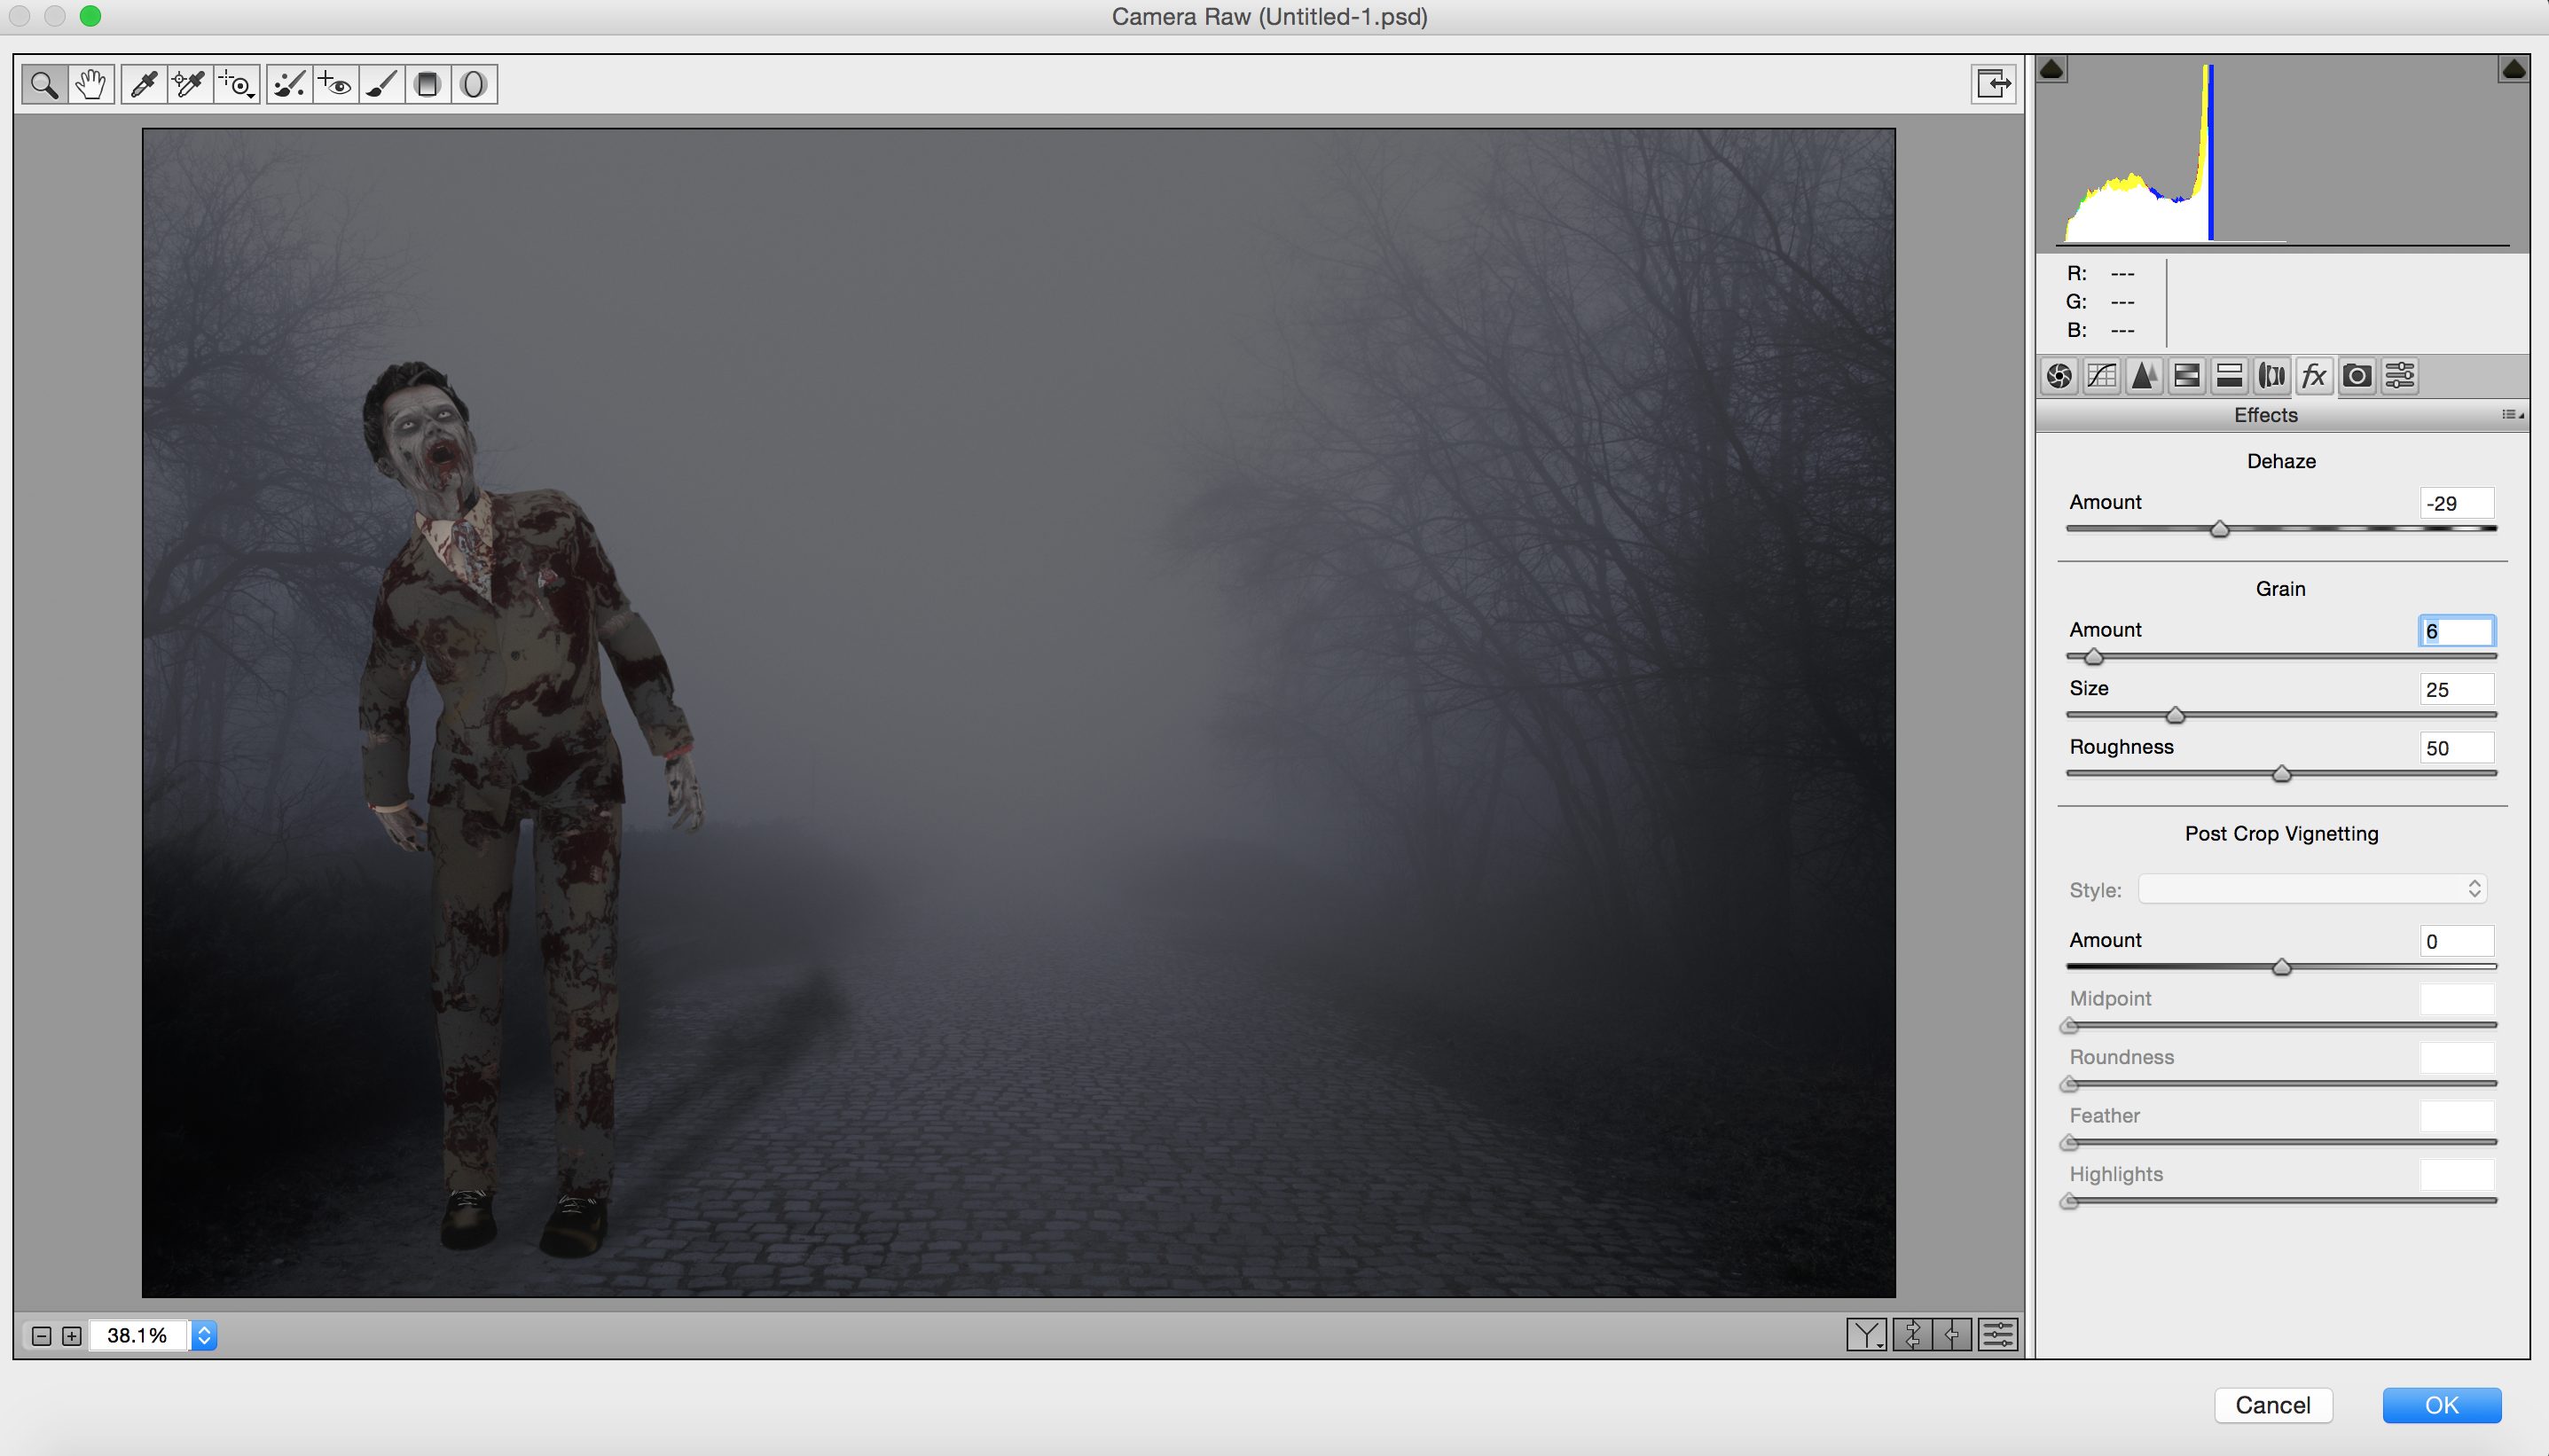
19: Duplicate Zombie copy layer > Filter > Camera Raw Filter > Dehaze filter . Make Dehaze -29, Grain: Amount =6, Size =25, Roundness =50. Click OK and make layer opacity = 59
Screen Shot 2015-07-15 at 11.08.53 PM

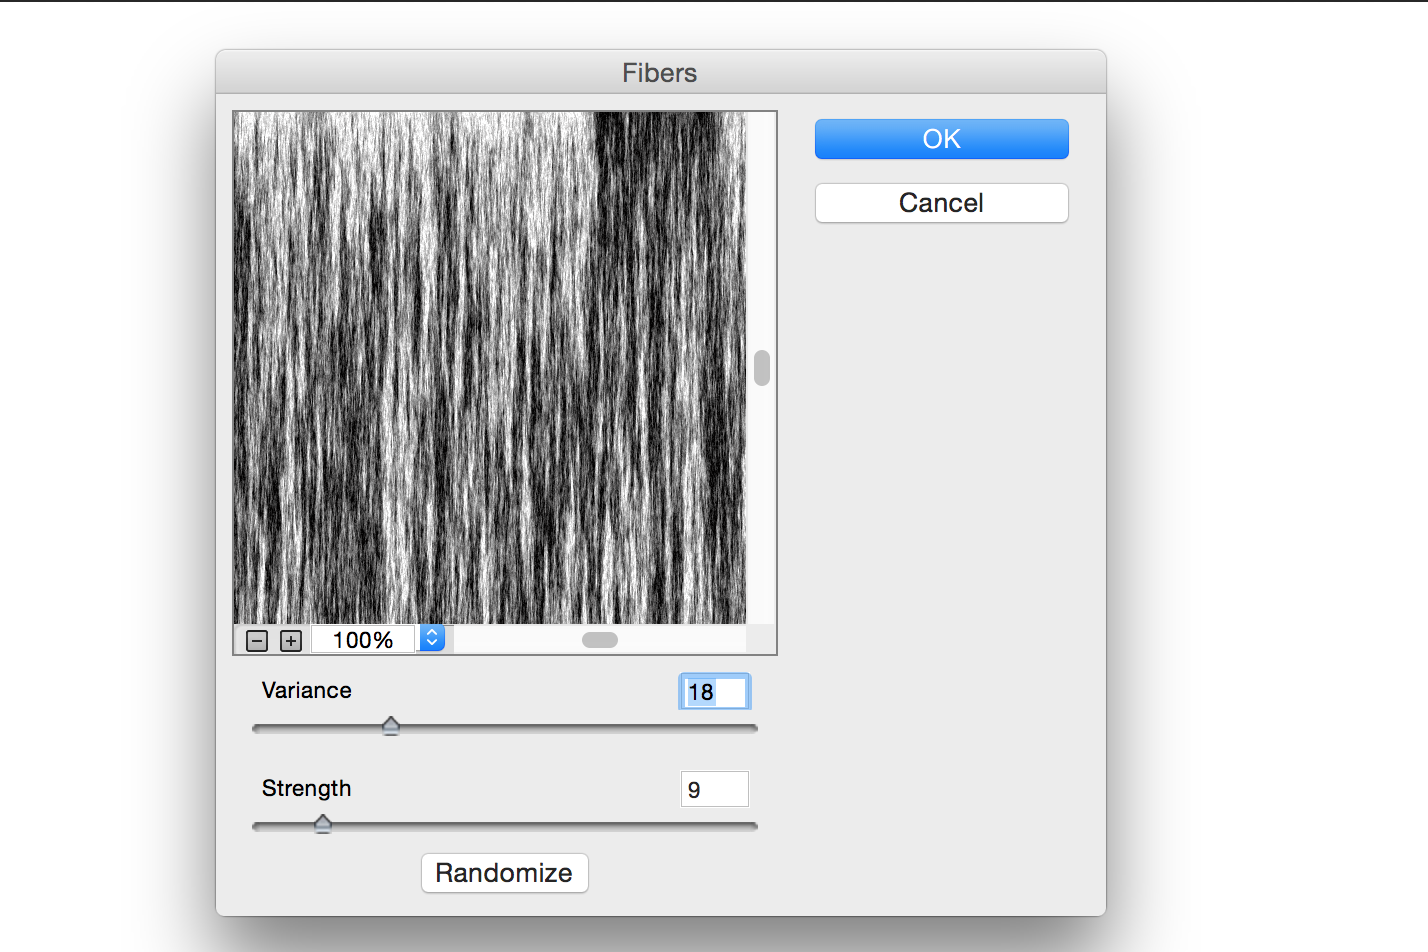
20: Add a new layer with white color on it > Filter > Render > Fibers
Screen Shot 2015-07-15 at 11.13.47 PM


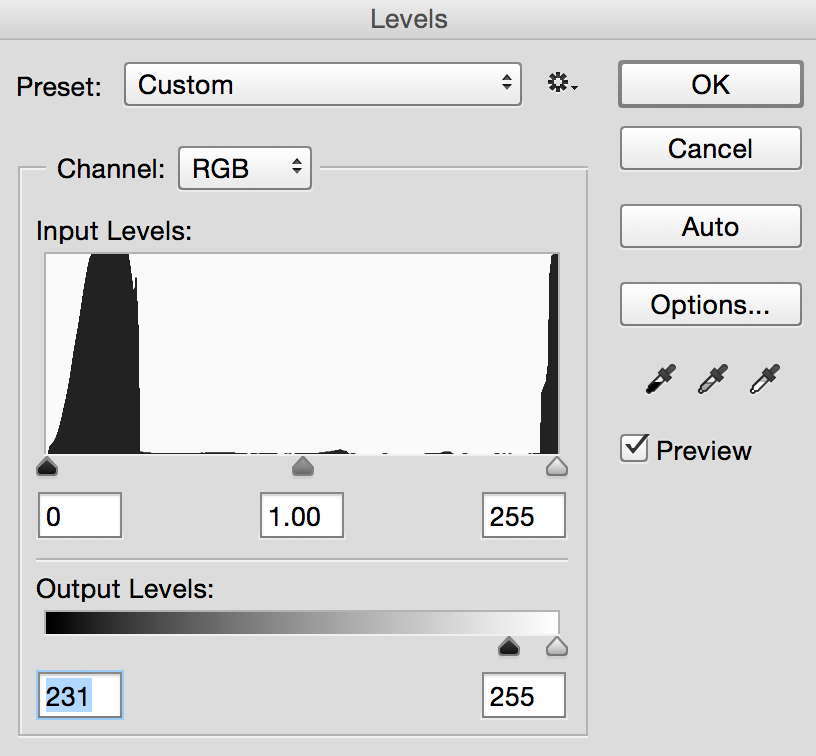
21: Magic Wand Tool > Select the Layer ( simply drag the  Magic Wand Tool from the left top corner to the right bottom corner ) > Delete > Select > Deselect >Image > Adjustments > Levels
Screen Shot 2015-07-15 at 11.17.15 PM
Screen Shot 2015-07-15 at 11.18.53 PM

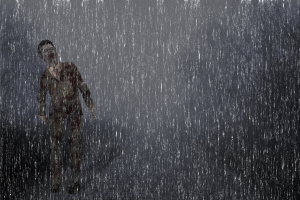
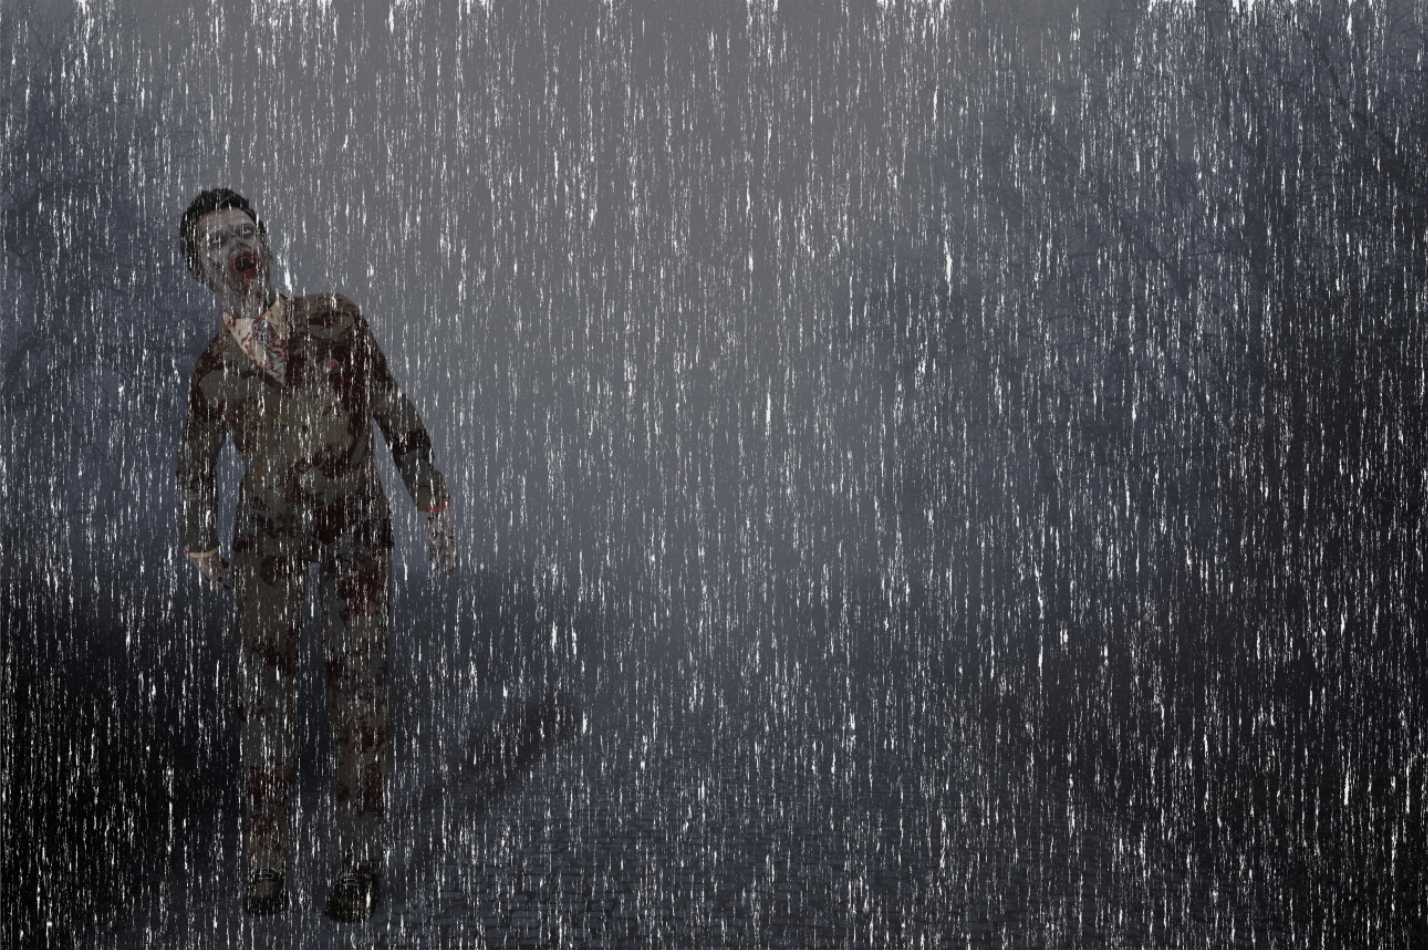
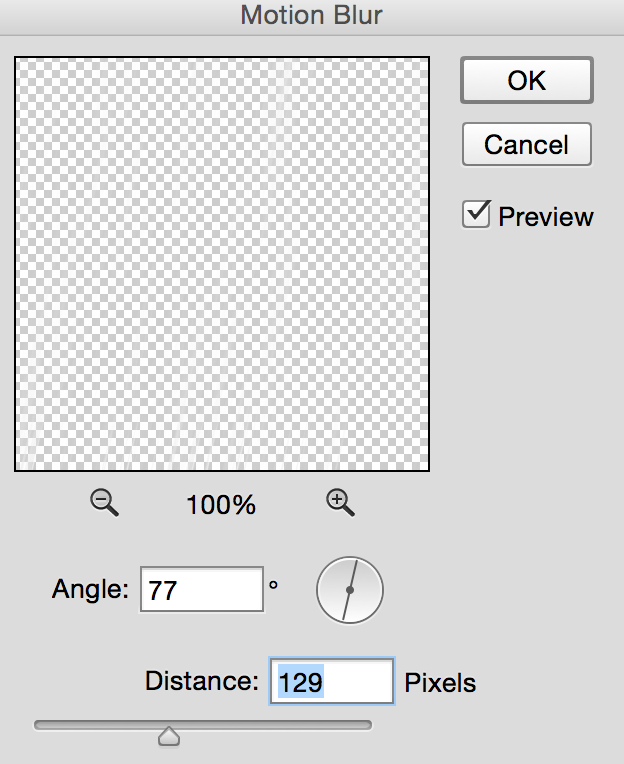
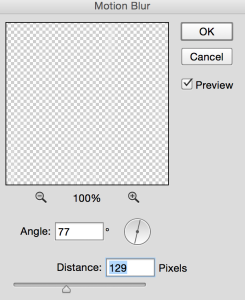
22: Filter > Blur > Motion Blur
Screen Shot 2015-07-15 at 11.19.53 PM

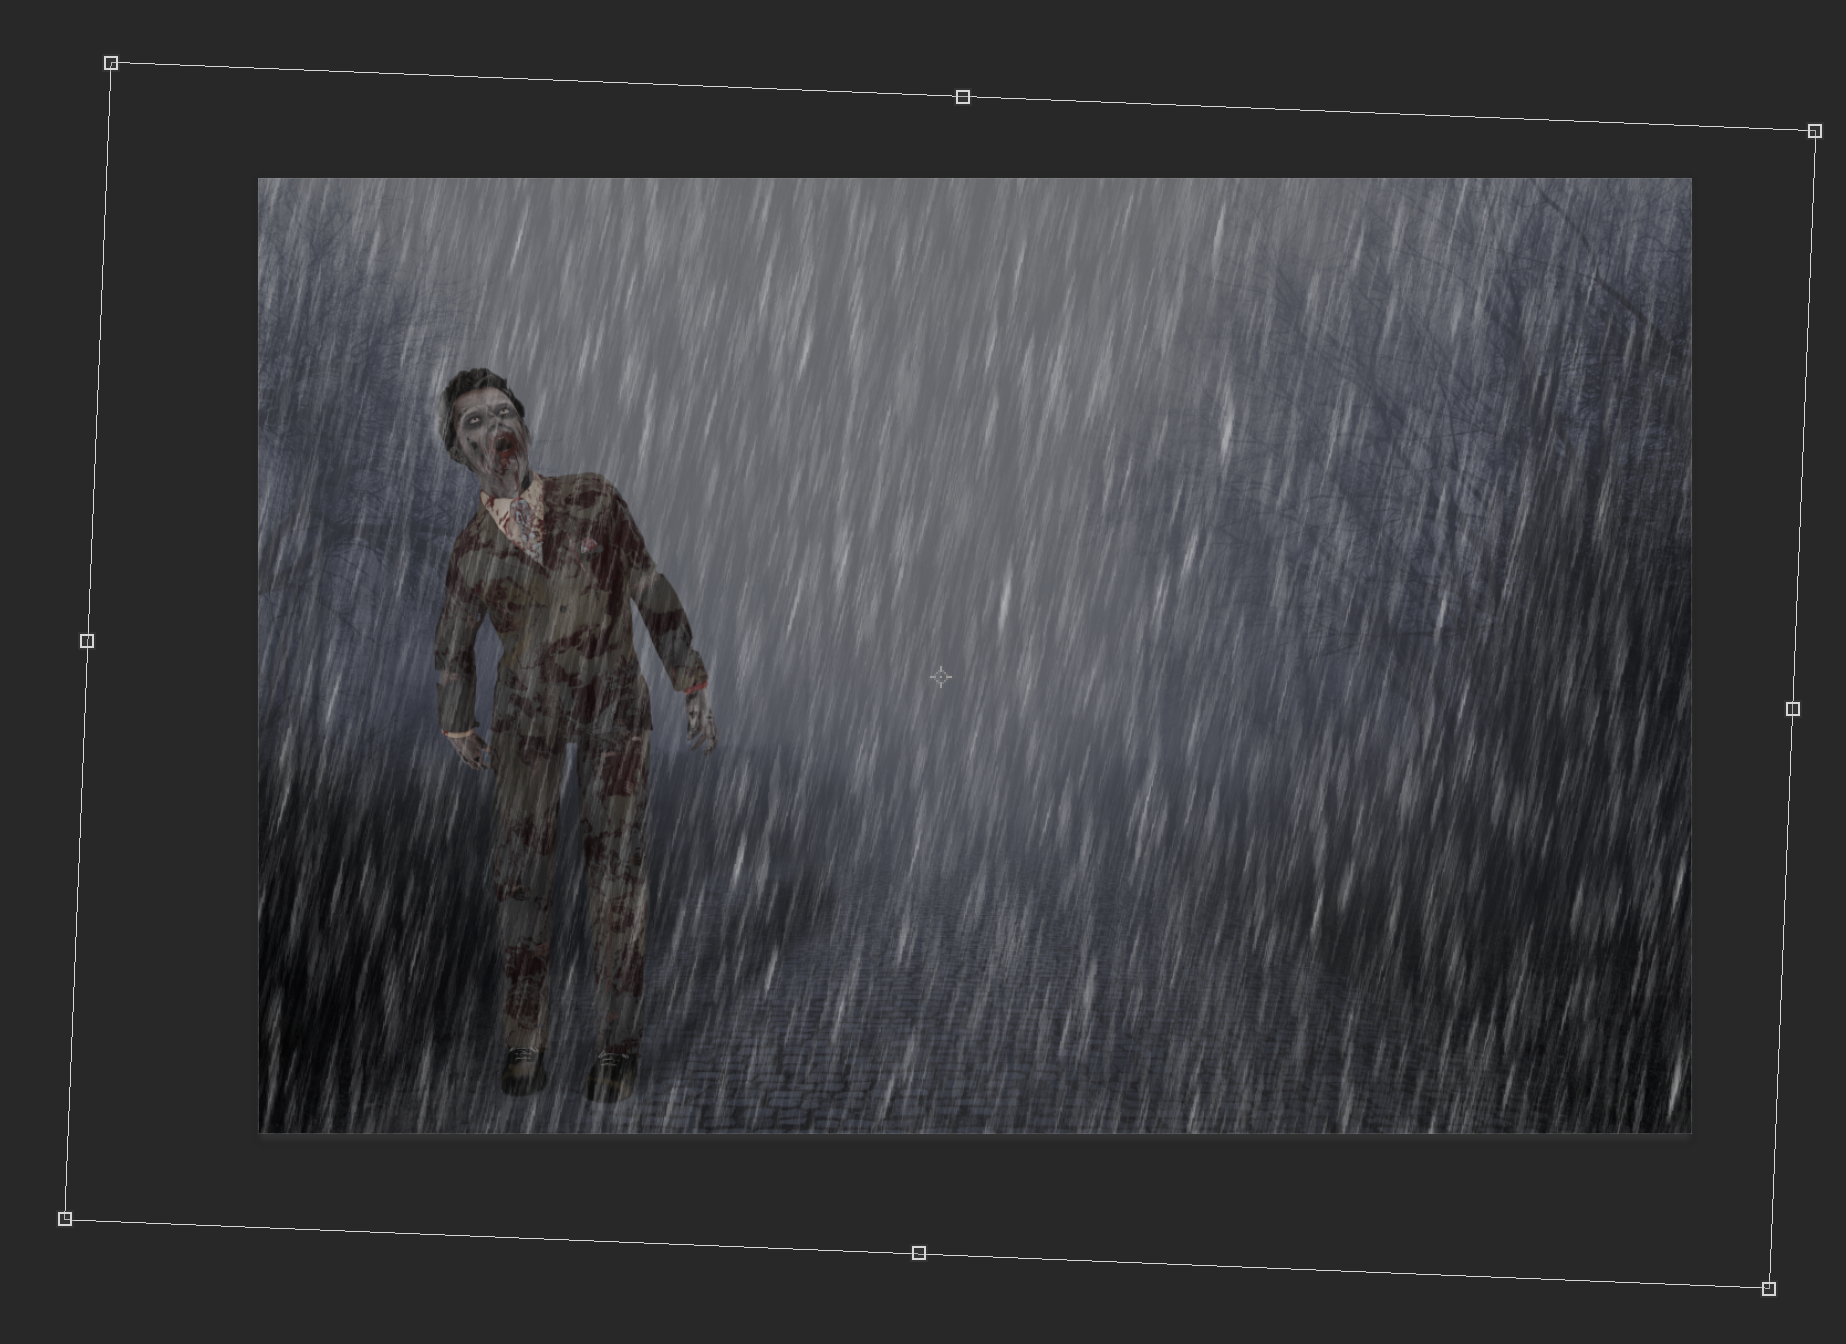
23: Image > Free Transform > Resize the rain layer
Screen Shot 2015-07-15 at 11.21.06 PM

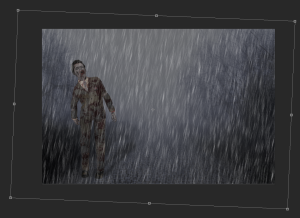
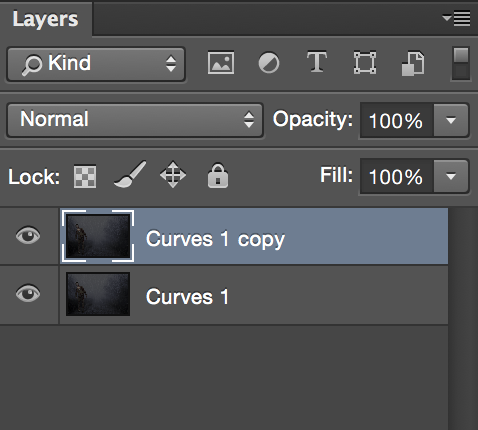
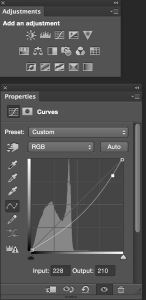
24: Make rain layer opacity = 27 > Adjustments > Curve
Screen Shot 2015-07-15 at 11.24.31 PM

25: Merge All visible layers.
Duplicate this layer
Screen Shot 2015-07-15 at 11.28.00 PM

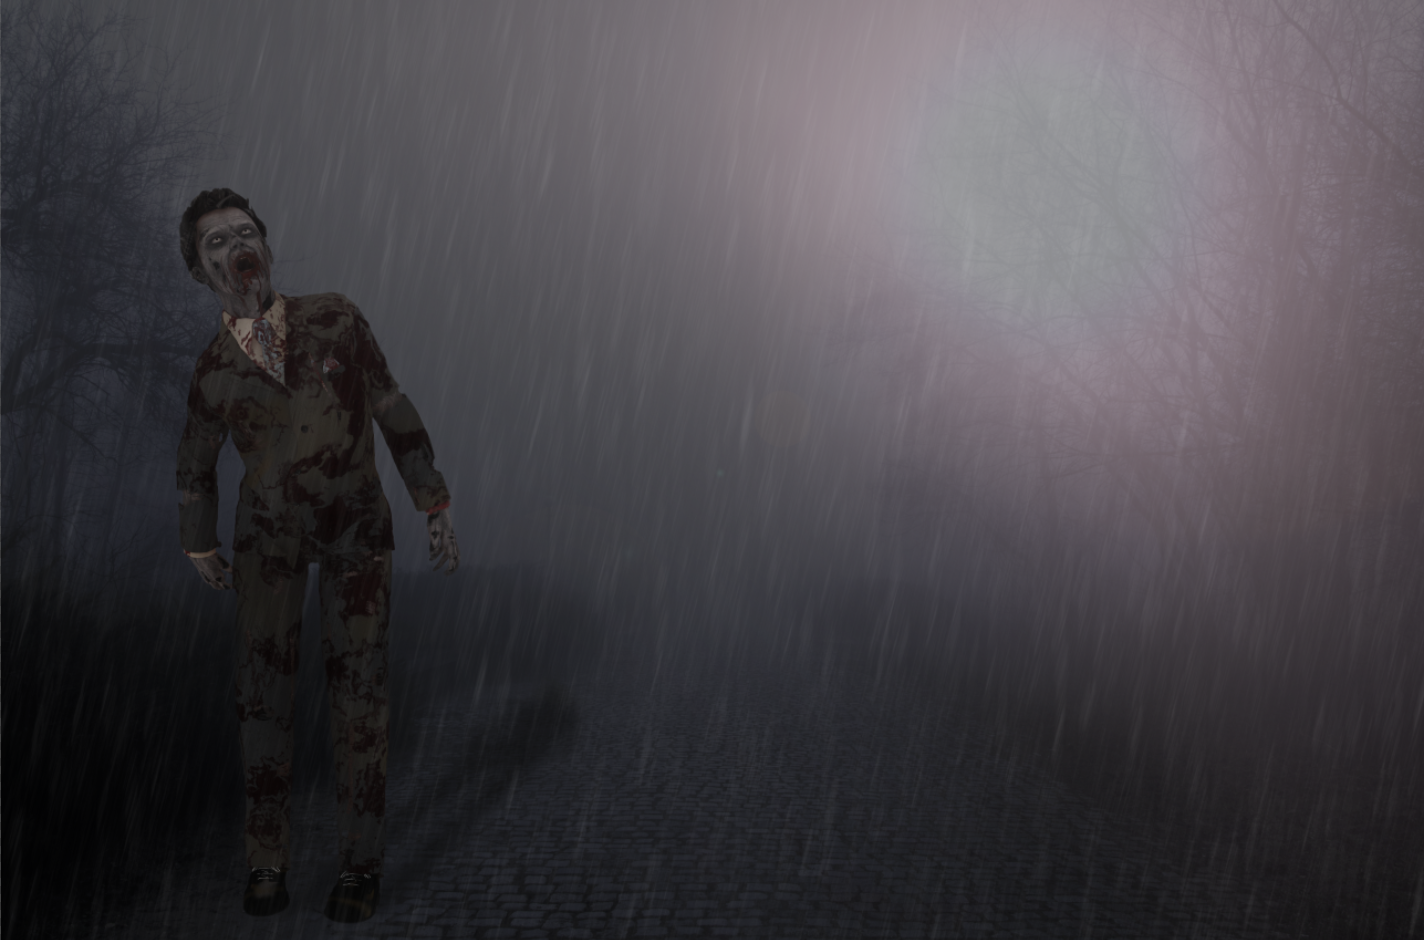
26: Filter > Render > Lens Flare
Screen Shot 2015-07-15 at 11.29.24 PM

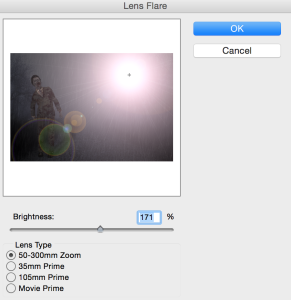
27: Click OK and make a layer opacity = 47%  > Add a layer mack > Erase left bottom corner of your  lens flare layer ( top layer)
Screen Shot 2015-07-15 at 11.31.59 PM

Screen Shot 2015-07-15 at 11.32.25 PM

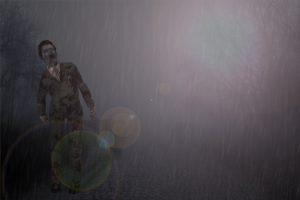
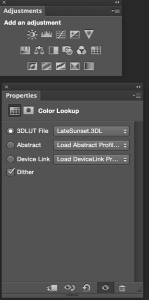
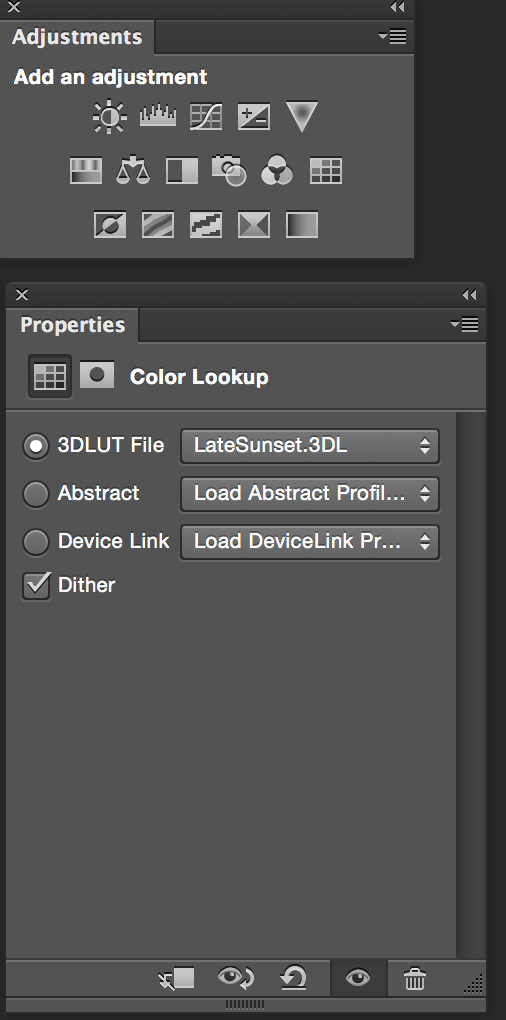
28: Adjustments > Color Lookup > LateSunset.3DL > Layer Opacity =31
Screen Shot 2015-07-15 at 11.35.28 PM


Beginning of Zombies


Live preview of Dehaze effect in Adobe Lightroom

This year I went to a local park for a 4th of July fireworks display. I pretty much got some nice images using my Nikon  and Terry White’s firework shooting settings.  But  it doesn’t matter how good your settings are we still cant avoid the smoke in our fireworks pictures. Thanks to the Dehaze effect in Adobe  Lightroom CC  I can remove the smoke from my pictures in a second simply moving Dehaze effect slider to the right. Moving Dehaze slider to the right from 0  to +100 you are removing haze/smoke from your pictures. Moving the Dehaze effect slider from 0 to -100 you can add a haze effect to your pictures.

Screen Shot 2015-07-08 at 8.07.10 AM


See it in action here:

Dehaze effect In Lightroom


How to Make a Movie Poster with Adobe Photoshop Mix

Click on + icon

IMG_1021

Click on Camera Roll icon

IMG_1006

Choose your first ( and it will be our background ) image

IMG_1008

Resize your image

IMG_1009

Adjust > Exposure ( move exposure’s slider all way to the left to apply the Night Time Effect to our background layer)

IMG_1009C
IMG_1010

Click on the second layer icon and add your second image

Click on Cut Out icon. Now we need to remove the Moon’s background.
IMG_1012

Resize the Moon’s size

Adjust > Exposure ( move exposure’s slide to the left to make the moon darker )

Holding the Moon Layers move this layer over our Background layer
IMG_1015

Now we have another “empty” layer. Click on the “empty” layer and chose the robot image

IMG_1016

Cut Out > Remove Robot’s image background

Adjust > Exposure > Move Exposure slider to the left to make robot image absolutely dark

IMG_1017

Holding Robot Layer icon move this layer over our First layer

Click on Looks icon > Natural + look

IMG_1018

Adjust > Saturation > Move slider to the left

Send to Photoshop > Your image is Stored in your Creative Cloud Photoshop Folder

IMG_1019

IMG_1020

Open your Photoshop Mix image in Photoshop

Screen Shot 2015-07-06 at 7.57.02 AM

Adobe Paper Texture Pro

Screen Shot 2015-07-06 at 7.59.21 AM

Chose any paper texture you like to work with > Image > Adjustment > Vibrance

Screen Shot 2015-07-06 at 7.59.50 AM

Make Layer opacity = 67% > Gradient Tool ( with opacity = 18% )

Screen Shot 2015-07-06 at 8.03.39 AM

Apply mask to highlight the moon and robot

Screen Shot 2015-07-06 at 8.04.57 AM

Adjustment Layers > Exposure

Screen Shot 2015-07-06 at 8.05.50 AM

Final

Another reason to use Adobe Mobile Apps

Last week I was in Paris and Milan. I was visiting Louvre in Paris and the Leonardo Da Vinci exhibit in Milan. As usual people from around the world were attending those museums. But what surprised and made me sad was that many of people were not interested in art in general. They were standing in a line for tickets in Louvre about 1-2 hours and what they were interested in more was a selfie. I am a big fan of social media but I truly believe when you are next to the Mona Lisa you must (at least) have one quick (one second) look at the Mona Lisa and after that you can turn your back to the most beautiful peace of art to take a selfie. I can understand three languages and I heard from the people around me: “I have my selfie for Facebook or Instagram. Now we can go” AND THEY DID NOT EVEN LOOK AT THE MONA LISA AT ALL!!! People who came to museum to see art were very upset, they had trouble to get close to the art to see it because of all the people with phones.

IMG_1473

It was the same in Milan. At the Leonardo da Vinci exhibit they do not allow you to take any pictures of the art and signs were posted everywhere, but it did not help. People were sneaking photos of the art and did not care that they were damaging it with their camera’s flash.

OK if you want to use your phone you can use it in a good way using an Adobe app. Using Adobe Shape CCor Adobe Color CC, you can capture the art you want to and after that you can create illustrations, for example a coloring book/page for your children to educate them.

IMG_1800

Made with Adobe Shape, Adobe photoshop, Adobe Paper Texture Pro

You can create your own art from the shape you created with Adobe Shape CC using Adobe Photoshop or illustrator. With Adobe mobile apps we have new ways to use our smartphones and I really hope that people will stop turning their back to the art to have a selfie and will start using their smartphones to create something what will last forever.