Category Archives: Digital Art

Digital Painting Made Easy with The Mixer Brush Tool in Adobe Photoshop

Victoria Pavlov Studio

My favorite and primary tool in my digital painting is the Mixer Brush Tool in Adobe Photoshop CC.

I have two styles in my digital painting:
Painting for Photographers (you don’t need to have any painting experience)
Painting from Scratch (you need to have painting experience or you need to be willing to learn how to paint 🙂  )


For the last few days I have received many questions about my favorite technique using the Mixer Brush Tool (digital painting for photographers)

My favorite technique:
Favorite Brush: Per Stroke Brightness Variance
Preset: Custom
Load Brush after Each Stoke ( clean brush after each stroke)

brush

Screen Shot 2015-09-17 at 10.38.30 AM

Painted with Adobe Photoshop CC & wacom

Victoria Pavlov Studio


Create Black and White image in 3 steps

Photoshop Tutorial

Today I will show you how to create black & white image in 3 steps using Adjustments Layers in Adobe Photoshop CC

Open your image you want to work with
Screen Shot 2015-08-25 at 7.35.45 AM

1: Adjustments > Black and White
Screen Shot 2015-08-25 at 7.36.57 AM
Using the black slider of each to the right/left you will  modify influence of the colors  in the resulting of black & white image.

Screen Shot 2015-08-25 at 7.41.58 AM

Screen Shot 2015-08-25 at 7.42.05 AM

Screen Shot 2015-08-25 at 7.42.16 AM

2: Highlight t your image layer ( Layer 1 )  > Adjustments > Selective Color
Screen Shot 2015-08-25 at 7.44.33 AM

Screen Shot 2015-08-25 at 7.45.16 AM

Change number of the black slider of each color ( move the slider to the left or right)

Screen Shot 2015-08-25 at 7.47.43 AM

Screen Shot 2015-08-25 at 7.49.07 AM


3: Adjustments > Color Lookup >2Strip.look from the 3DLUT File ( selected by default )

Screen Shot 2015-08-25 at 7.50.15 AM

Screen Shot 2015-08-25 at 7.52.16 AM

Screen Shot 2015-08-25 at 7.52.25 AM


Fotolia


5 reasons to use Adobe Stock

Painted with Adobe Photoshop CC and Wacom

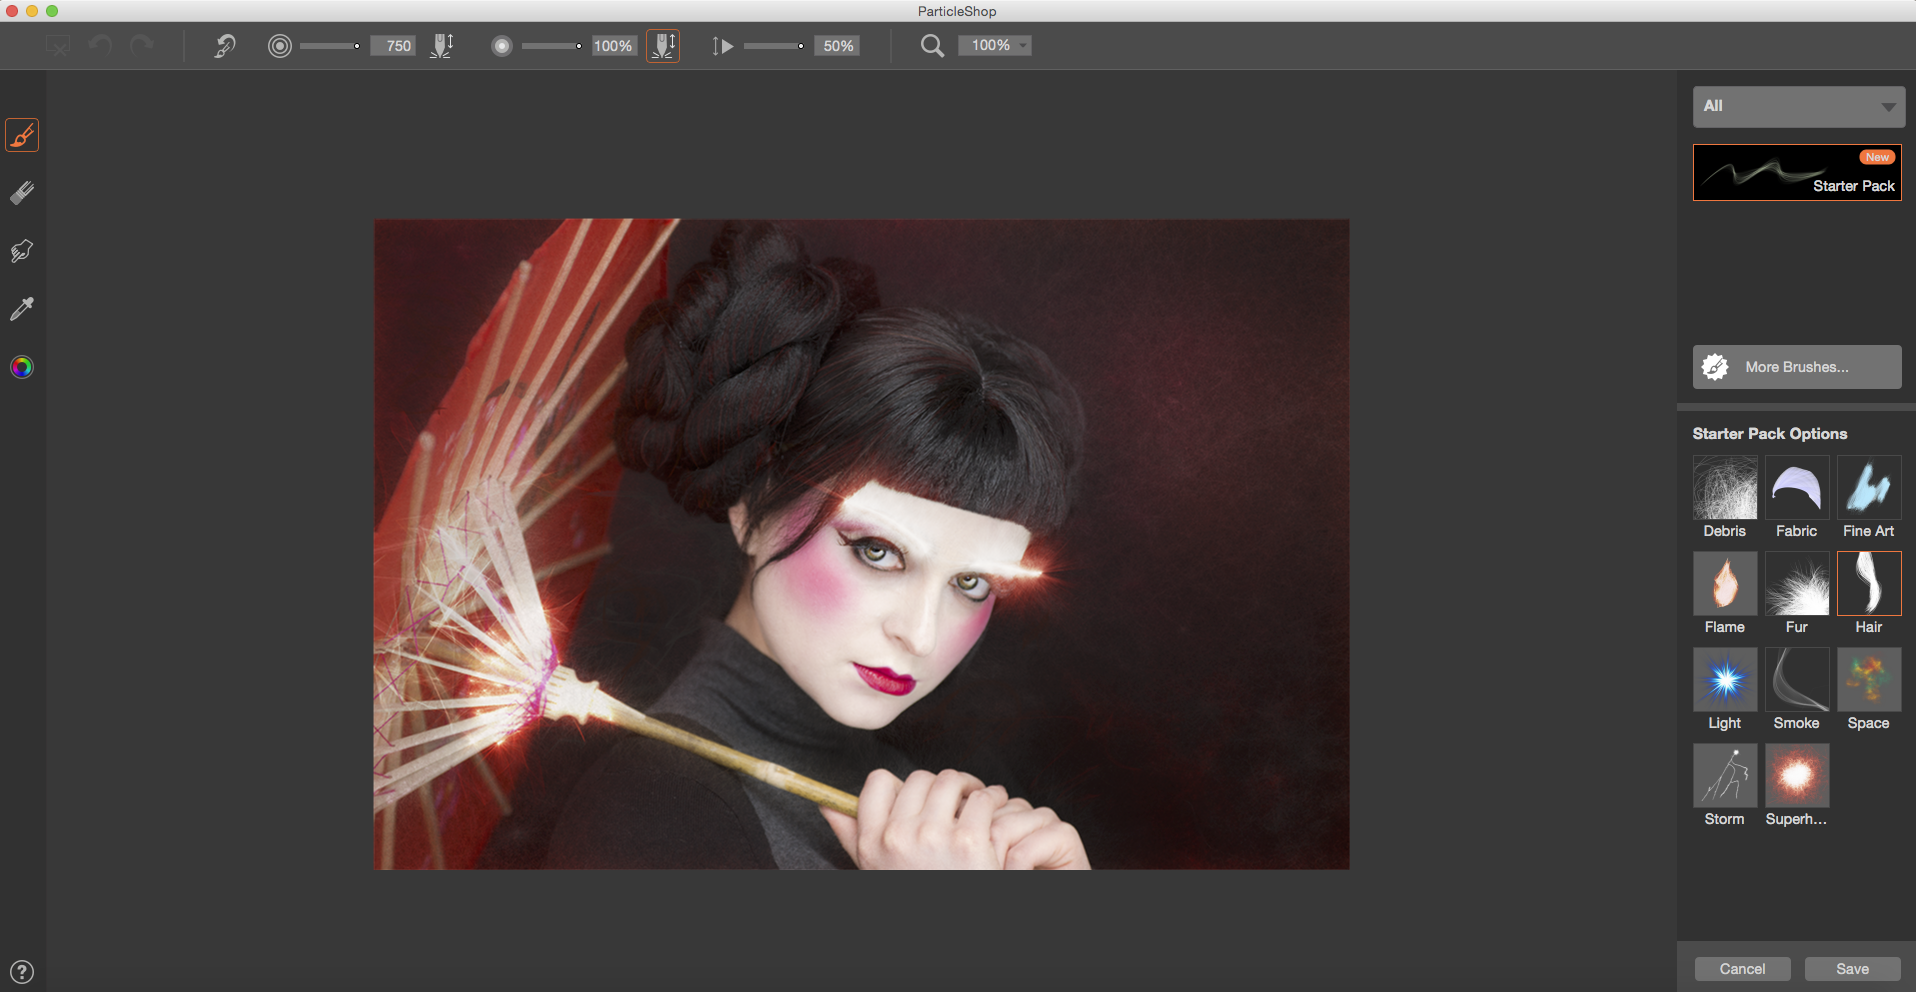
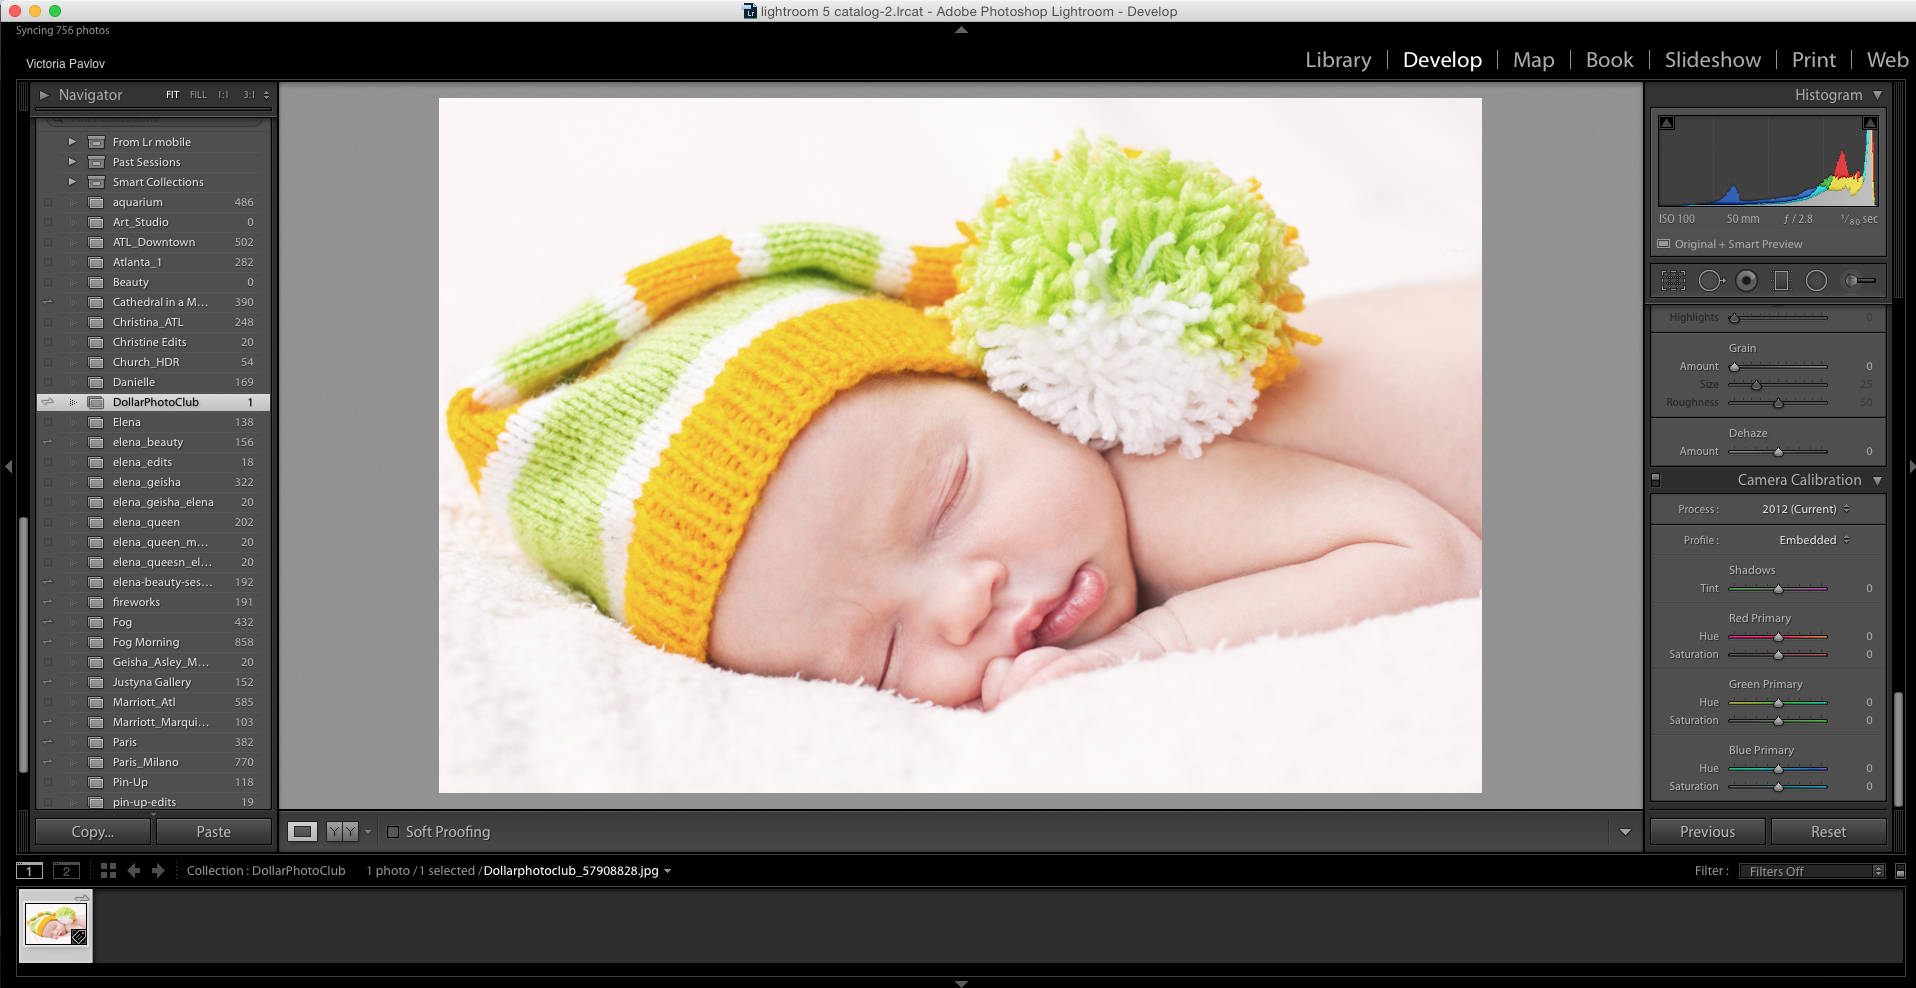
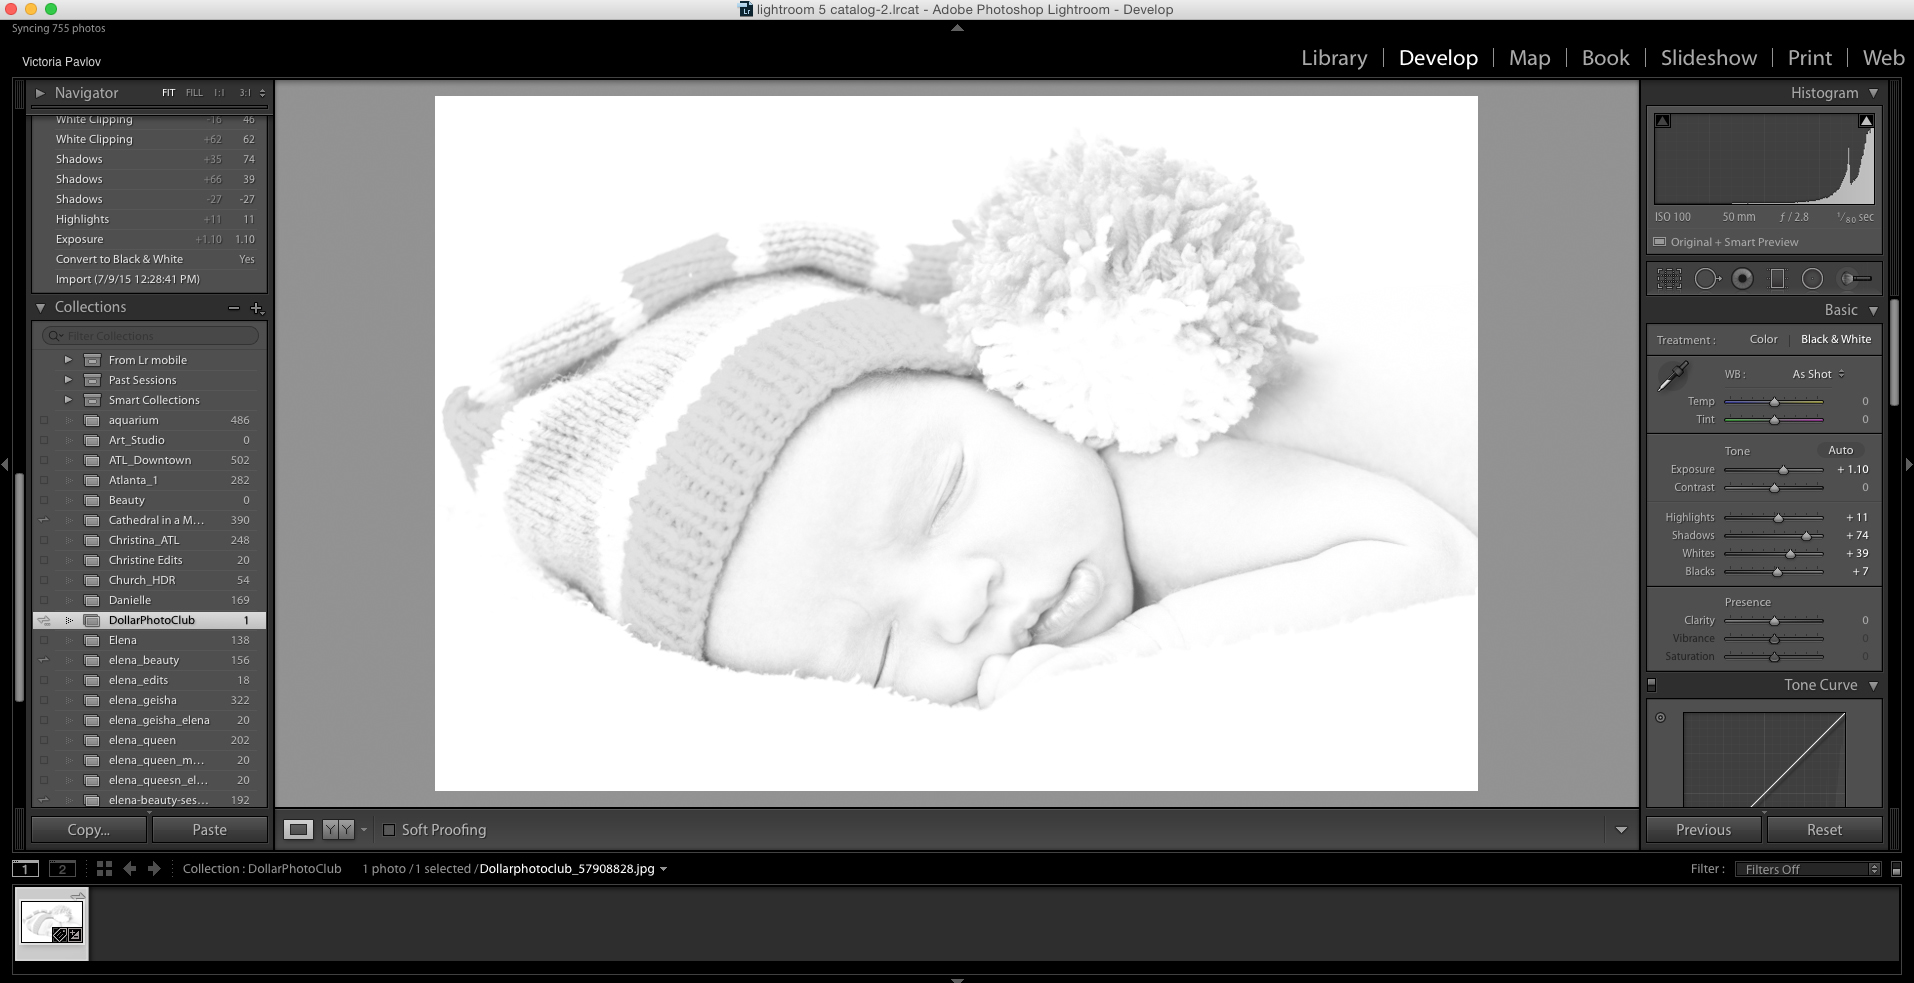
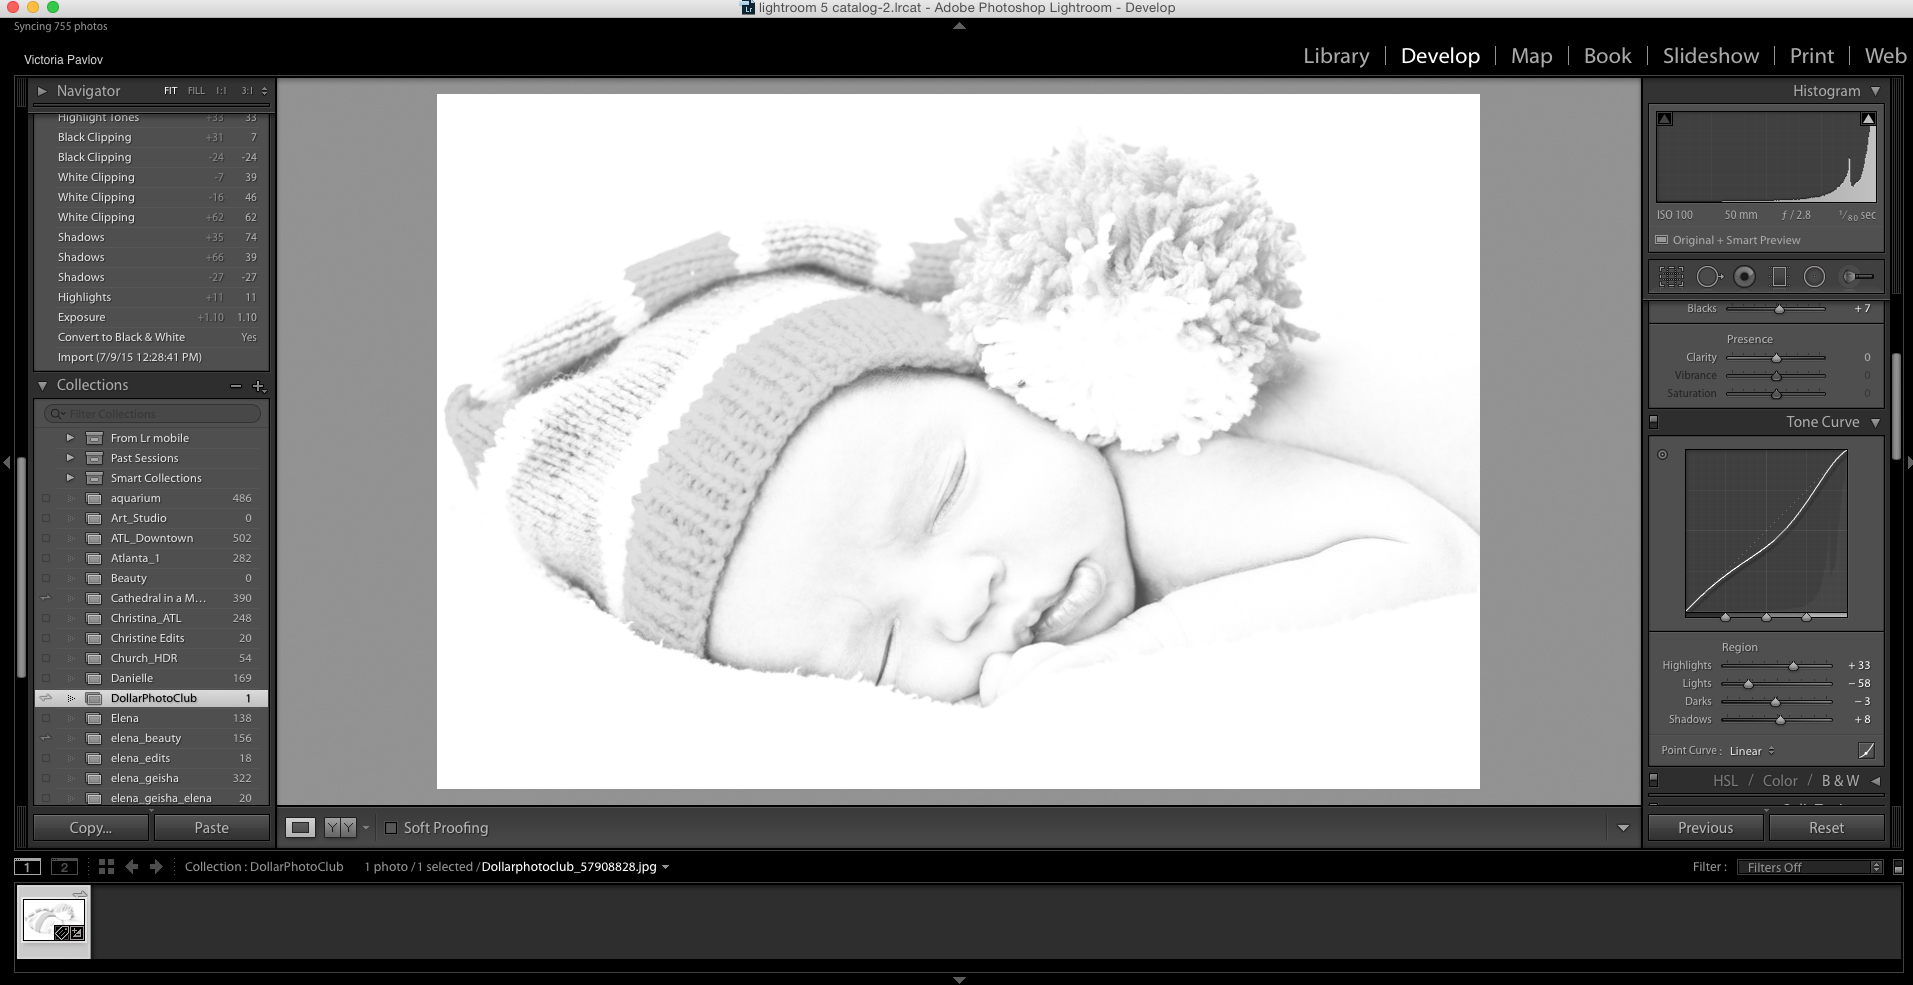
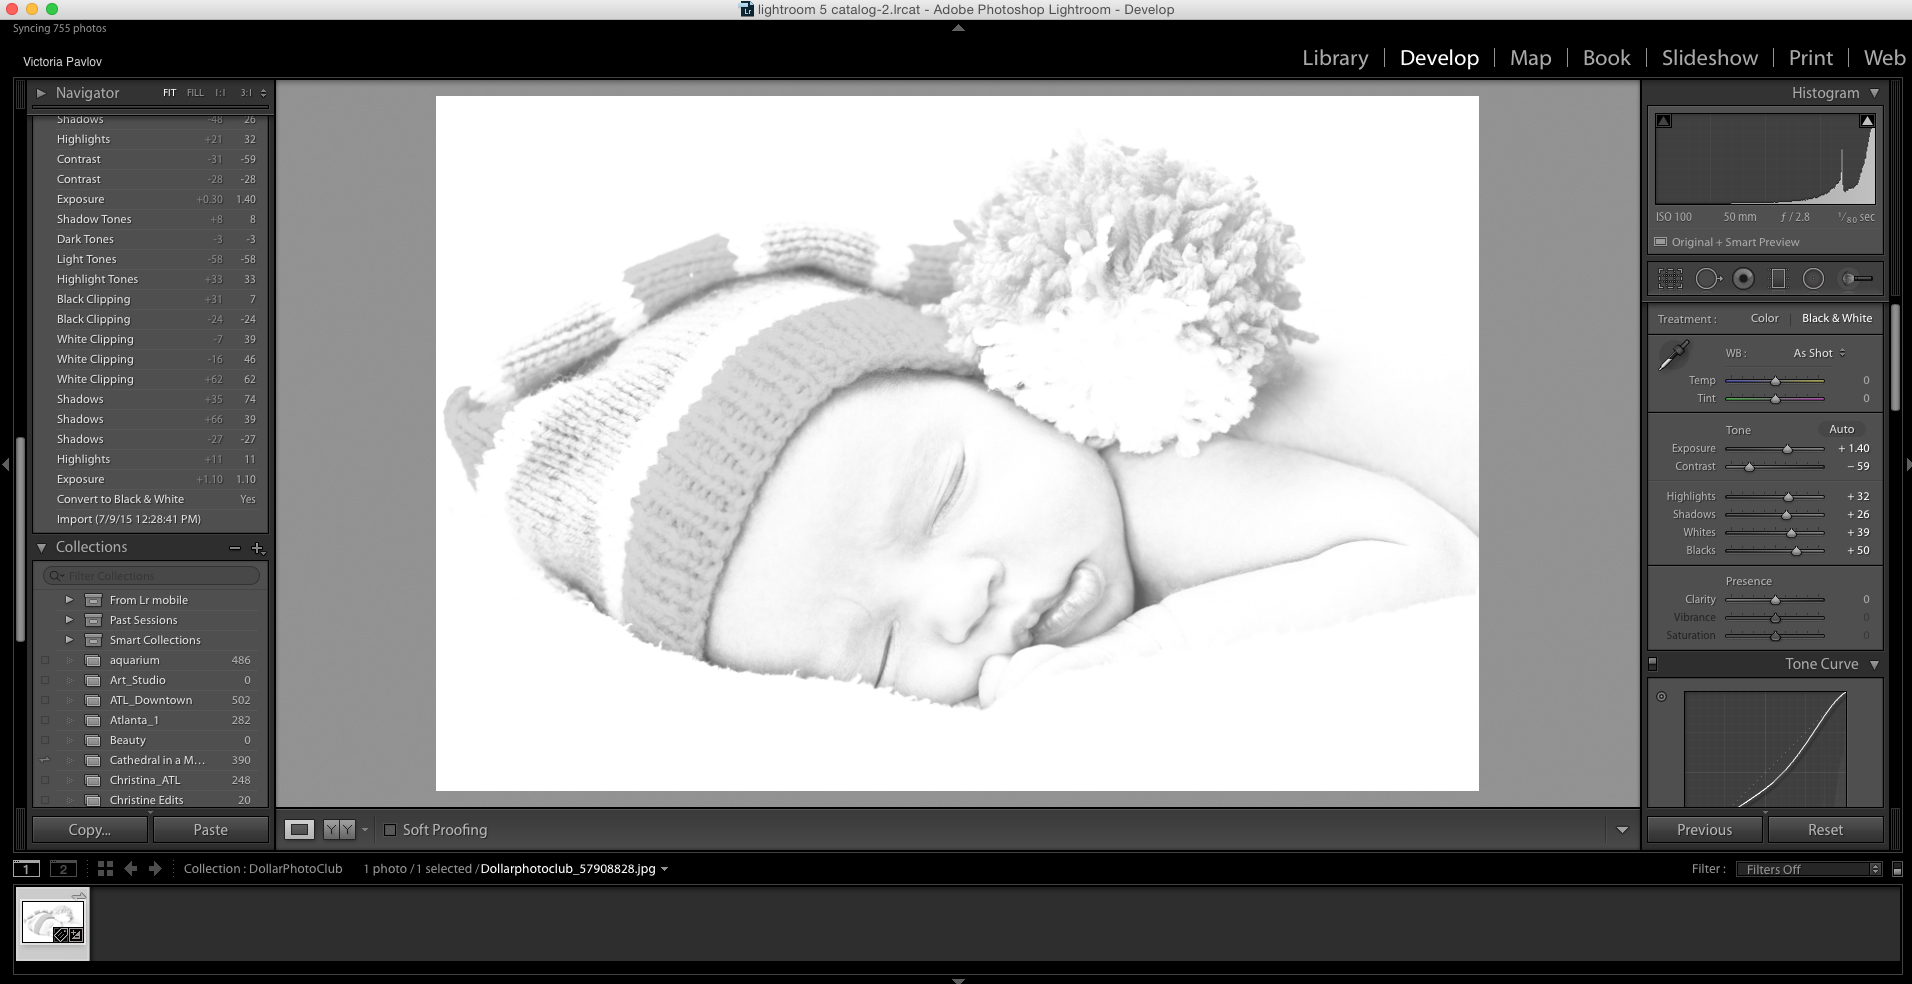
I was looking for stock images for a many years and I was not impressed with what I could see on a market  until I was introduced to Adobe Stock.

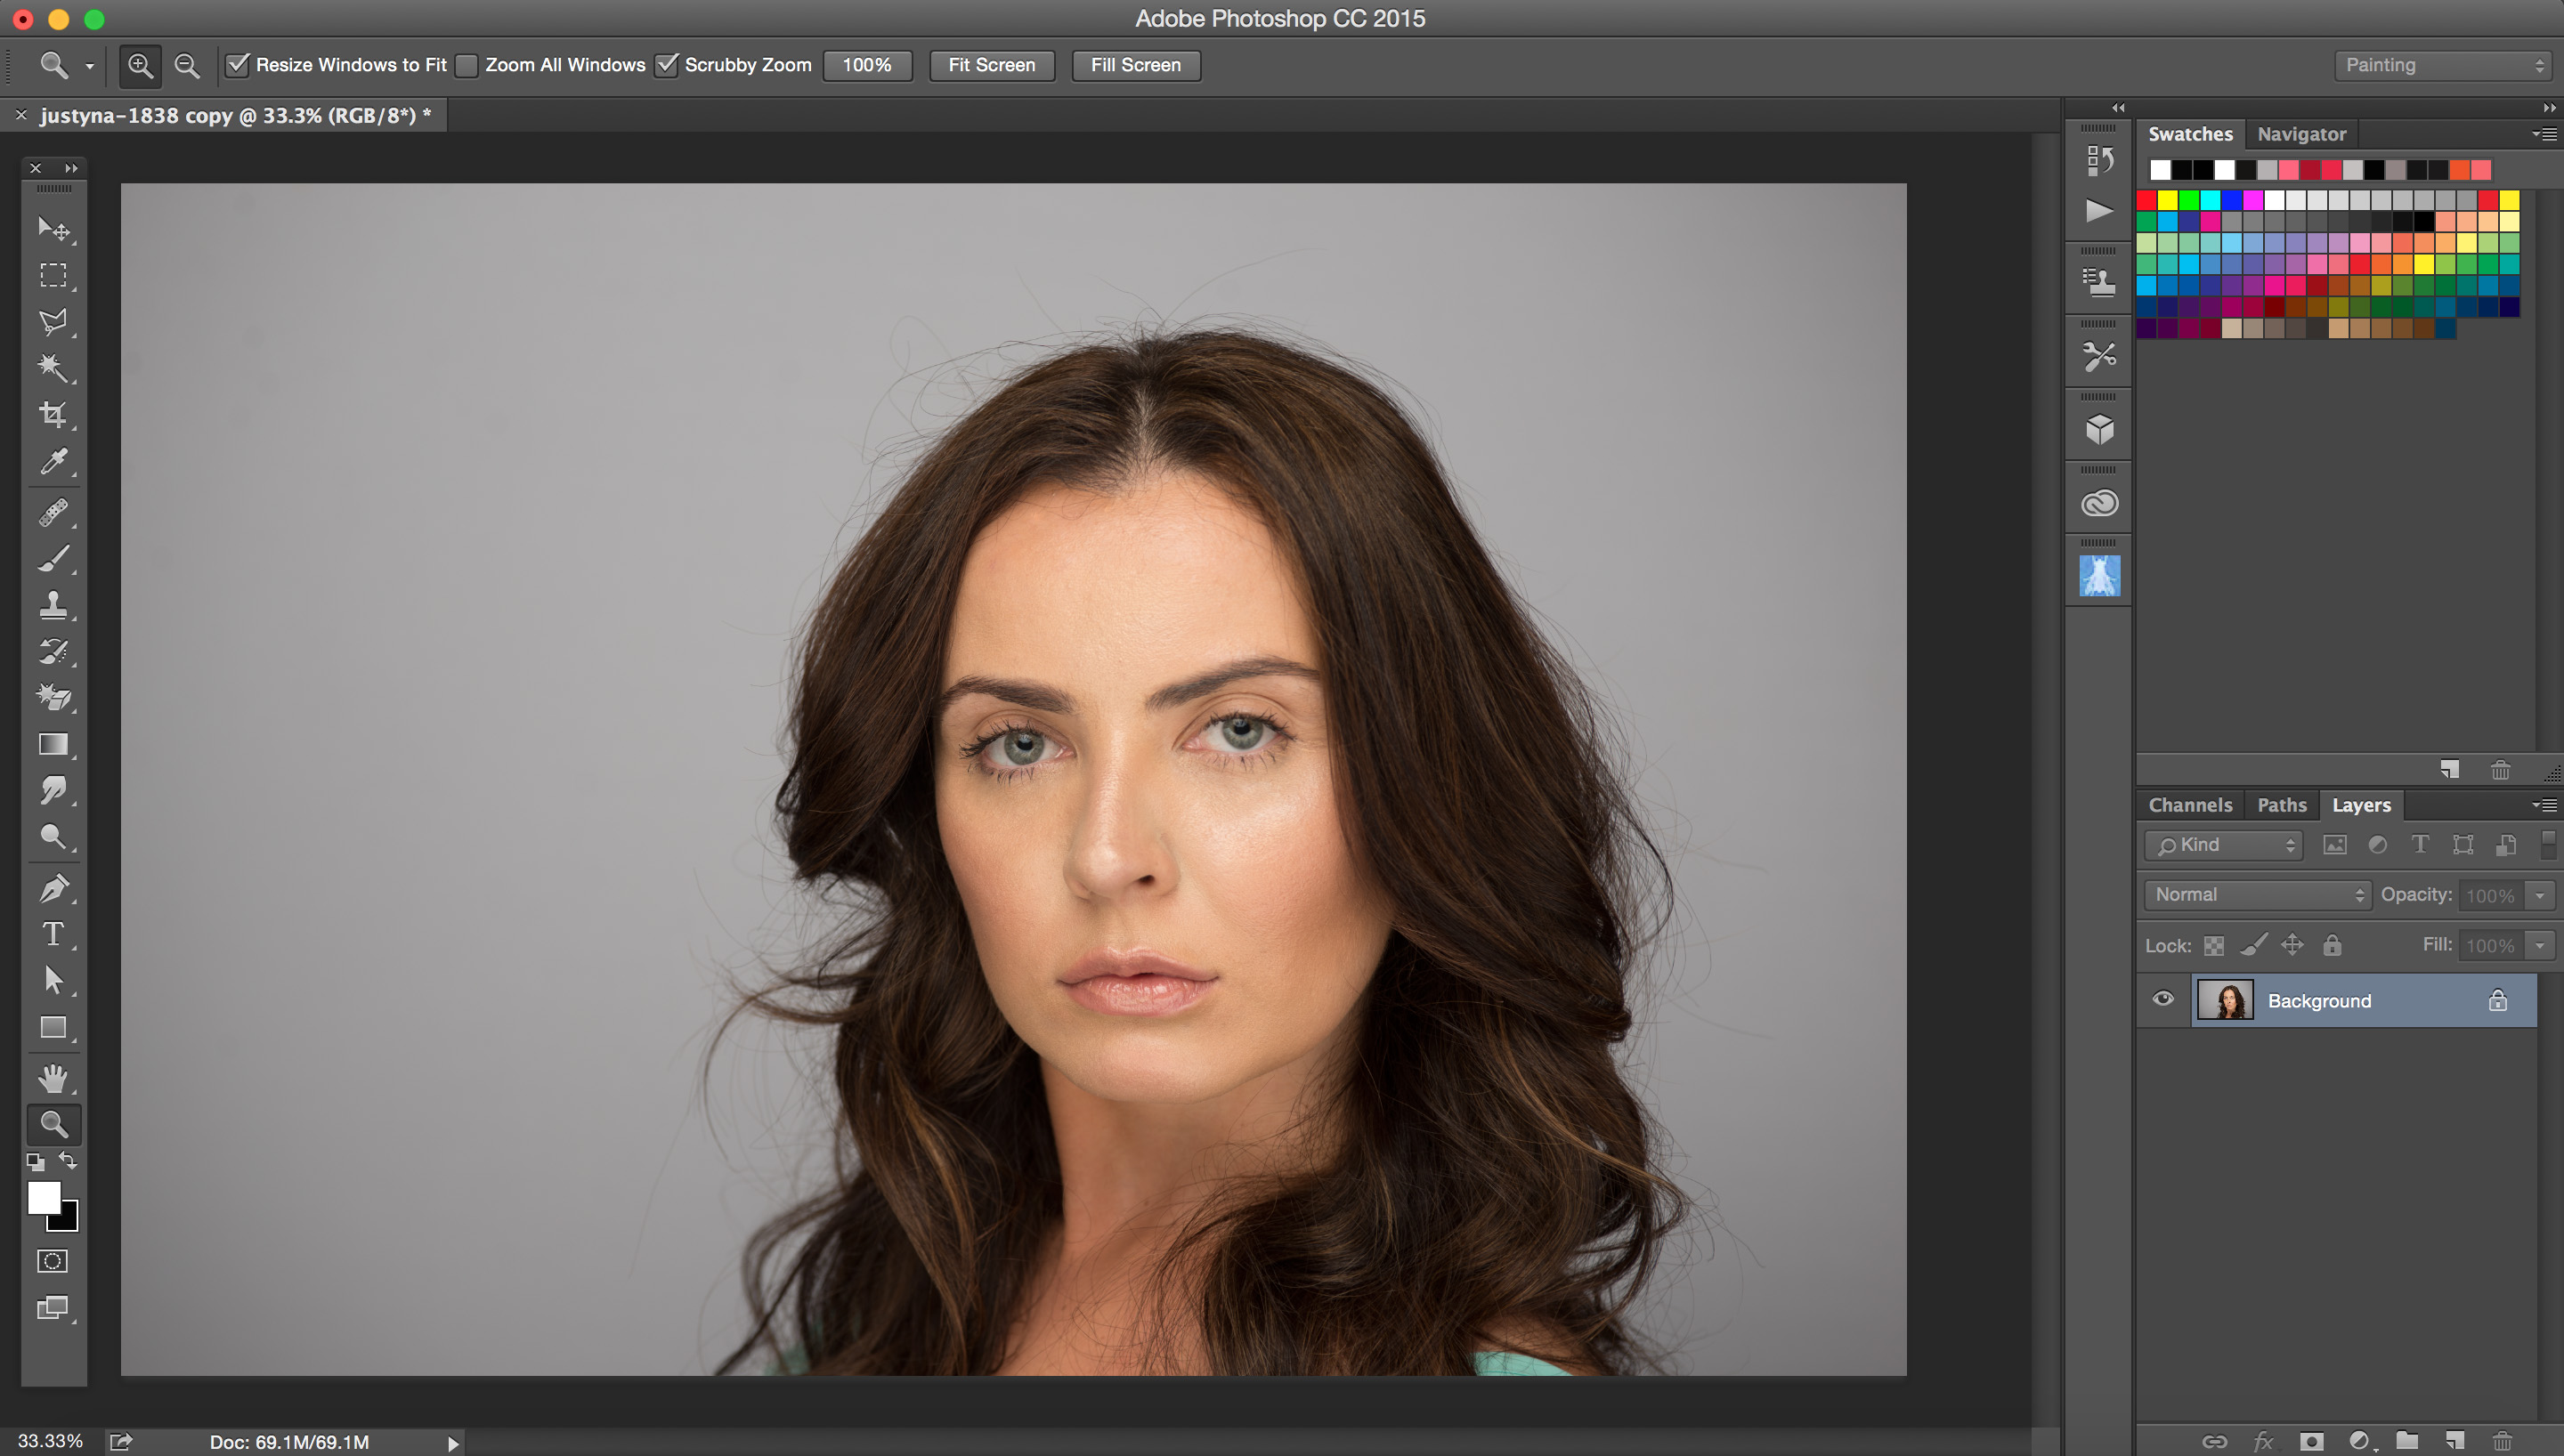
I am professional photographer, digital artist, and educator. I am working and teaching  Adobe Photoshop, Adobe Muse, Adobe Dreamweaver, Adobe Premiere Pro, Adobe Lightroom, and all Adobe mobile applications and I found that Adobe Stock is the BEST source for my design, photography, painting, education workflow. Why?

Reason 1:
I’ve heard many people say: ” I am a professional photographer, designer and I am not using any stock images”. Hmmmm so if you need any professional  image, background, graphic image to build your clients “travel with us” website you will go around the world to take pictures of the places were your client offers services? And keep in mind that as usual our clients don’t know what image(s) they will use and they are depending on us to show them at least a few examples that they can choose from. So if you multiply all the costs of traveling around the world, and the time just to take pictures, your price for client’s website will rise up significantly and I am not talking about the extra time that you need to build the website. My question is: will your client wait at least 7 extra months and pay 99% more than he/ she should pay just to let you use your own images? The answer is NO and NEVER.
So reason #1: use Adobe Stock images to make your workflow more productive along with building great communication between you and your client.

Reason 2:
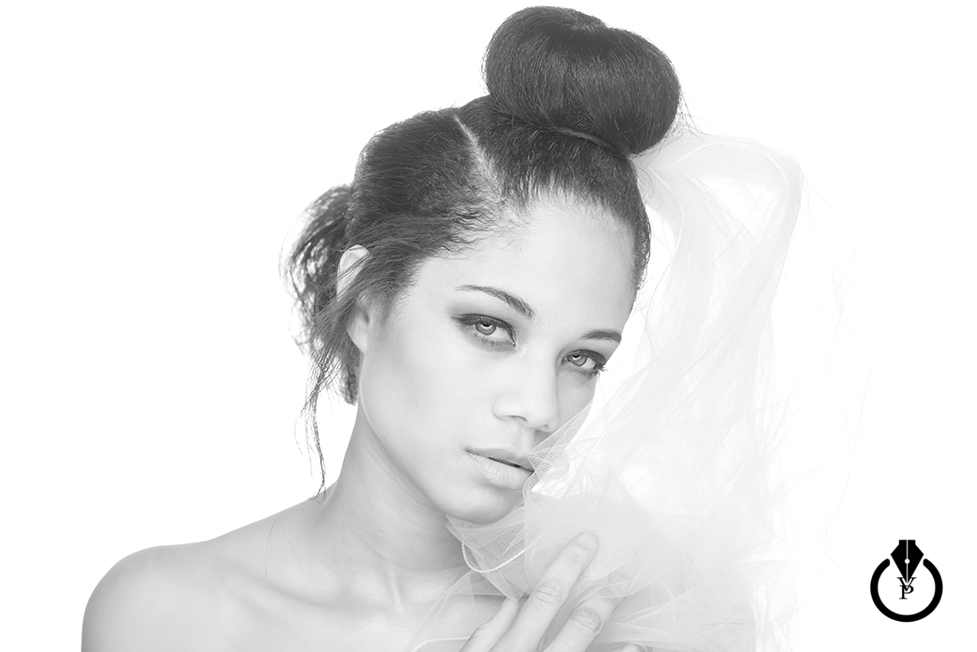
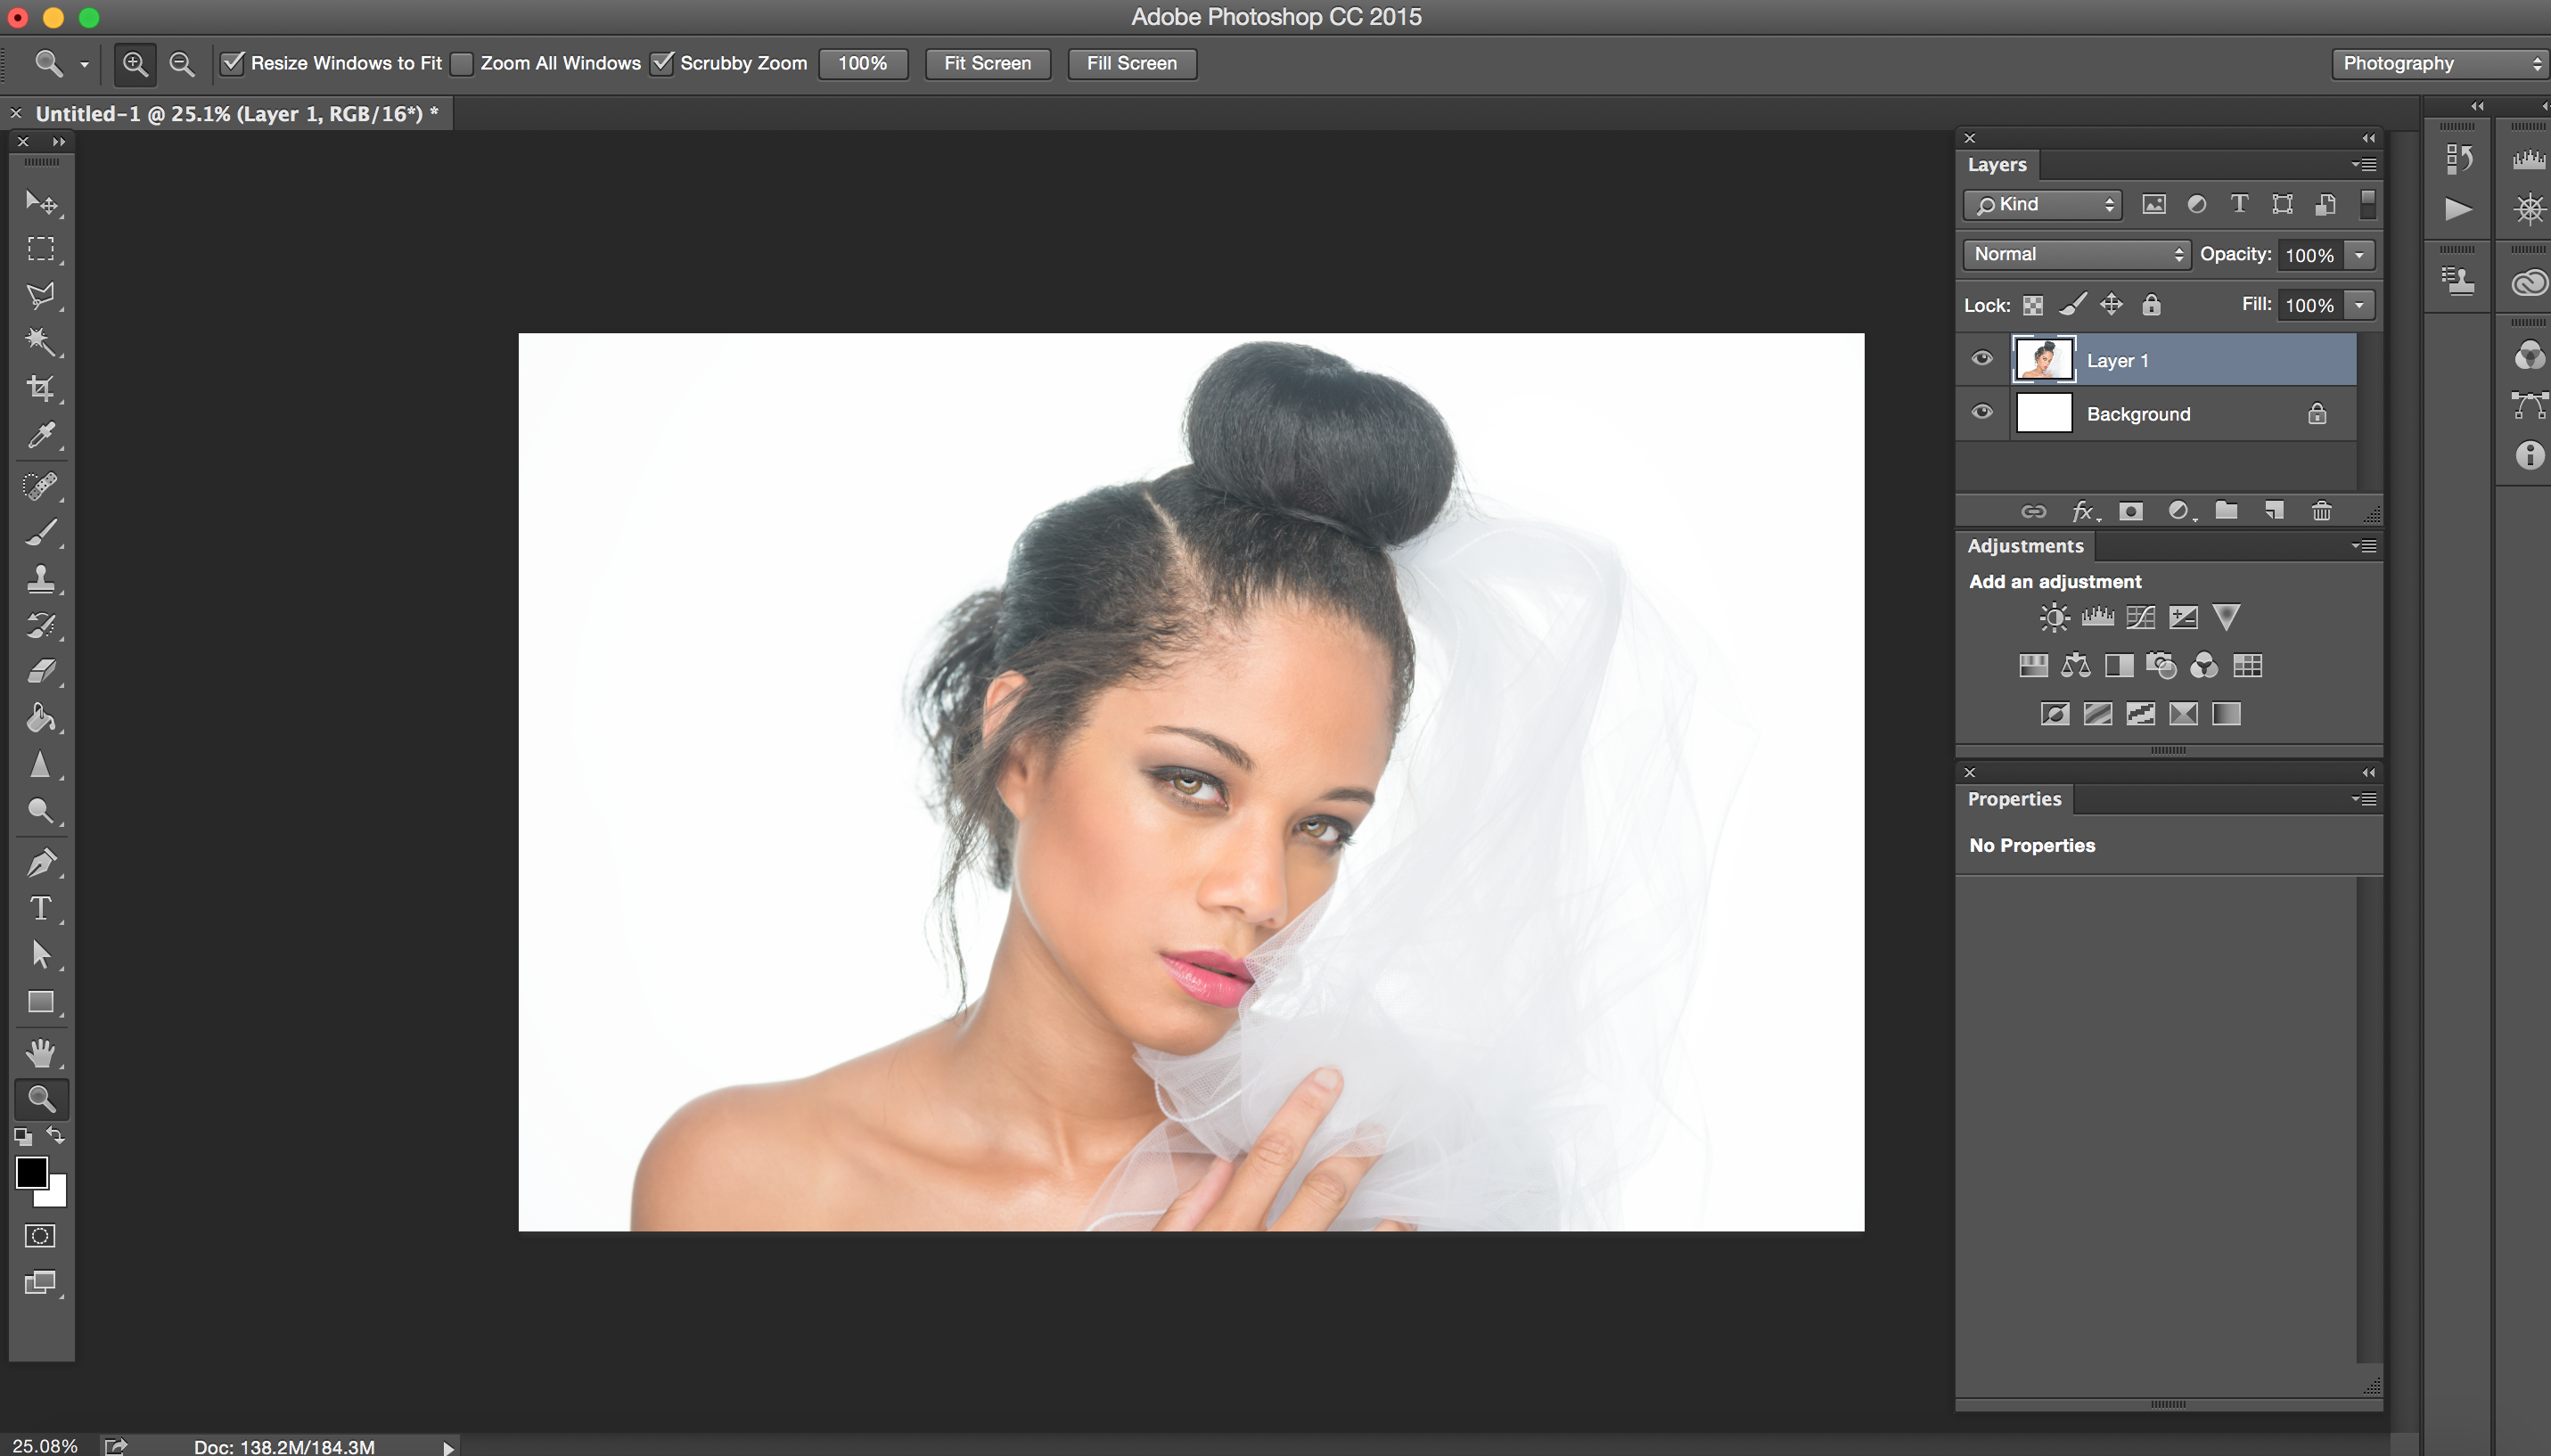
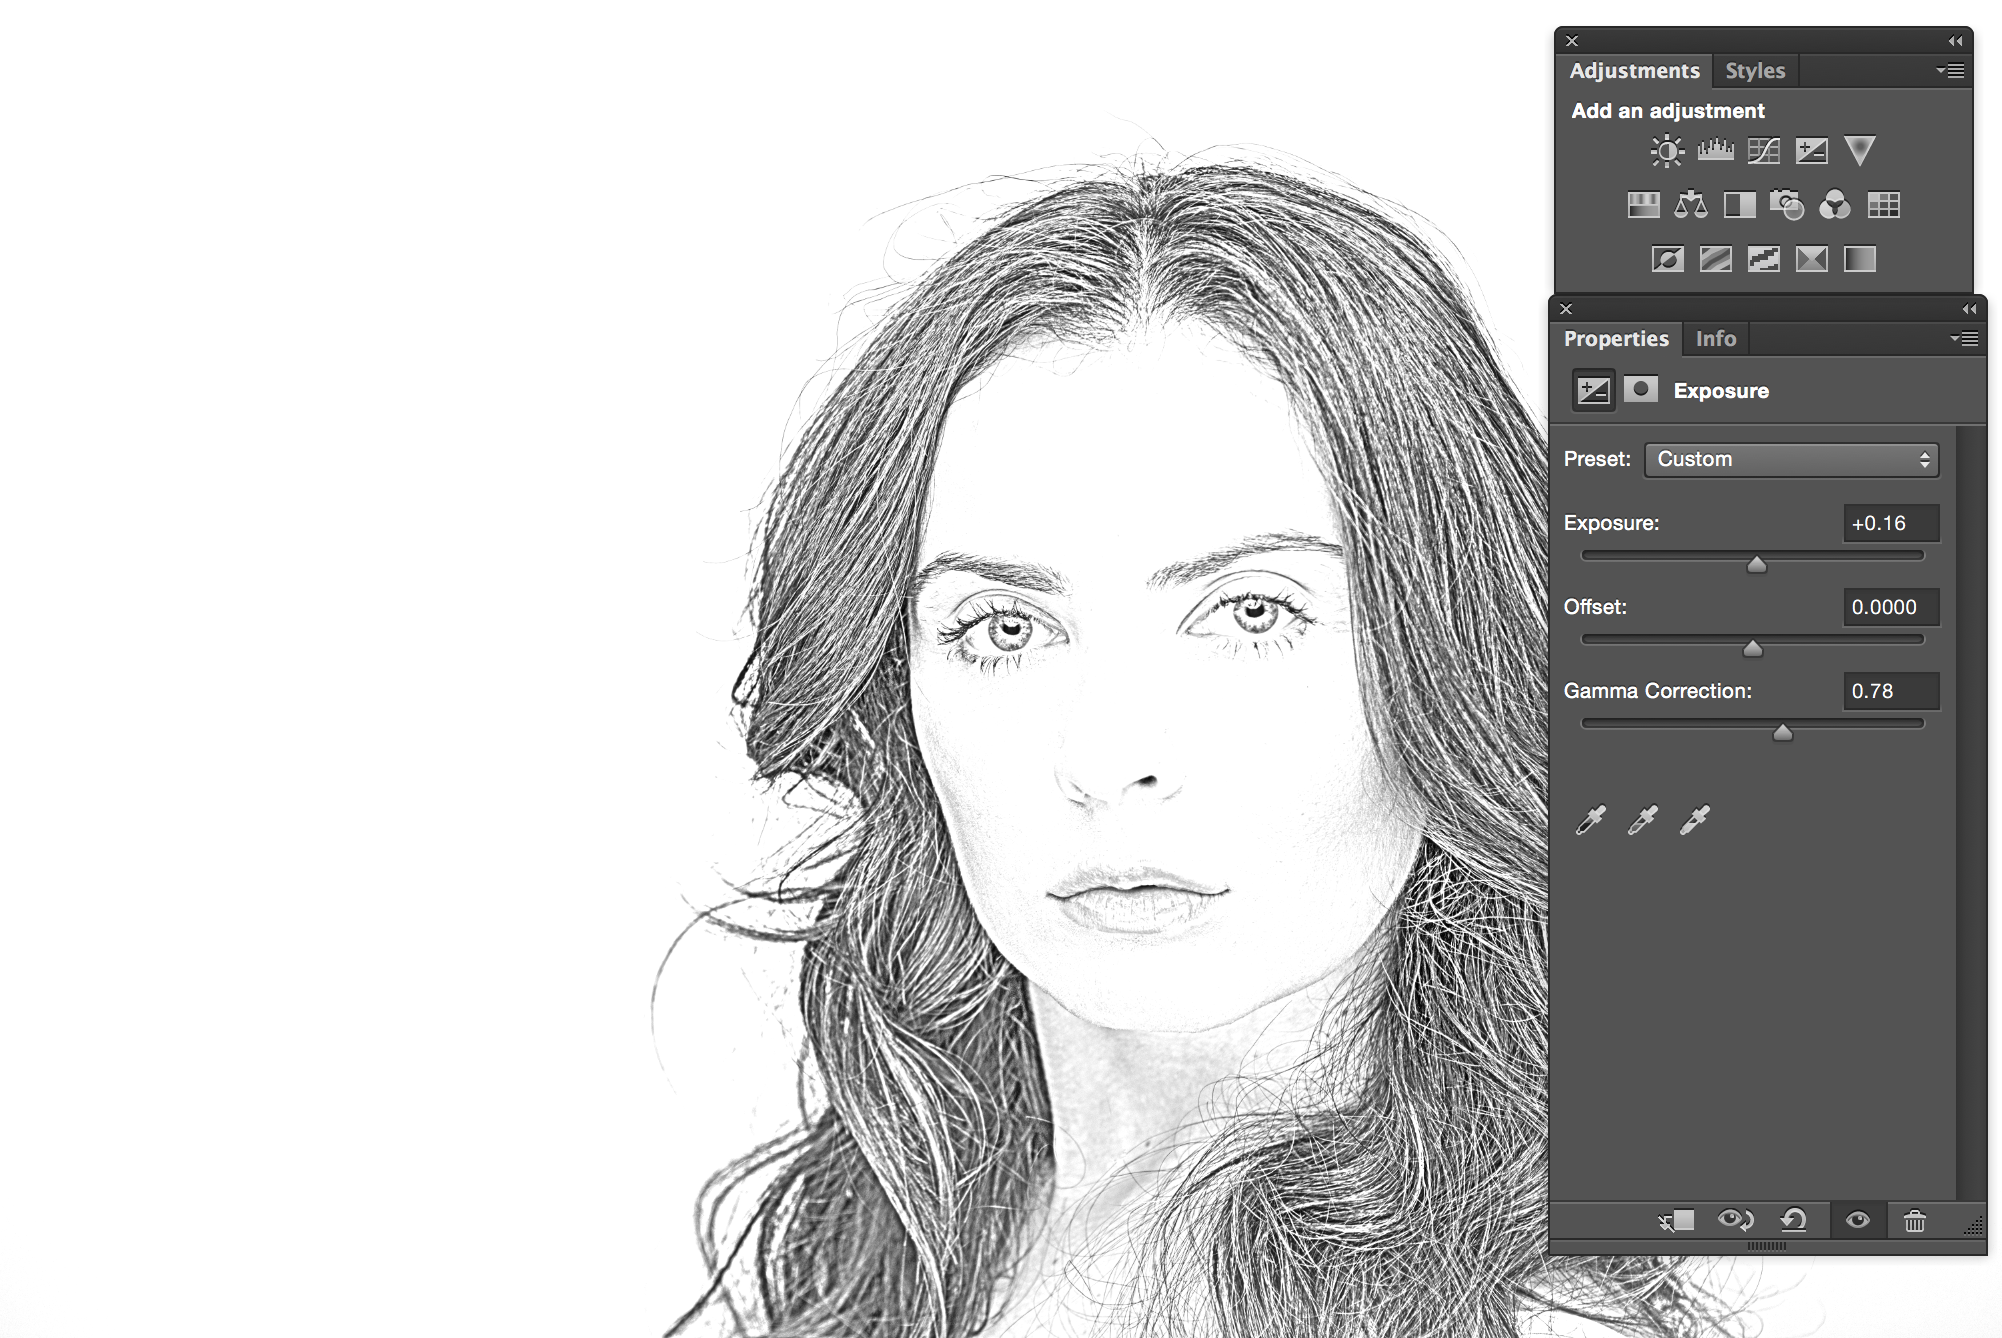
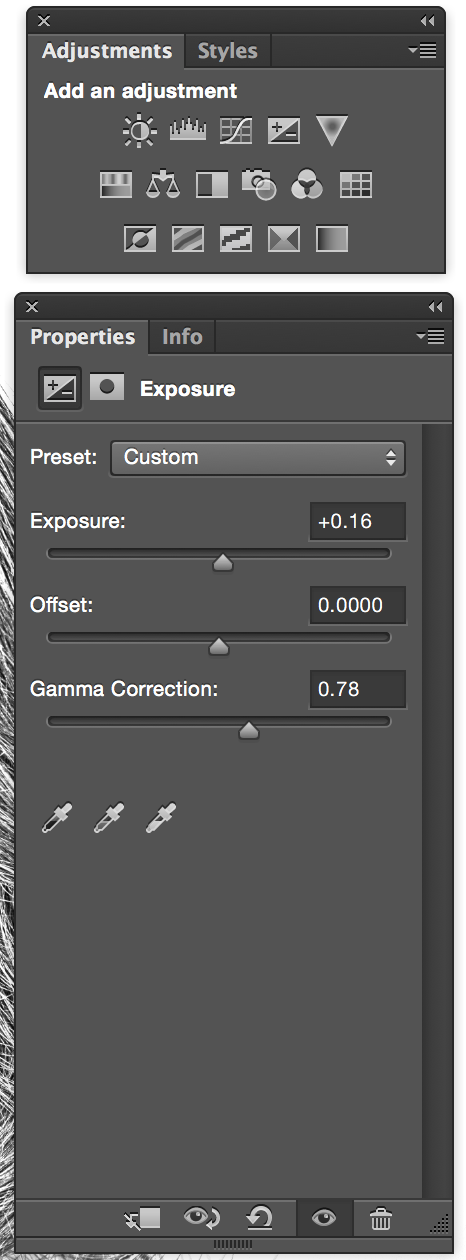
When you working on your client project and you’re not sure which image you or your client  will use with your design, simply download a “preview” version of the image(s) your want to use, finish your design, project, show it to your client and if your client approves your design simply click on Adobe Stock image > License image and you will visually see  that your Preview image will be replaced with high resolution, ready to use royalty free image. You don’t need to do any EXTRA steps that will increase your workflow time and your client will receive the final copy of the approved project in no time!
So reason 2: Fast and stress free workflow

Reason 3:
Quality
Adobe Stock is a worldwide library (40 million +) of the best photographers, digital artists, designers.  All images are with HIGH quality ready to use right away.

Reason 4:
The price
You have many optiosn to subscribe to Adobe Stock
1: As a Creative Cloud member you are saving 40% of the monthly plan!!!!!!
10 images a month
US $29.99 / mo
Annual plan, paid monthly

  • Add to a Creative Cloud subscription
  • Additional images at US$2.99
  • Rollover up to 120 images

2: 10 Images a month
US $49.99/mo
Monthly plan

  • Additional images at US$4.99
  • Rollover up to 120 images

3: 750 images a month

US $199.99/mo
Annual plan, paid monthly
  • Additional images at US$0.99

4: Single images are just US $9.99 without a subscription

Reason 5:
If you are a photographer, digital artist, 3D artist, graphic designer you can make money selling your work. You can sell your images, even the ones taken with your smart phone!! You can make money from your work just from your home using your computer!


ParticleShop Plugin for Adobe Photoshop

Geisha

ParticleShop is a brush plugin for Adobe Photoshop.

I was introduced to ParticleShop the brush plugin for Adobe Photoshop at Photoshop World 2015. I liked the demo and I decided to buy and try this plugin ( You can download the trial version to try first).

First of  all I want to point  out that if you are looking for a great painting plugin this in NOT your plugin. I can’t imagine using this plugin for my type of painting. My primary and one and only application for my all digital painting work is Adobe Photoshop CC and most of the time I am using the Mixer Brush Tool. Also I am using Adobe Sketch ( Adobe mobile drawing application) as well. So if you will ask me what is the best application for a digital painting I will answer: The ONE and ONLY Adobe Photoshop CC.

I am not using any third party plugins.   As an  Adobe Creative Cloud subscriber the main and primary reason for  me to use ParticleShop plugin is that this plugin is works with the newest version of Adobe Photoshop CC 2015 and the one one license you purchase will be installed for Adobe Photoshop CC  and Adobe Lightroom as well.

Screen Shot 2015-08-16 at 1.53.28 PM

The ParticleShop plugin is a great plugin for any type of artistic retouching. It’s amazing with hair and high fashion retouching, and if you like to apply any effects to your image you’ll probably like it. Because ParticleShop is the brush plugin for Adobe Photoshop you have access to all powerful Adobe Photoshop futures, including layers and if combine the plugin with other Photoshop features you will create a very powerful image. With the ParticleShop plugin you have control over your image, you can control the brush strokes:  light, color, and angle. You can apply multiple brush(es) effects in one image. Combine, change the  color,  and opacity of the brush. You can apply brush strokes effects and return to Photoshop and apply the layer mask, duplicate the layer and continue your workflow using Adobe Photoshop. If after that you want to  return to ParticleShop you can do it at any time.

I like the plugin and will use it for sure with my design and art workflow.
I have only two complaints about the Starter Pack Options:

Screen Shot 2015-08-16 at 1.53.05 PM
1: I wish I had at least two different types of each default brushes.
You can buy additional brush packs for $29.99 each but I am not sure I will spend $29.99 for each brush pack (each plugin has 11 brushes and  so it would be 11 packs) just after I spent $49.99 for the plugin. If I would have at least two different combinations  of each brush as a Starter Pack Options I would feel much better.
2: I had trouble making some of my brushes big enough for my image ( 6016 x 4016 ) even after I made  the Brush size by Maximum = 750 ( Starter Pack Options)
Screen Shot 2015-08-16 at 2.02.41 PM

Screen Shot 2015-08-16 at 1.52.53 PM

Geisha

Before

Geisha

After


Fotolia
 

Drawing effect with Adobe Photoshop

How to convert your photo into a drawing  using  Adobe Photoshop CC.

Open your image you want to work with

Tutorial


1: Image > Adjustments > HDR Toning

Screen Shot 2015-07-23 at 5.38.29 PM

Screen Shot 2015-07-23 at 5.42.14 PM

Tutorial


2: Filter > Camera Raw Filter

Screen Shot 2015-07-23 at 5.45.32 PM

Screen Shot 2015-07-23 at 5.45.40 PM

Screen Shot 2015-07-23 at 5.46.20 PM

! Move Dehaze slider to the left. Moving Dehaze slider to  the left or to the  right you will control how light or dark your pencil stoke is

7


3: Window > Adjustments > Exposure

Screen Shot 2015-07-23 at 5.58.01 PM


Screen Shot 2015-07-23 at 5.58.21 PM

Drawing Effect Tutorial


Fotolia


Fotolia


Convert your photo into a drawing

Step by step tutorial how to convert your photo into a drawing using  Adobe Lightroom  CC:

1: Open your image in the Develop module  ( I am using Adobe Stock   image #57908828

Screen Shot 2015-07-09 at 12.31.15 PM

2: Click on the Black & White Tab

Screen Shot 2015-07-09 at 12.34.07 PM

3: Apply the following setting

Screen Shot 2015-07-09 at 12.36.02 PM

Screen Shot 2015-07-09 at 12.36.39 PM

4: Using Tone Curve apply following setting

Screen Shot 2015-07-09 at 12.38.30 PM

Screen Shot 2015-07-09 at 12.39.29 PM

5: Apply the following Black & White Setting

Screen Shot 2015-07-09 at 12.42.07 PM

Screen Shot 2015-07-09 at 12.42.17 PM

Adobe Lightroom Tutorial

My Adobe Photoshop & Adobe Illustrator Seminar

How to create a simple Valentine’s Day card in Adobe Illustrator

How to get started with still-life painting in Adobe Photoshop


Fotolia


SanDisk 32GB Class 4 SDHC Memory Card, Frustration-Free Packaging- SDSDB-032G-AFFP (Label May Change)

SanDisk Ultra 32GB UHS-I/Class 10 Micro SDHC Memory Card Up to 48MB/s With Adapter- SDSDQUAN-032G-G4A [Newest Version]

Samsung 64GB EVO Class 10 Micro SDXC up to 48MB/s with Adapter (MB-MP64DA/AM)


Download Adobe Lightroom 

From “traditional” to digital painting

I always believed that we have reached the point that there are no more boarders between “traditional” and digital art.  Using Moleskine and Adobe apps we can jump from a “traditional”  pencil painting to digital painting using Adobe Photoshop CC.

I started my project using the  Moleskine Smart Notebook (Creative Cloud connected )

IMG_3294


Using the FREE  Moleskine, a Creative Cloud connected app I took picture of my sketch . The image was saved in my Creative Cloud folder.

IMG_3293

And I finished my project in Adobe Photoshop CC  using a Wacom Tablet

11010990_10155744478600392_7108298322535764797_n

Wacom Intuos Pro Pen and Touch Medium Tablet (PTH651)

Wacom Cintiq 13HD Interactive Pen Display (DTK1300)


Live preview of Dehaze effect in Adobe Lightroom

This year I went to a local park for a 4th of July fireworks display. I pretty much got some nice images using my Nikon  and Terry White’s firework shooting settings.  But  it doesn’t matter how good your settings are we still cant avoid the smoke in our fireworks pictures. Thanks to the Dehaze effect in Adobe  Lightroom CC  I can remove the smoke from my pictures in a second simply moving Dehaze effect slider to the right. Moving Dehaze slider to the right from 0  to +100 you are removing haze/smoke from your pictures. Moving the Dehaze effect slider from 0 to -100 you can add a haze effect to your pictures.

Screen Shot 2015-07-08 at 8.07.10 AM


See it in action here:

Dehaze effect In Lightroom