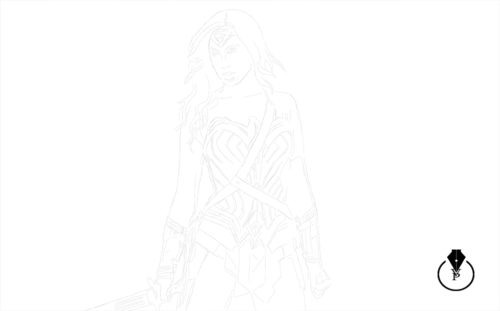
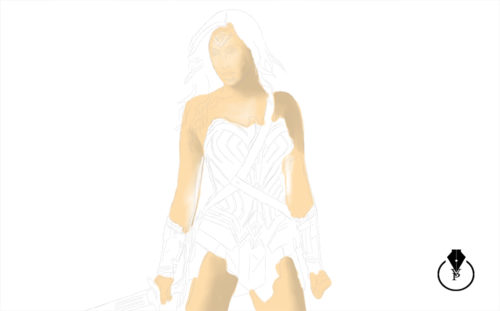
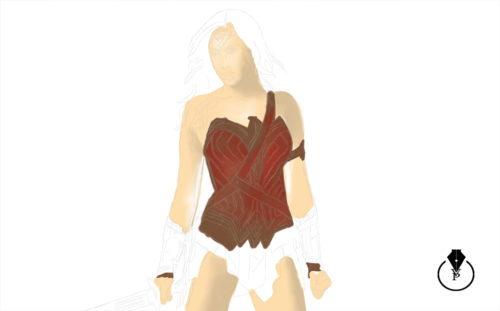
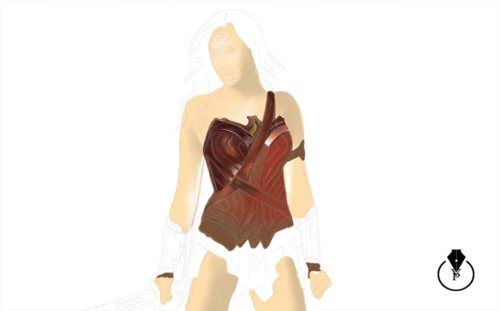
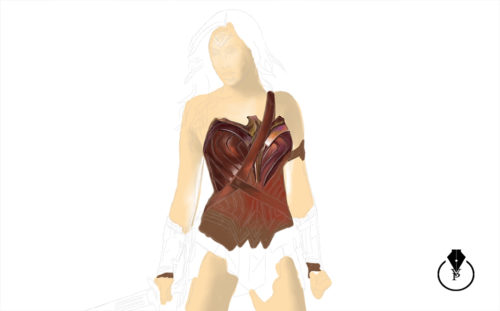
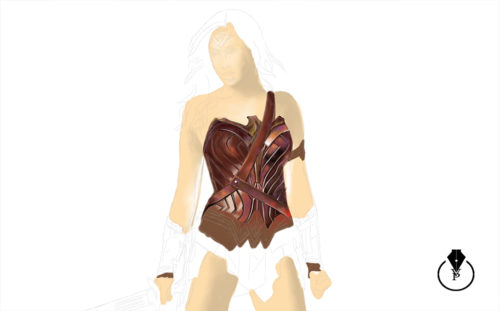
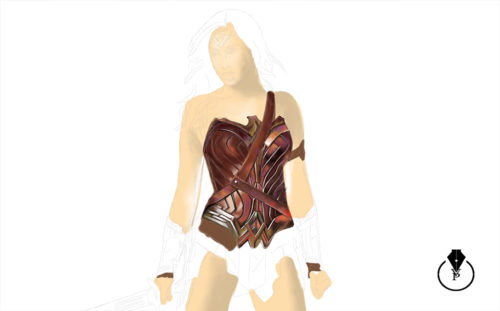
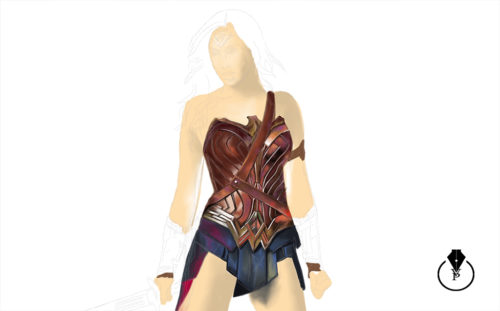
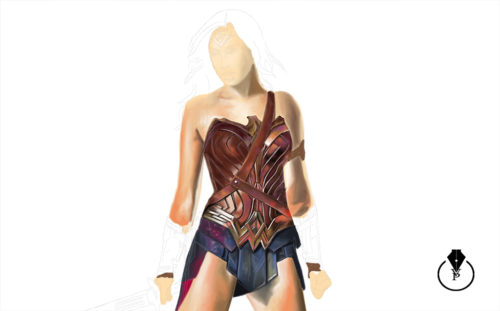
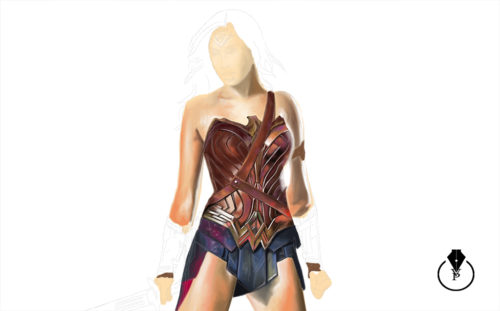
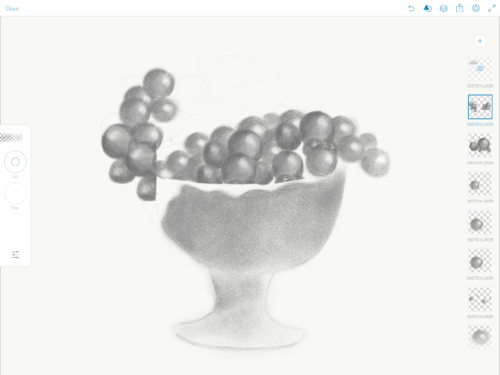
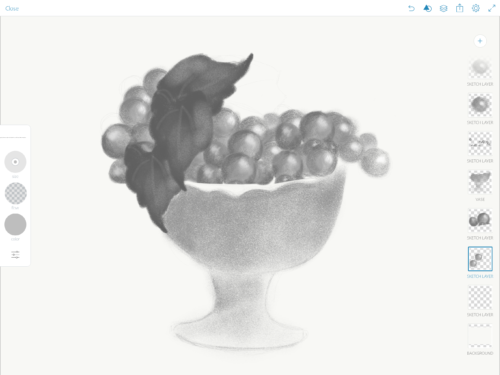
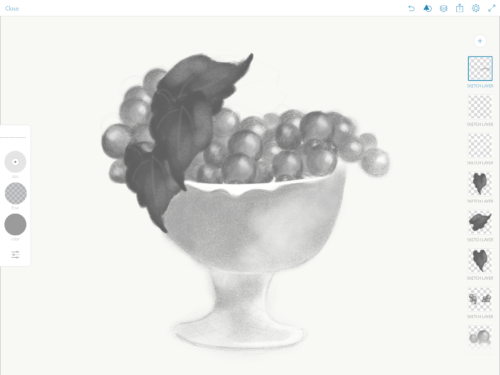
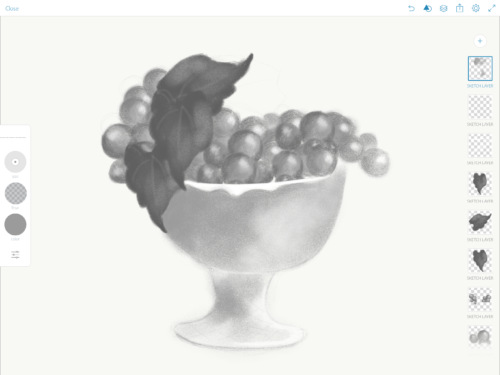
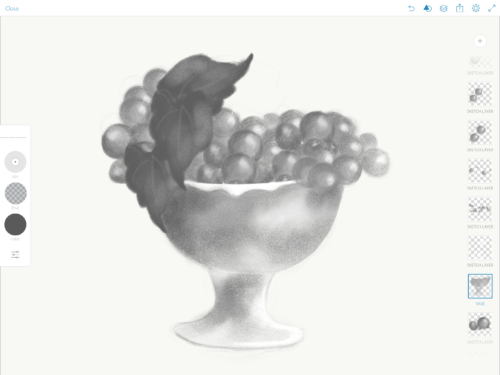
My latest painting in Adobe Photoshop CC with Wacom Cintiq
step-by-step


My Books:
Digital Painting for Photographers in Adobe Photoshop CC
The Adobe Mobile Apps Book
101 Photoshop Hidden Gems and Tips & Tricks

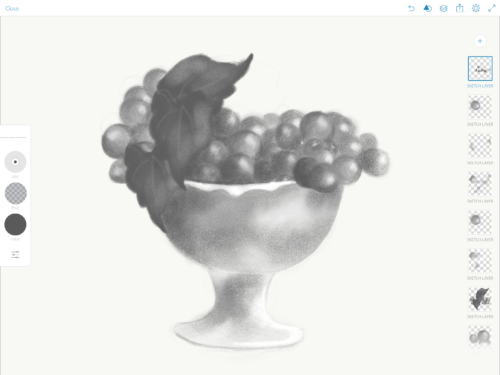
My latest painting in Adobe Photoshop CC with Wacom Cintiq
step-by-step
My Books:
Digital Painting for Photographers in Adobe Photoshop CC
The Adobe Mobile Apps Book
101 Photoshop Hidden Gems and Tips & Tricks
My Wacom Cintiq Tablet Preferences.
Many of you have asked me to share my Wacom tablet preferences. In this blog I will share my preferences for my main Wacom, Cintiq 24HD.
Wacom Cintiq.
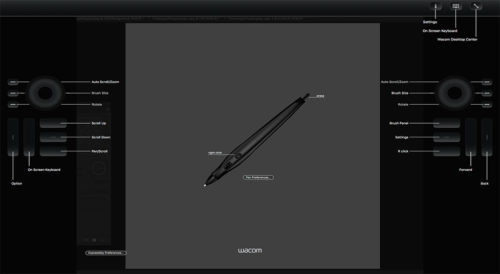
I am using a Wacom Cintiq 24HD
I set up my preferences for easy access to the tools I use the most. These preferences help me to be more productive and speed up my workflow.
The Left Wheel:
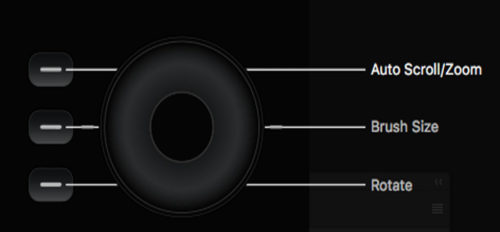
I use the left wheel to Zoom In/Out my canvas. This option is very helpful in my painting and retouching workflow. With any selected/active tool I easily can zoom in/out my canvas without changing the active tool.
The Right Wheel:

I use the right wheel to increase/decrease the brush size. This method of brush size adjusting just perfect to my painting and masking workflow.
The Left ExpressKeys:
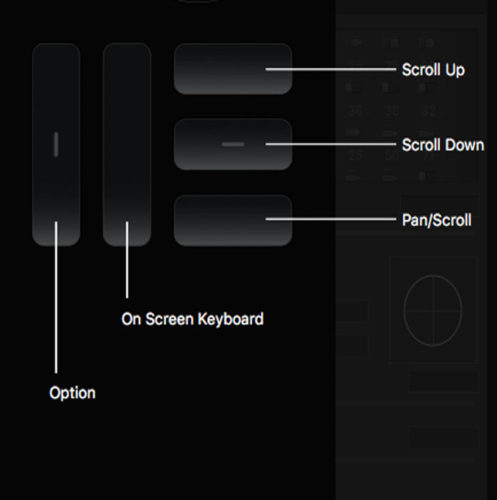
From the left to the right:
Modifier: Opt key
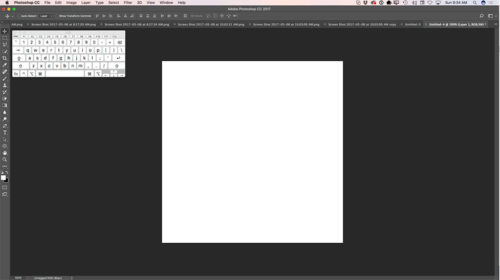
On Screen Keyboard (I use this option during my live stream or presentation to show my audience which key(s) I am currently pressing.
Scroll Up: Scroll the document up without changing the currently active tool
Scroll Down: Scroll the document down without changing currently active tool
Pan/Scroll: Scroll the document using Hand Tool without changing currently active tool (super helpful in my painting and masking workflow)
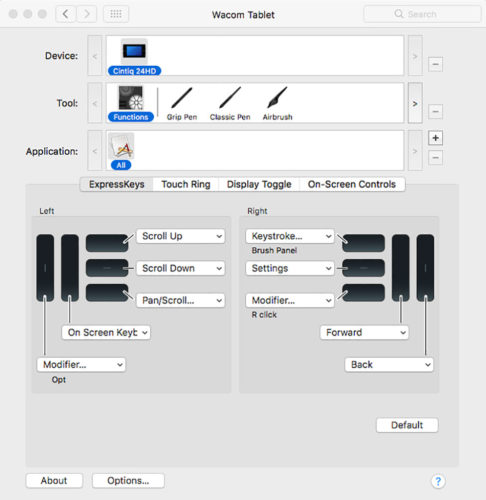
The Right ExpressKeys:
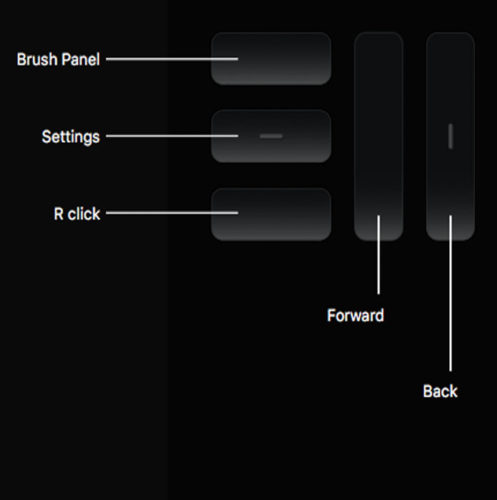
From the right to the left:
Back: Move the active layer down without changing currently active tool
Forward: Move the active layer up without changing currently active tool
Brush Panel: Activating the brush panel
Setting: Opening the current Wacom Cintiq Settings
Right Click: Activating Right Click
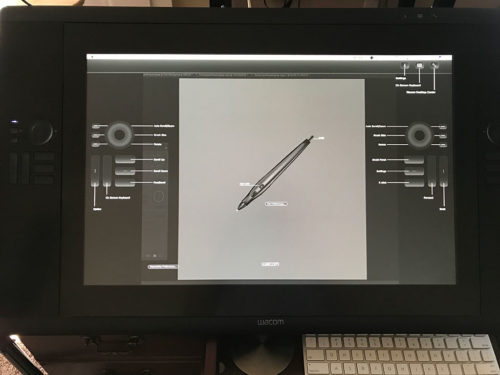
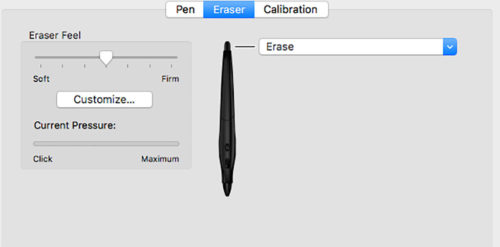
Wacom Pen Setting:
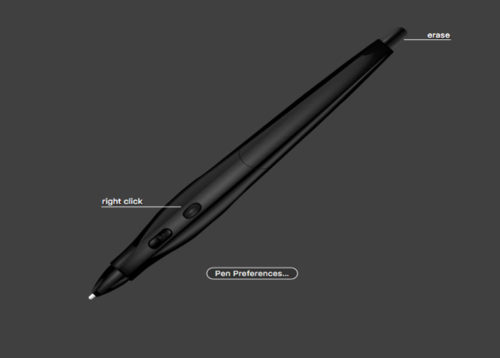
I am using a Wacom Airbrush Pen with the setting I’ve attached below

P.S. With the Wacom Airbrush Pen workflow make sure that you have checked the “Transfer” box and switched to “Stylus Wheel” Control from Control Drop Down menus. It will help you to use in maximum power of Airbrush Pen.
My Books
My Online Training
My YouTube
How to create Mother’s Day E-Card in Adobe Photoshop CC

How to create Mother’s Day E-Card only in three steps in Adobe Photoshop CC using 3D object from PixelSquid

My Books:
101 Photoshop Hidden Gems and Tips & Tricks
Digital Painting for Photographers in Adobe Photoshop CC
I just released my new “101 Photoshop Hidden Gems and Tips & Tricks” book
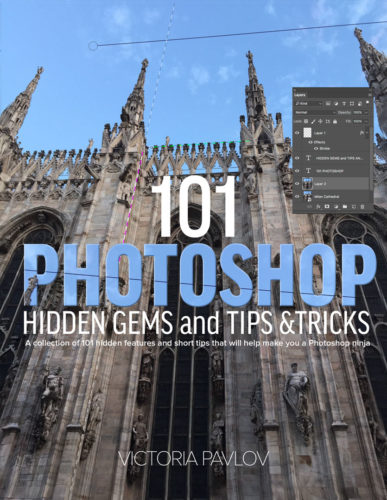
I wanted to write a book that every Photoshop user could learn from. Many of us are new to Photoshop, use it regularly or are experts. However, no matter what your Photoshop skill level is, chances are you can still learn new things or pick up tips from this book that you haven’t discovered yet. My editor said “wow, I learned at least 10 things right off the bat that I didn’t know and I ‘m not done editing yet.” We get into our groove and we use the same features and techniques all the time. However, with each new update to Photoshop CC there are usually little things that the engineers at Adobe add or change that often don’t get a mention. I did my best to pick out 101 of my favorites. Enjoy!

Drawing an Eye
Digital Painting for Photographers
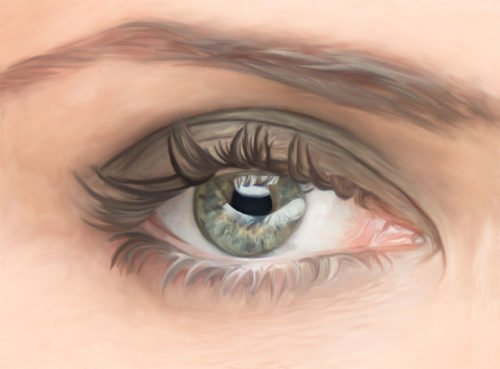
I just uploaded a new “Eye Drawing in Adobe Photoshop CC” course to my online training website >>>
In this tutorial you will learn how to convert a photograph of an eye into a beautiful and unique work of art using my Digital Painting for Photographers in Adobe Photoshop CC technique.
My Books on Amazon
Digital Painting for Photographers in Adobe Photoshop CC
Adobe Mobile Apps Book
I’m very please to announce my NEW online training site! “Everything Digital”

About my training site: my main goal is inspire you and make your digital workflow more enjoyable. All of my tutorials are recorded in a conversational manner. No “robotic” talking head tutorials. I want to have a conversation with YOU. I want to make the learning experience more enjoyable. Here you will find different tutorials: from beginner to advanced level. I believe that the learning experience is suppose to be enjoyable and a two-way conversation.
In my All Digital course you will be able to access all of my courses for one monthly payment of $15.00
My Books on Amazon:
Digital Painting for Photographers in Adobe Photoshop CC
Adobe Mobile Apps
Project Felix fits well in my photography workflow
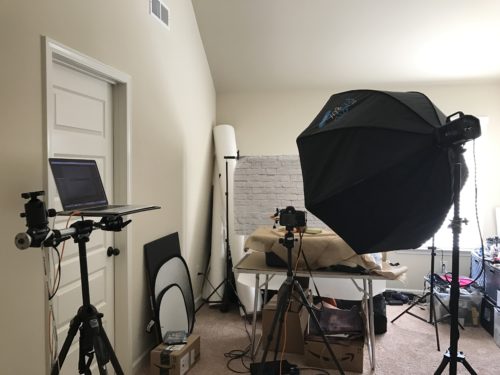
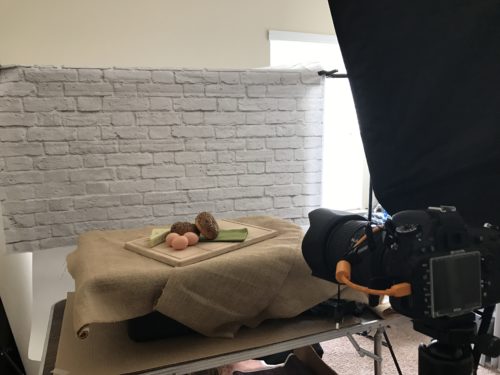
I was shooting product shots for my client. My client has a bagel bakery and she asked me to take pictures of her product and create commercial ad to promote her bakery.
She shipped her products to my studio and I started working on her shots.
I took pictures of her products using my Nikon DSLR Camera, Adobe Photoshop Lightroom, Westcott Lighting.


After my usual post-production workflow I sent to my client all of the edited files to review. She came back to me and said that now she wants to add coffee to-go to her bakery service. Sure, I can re-shoot some of her product with to-go mug, but I had sent back all the products to her already. We had no time before her campaign was suppose to start . I know many of photographers would be in a panic situation at this point. “What can I do now”, “I have no time” …. I know…
I was thinking about “how can I add the to-go coffee mug to her images?” I decided to add the to-go mug using Adobe’s Project Felix.
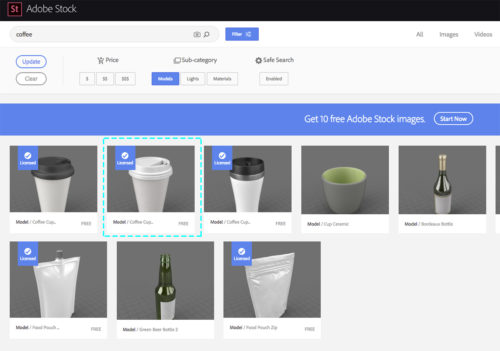
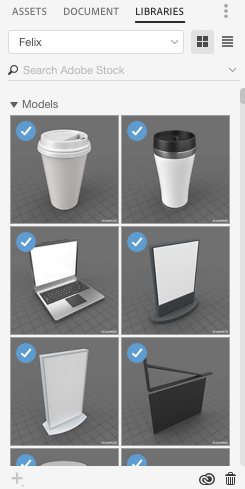
I downloaded a coffee cup model from Adobe Stock to my 3D library
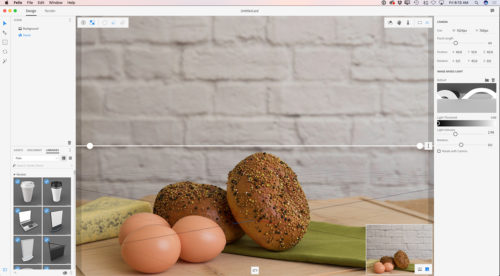
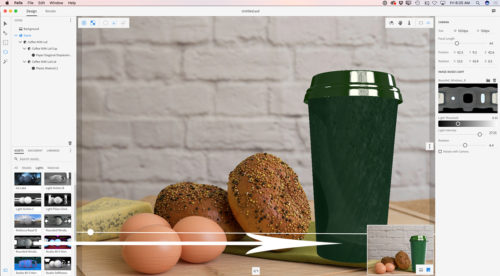
I opened Project Felix. I used my image as the background
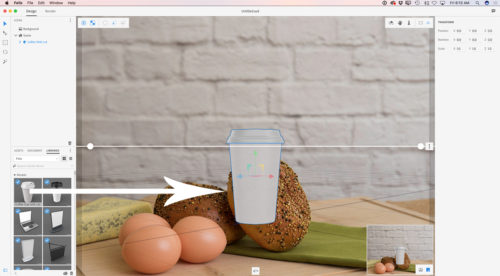
I aded a coffee cup downloaded from Adobe Stock to my image just with a single click
I added material to it. It was so easy! Just one click on any material you want to use in the Assets panel.
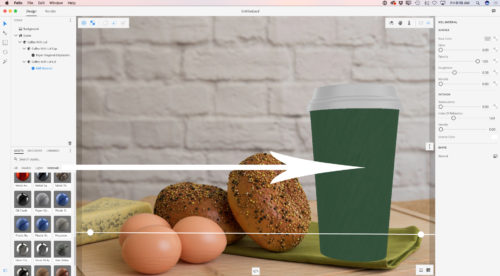
I added a light. All with one click!
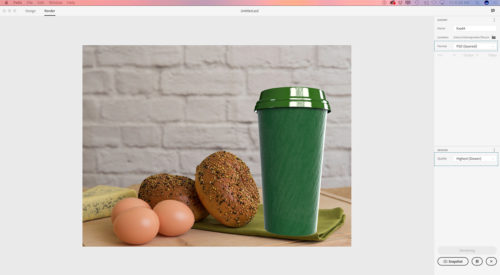
The last step in Project Felix is to Render. I specified the file location and chose Render quality “Highest”
After my Project Felix finished rendering my file I opened this file in Adobe Photoshop CC
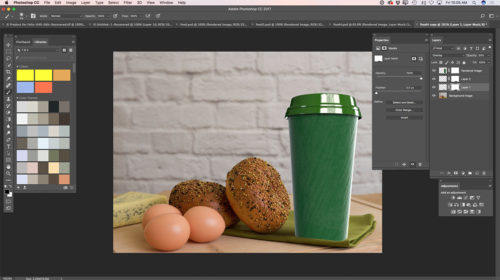
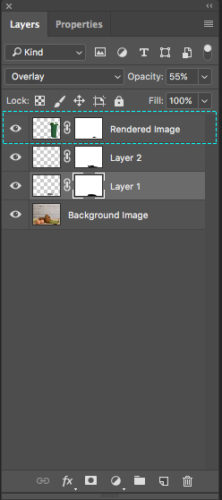
I had the coffee cup as a separate layer(s) so I started working on the finishing touches.
A few minutes later my image was ready to be delivered to my customer (she approved this image).

My books on Amazon
Digital Painting for Photographers in Adobe Photoshop CC
The Adobe Mobile Apps
Digital Painting in Adobe Photoshop Sketch with iPad Pro
Apple Pencil
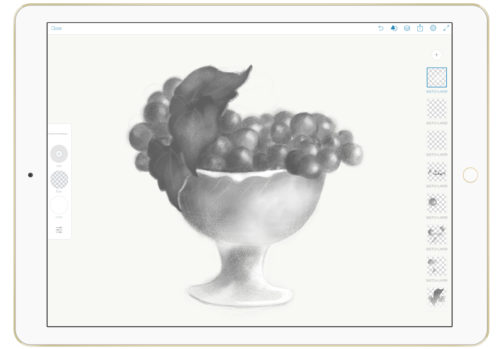
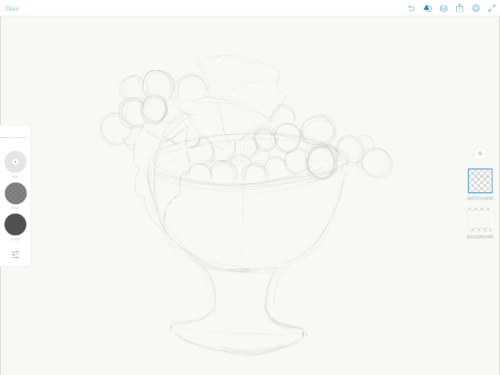
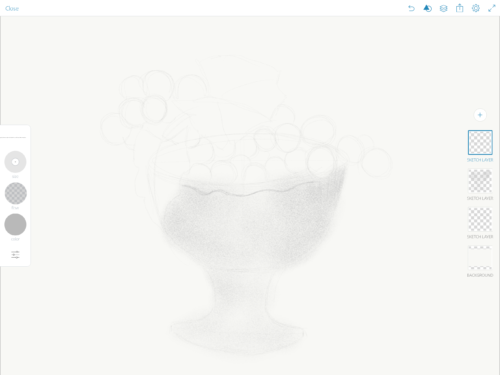
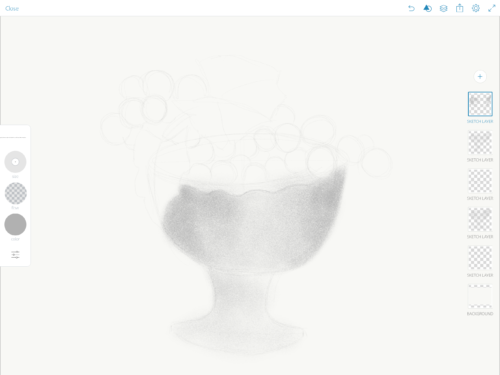
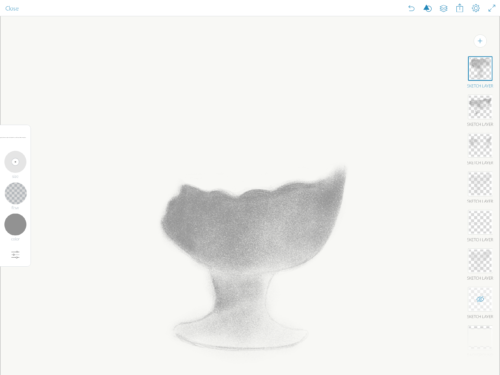
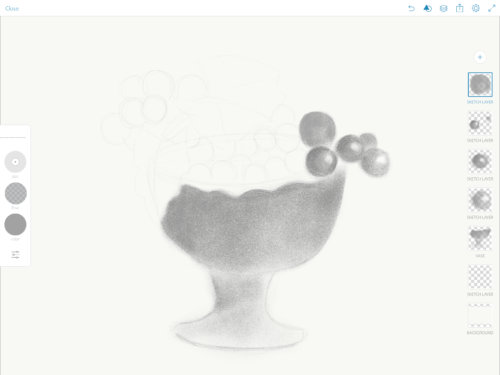
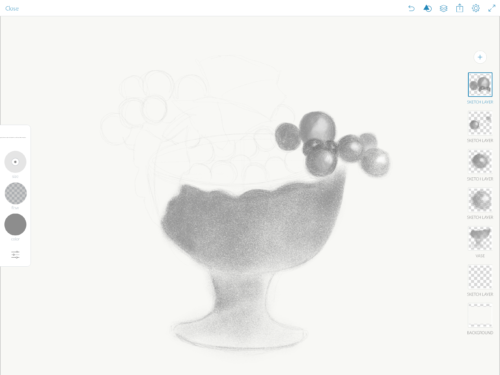
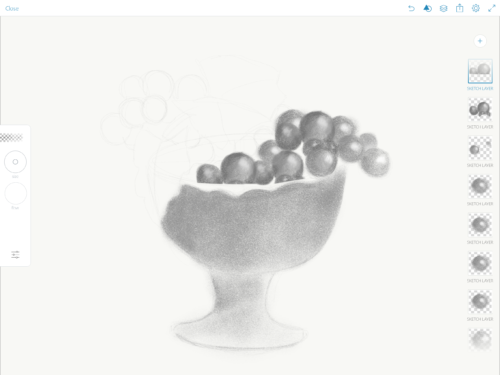

Digital Painting in Adobe Photoshop CC

My ebook on Amazon
Digital Painting for Photographers in Adobe Photoshop CC
The Adobe Mobile Apps
How to create a car poster in Adobe Photoshop CC

My ebook on Amazon
Digital Painting for Photographers in Adobe Photoshop CC
The Adobe Mobile Apps
Catwoman painted in Adobe Photoshop CC

My Books on Amazon:


